Navigation
Change Log
- 2018 Feb 17 – in RADIUS Monitor section, added Microsoft Network Policy Server Ping User-Name. (Source = Stefano Losego in the comments)
- 2017 Dec 25 – updated entire article for 12.0 build 56. Monitor section has new build 56 instructions.
RADIUS Load Balancing Overview
One method of two-factor authentication to NetScaler Gateway is the RADIUS protocol with a two-factor authentication product (tokens) that has RADIUS enabled.
RADIUS Clients and Source IP – On your RADIUS servers, you’ll need to add the NetScaler appliances as RADIUS Clients. When NetScaler uses a local (same appliance) load balanced Virtual Server for RADIUS authentication, the traffic is sourced from the NetScaler SNIP (Subnet IP). When NetScaler uses a direct connection to a RADIUS Server without going through a load balancing Virtual Server, or uses a remote (different appliance) Load Balancing Virtual Server, the traffic is sourced from the NetScaler NSIP (NetScaler IP). Use the correct IP(s) when adding the NetScaler appliances as RADIUS Clients. And adjust firewall rules accordingly.
- For High Availability pairs, if you locally load balance RADIUS, then you only need to add the SNIP as a RADIUS Client, since the SNIP floats between the two appliances. However, if you are not locally load balancing RADIUS, then you’ll need to add the NSIP of both appliances as RADIUS Clients. Use the same RADIUS Secret for both appliances.
RADIUS Monitor and Static Credentials – When load balancing RADIUS, you’ll want a monitor that verifies that the RADIUS server is functional. The RADIUS monitor will login to the RADIUS server and look for a response. The credentials in the load balancing monitor must have a static password.
- If you don’t mind failed login attempts in your RADIUS logs, you can specify fake credentials in your load balancing monitor. The monitor would be configured to expect a login failure response, which means that at least a RADIUS service is responding to the monitor. Not as accurate as a successful login response, but better than ping.
- Microsoft Network Policy Server supports a fake Ping User-Name. (Source = Stefano Losego in the comments)
- The only other monitoring option is Ping. No credentials needed for this option. Adjust the firewall to allow ping to the RADIUS servers.
Active/passive load balancing – If you have RADIUS Servers in multiple datacenters, you can create multiple load balancing Virtual Servers, and cascade them so that the local RADIUS Servers are used first, and if they’re not available, then the Virtual Server fails over to RADIUS Servers in remote datacenters.
RADIUS Monitor
The RADIUS Monitor attempts to successfully log into the RADIUS server. For RSA, create an account on RSA with the following parameters as mentioned by Jonathan Pitre:
- Setup a user with a fixed passcode in your RSA console.
- Ensure you login with that user at least once to the RSA console because you’ll be asked to change it the first time.
- There is no need to assign a token to your monitor user as long as you are using a fixed passcode. You don’t want to waste a token on a user just for monitoring.
Henny Louwers – Configure RSA RADIUS monitoring on NetScaler.
12.0 build 56 and newer
Monitor instructions changed in 12.0 build 56 and newer. If your build is older than build 56, then jump to the older Monitor instructions.
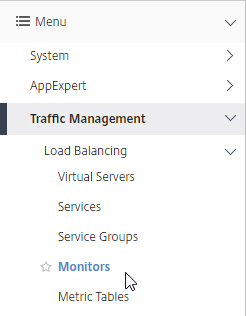
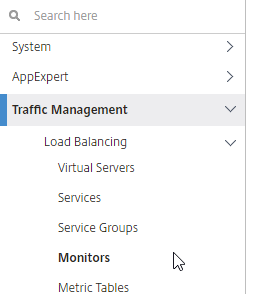
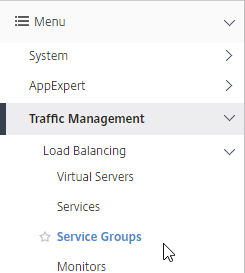
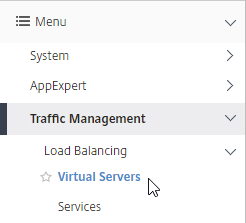
- In the NetScaler Configuration Utility, on the left, under Traffic Management > Load Balancing, click Monitors.
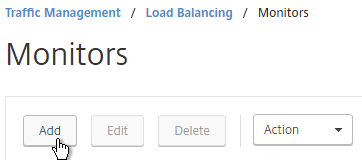
- On the right, click Add.
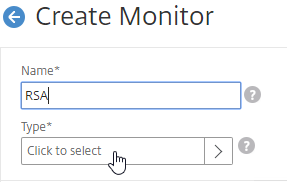
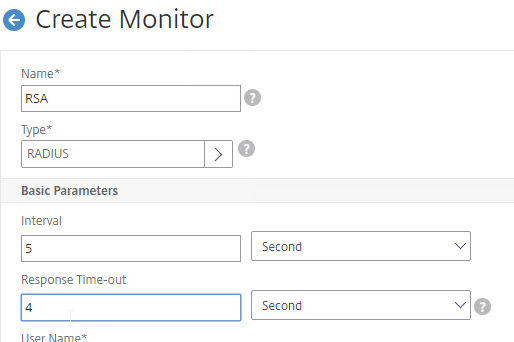
- Name the monitor RSA or similar.
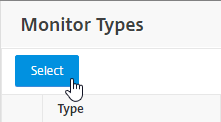
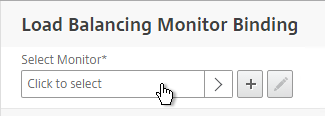
- In the Type field, click where it says Click to select.
- Scroll down and click the circle next to RADIUS.
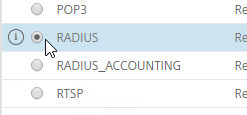
- Scroll up and click the blue Select button.
- In the Basic Parameters section, you might have to increase the Response Time-out to 4.
- In the Basic Parameters section, do the following:
- Enter valid RADIUS credentials. Make sure these credentials do not change or expire. For RSA, in the Password field, enter the fixed passcode.
- Microsoft Network Policy Server supports a fake Ping User-Name. (Source = Stefano Losego in the comments)
- Enter the RADIUS key (secret) configured on the RADIUS server for the NetScaler as RADIUS client.
- For Response Codes, add both 2 and 3. 2 means success, while 3 indicates some kind of failure. Either result means that the RADIUS server is responding, and thus is probably functional. But 2 is the ideal response.
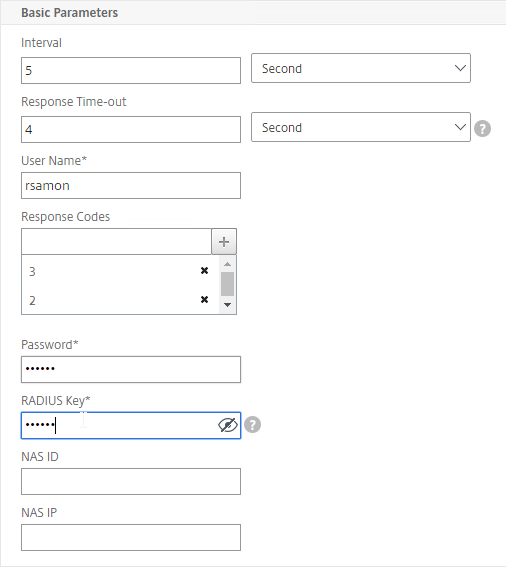
- Enter valid RADIUS credentials. Make sure these credentials do not change or expire. For RSA, in the Password field, enter the fixed passcode.
- Scroll down and click Create.
add lb monitor RSA RADIUS -respCode 2-3 -userName ctxsvc -password Passw0rd -radKey Passw0rd -resptimeout 4
- Jump to the Servers section.
12.0 older than build 56
- In the NetScaler Configuration Utility, on the left, under Traffic Management > Load Balancing, click Monitors.
- On the right, click Add.
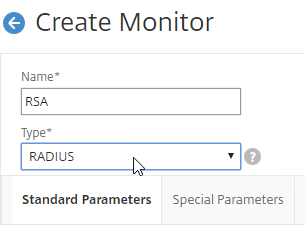
- Name the monitor RSA or similar.
- Change the Type drop-down to RADIUS.
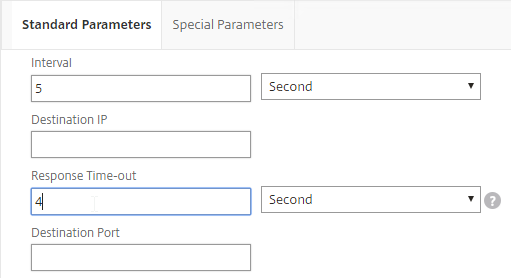
- On the Standard Parameters tab, you might have to increase the Response Time-out to 4.
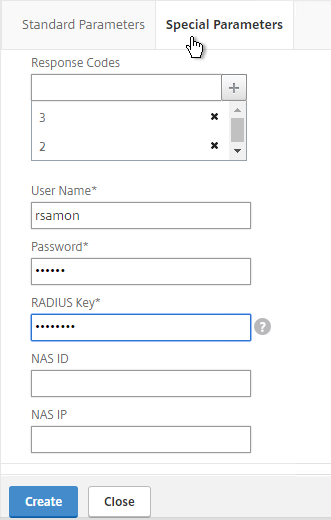
- On the Special Parameters tab, do the following:
- Enter valid RADIUS credentials. Make sure these credentials do not change or expire. For RSA, in the Password field, enter the fixed passcode.
- Also enter the RADIUS key (secret) configured on the RADIUS server for the NetScaler as RADIUS client.
- For Response Codes, add both 2 and 3. 2 means success, while 3 indicates some kind of failure. Either result means that the RADIUS server is responding, and thus is probably functional. But 2 is the ideal response.
- Click Create when done.
add lb monitor RSA RADIUS -respCode 2-3 -userName ctxsvc -password Passw0rd -radKey Passw0rd -resptimeout 4
Servers
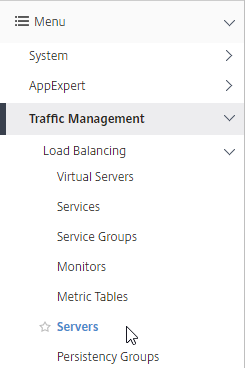
- On the left, expand Traffic Management, expand Load Balancing, and click Servers.
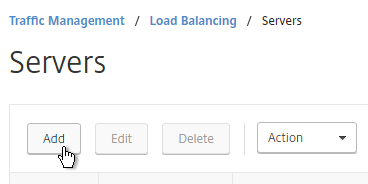
- On the right, click Add.
- Enter a descriptive server name; usually it matches the actual server name.
- Enter the IP address of the RADIUS server.
- Enter comments to describe the server. Click Create.
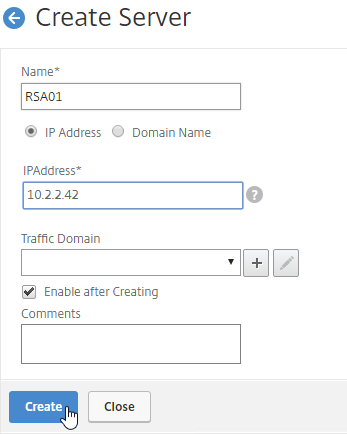
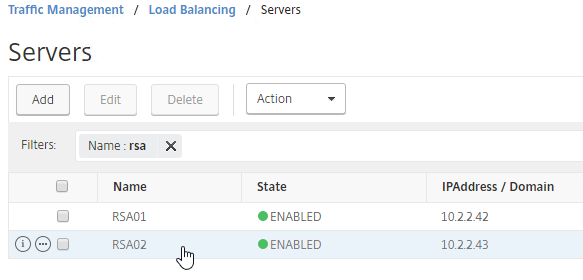
add server RSA01 10.2.2.42
add server RSA02 10.2.2.43
- Continue adding RADIUS servers.
Service Groups
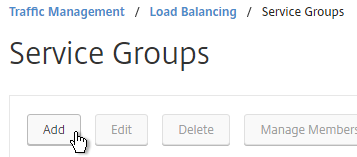
- On the left, expand Traffic Management, expand Load Balancing, and click Service Groups.
- On the right, click Add.
- You will create one Service Group per datacenter. Enter a name reflecting the name of the datacenter.
- Change the Protocol to RADIUS.
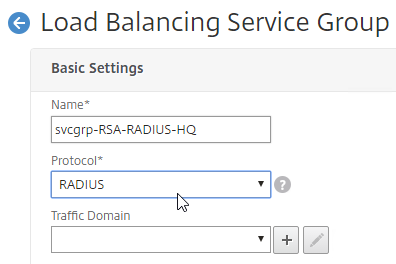
- Scroll down, and click OK, to close the Basic Settings section.

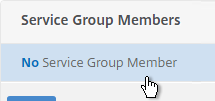
- On the left, in the Service Group Members section, click where it says No Service Group Member.
- If you did not create server objects, then enter the IP address of a RADIUS Server in this datacenter. If you previously created a server object, then change the selection to Server Based, and select the server object(s).
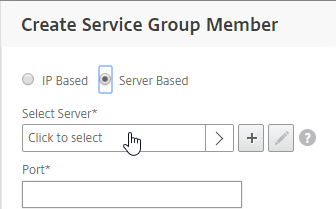
- In the Port field, enter 1812 (RADIUS).
- Click Create.

- If you did not create server objects, then enter the IP address of a RADIUS Server in this datacenter. If you previously created a server object, then change the selection to Server Based, and select the server object(s).
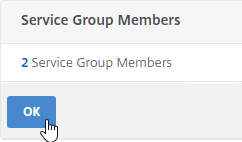
- Click OK when done adding members.
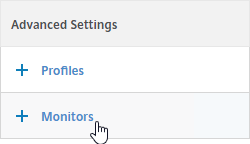
- On the right, in the Advanced Settings column, click Monitors.
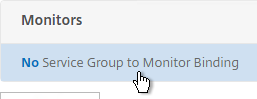
- On the left, in the Monitors section, click where it says No Service Group to Monitor Binding.
- In the Select Monitor field, click where it says Click to select.
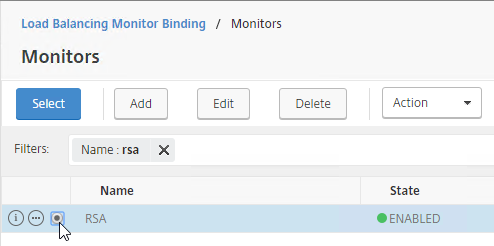
- Click the circle next to your new RADIUS monitor. It might be on page 2.
- You must click the circle exactly (no room for error). If you click outside the circle, then the monitor will be opened for editing. If this happens, click Close to return to the selection screen.
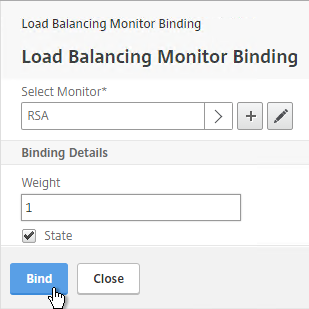
- At the top of the window, click the blue Select button.
- Click Bind.
- On the left, in the Monitors section, click where it says No Service Group to Monitor Binding.
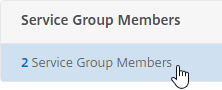
- To verify the members are up, click in the Service Group Members section.
- Right-click a member, and click Monitor Details.
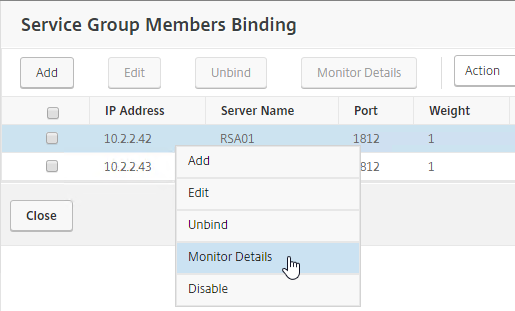
- It should say Radius response code 2 (or 3) received. Click Close twice.
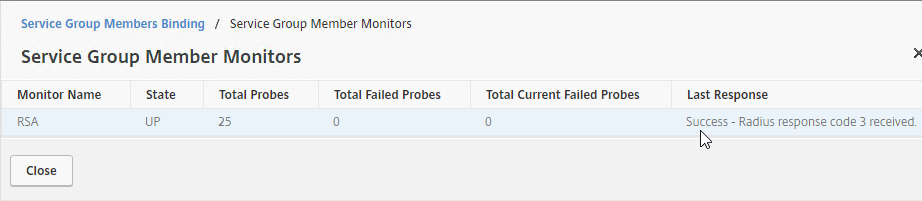
- Right-click a member, and click Monitor Details.
- Scroll down, and click Done to finish creating the Service Group.
add serviceGroup svcgrp-RSA RADIUS
bind serviceGroup svcgrp-RSA RSA01 1812
bind serviceGroup svcgrp-RSA RSA02 1812
bind serviceGroup svcgrp-RSA -monitorName RSA
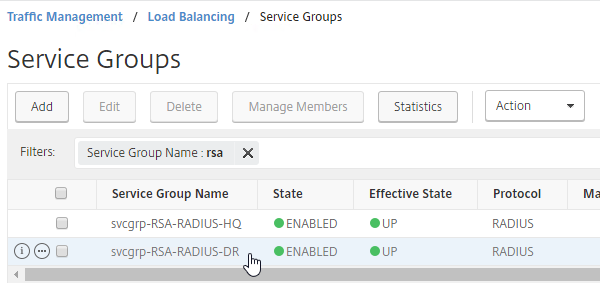
- Add additional service groups for RADIUS servers in each data center.
Virtual Server
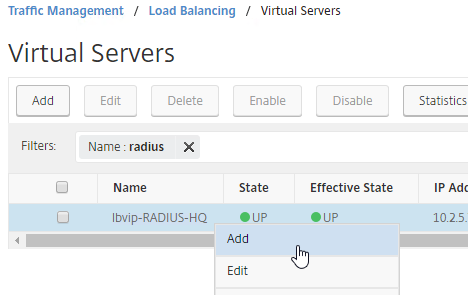
- On the left, expand Traffic Management, expand Load Balancing, and click Virtual Servers.
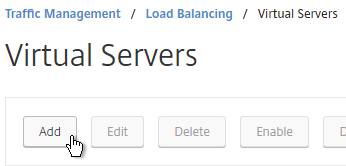
- On the right, click Add.
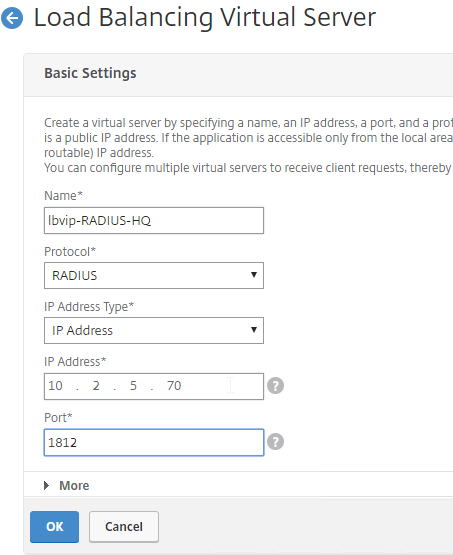
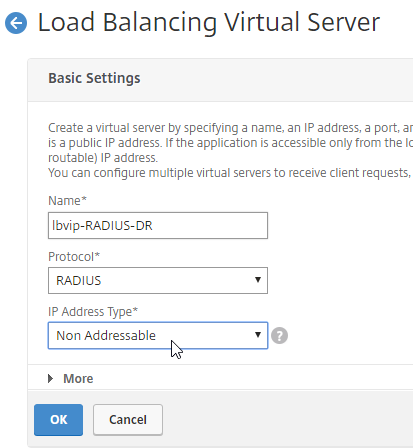
- In the Basic Settings section, do the following:
- Name it lbvip-RADIUS-HQ or similar. You will create one Virtual Server per datacenter so include the datacenter name.
- Change the Protocol drop-down to RADIUS.
- Enter a Virtual IP. This VIP cannot conflict with any other IP + Port already being used. You can use an existing VIP if the VIP is not already listening on UDP 1812.
- Enter 1812 as the Port.
- Click OK to close the Basic Settings section.
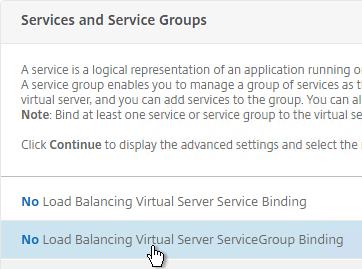
- In the Services and Service Groups section, click where it says No Load Balancing Virtual Server ServiceGroup Binding.
- Click where it says Click to select.

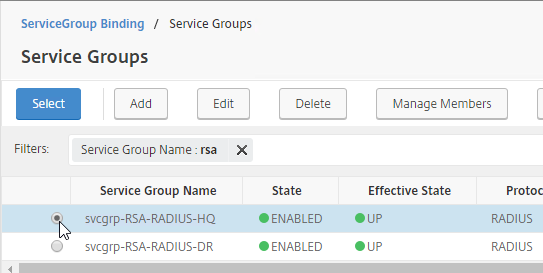
- Click the circle next to a previously created Service Group. It might be on Page 2.
- You must click the circle exactly (no room for error). If you click outside the circle, then the Service Group will be opened for editing. If this happens, click the x on the top right, or click Done on the bottom, to return to the selection screen.
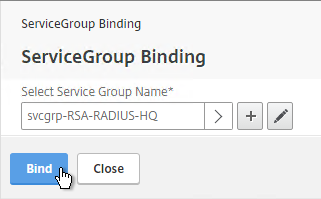
- At the top of the window, click the blue Select button.
- Click Bind.
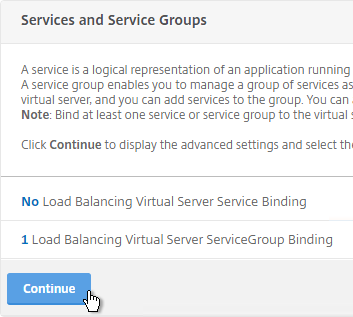
- Click where it says Click to select.
- Click Continue.
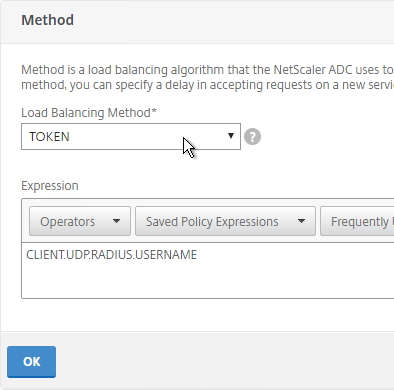
- On the right, in the Advanced Settings section, click Method.
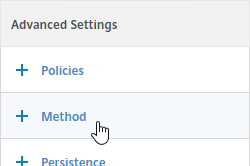
- On the left, in the Method section, do the following:
- Change the Load Balancing Method to TOKEN.
- In the Expression box, enter CLIENT.UDP.RADIUS.USERNAME.
- Click OK to close the Method section.
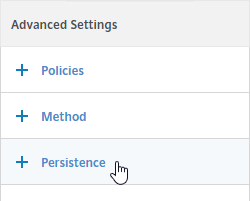
- On the right, in the Advanced Settings section, click Persistence.
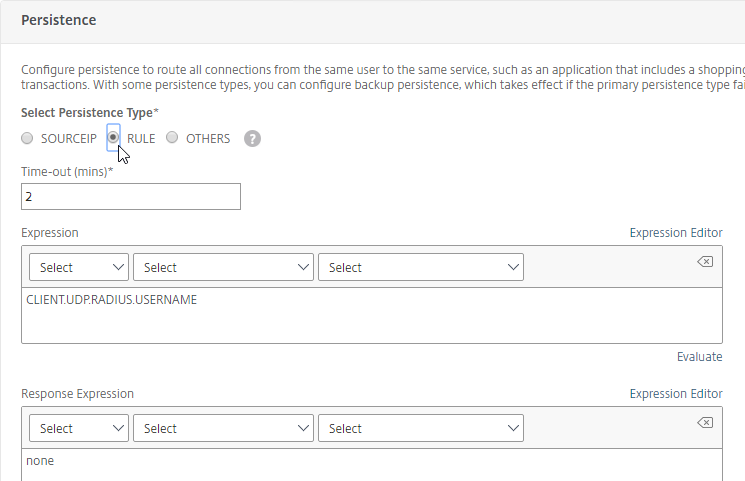
- On the left, in the Persistence section, do the following:
- Change Persistence to RULE. Note: 12.0 build 56 and newer is slightly different than older builds.
- In the Expression box, enter CLIENT.UDP.RADIUS.USERNAME.
- Click OK to close the Persistence section.
- Scroll down and click Done to finish creating the Virtual Server.
- If you are configuring this RADIUS Load Balancer for more than just NetScaler Gateway, you can add another Load Balancer on port 1813 for RADIUS Accounting. Then you need a Persistency Group to tie the two load balancers together. See Configuring RADIUS Load Balancing with Persistence at Citrix Docs.
add lb vserver lbvip-RSA RADIUS 10.2.2.210 1812 -persistenceType RULE -lbMethod TOKEN -rule CLIENT.UDP.RADIUS.USERNAME
bind lb vserver lbvip-RSA svcgrp-RSA
- The new Virtual Server should show as Up. If not, click the Refresh icon on the top right of the screen (not the browser refresh).

Active/Passive Load Balancing
- Create additional Virtual Servers for each datacenter.
- These additional Virtual Servers do not need a VIP. so change the IP Address Type to Non Addressable. Only the first Virtual Server will be directly accessible.
add lb vserver lbvip-RSA-Backup RADIUS 0.0.0.0 0 -persistenceType NONE -cltTimeout 120
- Notice that the additional datacenter Virtual Servers have an IP Address of 0.0.0.0 and port of 0.

- These additional Virtual Servers do not need a VIP. so change the IP Address Type to Non Addressable. Only the first Virtual Server will be directly accessible.
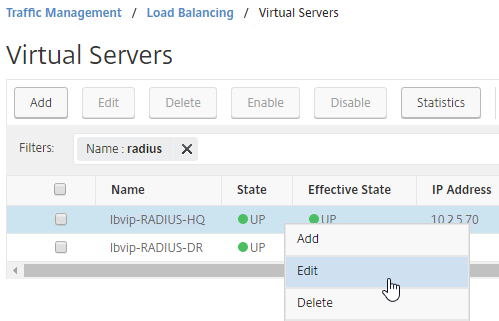
- After you are done creating a Virtual Server for each datacenter, right-click the primary datacenter’s Virtual Server, and click Edit.
- On the right, in the Advanced Settings column, click Protection.
- On the left, in the Protection section, change the Backup Virtual Server to one of the other datacenter Virtual Servers. If all of the services in this datacenter are DOWN, the backup Virtual Server will be used instead. You can cascade multiple Virtual Servers using this method. Click OK and Done.

set lb vserver lbvip-RSA -backupVServer lbvip-RSA-Backup
- You may now use this Virtual IP in your RADIUS authentication policies for NetScaler Gateway or NetScaler management login.
CLI Commands
Here is a list of CLI Commands for RADIUS load balancing.
# Load Balancing Global Parameters
# --------------------------------
enable ns mode FR L3 Edge USNIP PMTUD ULFD
set ns tcpParam -WS ENABLED -SACK ENABLED


# Monitors
# --------
add lb monitor RSA RADIUS -respCode 2-3 -userName rsamon -password Passw0rd -encrypted -encryptmethod ENCMTHD_3 -radKey Passw0rd -encrypted -encryptmethod ENCMTHD_3 -LRTM DISABLED -resptimeout 4


# Servers
# -------
add server RSA01 10.2.2.42

add server RSA02 10.2.2.43


# Service Groups
# --------------
add serviceGroup svcgrp-RSA-RADIUS-DR RADIUS -maxClient 0 -maxReq 0 -cip DISABLED -usip NO -useproxyport NO -cltTimeout 120 -svrTimeout 120 -CKA NO -TCPB NO -CMP NO
bind serviceGroup svcgrp-RSA-RADIUS-DR RSA01 1812
bind serviceGroup svcgrp-RSA-RADIUS-DR -monitorName RSA

add serviceGroup svcgrp-RSA-RADIUS-HQ RADIUS -maxClient 0 -maxReq 0 -cip DISABLED -usip NO -useproxyport NO -cltTimeout 120 -svrTimeout 120 -CKA NO -TCPB NO -CMP NO
bind serviceGroup svcgrp-RSA-RADIUS-HQ RSA02 1812
bind serviceGroup svcgrp-RSA-RADIUS-HQ -monitorName RSA


# Load Balancing Virtual Servers
# ------------------------------
add lb vserver lbvip-RADIUS-DR RADIUS 0.0.0.0 0 -persistenceType NONE -cltTimeout 120
bind lb vserver lbvip-RADIUS-DR svcgrp-RSA-RADIUS-DR

add lb vserver "lbvip-RADIUS HQ" RADIUS 10.2.5.70 1812 -persistenceType RULE -lbMethod TOKEN -rule CLIENT.UDP.RADIUS.USERNAME -cltTimeout 120 -backupVServer lbvip-RADIUS-DR
bind lb vserver "lbvip-RADIUS HQ" svcgrp-RSA-RADIUS-HQ
Carl,
I have question, I have setup citrix gateway setup for remote user access their office desktop via citrix workspace and user getting SSL error 1000061.SSL error 61.
you have not chosen to trust abc-root-CA, the issuer of the servers’s security certificate.
any idea pls.
Hi Carl,
So in essence ADC is a radius client of the RADIUS server using a particular shared secret
When you now have to configure an application to use RADIUS we point to the RADIUS LB. How does the shared secret work seeing as the application using the ADC address as the radius server
It will be the SNIP of the ADC, not the application.
Hi Carl, can you explain how to create a “Fixed Passcode” when using NPS with Azure MFA please?
hi,
Noticed some strange behaviour when upgrade any 12.1 version of netscaler.
The secure ldap monitor fails after the upgrade and I need to re-enter the password to get monitor to work again.
The upgrade resets the nsroot password back to default
the GUI install is really dodgy and hangs, this is also the case when running diag. both work when using cli.
just wonder if anyone else has these niggles..
regards,
rob
Nice one Carl, really appreciate this and all guides… Citrix Support would be lost without you 🙂
One question re setting up LB on port 1813 for RADIUS Accounting for non-Gateway RADIUS load balancing… can I expect a Monitor (using RADIUS/1813) to probe using the same static acc/pw and shared key as the one used for 1812 authentication?
When testing connection (via RADIUS wuth servers) using a shared key I am getting PASS on 1812, but FAIL on port 1813.
So the question is can RADIUS port 1813 be tested the same way as 1812?
Thanks in advance.
Newbie.
Hi Carl, i am setting up a single NPS server in my environment. May i know, which IP need to be added as Radius Client? Will it be NSIP or SNIP? From Netscaler to NPS server connection, which IP need to be allowed through port 1812, the NSIP or SNIP?
If you’re load balancing RADIUS, then you add SNIP. If not load balancing, then you add the NSIPs.
Carl’s response is partly true.
In fact, The ADC alwayds uses its NSIP, unless the AUTH Server points to a LOCAL LB vServer, in which the ADC will use the SNIP for RSA auth. so no LB no SNIP, remote LB, no SNIP.
So others don’t have the problem I experienced in version 12, that was not an issue for me with version 11.1. This difference may have been intended to work this way by Citrix or a bug or a feature, either way this subtle change of the interface can result with the lost of a functioning virtual server. For reference see above instructions regarding establishing the Persistence settings.
With an already configured LB vServer in version 12 if you choose to Edit (via the pencil) the “Persistence” section (my goal was only to view/review settings and not make a change), existing settings are changed automatically to “Other”. As a result once you select the OK button, the existing Rule setting with the client.udp.radius.username applied in the Persistence section will be removed. So far I have not experienced this feature in other sections of the vServer. As long as the OK button is not selected the existing settings will perssist. This was not how it worked in version 11.1 and caught me off guard bringing down our radius authentications.
Side note: My Radius LB is for a Cisco ISE installation. Working with Cisco we have had to make a few changes from the above instructions with the Method section and the settings timer settings before the LB determines a server is unavailable/down. If interested, let me know. I don’t want to muddy the great instructions above.
Darrin
Darrin,
I’m building a VIP for ISE specifically and I’m interested in hearing the changes you made with Cisco regarding the Method and the timer settings. Can you post those changes?
Thanks,
Josh
Hi Carl,
I have one query . Can you please help?
I want to redirerct all port 80 traffic to port 443 and two URL will be also used for redirection
I created Vserver on 443 and add responder policies to redirect traffic. If I use redirect from port 80 then it would redirect all traffic to specific URL.
Please advise.
I am having trouble with the Monitor. After created and applied to the Service Group I am getting errors. One Member reports Failure – Probe timed out, the other Failure – ICMP port unreachable. They are on the same subnet so I am lost.
Hi Carl, great article. Although I can’t seem to get it operational. We are using vasco identikey for OTP. There are two identikey servers. When i create the load balancing policy and everything on the netscalers, and test the connection, it works on both identikey servers directly, but not on the load balanced VIP. Then i get the following:
MESSAGE_CLOSE
Server ‘x.x.x.x’ is reachable.
Port ‘1812/udp’ is open.
‘x.x.x.x’ is a valid Radius server
Secret key does not match Radius server Secret key
I can’t seem to figure out why it works on both servers directly but not on the VIP.
Is the SNIP added as RAIDUS Client on the Identikey server?
If you do “nstcpdump.sh port 1812” from “shell”, do you see reply traffic from the RADIUS servers when you perform your authentication test?
Thanks a lot. that was it 🙂
Hi Carl, great write, as usual.
For Microsoft NPS, i found useful to configure “ping user-name” so the security log is not flooded from monitor login:
https://docs.microsoft.com/en-us/previous-versions/windows/it-pro/windows-server-2008-R2-and-2008/dd197614(v=ws.10)
Bye,
Ste
Thanks for this. I linked it in the text.
Hi Carl, does it mean we cannot monitor Successful authentication for NPS RADIUS service from ADC unlike RSA RADIUS where there is an option for fixed password for monitoring?
Hey Carl,
Long term fan. Awesome guides. Kudos!
Is there a better way to monitor Radius and provide a Virtual IP to Netscaler? I use Duo and I had to create a service AD account, add it to Duo and set it in Duo bypass mode. This works awesomely but have two problems now: (1) my Duo Authentication Proxy logs are growing rapidly due to the constant logon tests, and (2) The Duo Admin logs (cloud) are now hard to review do the million entries recorded there.
Any suggestions?
Mario
Switch to ping? UDP doesn’t have many options.
Great article Carl! Do you know if a monitor can be configured for Advanced RADIUS (1813)
There doesn’t appear to be an option for Advanced RADIUS from the default protocol types within the drop down selections so I would assume that this would require a custom monitor of some sort to be created and applied to the service group?
Isn’t UDP 1813 used for RADIUS Accounting? If so, see https://docs.citrix.com/en-us/netscaler/11/traffic-management/load-balancing/load-balancing-builtin-monitors/monitor-radius-accounting-service.html
I have two radius clients: A & B. In RADIUS client, I set the RADIUS server as: NetScaler’s Subnet IP.Client A login successfully, but when client B try to login, it returns that “Radius Server is not responding”. Just wonder, does NetScaler RADIUS LoadBalance works in such way?
Carl, Thanks for this information. I had a lot of trouble finding any type of documentation for setting up LB Radius from Netscaler to any Radius servers. For me it is to use LB Radius authentication to Cisco ACS. Your setup is working for me. My noobe question: wondering why you went with a TOKEN vs another method such as Least Response/Connection or Round Robin? I suspect something about the Radius protocol I don’t understand.
I followed the documentation. 🙂
What about for Receiver using Port 18120? How would you load balance both ports?
If you have multiple port numbers, create separate Service Groups and Virtual Servers for each port number.
Could I use an Any instead? Or is that not advised
Maybe. But that disables most Protocol specific handling.
Thanks Carl. Great work as always.
Hi Carl
Thank you so much for the great work you are doing. I have a question though, If the Virtual Server is not the same as the Gateway virtual Server, how can I bind the load balancing policy to the Virtual gateway, how can I bind the load balancing Radius Policy to the Gateway Virtual Server?
When creating the RADIUS policy/server, enter the VIP as the server’s address. https://www.carlstalhood.com/netscaler-gateway-12-radius-authentication/