Navigation
- Windows Features
- Install Standard Server 6.2.2
- Install Replica Server 6.2.2
- Horizon 6 Connection Server Certificate
- SSL Ciphers
- Horizon Portal – Client Installation Link 💡
- LDAP Edits
- Load Balancing
- Remote Desktop Licensing
- Horizon Toolbox 2 💡
💡 = Recently Updated
Windows Features
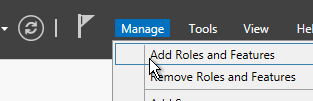
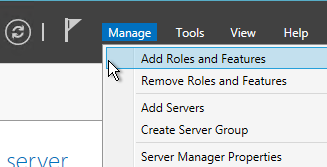
- It’s probably helpful to install some administration tools on the Horizon 6 Connection Servers. In Server Manager, open the Manage window and click Add Roles and Features.
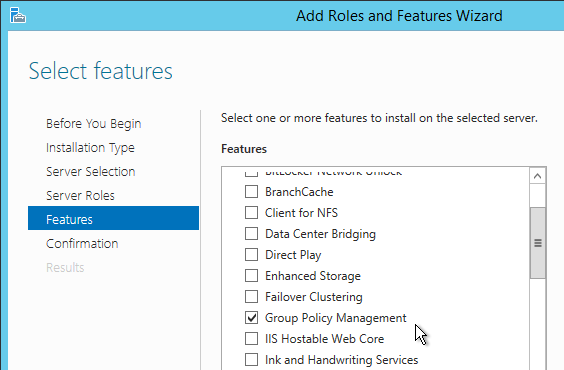
- Click Next until you get to the Features page.
- Check the box next to Group Policy Management and scroll down.
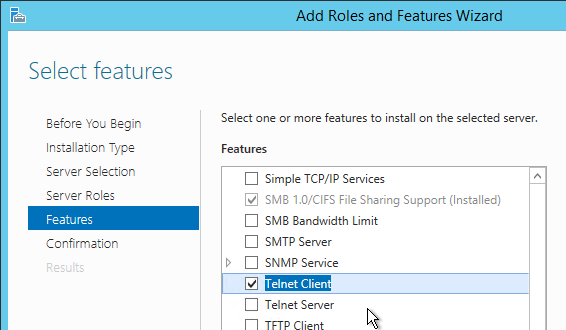
- Check the box next to Telnet Client.
- If you need Flash Player (e.g. to connect to the vSphere Web Client or View Administrator), then expand User Interfaces and Infrastructure and check the box next to Desktop Experience.
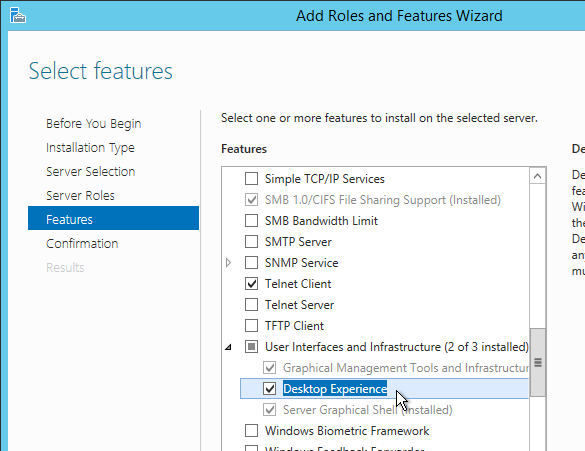
- Click Add Features when prompted.
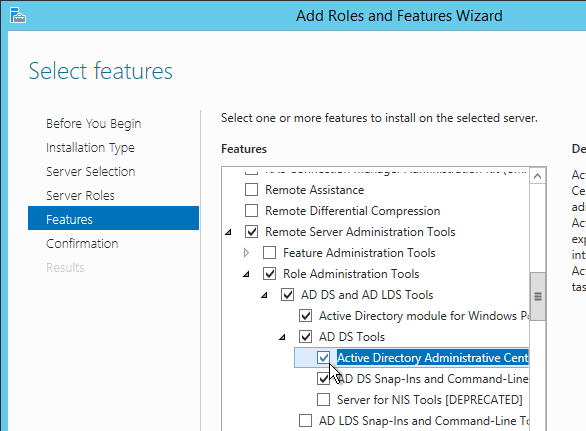
- Expand Remote Server Administration Tools > Role Administration Tools > AD DS and AD LDS Tools > AD DS Tools. Check the box next to Active Directory Administrative Center. Click Add Features when prompted. Then click Next .
- Then click Install.
- You will see a message prompting you to reboot. Right-click the Start button to reboot the server. it will reboot twice.
Install Standard Server 6.2.2
The first Horizon 6 Connection Server must be a Standard Server. Subsequent Horizon 6 Connection Servers are Replicas. Once Horizon 6 Connection Server is installed, there is no difference between them.
A production Horizon 6 Connection Server should have 10 GB of RAM and 4 vCPU. Each Horizon 6 Connection Server can handle 2,000 virtual desktops.
- Ensure the Horizon 6 Connection Server has 10 GB of RAM and 4 vCPU.
- View Composer cannot be installed on the Horizon 6 Connection Server.
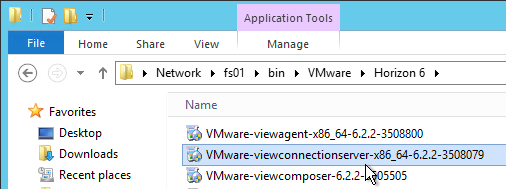
- Go to the downloaded Horizon 6 Connection Server 6.2.2 and run VMware-viewconnectionserver-x86_64-6.2.2.exe.
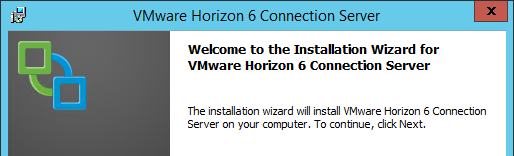
- In the Welcome to the Installation Wizard for VMware Horizon 6 Connection Server page, click Next.
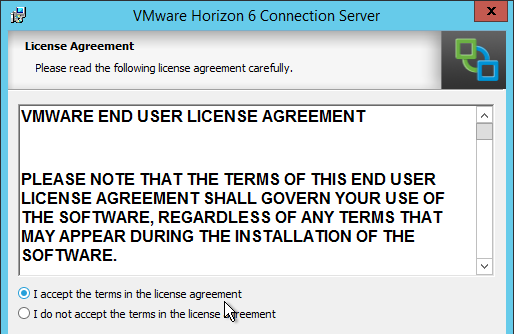
- In the License Agreement page, select I accept the terms and click Next.
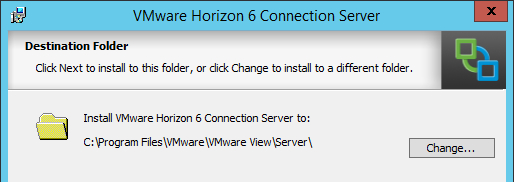
- In the Destination Folder page, click Next.
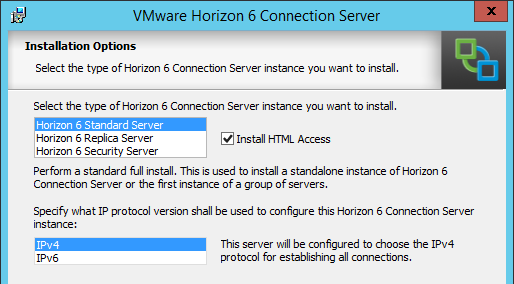
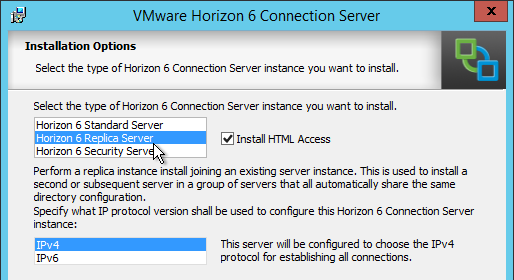
- In the Installation Options page, select Horizon 6 Standard Server and click Next.
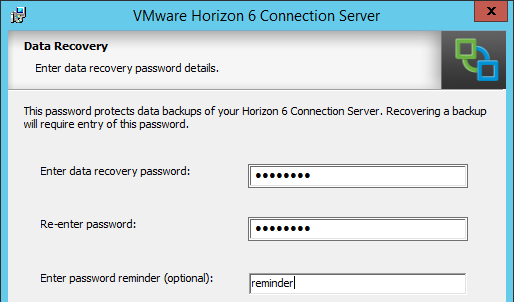
- In the Data Recovery page, enter a password and click Next.
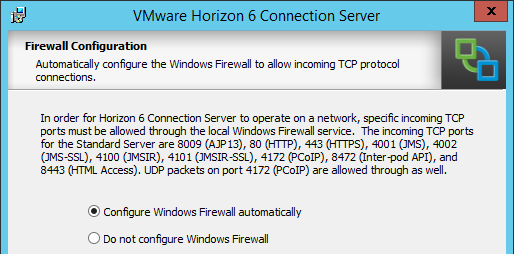
- In the Firewall Configuration page, click Next.
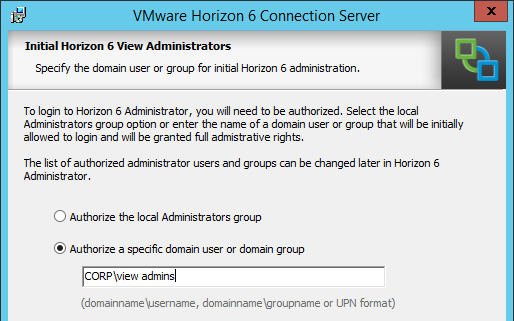
- In the Initial Horizon 6 View Administrators page, enter an AD group containing your Horizon administrators and click Next.
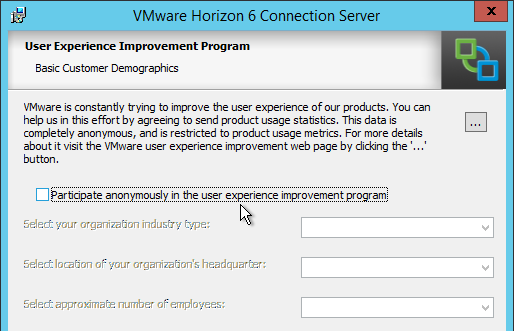
- In the User Experience Improvement Program page, uncheck the box and click Next.
- In the Ready to Install the Program page, click Install.

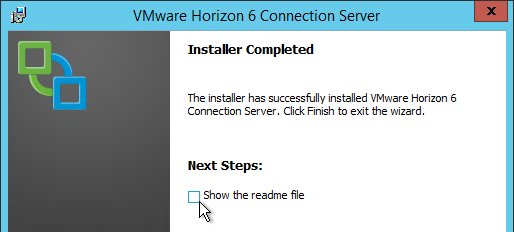
- In the Installer Completed page, uncheck the box next to Show the readme file and click Finish.
Install Replica Server 6.2.2
Additional internal Horizon 6 Connection Servers are installed as Replicas. After installation, there is no difference between a Replica server and a Standard server.
A production Horizon 6 Connection Server should have 10 GB of RAM and 4 vCPU. Each Horizon 6 Connection Server can handle 2000 virtual desktops.
- Ensure the Horizon 6 Connection Server has 10 GB of RAM and 4 vCPU.
- Go to the downloaded Horizon 6 Connection Server 6.2.2 and run VMware-viewconnectionserver-x86_64-6.2.2.exe.
- In the Welcome to the Installation Wizard for VMware Horizon 6 Connection Server page, click Next.
- In the License Agreement page, select I accept the terms and click Next.
- In the Destination Folder page, click Next.
- In the Installation Options page, select Horizon 6 Replica Server and click Next.
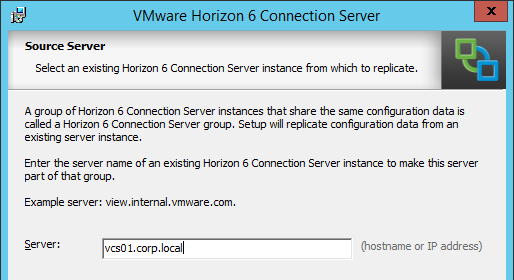
- In the Source Server page, enter the name of another Horizon 6 Connection Server in the group. Then click Next.
- In the Firewall Configuration page, click Next.
- In the Ready to Install the Program page, click Install.
- In the Installer Completed page, click Finish.
- If you are adding this Replica server to a Pod that is already enabled for Global Entitlements, see Setting up the Cloud Pod Architecture feature on a replicated View Connection Server instance.
Horizon 6 Connection Server Certificate
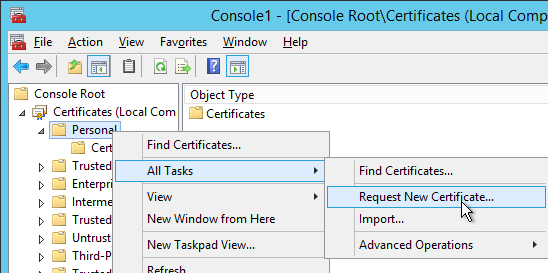
- Run mmc, add the Certificates snap-in and point it to Computer > Local Machine.
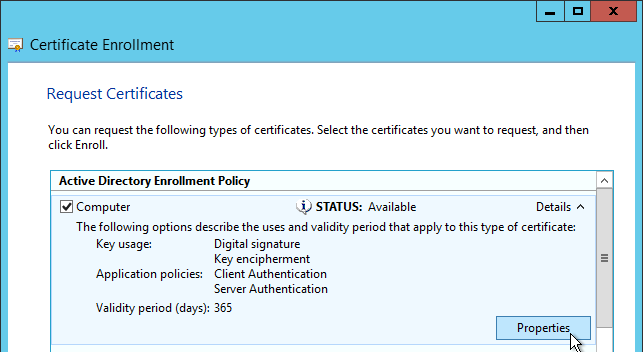
- Request a new certificate with a common name that matches the FQDN of the Connection Server or import a wildcard certificate.
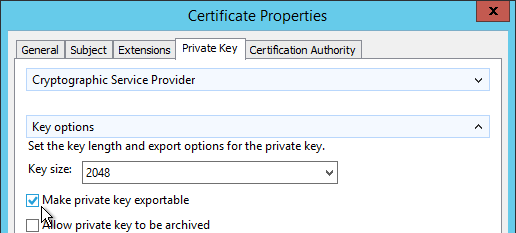
- Note: the private key must be exportable. If using the Computer template, click Details then click Properties.
- On the Private Key tab, click Key options to expand it and check the box next to Mark private key as exportable.
- In the list of certificates, look for the one that is self-signed. The Issuer will be the local computer name instead of a Certificate Authority. Right-click it and click Properties.
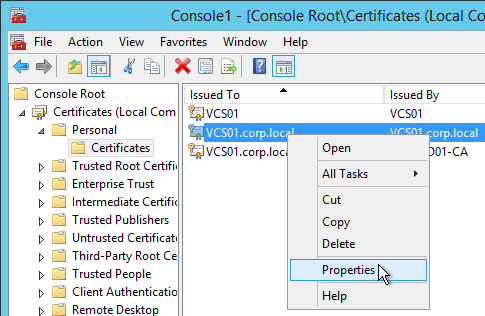
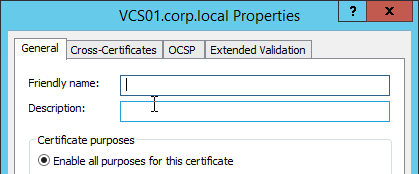
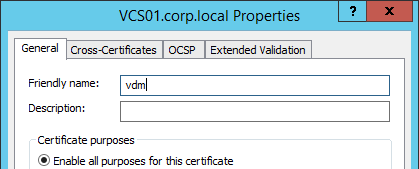
- On the General tab, clear the Friendly name field and click OK.
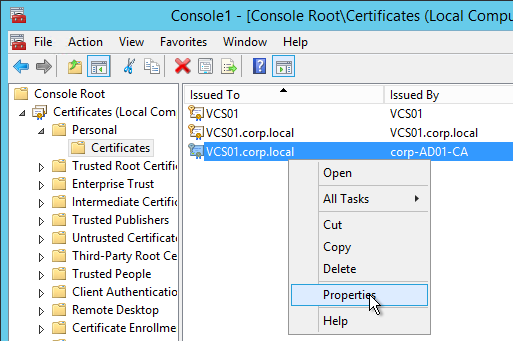
- Right-click your Certificate Authority-signed certificate and click Properties.
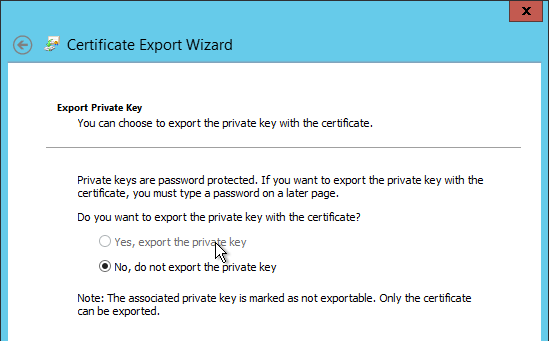
- Note: the private key of the certificate you use for Horizon 6 Connection Server must be exportable. To verify, try exporting the certificate. If the option to export the private key is grayed out then this certificate will not work.
- On the General tab, in the Friendly name field, enter the text vdm and click OK. Note: only one certificate can have vdm as the Friendly name.
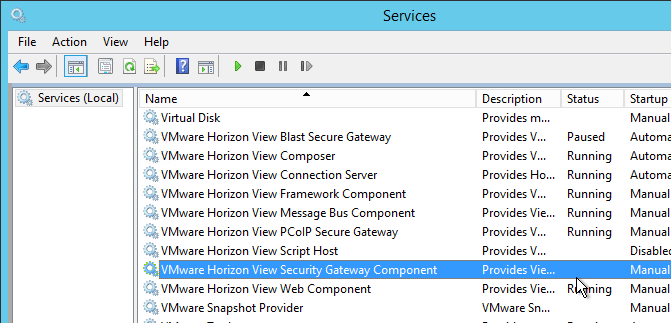
- Then restart the VMware Horizon View Connection Server service. It will take several seconds before you can connect to View Administrator.
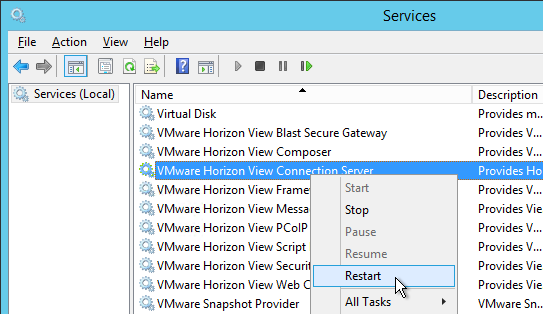
- If the VMware Horizon View Security Gateway Component won’t start then your certificate doesn’t have an exportable private key. The private key must be exportable.
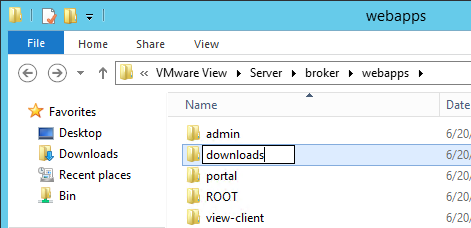
SSL Ciphers
Sven Huisman: Secure your Horizon View security server: from rating F to A-: see the blog post for detailed instructions.
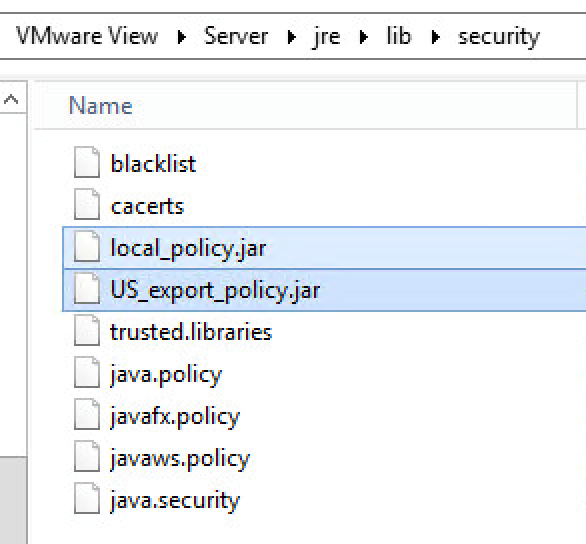
- Update the JCE Policy Files to Support High-Strength Cipher Suites.
- Use ADSIEdit to change pae-ServerSSLCipherSuites, pae-ServerSSLSecureProtocols, pae-ClientSSLCipherSuites, and pae-ClientSSLSecureProtocols
- Or you can edit C:\Program Files\VMware\VMware View\Server\sslgateway\conf\locked.properties
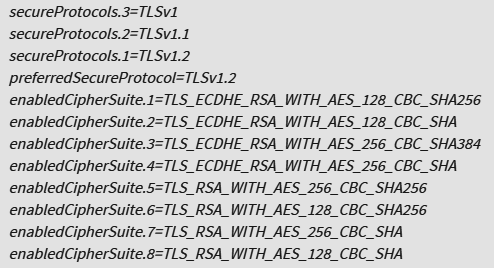
- If this Horizon 6 Connection Server or Horizon 6 Security Server is publicly accessible, check it at ssllabs.com.
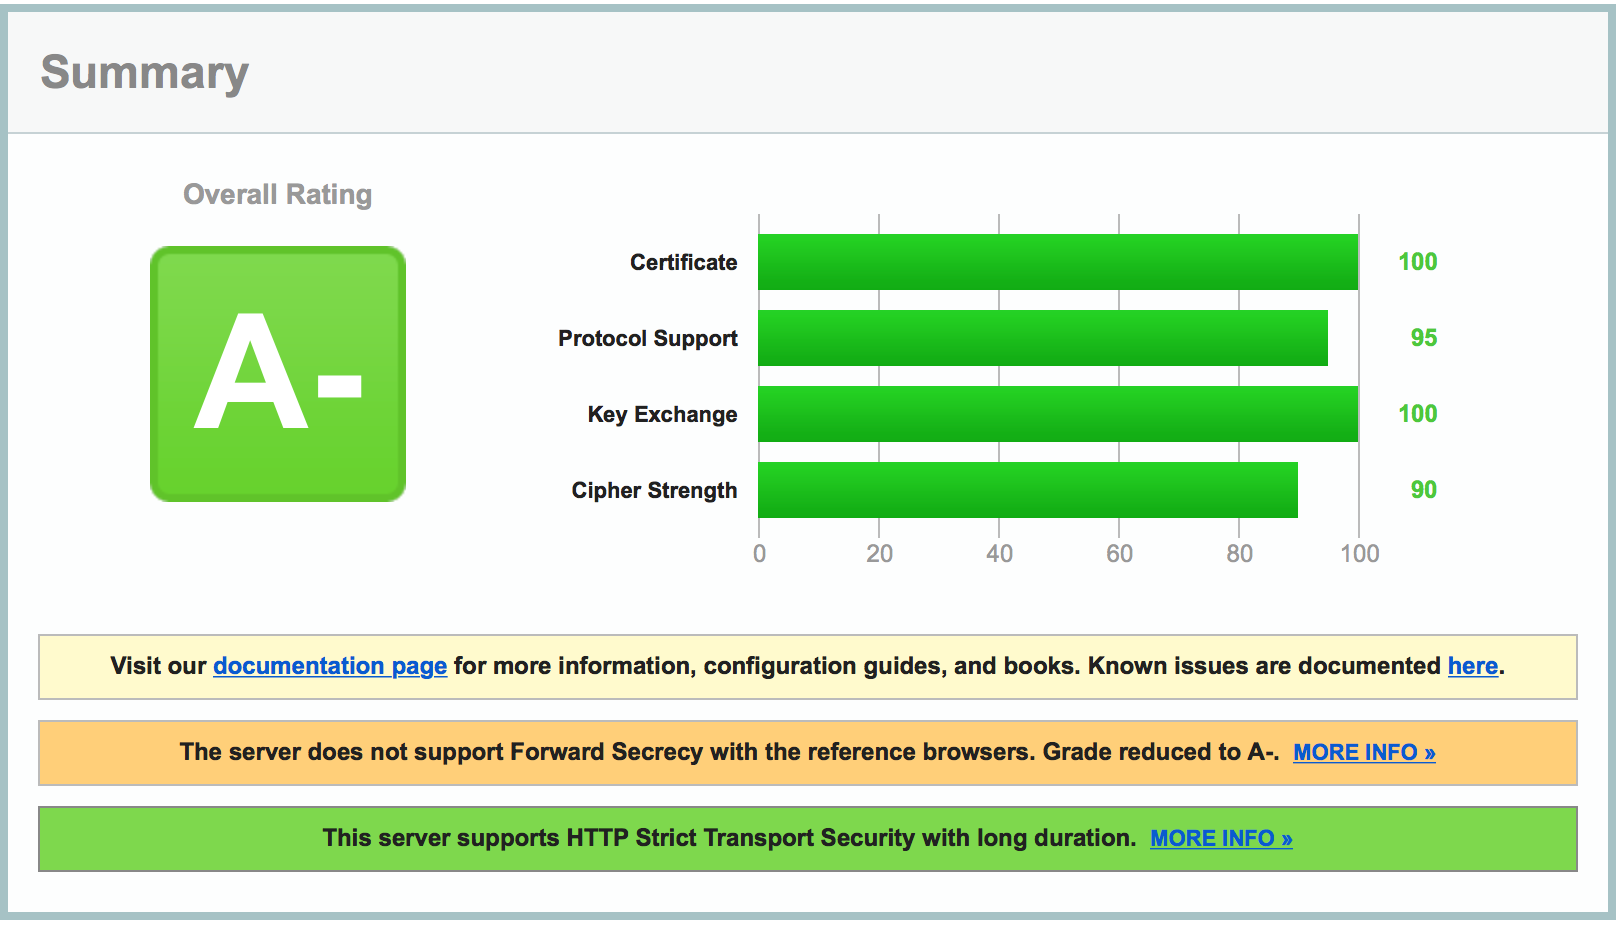
Horizon Portal – Client Installation Link
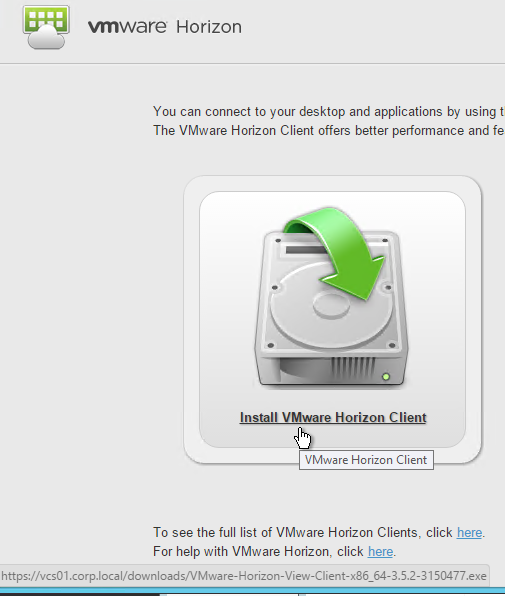
If you point your browser to the Horizon 6 Connection Server, the Install VMware Horizon Client link redirects to the VMware.com site for downloading of Horizon Clients. You can change it so that the Horizon Clients can be downloaded directly from the Horizon 6 Connection Server.
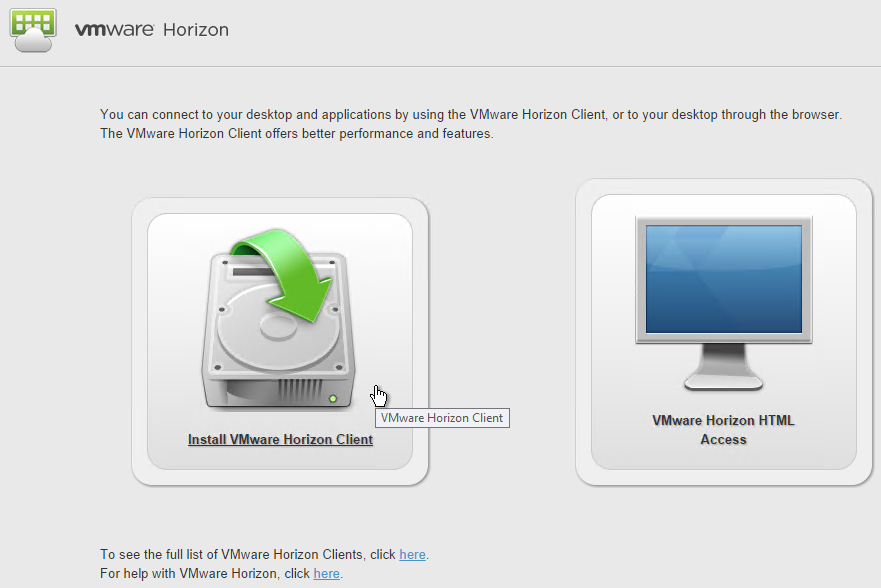
- On the Horizon 6 Connection Server, go to C:\Program Files\VMware\VMware View\Server\broker\webapps. Create a new folder called downloads.
- Copy the downloaded Horizon Clients to the new C:\Program Files\VMware\VMware View\Server\broker\webapps\downloads folder.
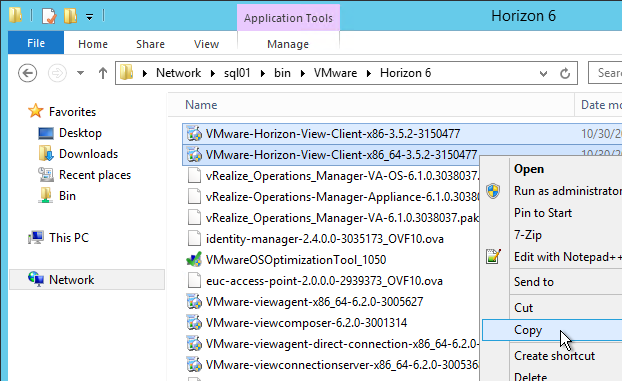

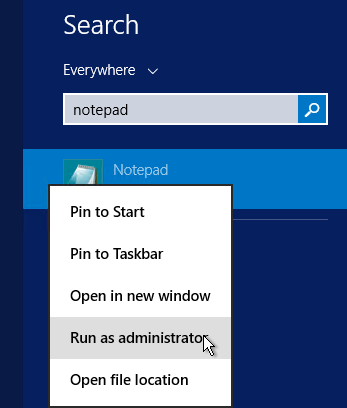
- Run Notepad as administrator.
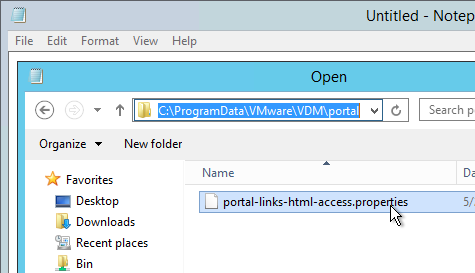
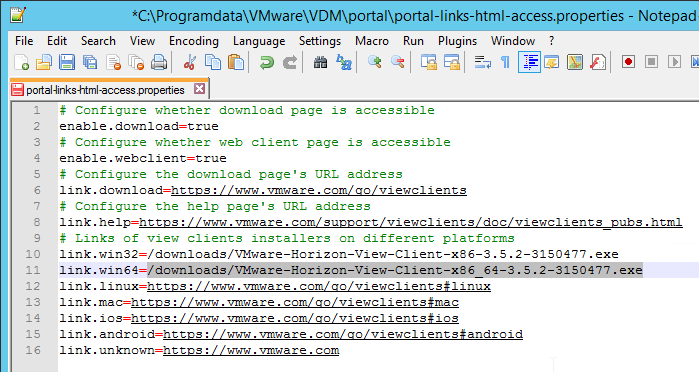
- Open the file C:\ProgramData\VMware\VDM\portal\portal-links-html-access.properties file with a text editor (as Administrator).
- Go back to the downloads folder and copy the Horizon Client filename.
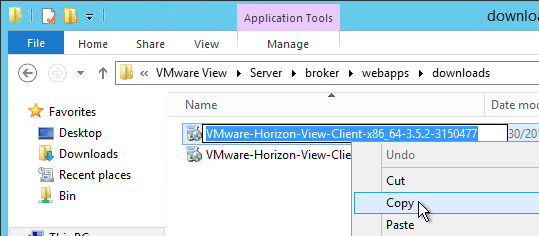
- In Notepad, modify link.win32 and link.win64 by specifying the relative path to the Horizon Client executable under /downloads. The following example shows a link for Horizon Client for Windows x64:
link.win64=/downloads/VMware-Horizon-View-Client-x86_64-3.5.2-3150477.exeThen Save the file.
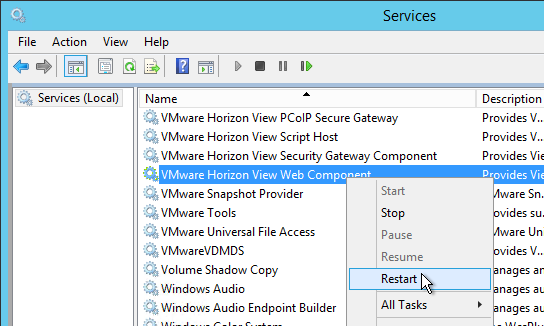
- Restart the VMware Horizon View Web Component service.
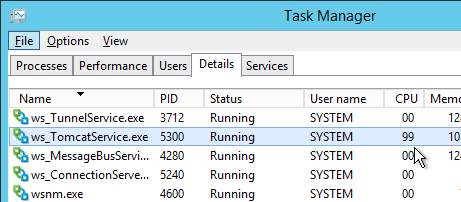
It will take a few seconds for the ws_TomcatService process to start so be patient. If you get a 503 error then the service is not done starting.
Now when you click the link to download the client it will grab the file directly from the Horizon 6 Connection Server.
LDAP Edits
Mobile Client – Save Password
If desired, you can configure Horizon 6 Connection Server to allow mobile clients (iOS, Android) to save user passwords.
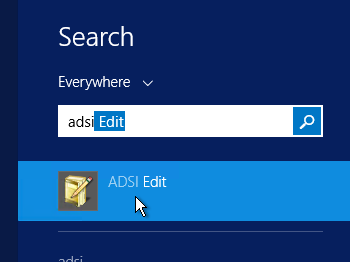
- On the Horizon 6 Connection Server, run ADSI Edit.
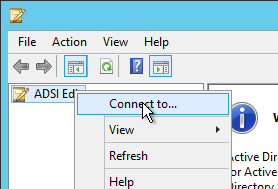
- Right-click ADSI Edit and click Connect to…
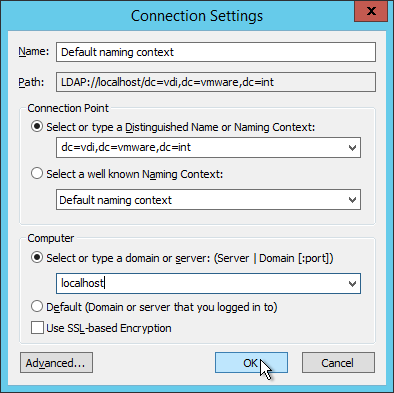
- Change the first selection to Select or type a Distinguished Name and enter dc=vdi,dc=vmware,dc=int.
- Change the second selection to Select or type a domain or server and enter localhost. Click OK.
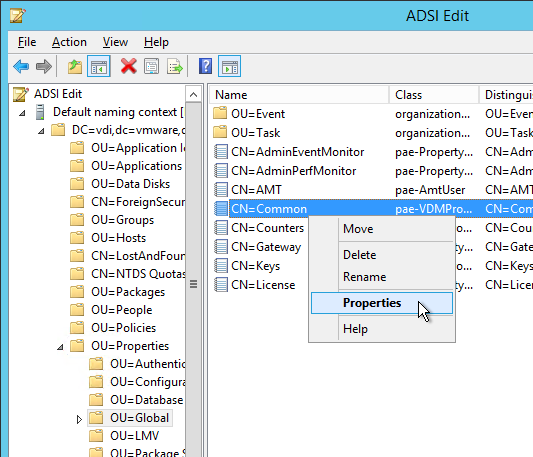
- Navigate to Properties > Global. On the right, double-click CN=Common.
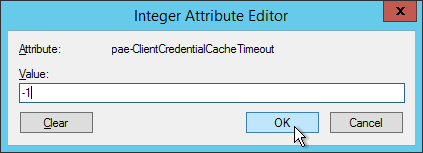
- Scroll down, click to highlight pae-ClientCredentialCacheTimeout and click Edit.
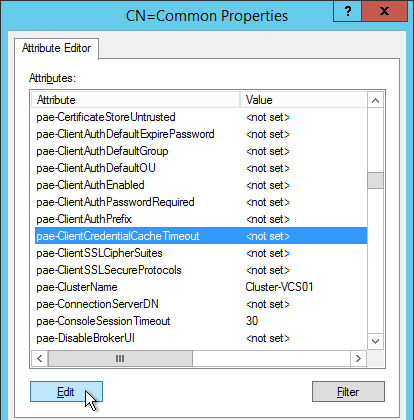
- Enter a value in minutes. 0 = no saving of credentials. -1 = no timeout. Click OK.
iOS TouchID
vDelboy – How to Enable Touch ID in VMware Horizon 6.2
- On the Horizon 6 Connection Server, run ADSI Edit.
- Right-click ADSI Edit and click Connect to…
- Change the first selection to Select or type a Distinguished Name and enter dc=vdi,dc=vmware,dc=int.
- Change the second selection to Select or type a domain or server and enter localhost. Click OK.
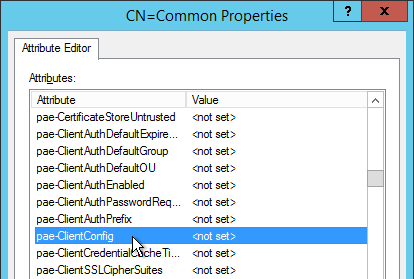
- Navigate to Properties > Global. On the right, double-click CN=Common.
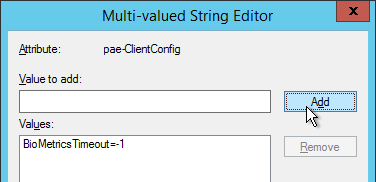
- Find the attribute pae-ClientConfig and double-click it.
- Enter the line
BioMetricsTimeout=-1and click Add. Click OK. The change takes effect immediately.
Ciphers
VMware 2130289 Using client drive redirection or file association with the secure tunnel enabled might have performance issues
When using client drive redirection (CDR) or file association with the secure tunnel enabled, you might encounter performance issues when transferring CDR data between Horizon Clients and remote desktop machines. (File association is the ability to open local files with a remote application.)
Amend your acceptance policies to remove the following GCM-based cipher suites:
TLS_ECDHE_RSA_WITH_AES_128_GCM_SHA256
TLS_ECDHE_RSA_WITH_AES_256_GCM_SHA384
To change a global acceptance policy, you can edit a single-valued attribute, pae-ServerSSLCipherSuites, in View LDAP on any View Connection Server instance. This attribute lists the cipher suites used by View Connection Server or security server. Take these steps:
- Start the ADSI Edit utility on your View Connection Server computer.
- In the Console tree, select Connect to.
- In the Select or type a Distinguished Name or Naming Context text box, type the distinguished name DC=vdi, DC=vmware, DC=int.
- In the Select or type a domain or server text box, select or type localhost:389 or the fully qualified domain name (FQDN) of the View Connection Server computer followed by 389. For example: localhost:389 or mycomputer.mydomain.com:389
- Expand the ADSI Edit Tree, expand OU=properties, select OU=global, and select CN=common in the right pane.
- On the object CN=common, OU=global, OU=properties, select the pae-ServerSSLCipherSuites
- Set the following list of cipher suites:
\LIST:TLS_ECDHE_RSA_WITH_AES_128_CBC_SHA256,
TLS_ECDHE_RSA_WITH_AES_128_CBC_SHA,
TLS_ECDHE_RSA_WITH_AES_256_CBC_SHA384,
TLS_ECDHE_RSA_WITH_AES_256_CBC_SHA,
TLS_RSA_WITH_AES_128_CBC_SHA,
TLS_RSA_WITH_AES_256_CBC_SHA
Remove the line breaks that were inserted in the preceding list for clarity. The order of the cipher suites is unimportant.
- Restart the VMware Horizon View Connection Server service.
For more information about setting acceptance policies for cipher suites, see “Configuring Security Protocols and Cipher Suites on a View Connection Server Instance or on a Security Server” in the View Security guide at http://pubs.vmware.com/horizon-62-view/topic/com.vmware.horizon-view.security.doc/GUID-7F6963F5-D5FC-47B2-9AE7-1FE5B8600723.html.
Load Balancing
See Carl Stalhood’s Horizon View Load Balancing using NetScaler 11.
Remote Desktop Licensing
If you plan to build RDS Hosts, then install Remote Desktop Licensing somewhere. You can install it on your Horizon 6 Connection Servers by following the procedure at https://www.carlstalhood.com/controller/#rdlicensinginstall.
Horizon Toolbox 2
Install the Horizon Toolbox Fling on your View Connection Servers. This is a web-based tool that adds the following functionality:
- Auditing of user sessions
- Auditing of virtual machine snapshots
- Auditing of Horizon Client Versions
- Remote Assistance – users request assistance from administrators
- Virtual Machine Remote Console
- Power Policy for pools
To use the Toolbox, make sure the following are enabled in your View Connection Server pod:
- Events database
- Customer Experience Improvement Program
.NET Framework 3.5 and Remote Assistance
- On the View Connection Server, in Server Manager, open the Manage menu and click Add Roles and Features.
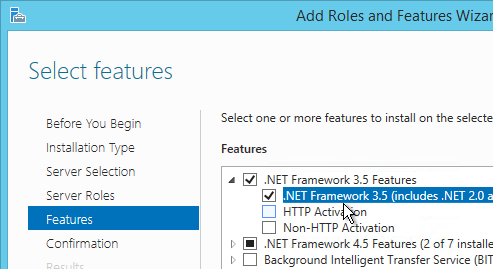
- In the Features page, select .NET Framework 3.5.
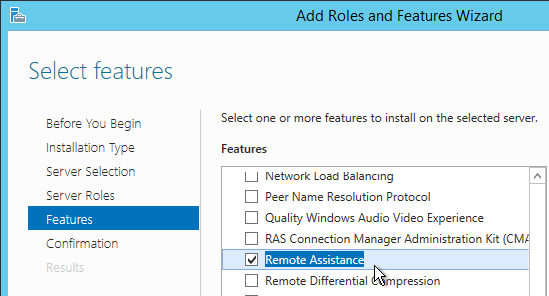
- Scroll down, select Remote Assistance and click Next. This feature is only needed if you will respond to Remote Assistance requests directly from the View Connection Server.
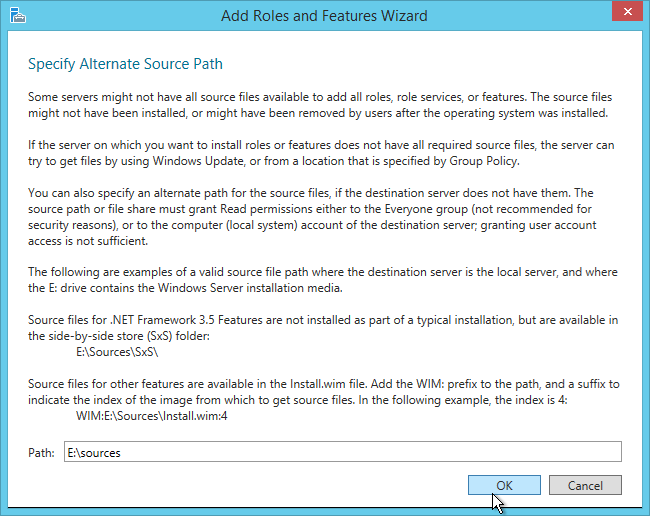
- In the Confirmation page, click Specify an alternate source path.
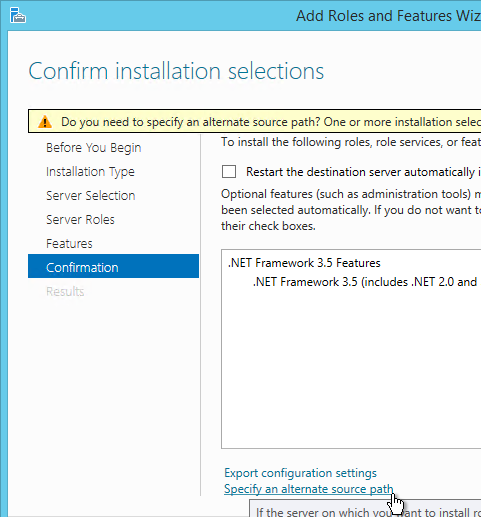
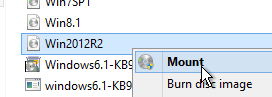
- Mount or extract the Windows Server 2012 R2 ISO.
- Enter the path to the sources folder on the Windows Server 2012 R2 ISO and click OK. Then click Install.
Toolbox Installer
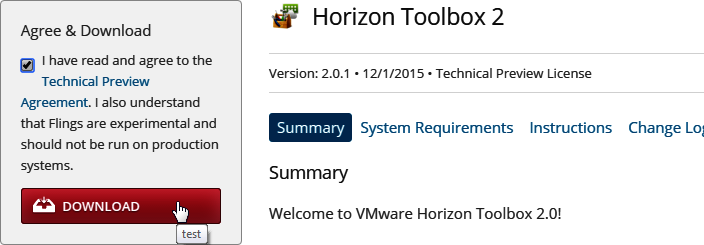
- Download the Fling. Check the box next to I have read and agree and click Download.
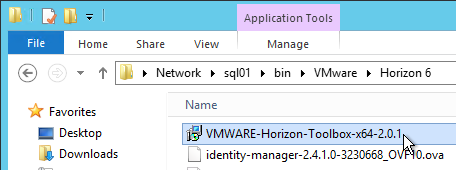
- Run the downloaded VMWARE-Horizon-Toolbox-x64-2.0.1.msi.
- In the Welcome to the HorizonToolbox Setup Wizard page, click Next.
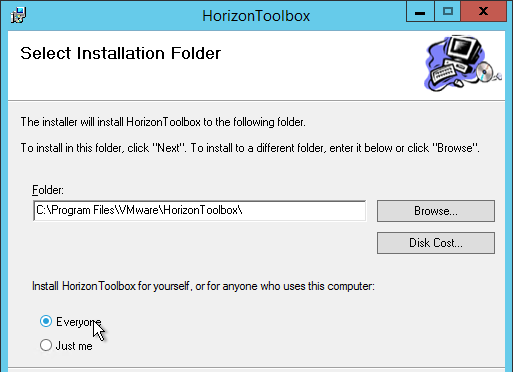
- In the Select Installation Folder page, select Everyone and click Next.
- In the Confirm Installation page, click Next.
- In the Installation Complete page, click Close.
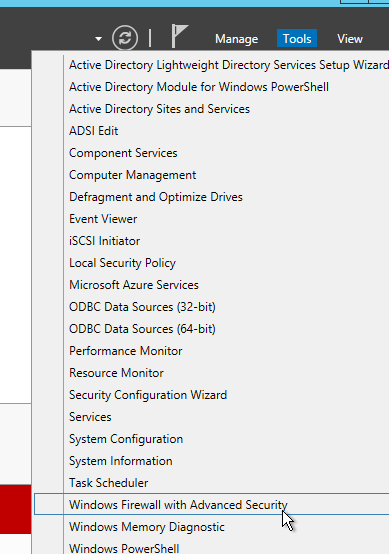
Firewall
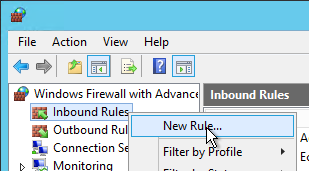
- Run Windows Firewall with Advanced Security.
- Create a new Inbound Rule for port 18443.
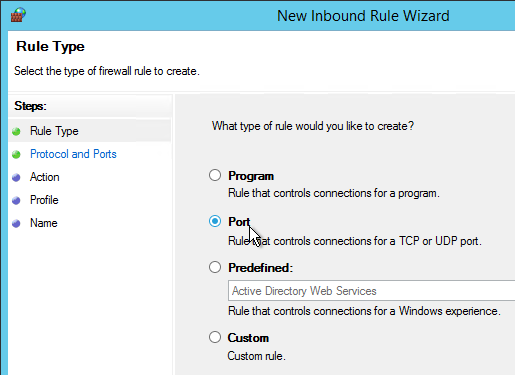
- Select Port and click Next.
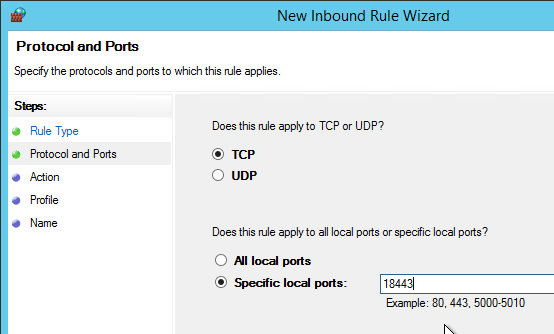
- Enter TCP 18443 as the local port and click Next.
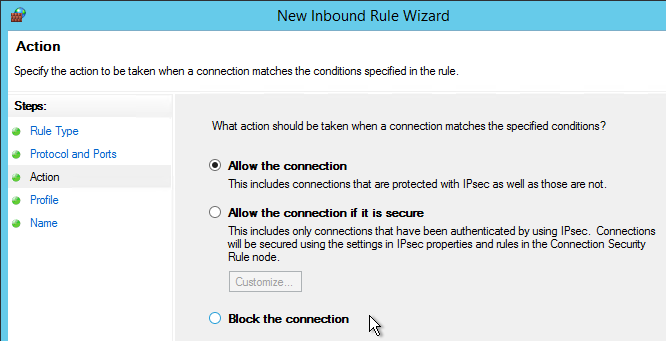
- Allow the connection and click Next.
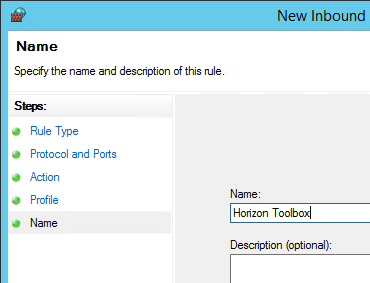
- Name the rule Horizon Toolbox or something like that. Click Finish.
Toolbox Certificate
Horizon Toolbox comes with a self-signed certificate. It can be replaced by doing the following:
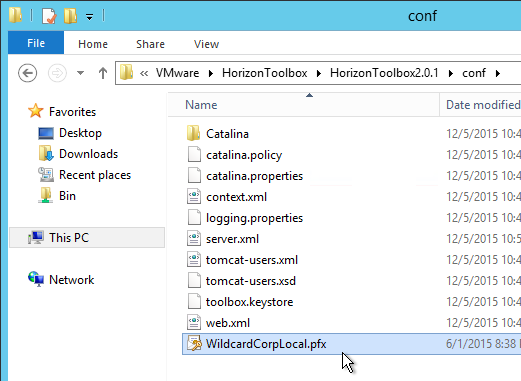
- Copy a certificate .pfx file to C:\Program Files\VMware\HorizonToolbox\HorizonToolbox2.0.1\conf.
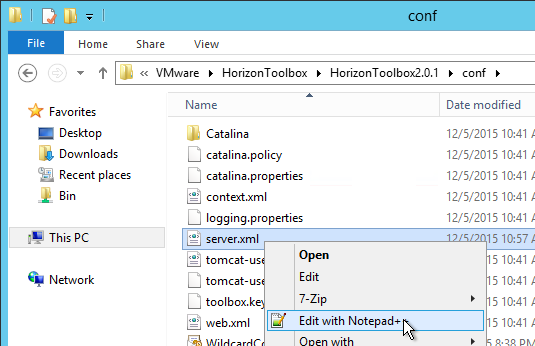
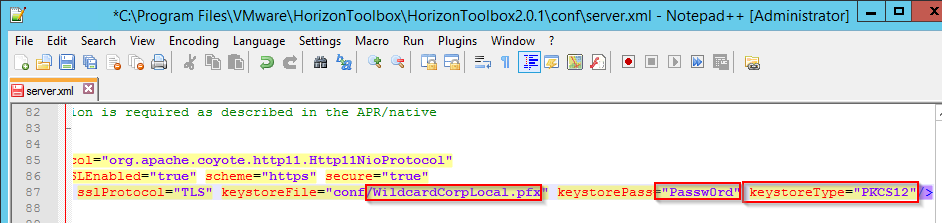
- Edit the file server.xml that’s in the same conf folder.
- Scroll down to the <Connector port=”18443″ section (near line 85).
- Change the keystoreFile attribute to the name of your .pfx file.
- Change the keystorePass attribute to the password for your .pfx file.
- Add a new attribute keystoreType=”PKCS12″
- Close and save the file.
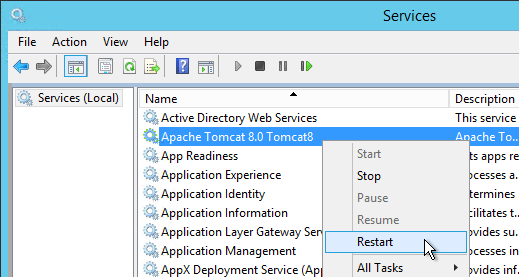
- Restart the Apache Tomcat 8.0 Tomcat8 service.
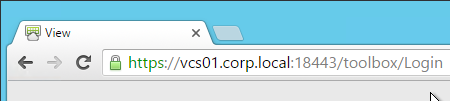
- Point your browser to https://view.corp.local:18443/toolbox.
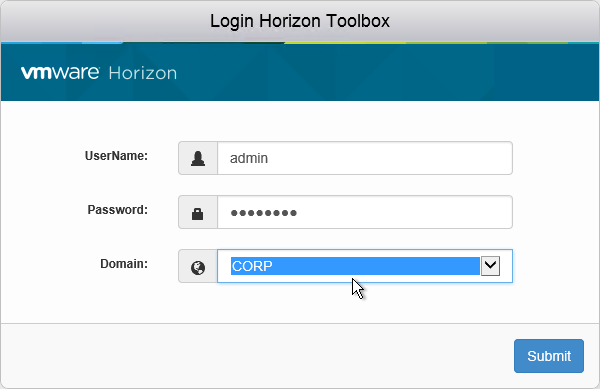
- Login using View Administrator credentials.
Toolbox Remote Assistance
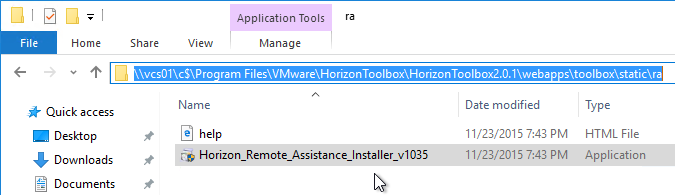
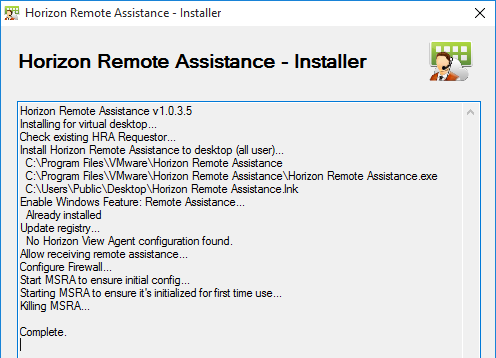
- On the Horizon 6 Agent machine, navigate to the View Connection Server Horizon Toolbox folder \\vcs01\c$\Program Files\VMware\HorizonToolbox\HorizonToolbox2.0.1\webapps\toolbox\static\ra and run Horizon_Remote_Assistance_Installer_v1035.exe.
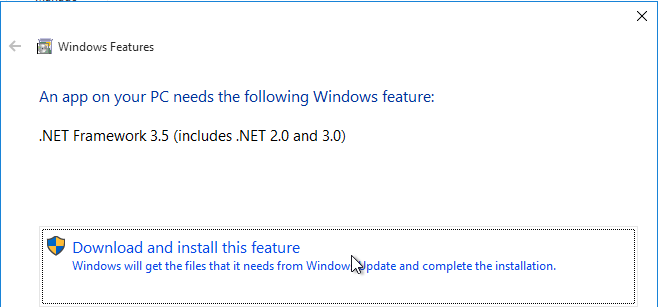
- You might be prompted to install .NET Framework 3.5.
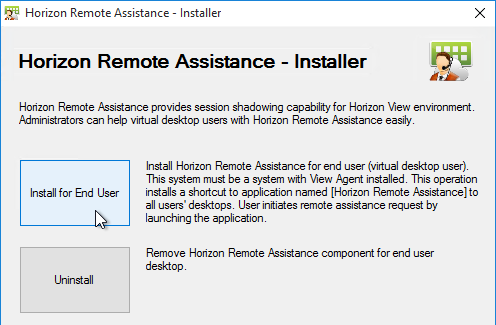
- Click Install for End User.
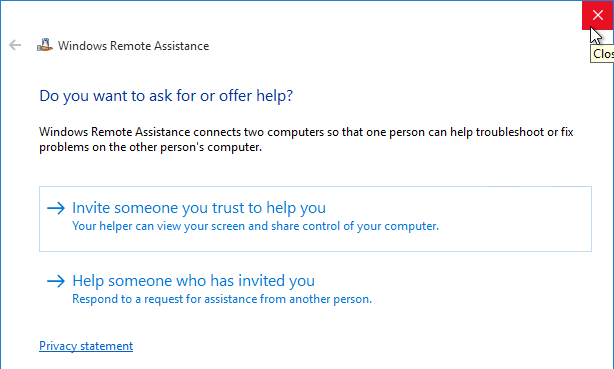
- Click OK to launch Remote Assistance.
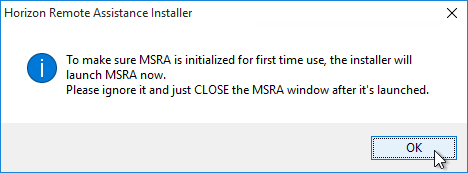
- Close Remote Assistance.
- When done, click Finish.
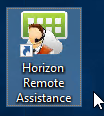
- Users can initiate a request by clicking the Horizon Remote Assistance icon on the desktop.
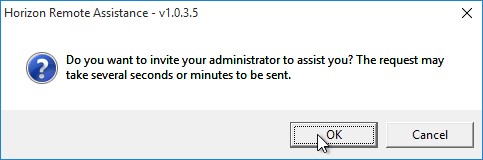
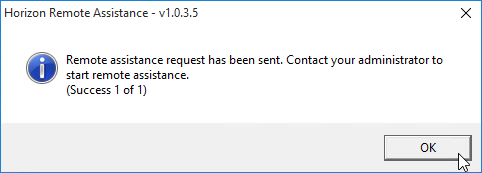
- Click OK to submit a request.
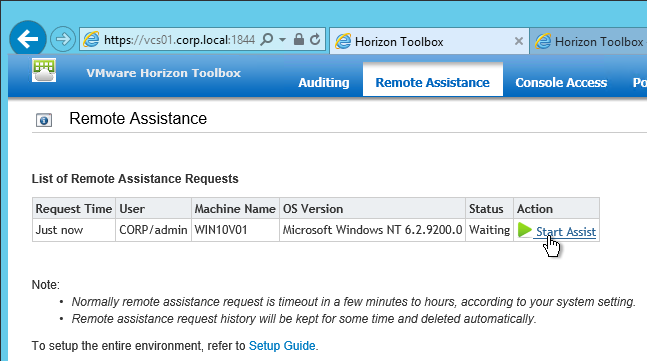
- Support people can see support requests in the Toolbox interface on the Remote Assistance tab.
Hi carl,
Can you with me view horizon connection server 6 with view agent and direct connect agent
Hi Carl/Everyone, I just installed Horizon toolbox 7.8 on 6.0 view environment and i am able to open the website but when i am entering my credentials it is giving the error like
Authentication failed: LogonUser FAILED, error=1326 (Logon failure: unknown user name or bad password.)
I have full admin access but not sure why it is not working any help would be appreciated.
I had issues with our view horizon web certificate and researched for hours because the new cert would not apply and my web server stopped working.. I found your article and followed the Certificate installation and it worked like magic. Thank You so much.
Hi there,
Do you know if is there some form to limit the port range where Remote Assistant lets to connect on Desktops?
Regards
I noticed that the X axis scale of the Session Audit Report does not change when choosing a different reporting period. Is that an issue in the toolbox or on my server?
Hello,
Just wondering. We installed a 6.2.1 environment. In order to have our Windows XP computers (yes we still have some) to connect to the environment, we installed the 6.0.1 agent on our VDI desktops. I followed VMware’s and one of your posts to configure the tls settings on the connection brokers and security servers and gold/parent image. The Windows XP had the 3.2/4.0.x version of Horizon client installed. It did not connect with a tunneling error. Funny thing is, we have a test environment with 6.2.1 (used to test the install) we have an RDS server that the Windows XP can connect to and use the apps installed. The agent on the RDS server is 6.0.0. So what I am asking, is would the 6.0.0 agent on the gold/parent allow Windows XP computers to connect? I know this is not supported, just asking.
Thanks.
Hi Carl,
That is great document. very helpfull.
Carl i have a problem maybe I could have done with some parts missing. I give a alert :”broker address not found in registry. Contact your administrator.” My english not good but i tried to explain my problem. Thank you for these documents again.
Have a good days…
Are you referring to the Horizon Toolbox? The comments at https://labs.vmware.com/flings/horizon-toolbox-2#comments have some suggestions.
Hi Carl, thank you for helping but i have a new problem. i found an answer for that problem. But what i deploy that solution for the other machines if agent is not installed
On Horizon Agent Machine “HKEY_LOCAL_MACHINE\SOFTWARE\VMware, Inc.\VMware VDM\Agent\Configuration\Broker” value must be toolbox ip and fix it. Maybe that can be helpfull for anyone
All great info Carl, thank you very much!
Regarding your “Horizon Portal – Client Installation Link” instructions…I made the change in our 6.2.2 environment and it works internally but not externally via our (2.0.2) access points. I would like for both internal and external users to easily download the same client version (3.5.2) via the client install link.
Internally, when users browse to the connection servers and click on the link to download the client, it works. But externally, when they browse to the access points and click on the link, it is dead. I’m assuming because the downloads/VMware-Horizon-View-Client-x86_64-3.5.2-3150477.exe file does not exist on the AP’s? I have not been able to figure out how to put it on there. Any ideas?
Have you added /download to the ProxyPattern? https://www.carlstalhood.com/vmware-access-point/#restexternal
I did not, thank you. I made the change and now it is working!
Will you be offering documentation for App Volumes 3 that was released with Horizon 7? They’ve moved away from Windows machines to Linux machines
It’s on my todo list. The current release is somewhat of a tech preview. For example, release notes says no computer assignment of AppStacks.
Is there a way to have the local View Client look for a derived credential stored on the local device? Either a Windows client or an iOS or Android client?
Like a Virtual Smart Card? Or maybe mobile device compliance? VMware Workspace ONE adds AirWatch compliance to access conditions. Can you provide more specific requirements?
Looks like Horizon 7 will support SAML auth (any iDP) with certificate SSON to Windows. http://blogs.vmware.com/euc/2016/03/true-sso-single-sign-on-view-identity-manager-authenticate.html
Hi, Interesting article and thanks for taking the time to make it public.
What Certificate template did you use on your CA and what level of compatibility did you choose (Server 2003, 2008 etc)?
With the deprecation of SHA1, you can only get SHA256 enabled certs if you choose 2008 or above for compatibility but all the articles I have read say to use Server 2003 for compatibility and nothing else. When using 2008 compatibility View failed.
Currently I am unable to progress my View 6 implementation as a result.
SHA256 is a CA setting and doesn’t care about the template. I use the standard web server template. Or use IIS to create the CSR.
Hello,
I want to know any one tool for Citrix Xenserver inventory like RVTOOL for VMware