Navigation
This procedure is only needed if you are running Web Interface instead of StoreFront.
Monitor
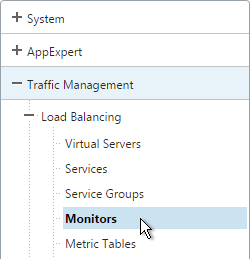
- On the left, expand Traffic Management, expand Load Balancing, and click Monitors.
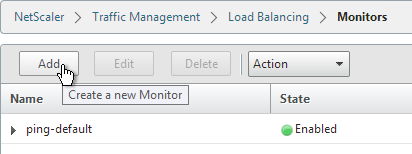
- On the right, click Add.
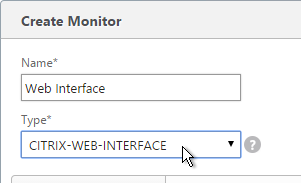
- Name it Web Interface or similar.
- Change the Type drop-down to CITRIX-WEB-INTERFACE.
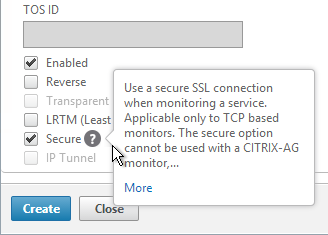
- If you will use SSL to communicate with the Web Interface servers, then scroll down and check the box next to Secure.
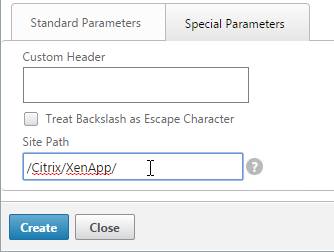
- Switch to the Special Parameters tab.
- In the Site Path field, enter the path of a XenApp Web site (e.g. /Citrix/XenApp/).
- Make sure you include the slash (/) on the end of the path or else the monitor won’t work.
- The site path is also case sensitive.
- Click Create.
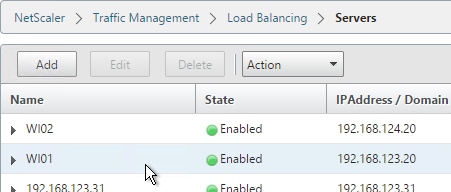
Servers
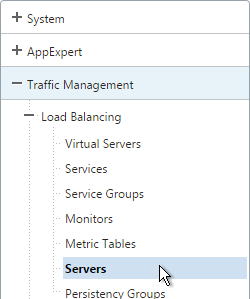
- On the left, expand Traffic Management, expand Load Balancing, and click Servers.
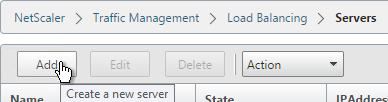
- On the right, click Add.
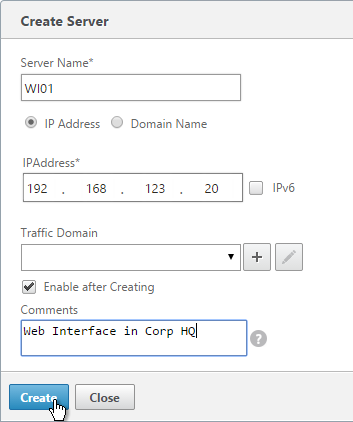
- Enter a descriptive server name, usually it matches the actual server name.
- Enter the IP address of the server.
- Enter comments to describe the server. Click Create.
- Continue adding Web Interface servers.
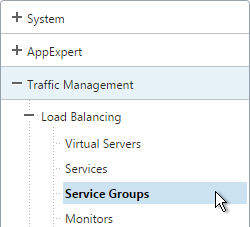
Service Group
- On the left, expand Traffic Management, expand Load Balancing, and click Service Groups.
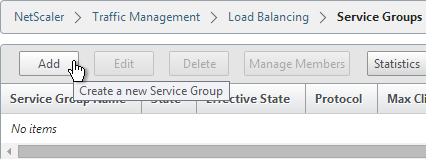
- On the right, click Add.
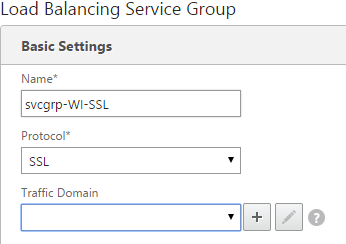
- Give the Service Group a descriptive name (e.g. svcgrp-WI-SSL).
- Change the Protocol to HTTP or SSL. If the protocol is SSL, ensure the Web Interface Monitor has Secure enabled.
- Scroll down and click OK.
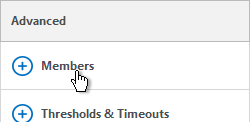
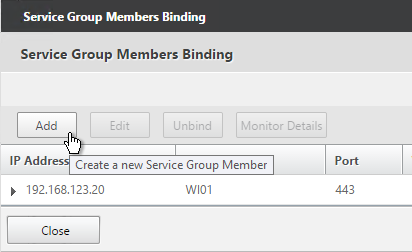
- On the right, under Advanced, click Members.
- Click where it says No Service Group Member.

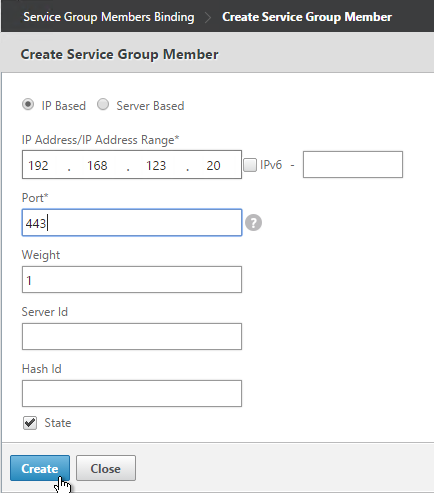
- If you did not create server objects then enter the IP address of a Web Interface Server. If you previously created a server object then change the selection to Server Based and select the server object.
- Enter 80 or 443 as the port. Then click Create.

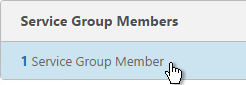
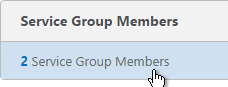
- To add more members, click where it says 1 Service Group Member and then click Add. Click Close when done.
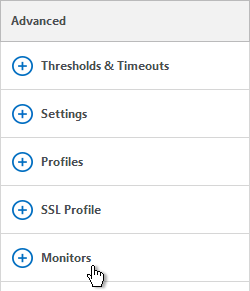
- On the right, under Advanced, click Monitors.
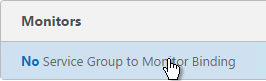
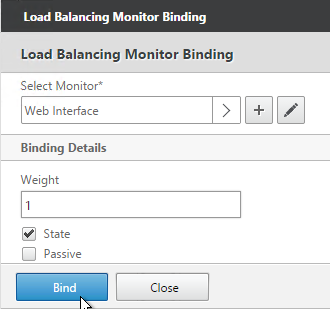
- On the left, in the Monitors section, click where it says No Service Group to Monitor Binding.
- Click the arrow next to Click to select.
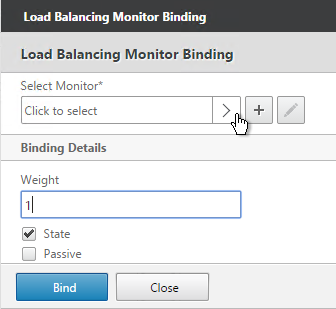
- Select the Web Interface monitor and click OK.

- Then click Bind.
- To verify if the monitor is working or not, on the left, in the Service Group Members section, click the Service Group Members line.
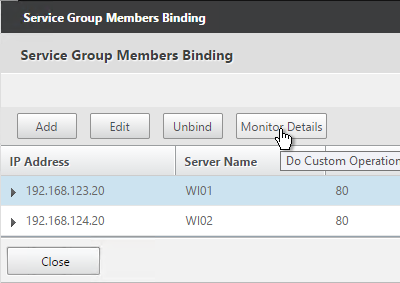
- Highlight a member and click Monitor Details.
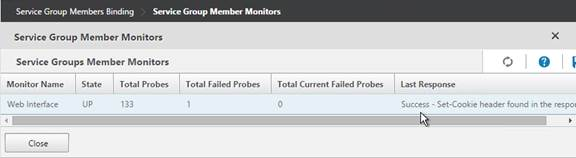
- The Last Reponse should indicate that Set-Cookie header was found. Click Close twice when done.
- Then click Done.

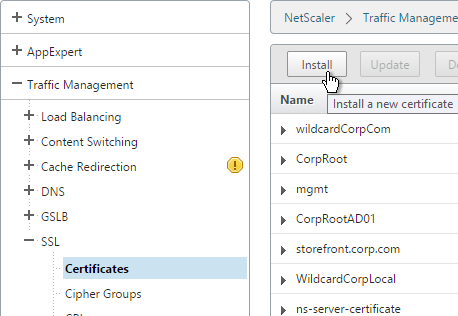
Load Balancing Virtual Server
- Create or install a certificate that will be used by the SSL Virtual Server. This certificate must match the DNS name for the load balanced Web Interface servers.
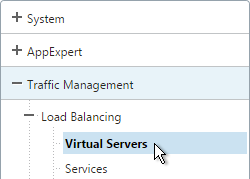
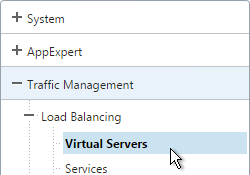
- On the left, under Traffic Management > Load Balancing, click Virtual Servers.
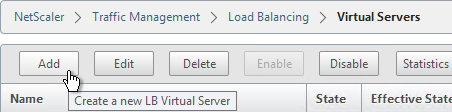
- On the right click Add.
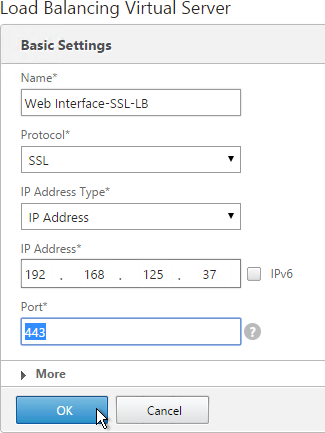
- Name it Web Interface-SSL-LB or similar.
- Change the Protocol to SSL.
- Specify a new internal VIP.
- Enter 443 as the Port.
- Click OK.
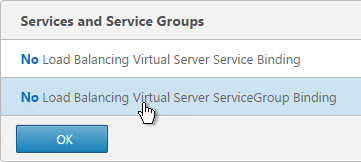
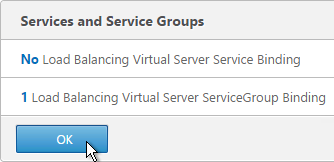
- On the left, in the Services and Service Groups section, click where it says No Load Balancing Virtual Server ServiceGroup Binding.
- Click the arrow next to Click to select.
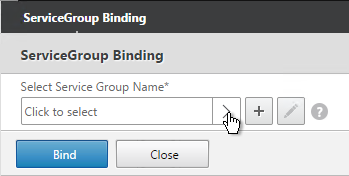
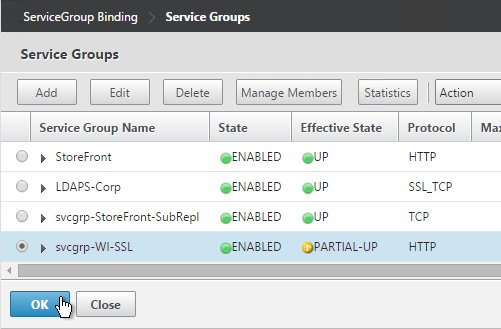
- Select your Web Interface Service Group and click OK.
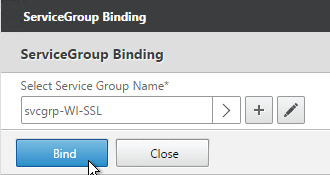
- Click Bind.
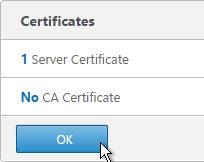
- Click OK.
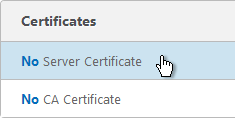
- Click where it says No Server Certificate.
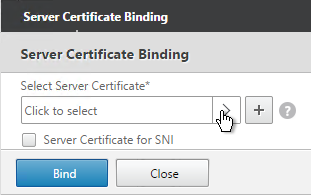
- Click the arrow next to Click to select.
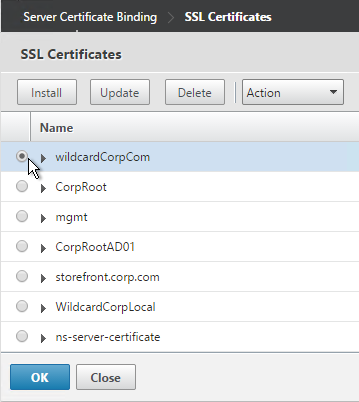
- Select the certificate for this Web Interface Load Balancing Virtual Server and click OK.
- Click Bind.

- Click OK.
- On the right, in the Advanced column, click Persistence.
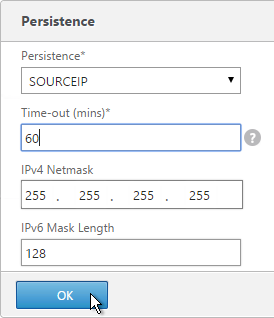
- Select SOURCEIP persistence. Note: COOKIEINSERT also works with Web Interface. However, it doesn’t work with StoreFront.
- Set the timeout to match the timeout of Web Interface.
- The IPv4 Netmask should default to 32 bits.
- Click OK.
- On the right, in the Advanced column, click SSL Parameters.
- If the NetScaler communicates with the Web Interface servers using HTTP (aka SSL Offload), at the top right, check the box next to SSL Redirect. Otherwise the Web Interface page will never display.
- Uncheck the box next to SSLv3 and click OK. This removes a security vulnerability.
- NetScaler VPX 10.5 build 57 and newer lets you enable TLSv11 and TLSv12. See Citrix Blog – Scoring an A+ at SSLlabs.com with Citrix NetScaler – 2016 update. Click OK.

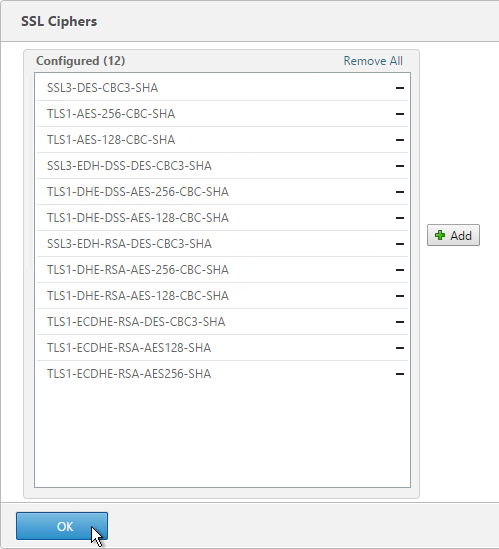
- On the right, in the Advanced column, click SSL Ciphers.

- On the left, in the SSL Ciphers section, remove all RC4 ciphers. See Anton van Pelt Make your NetScaler SSL VIPs more secure (Updated) for recommended ciphers.
 You can also run the following from the command line as described by Heikki Harsunen in Citrix Discussions:
unbind ssl vserver <oursslvservername> -cipherName DEFAULTbind ssl vserver <oursslvservername> -cipherName TLS1-ECDHE-RSA-AES256-SHAbind ssl vserver <oursslvservername> -cipherName TLS1-ECDHE-RSA-AES128-SHAbind ssl vserver <oursslvservername> -cipherName TLS1-ECDHE-RSA-DES-CBC3-SHAbind ssl vserver <oursslvservername> -cipherName TLS1-AES-256-CBC-SHAbind ssl vserver <oursslvservername> -cipherName TLS1-AES-128-CBC-SHAbind ssl vserver <oursslvservername> -cipherName TLS1-DHE-RSA-AES-256-CBC-SHAbind ssl vserver <oursslvservername> -cipherName TLS1-DHE-RSA-AES-128-CBC-SHA
- Click OK.
- Then click Done.

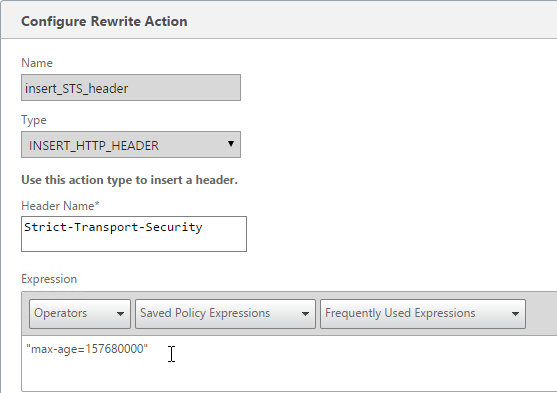
- Consider enabling Strict Transport Security by creating a rewrite policy and binding it to this SSL Virtual Server. See Anton van Pelt Make your NetScaler SSL VIPs more secure (Updated).
SSL Redirect – Down vServer Method
If you created an SSL Virtual Server that only listens on SSL 443, users must enter https:// when navigating to the website. To make it easier for the users, create another load balancing Virtual Server on the same VIP that listens on HTTP 80 and then redirects the user’s browser to reconnect on SSL 443.
- On the left, under Traffic Management > Load Balancing, click Virtual Servers.
- On the right, find the SSL Virtual Server you’ve already created, right-click it and click Add. Doing it this way copies some of the data from the already created Virtual Server.
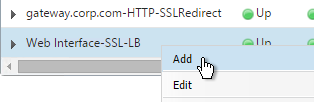
- Change the name to indicate that this new Virtual Server is an SSL Redirect.
- Change the Protocol to HTTP on Port 80.
- The IP Address should already be filled in. It must match the original SSL Virtual Server. Click OK.

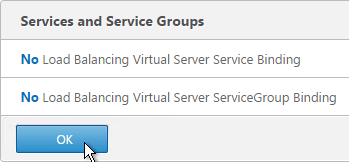
- Don’t select any services. This vServer must intentionally be marked down so the redirect will take effect. Click OK.
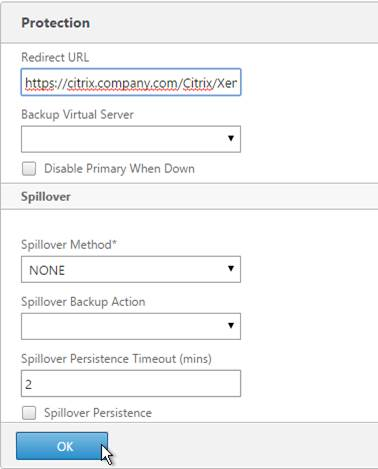
- On the right, in the Advanced column, click Protection.
- In the Redirect URL field, enter the full URL including https://. For example: https://citrix.company.com/Citrix/XenApp. Click OK.
- Click Done.

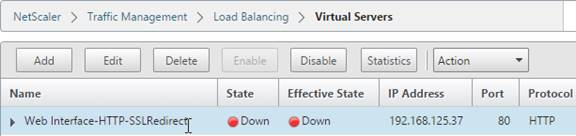
- When you view the SSL redirect Virtual Server in the list, it will have a state of DOWN. That’s OK. The Port 80 Virtual Server must be DOWN for the redirect to work.
Hi Carl,
Unfortunately recently i got one project which is still using Webinterface4.5.
I can see the site url on storefront page is : https://*.domain.com/Citrix/XenApp .
I also see the certificate binding is wildcard *.domain.com in IIS default website page.
Users access the website with https://companyname.domain.com from internal network.
Below are my questions which i am trying to understand and any help would be much appreciated.
Q1. How someone created website with * usually by default it takes server name, isn’t it ?
Q2. Can i change the Site URL in Web Interface page?
Q3. What will be impact if i remove the wild card certificate from IIS binding and bind with subject name which users type in browser.
Thanks
Suman
I think Web Interfaces shows you the certificate common name. If you change the certificate binding in IIS, then Web Interface console should be updated automatically. Changing the cert shouldn’t cause any problems, assuming the cert matches the FQDN and is trusted by the clients. Is Secure Gateway on this server? If so, then you’ll have to change it’s certificate binding too.
Hi Carl,
Apologies if I’ve missed it but is there any particular configuration required on the WI side? We have WI servers in a DMZ with CSG on the same systems and everything’s fine using Gateway Direct as the access method. Removing CSG and re-configuring the sites’ Gateway Direct to point to the FQDN of the Netscaler LB instead brings everything to a crawl.
The initial login page for the WI loads instantly, however authentication takes a while, the applications lad eventually but fail to run when selected. No error message, just an accessing status then nothing. Everything looks fine on the Netscaler side.
Hi Carl i want to this update on my delivery controllers Hotfix DStudio760WX64003 (Version 7.6.3) For Citrix Studio 7.6 x64 – English
this is related only to Studio, before doing that i am going to snapshot my vms, does this Studio update affect the database in any way or it only concerns the vm where the studio is installed, why i want to do this update, becuase i created a DSR zone on another data center and when one of ddc is offline , studio reacts very slow or it hangs , this update can be done without doing the delivery controllers hotfix update 3and the power shell module update , are they recommended to be done also? In case i want to revert to snapshot it will work as it this update was never there right?
You can upgrade Studio without affecting the database. Only Controller hotfixes can affect the database.
Given that the services here are talking on 443, does the certificate also need to be installed on the WI servers, with IIS configured accordingly?
If you want to encrypt between NetScaler and WI (recommended), then yes, install certs on WI servers. They don’t have to be valid.