Navigation
This page contains the following topics:
- Planning
- Import Appliance into vSphere
- IP Configuration and Multi-Node
- Initial Web Configuration
- NSroot Password
- Management Certificate
- System Configuration
- Email Notifications
- Authentication
- Thresholds
- Geo Map
- Director Integration
- Use Insight Center – HDX Insight, Gateway Insight, Security Insight
- Troubleshooting
- Upgrade Insight Center
💡 = Recently Updated
Planning
Note: HDX Insight only works with Session Reliability on NetScaler 10.5 build 54 or newer. Older builds, including NetScaler 10.1, do not support Session Reliability with HDX Insight. Read the release notes for your NetScaler firmware build to see the latest known issues with AppFlow, Session Reliability, and High Availability.
Requirements for HDX Insight:
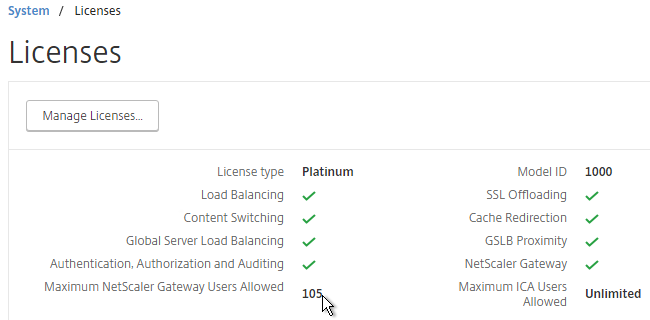
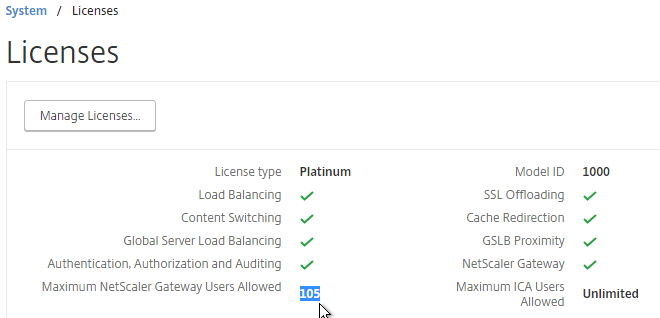
- Your NetScaler appliance must be running Enterprise Edition or Platinum Edition.
- NetScaler must be 10.1 or newer. Insight Center 11.1 does work with NetScaler 10.5 and NetScaler 11.0.
- HDX Insight works with the following Receivers:
- Receiver for Windows must be 3.4 or newer.
- Receiver for Mac must be 11.8 or newer.
- Receiver for Linux must be 13 or newer.
- Notice no mobile Receivers. See the Citrix Receiver Feature Matrix for the latest details.
- ICA traffic must flow through a NetScaler appliance:
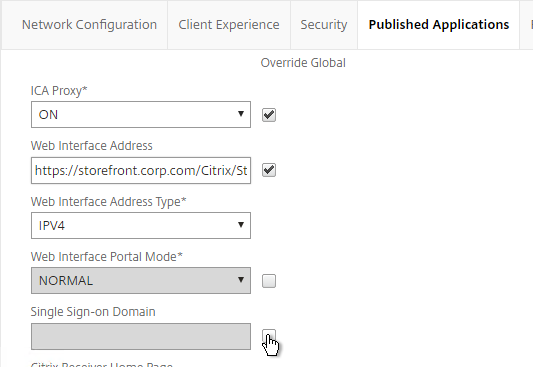
- One method is to implement ICA Proxy through NetScaler Gateway. You can even do this internally. However Single Sign-on does not work through NetScaler Gateway. To use ICA Proxy without authenticating at NetScaler Gateway, see CTX200129 – How to Force Connections through NetScaler Gateway Using Optimal Gateways Feature of StoreFront.
- Another method is to route ICA traffic through a NetScaler SNIP and use the NetScaler as a router. Citrix Blog Post – How to Deploy NetScaler Insight Center with Policy Based Routing
- Citrix Docs How NetScaler Insight Center is Deployed in a Network – Transparent Mode, NetScaler Gateway Single-Hop and Double-Hop, LAN User Mode (NetScaler as SOCKS Proxy), CloudBridge, Multi-Hop (NetScaler and CloudBridge with connection chaining)
- New in NetScaler 11 is the ability to use SOCKS proxy (Cache Redirection) for ICA traffic without requiring users to use NetScaler Gateway and without making any routing changes. You configure this on the NetScaler appliance. See Citrix Blog Post Gathering HDX Insight Analytics for LAN Users with NetScaler Using SOCKS for more information.
For ICA round trip time calculations, in a Citrix Policy, enable the following settings:
- ICA > End User Monitoring > ICA Round Trip Calculation
- ICA > End User Monitoring > ICA Round Trip Calculation Interval
- ICA > End User Monitoring > ICA Round Trip Calculation for Idle Connections
Citrix CTX204274 How ICA RTT is calculated on NetScaler Insight: ICA RTT constitutes the actual application delay. ICA_RTT = 1 + 2 + 3 + 4 +5 +6:
- Client OS introduced delay
- Client to NS introduced network delay (Wan Latency)
- NS introduced delay in processing client to NS traffic (Client Side Device Latency)
- NS introduced delay in processing NS to Server (XA/XD) traffic (Server Side Device Latency)
- NS to Server network delay (DC Latency)
- Server (XA/XD) OS introduced delay (Host Delay)
The version/build of Insight Center must be the same or newer than the version/build of the NetScaler appliances.
Citrix whitepaper – NetScaler Insight Center Deployment & Sizing Guide: virtual machine sizing, firewall rules, licensing, Receiver versions, etc.
Import Appliance
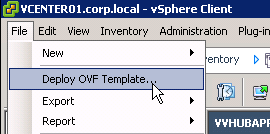
You can use either the vSphere Client or the vSphere Web Client to import the appliance. In vSphere Client, open the File menu and click Deploy OVF Template. vSphere Web Client instructions are shown below.
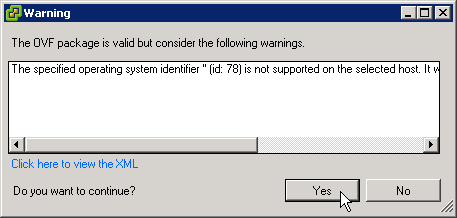
You might see this operating system error when not using the vSphere Web Client. Click Yes and proceed. It seems to work.
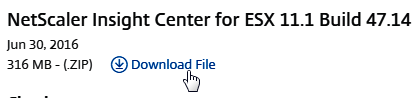
- Download Insight Center for ESX, and then extract the .zip file.
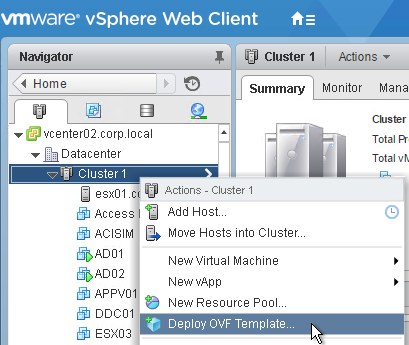
- In vSphere Web Client, right-click a cluster, and click Deploy OVF Template.
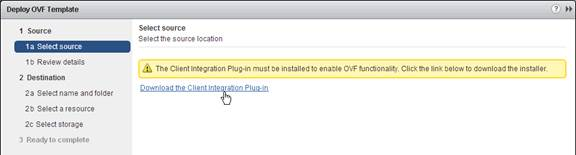
- In the Select source page, if you see a message regarding the Client Integration Plug-in, download the installer, run it, and then return to this wizard.
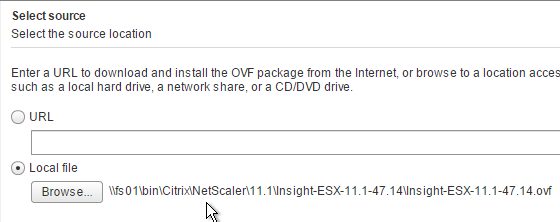
- In the Select source page, select Local file, and browse to the NetScaler Insight .ovf file. Click Next.
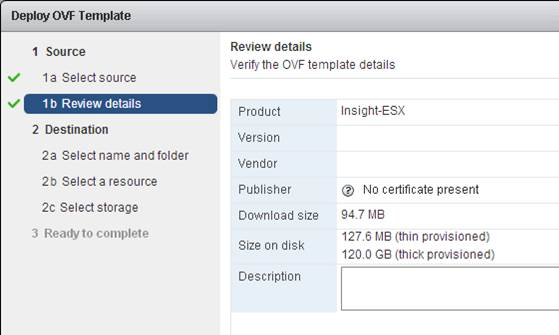
- In the Review details page, click Next.
- In the Select name and folder page, enter a name for the virtual machine and select an inventory folder. Then click Next.

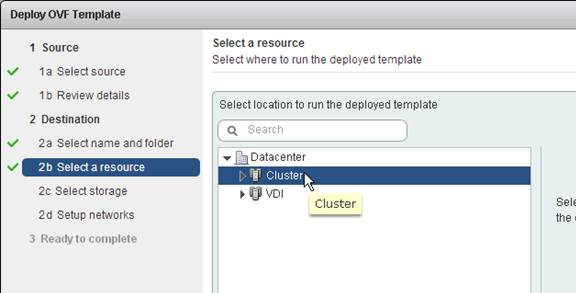
- In the Select a resource page, select a cluster or resource pool and click Next.
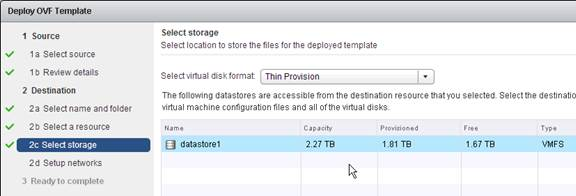
- In the Select storage page, change it to Thin Provision.
- Select a datastore and click Next.
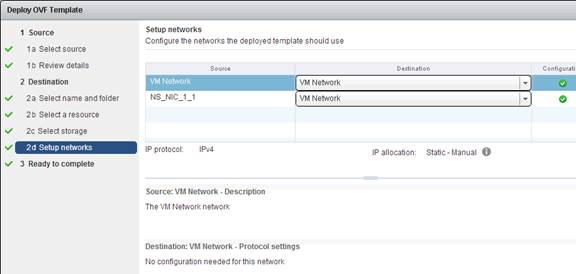
- In the Setup networks page, choose the same valid port group for both NICs. Click Finish.
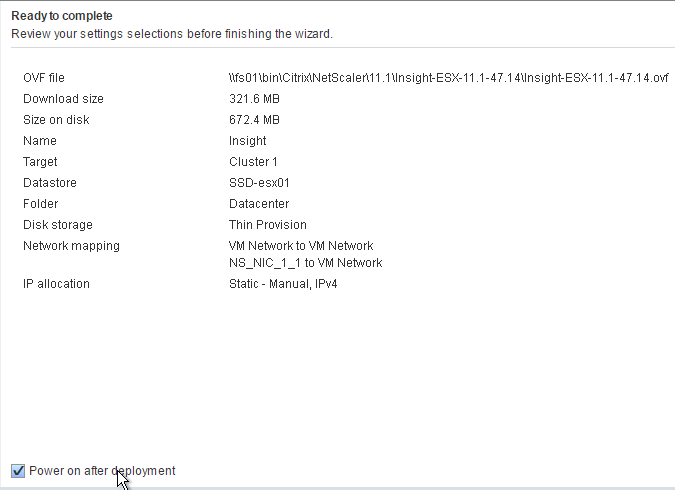
- In the Ready to Complete page, click Finish.
- View the progress of the import in the Recent Tasks pane at the top-right of the window.
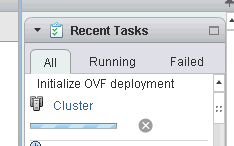
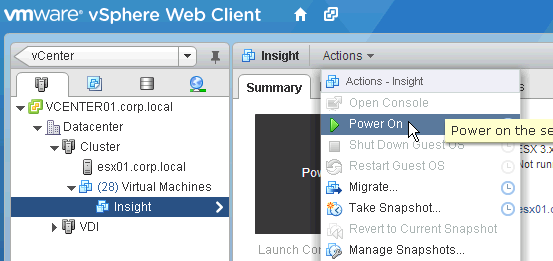
- After the appliance is imported, power it on.
IP Configuration and Multi-Node
- Open the console of the virtual machine and configure an IP address.
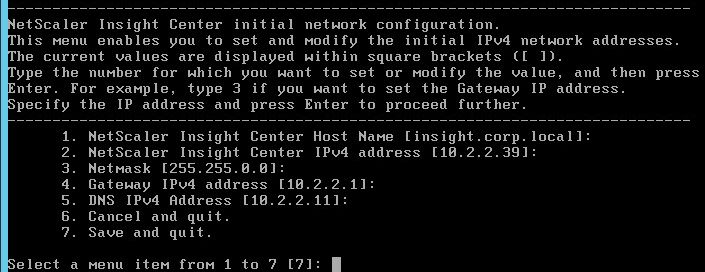
- Enter 7 when done.
- When prompted for Insight Deployment Type, enter 1 for NetScaler Insight Server. The first appliance must always be NetScaler Insight Server.
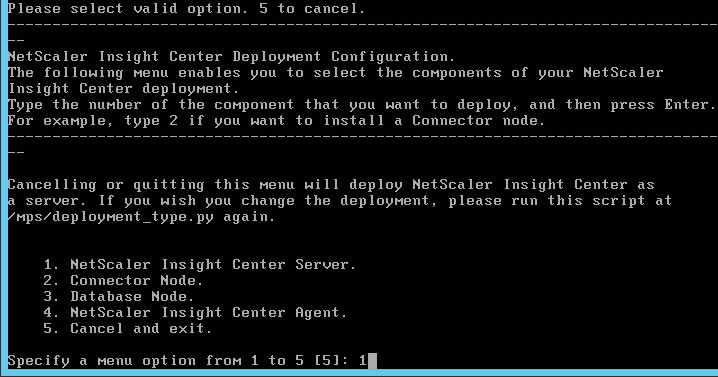
- Enter Yes to reboot.

Initial Web Configuration – Add Devices
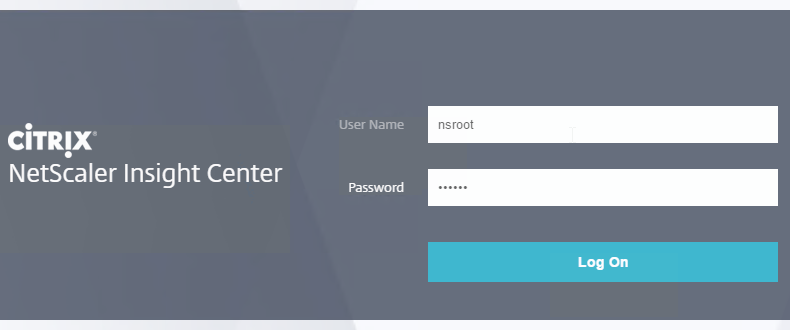
- Point your browser to the Insight IP address and login as nsroot/nsroot.
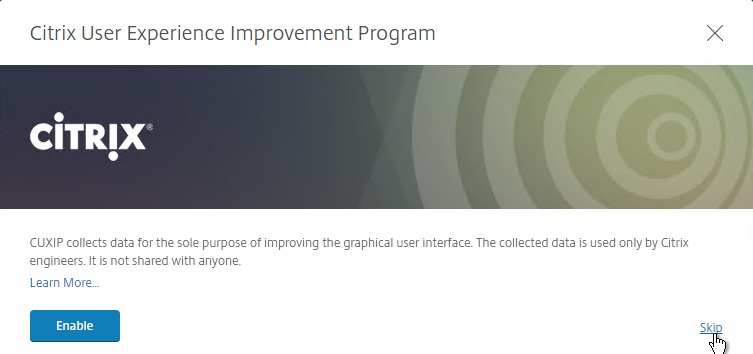
- If you see the Customer User Experience Improvement Program, click Skip or Enable.
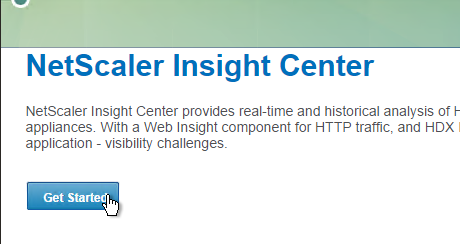
- Click Get Started
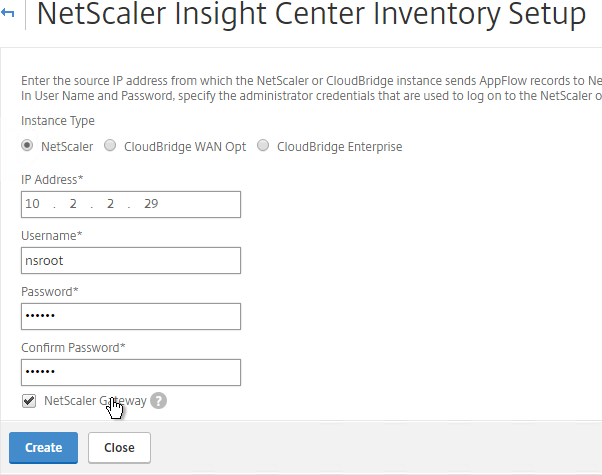
- Enter the IP address and credentials of a NetScaler appliance.
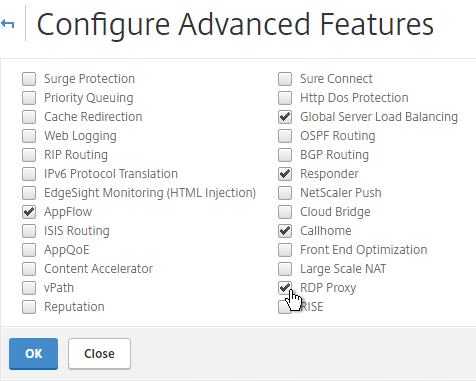
- Check the box next to NetScaler Gateway, and click Add. Note: Insight Center 11.1 defaults to using https for the NSIP communication.
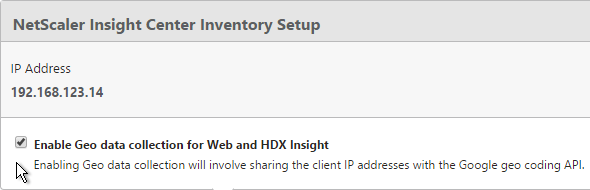
- At the top of the page, if desired, check the box next to Enable Geo data collection for Web and HDX Insight.
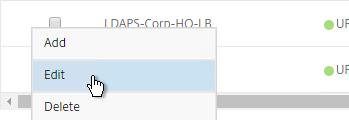
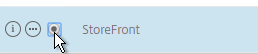
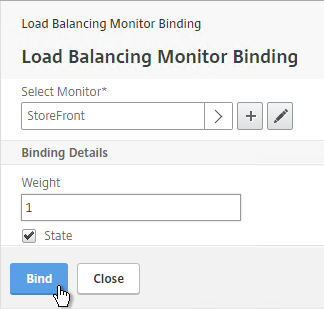
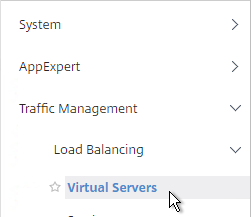
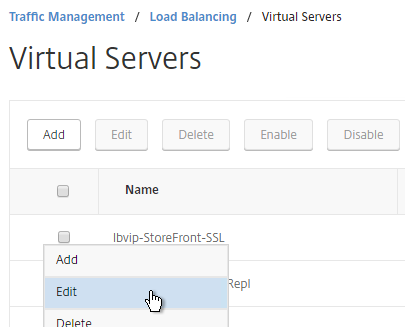
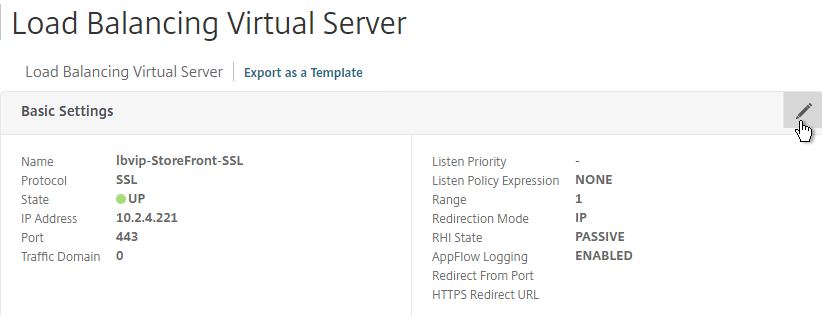
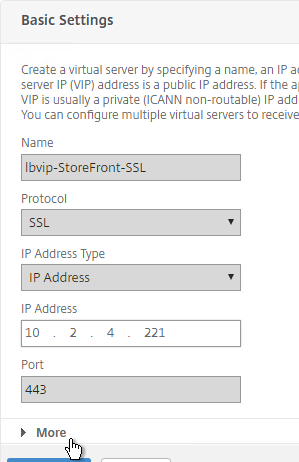
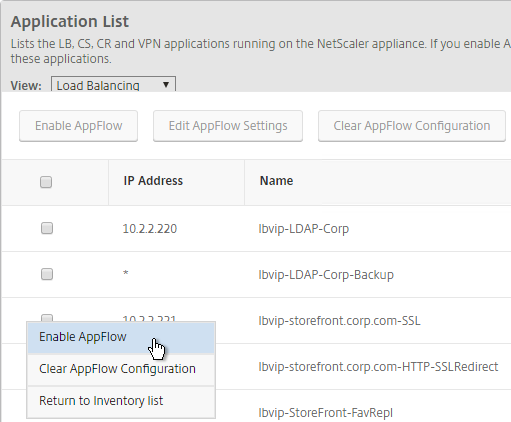
- With Load Balancing selected in the View list, click the ellipsis next to your StoreFront load balancer, and click Enable AppFlow.
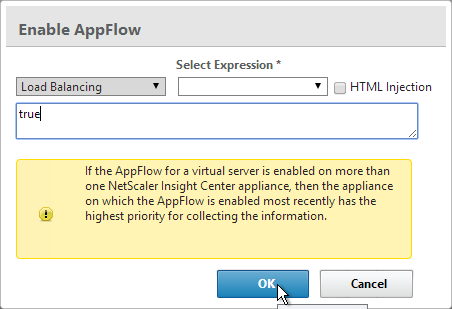
- Type in true, and click OK.
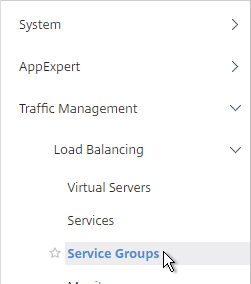
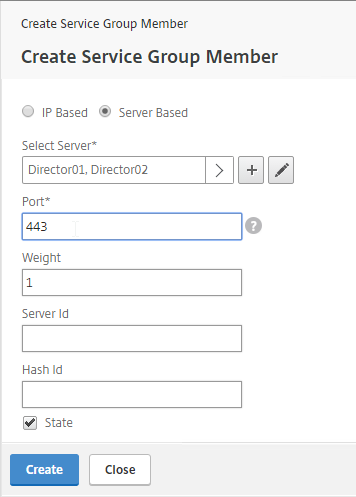
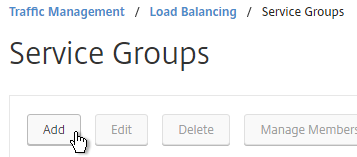
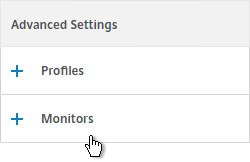
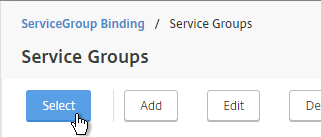
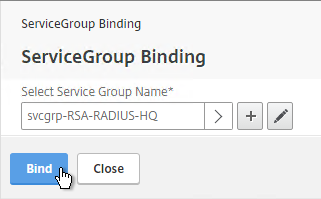
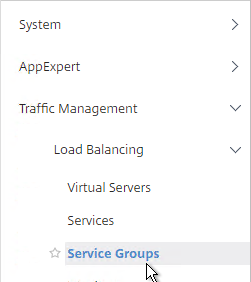
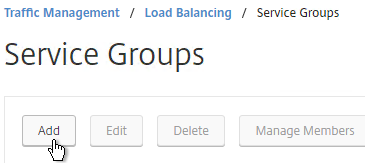
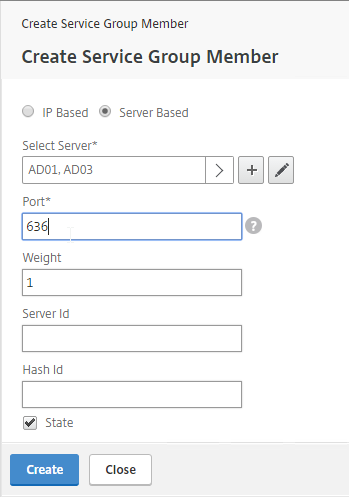
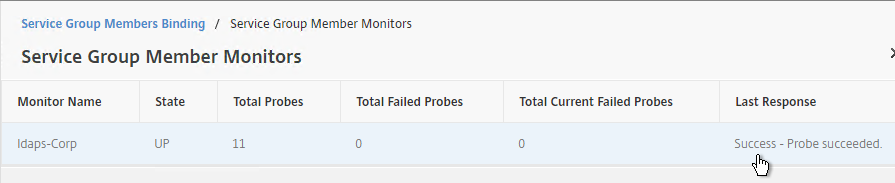
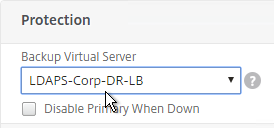
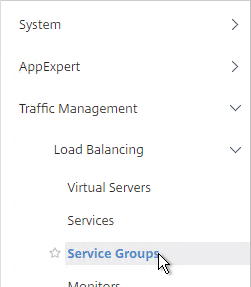
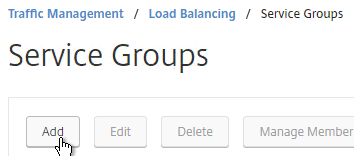
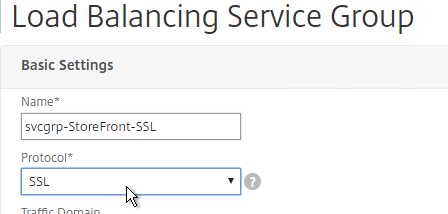
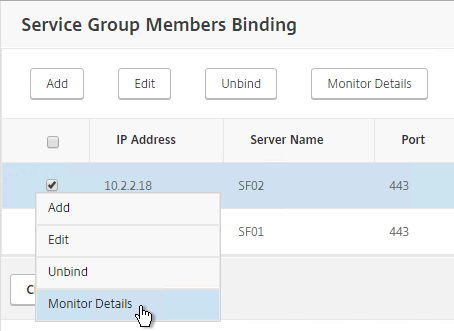
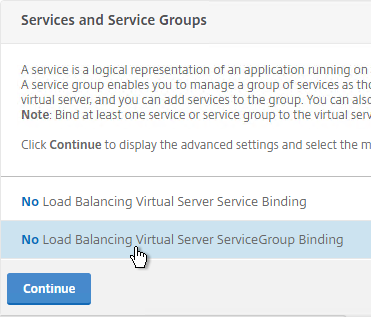
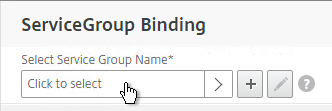
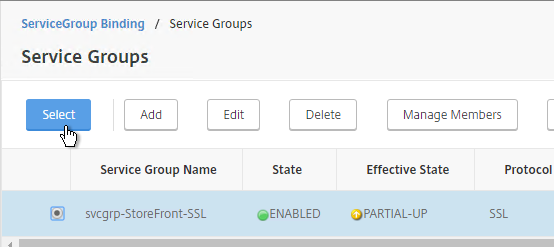
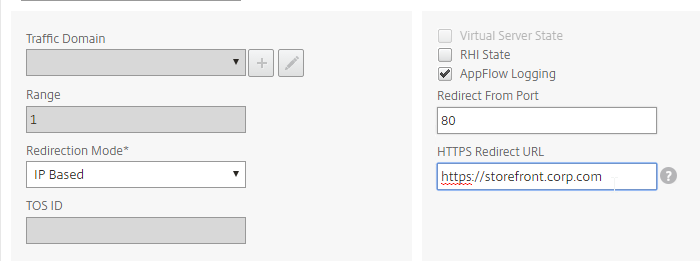
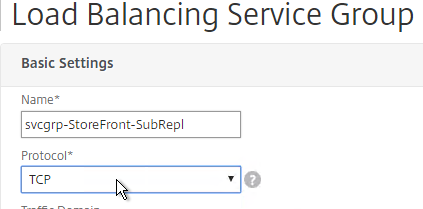
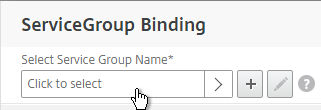
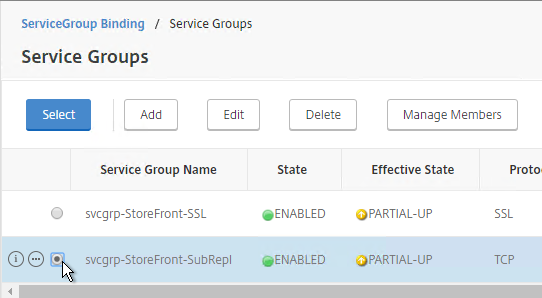
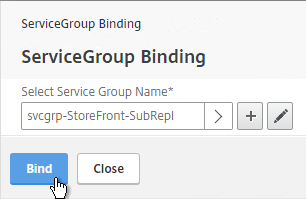
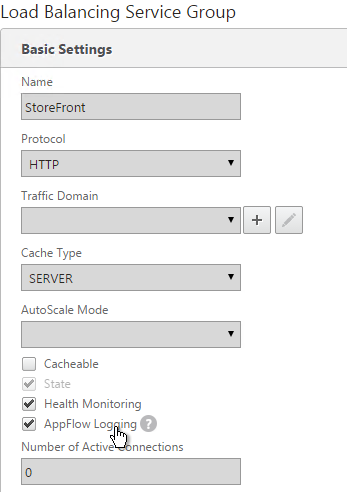
- Note: if your StoreFront Load Balancing vServer uses Service Groups, you might need to enable AppFlow logging on the Service Group. In the NetScaler GUI, edit the Service Group. In the Basic Settings section, check the box next to AppFlow Logging.
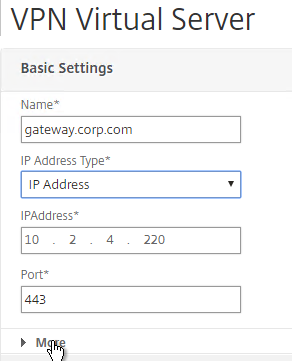
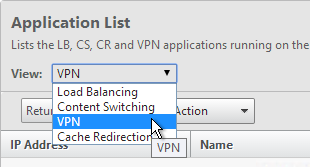
- Back in Insight Center, use the View drop-down to select VPN.
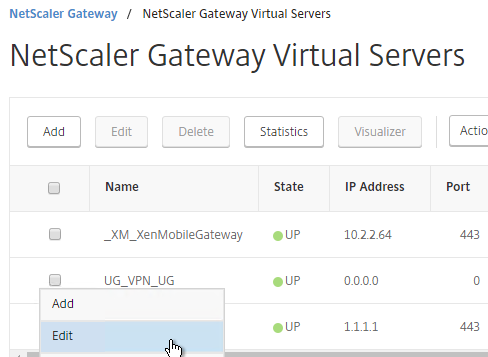
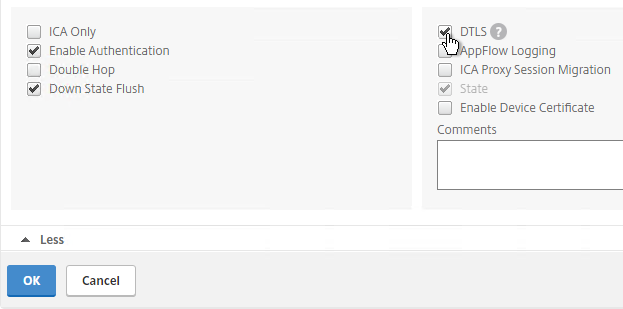
- Click the ellipsis next to a NetScaler Gateway Virtual Server, and click Enable AppFlow.
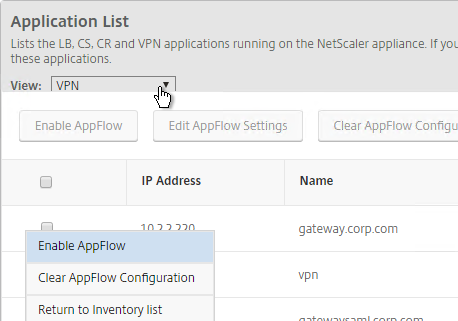
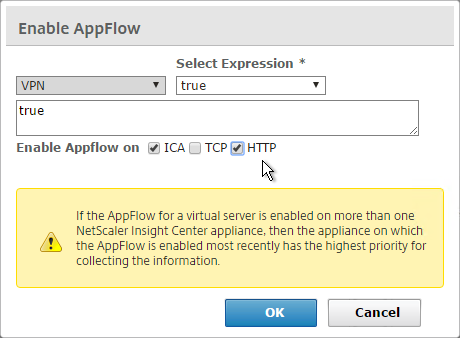
- In the Select Expression drop-down, select true.
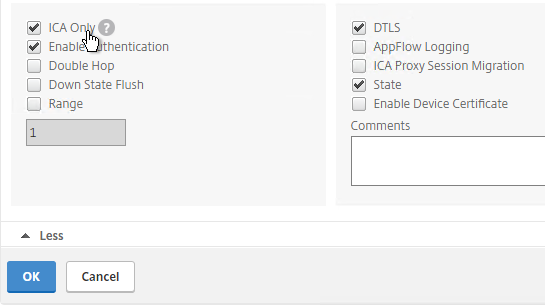
- For Export Option, select ICA, HTTP, and click OK. The HTTP option is for Gateway Insight.
- The TCP option is for the second appliance in double-hop ICA. If you need double-hop, then you’ll also need to run
set appflow param -connectionChaining ENABLEDon both appliances. See Enabling Data Collection for NetScaler Gateway Appliances Deployed in Double-Hop Mode at Citrix Docs for more information.
- New in NetScaler 11 is the ability to use SOCKS proxy (Cache Redirection) for ICA traffic without requiring users to use NetScaler Gateway and without making any routing changes. You configure this on the NetScaler appliance. See Enabling Data Collection for Monitoring NetScaler ADCs Deployed in LAN User Mode at Citrix Docs for more information.
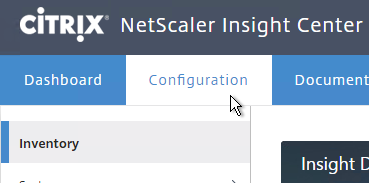
- If you want to add more appliances, click the Configuration tab. The Inventory node will be selected by default.
- On the right, click Add.

Citrix Blog Post – NetScaler Insight Center – Tips, Troubleshooting and Upgrade
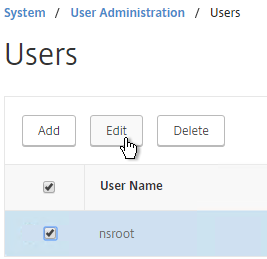
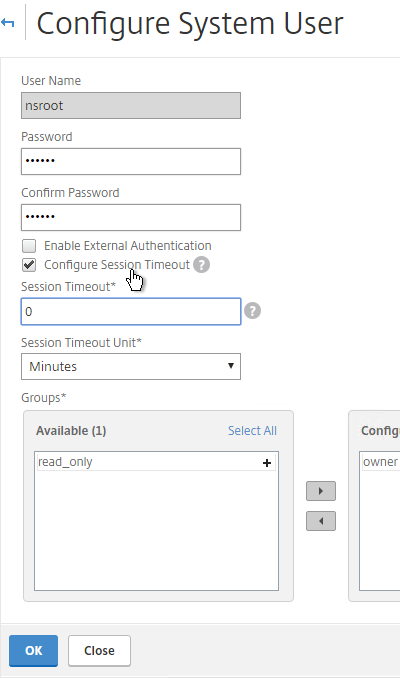
Nsroot Password
- On the Configuration tab, expand System, expand User Administration, and click Users.
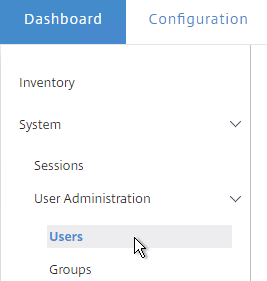
- On the right, highlight the nsroot account, and click Edit.
- Enter a new password.
- You can also specify a session timeout. Click OK.
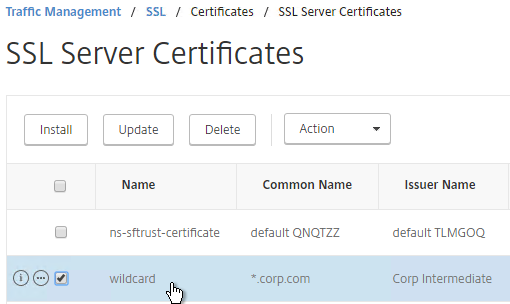
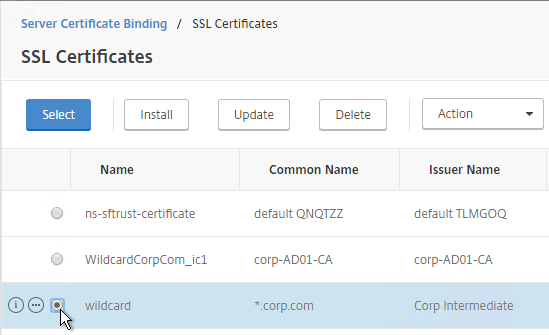
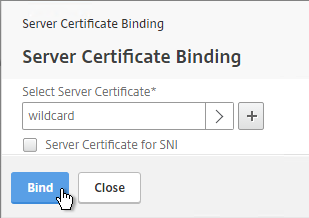
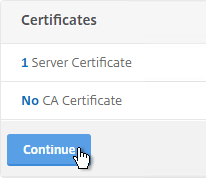
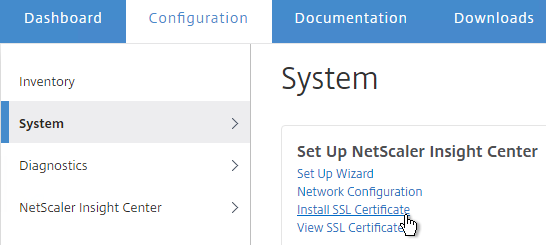
Management Certificate
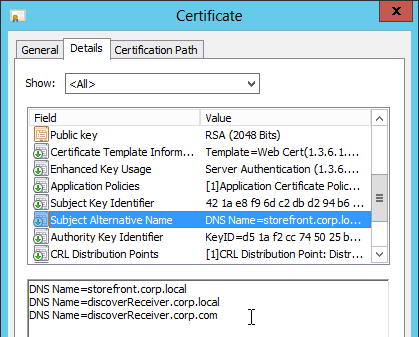
The certificate to upload must already be in PEM format. If you have a .pfx, you must convert it to PEM (separate certificate and key files). You can use NetScaler to convert the .pfx, and then download the converted certificate from the appliance.
- On the left, switch to the System node.
- In the right pane, in the left column, click Install SSL Certificate.
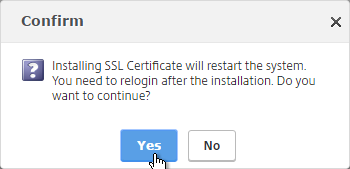
- Browse to the PEM format certificate and key files. If the keyfile is encyrpted, enter the password. Click OK.
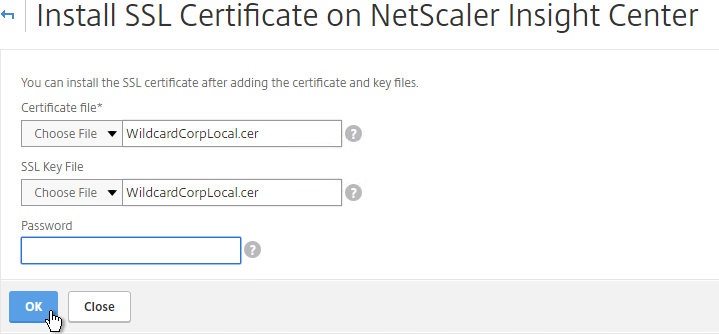
- Click Yes to reboot the system.
System Configuration
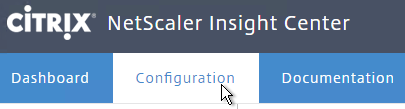
- Click the Configuration tab on the top of the page.
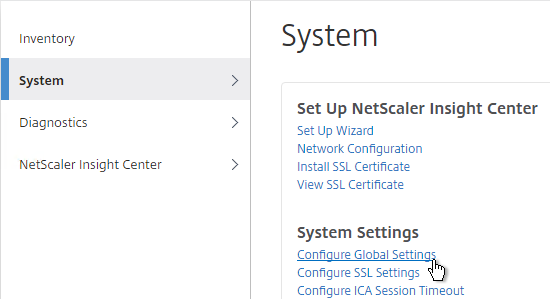
- On the left, click the System node.
- On the right, modify settings as desired. Start with Configure Global Settings.
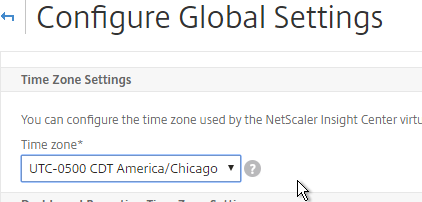
- At the top of the page, configure the Time Zone.
- If you scroll down, there’s a Enable Session Timeout option. Click OK when done.
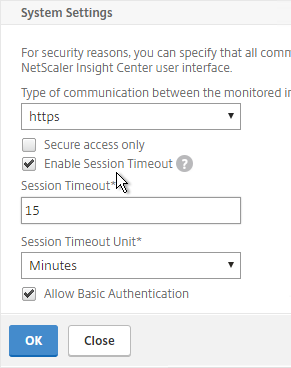
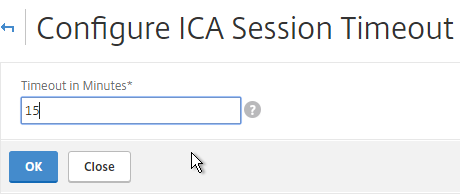
- The ICA Session Timeout can be configured by clicking the link. Two minutes of non-existent traffic must occur before the session is considered idle. Then this idle timer starts. See Managing ICA Sessions at Citrix Docs for more information
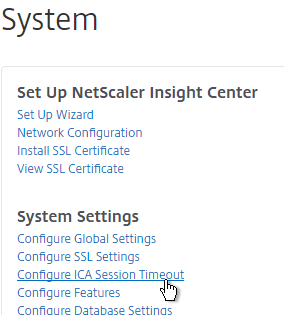
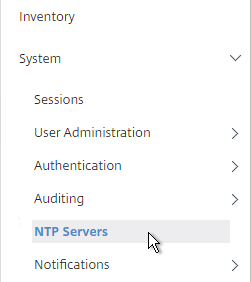
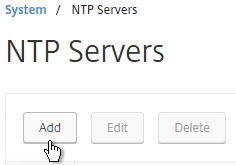
- On the left, expand System, and click NTP Servers.
- On the right, click Add.
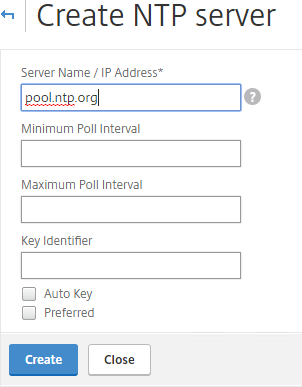
- Enter an NTP address, and click Create.
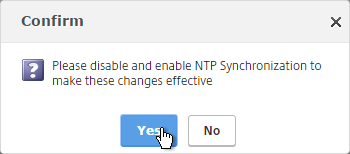
- Click Yes to confirm.
- After adding NTP servers, click NTP Synchronization.
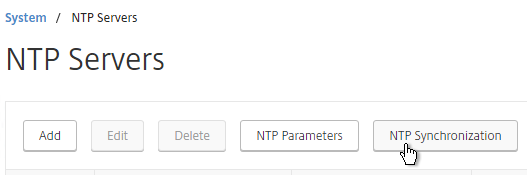
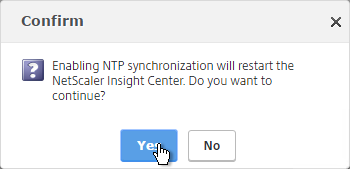
- Check the box next to Enable NTP Sync, and click OK.
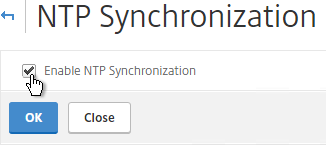
- Click Yes to restart.
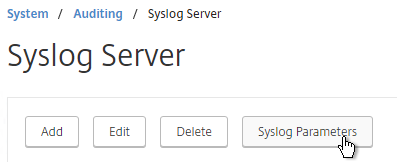
- On the left, expand Auditing, and click Syslog Servers.

- On the right, click Add.
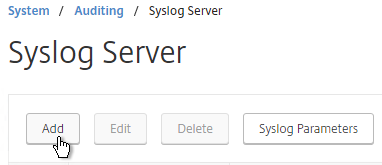
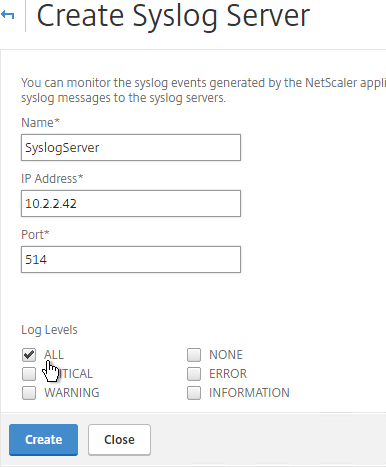
- Enter the syslog server IP address, and select Log Levels. Click Create.
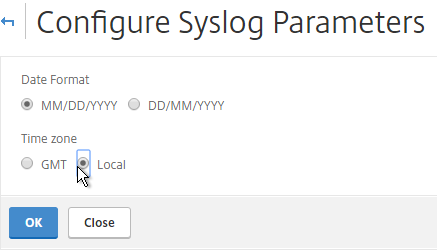
- On the right, you can click Syslog Parameters to change the timezone and date format.
Email Notifications
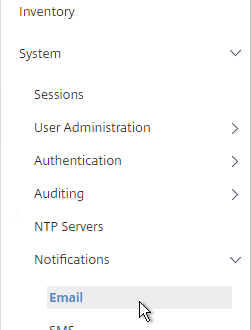
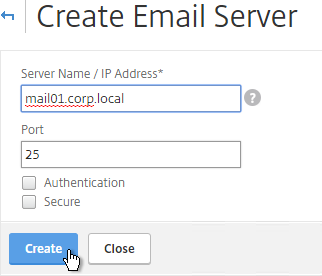
- On the left, expand System, expand Notifications, and click Email.
- On the right, on the Email Servers tab, click Add.
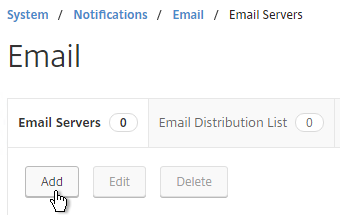
- Enter the SMTP server address, and click Create.
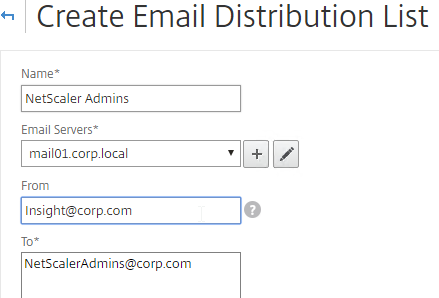
- On the right, switch to the Email Distribution List tab, and click Add.

- Enter an address for a destination distribution list, and click Create.
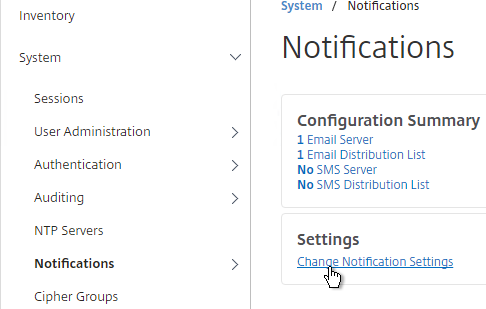
- If you click Notifications on the left, on the right, there’s Change Notification Settings.
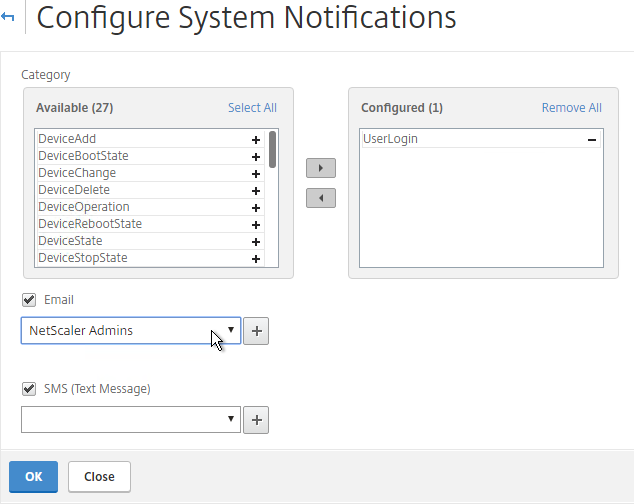
- Choose the notifications you wish to receive by moving them from left to right.
- In the Email drop-down, select the Distribution List you created earlier.
- Click OK when done.
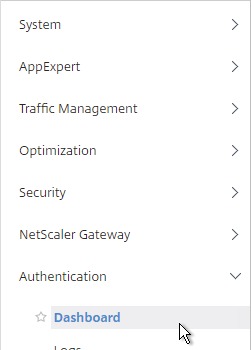
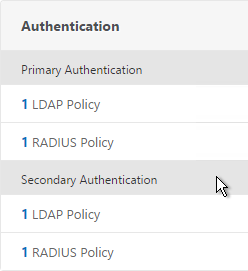
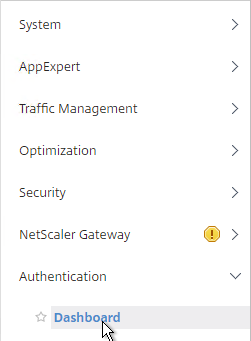
Authentication
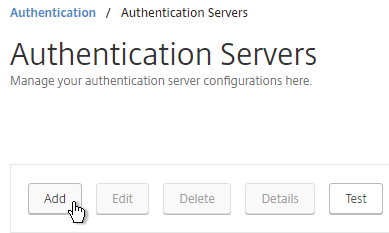
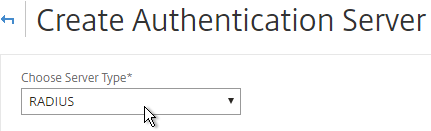
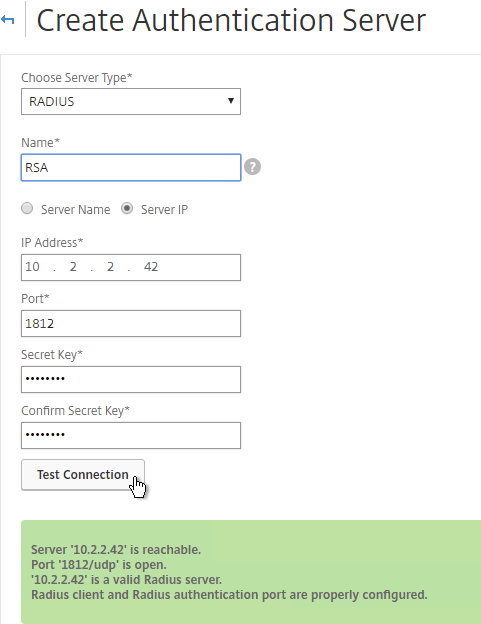
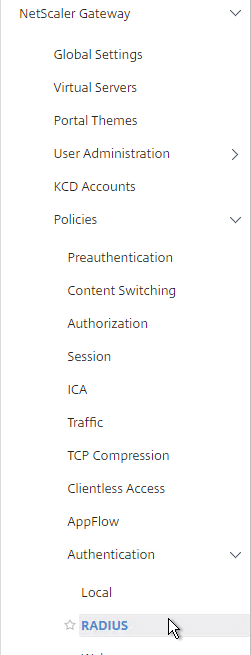
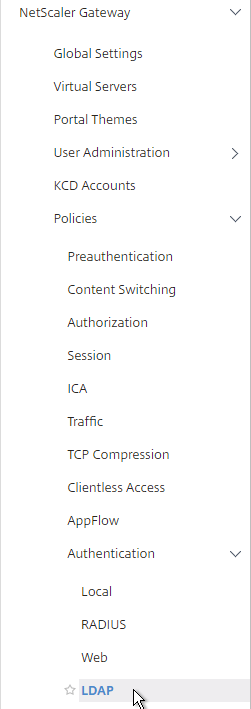
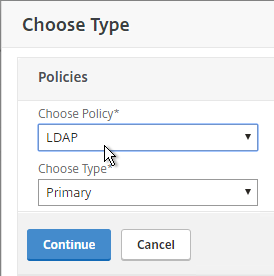
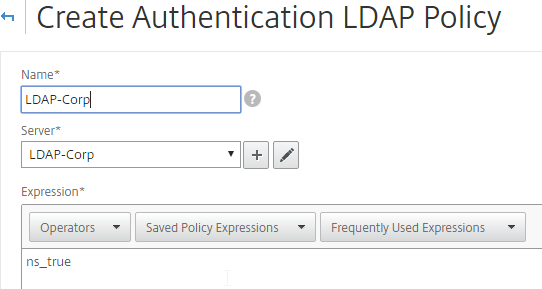
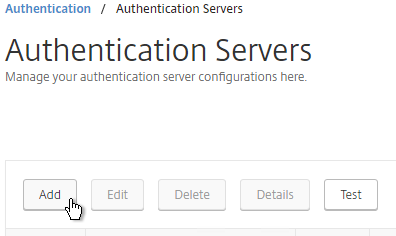
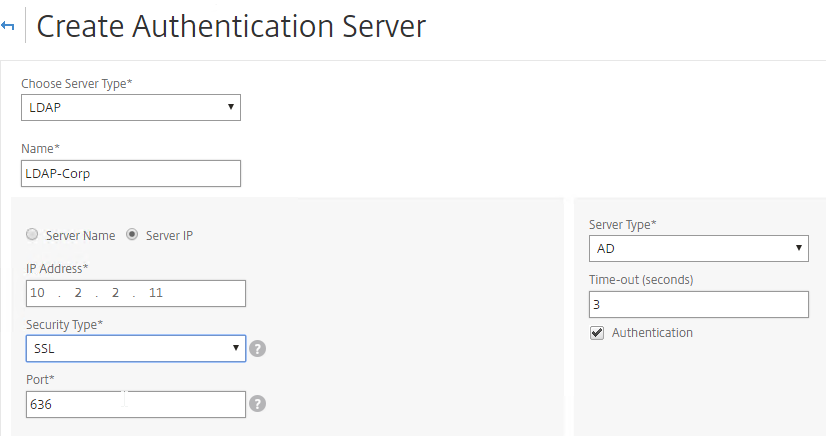
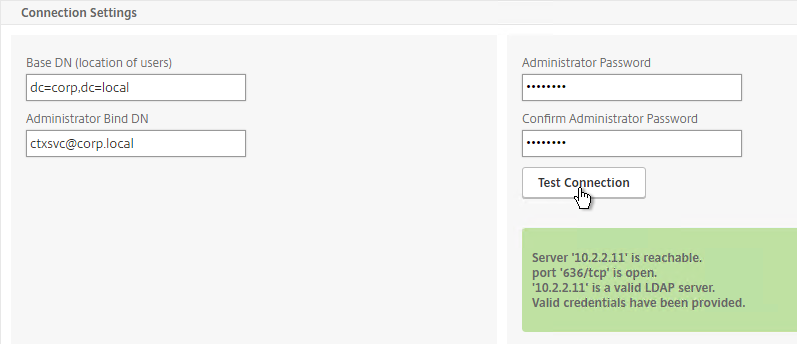
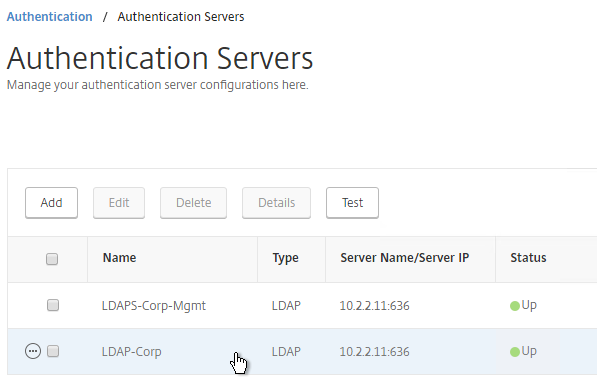
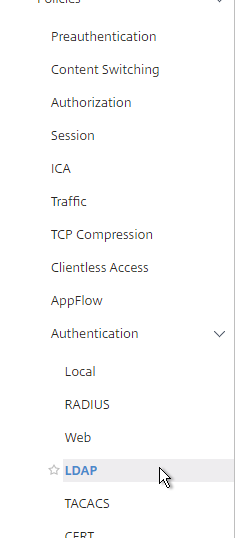
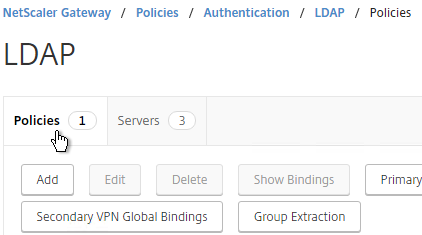
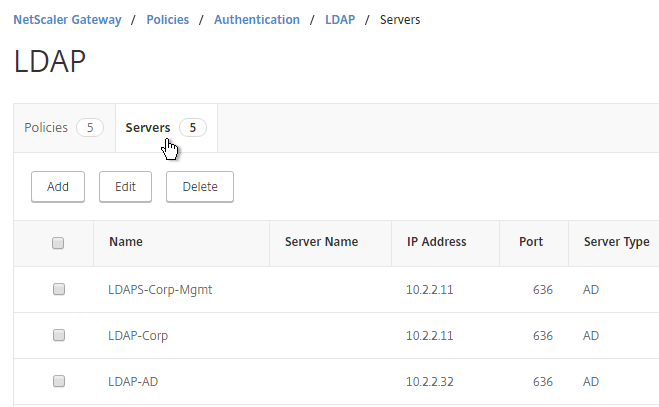
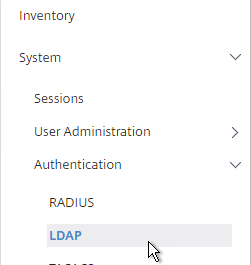
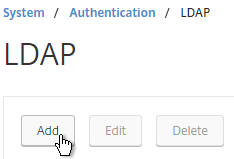
- On the left, expand System¸ expand Authentication, and click LDAP.
- On the right, click Add.
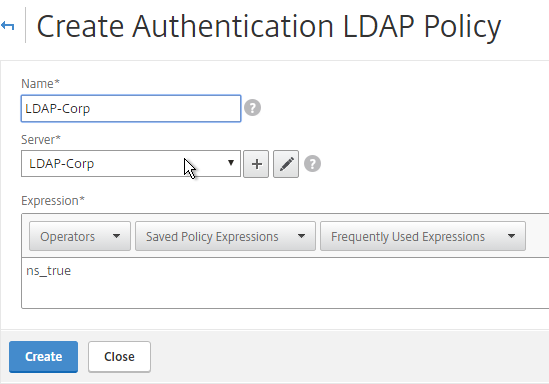
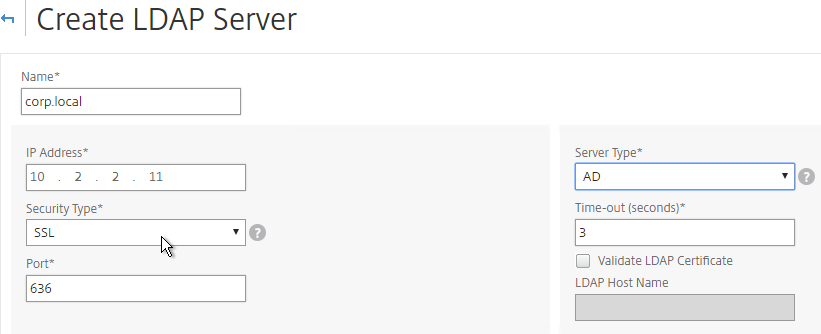
- This is configured identically to NetScaler. Enter a Load Balancing VIP for LDAP. Change the Security Type to SSL, and Port to 636. Scroll down.
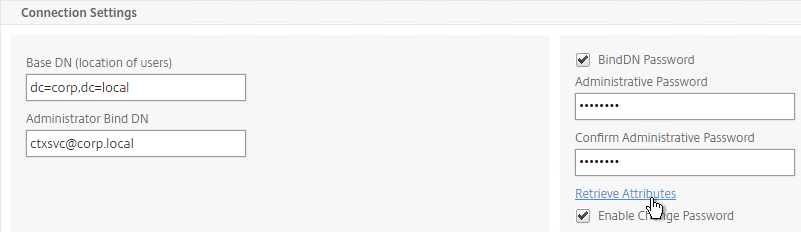
- Enter the bind account.
- Check the box for Enable Change Password.
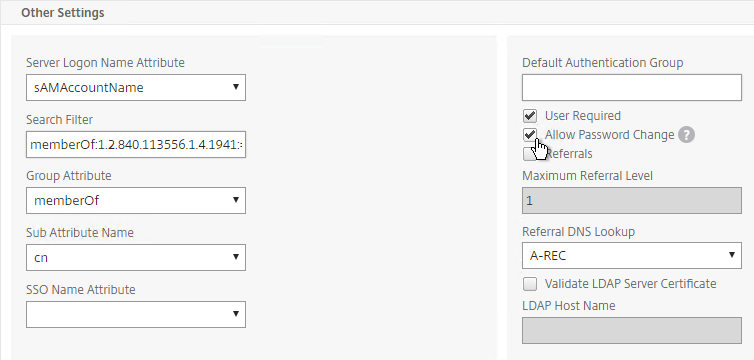
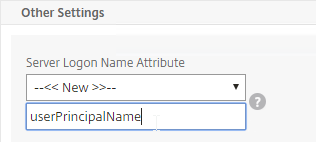
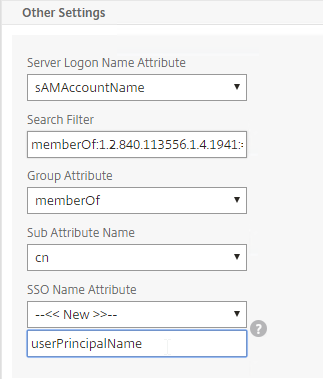
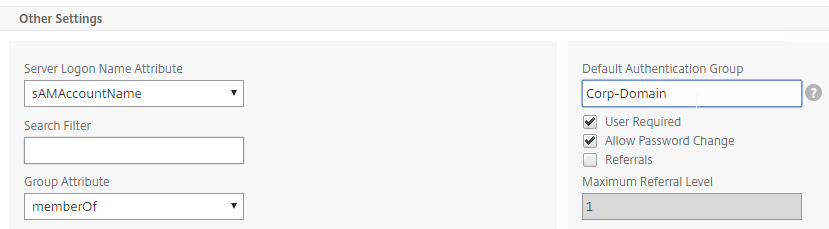
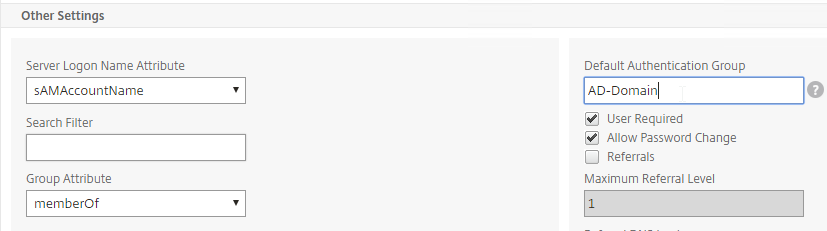
- Click Retrieve Attributes and scroll down.
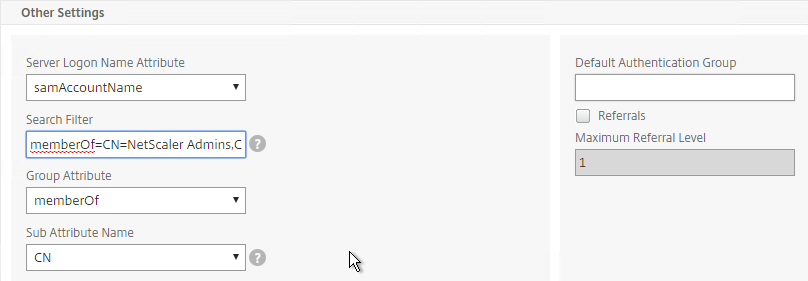
- For Server Logon Attribute, select sAMAccountName.
- For Group Attribute, select memberOf.
- For Sub Attribute Name, select cn.
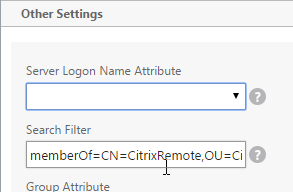
- To prevent unauthorized users from logging in, configure a Search Filter. Scroll down.
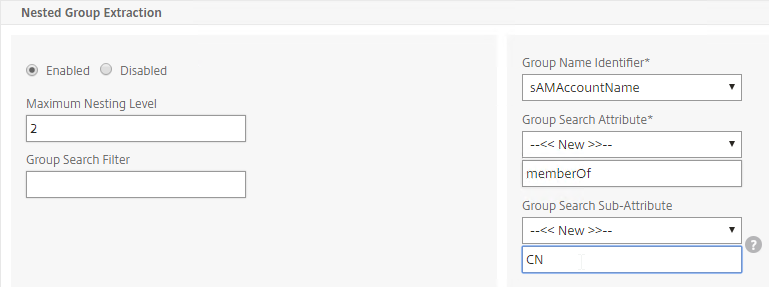
- If desired, configure Nested Group Extraction.
- Click Create.

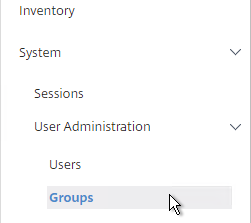
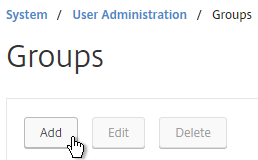
- On the left, expand User Administration, and click Groups.
- On the right, click Add.
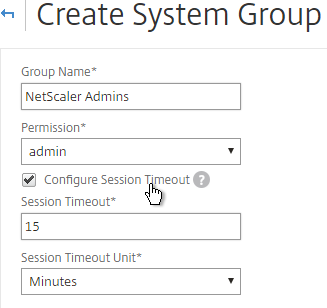
- Enter the case sensitive name of your NetScaler Admins group.
- Select the admin Permission.
- If desired, configure a Session Timeout. Click Create.

- On the left, under System, click User Administration.
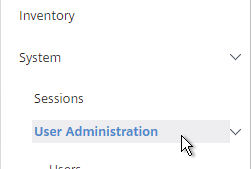
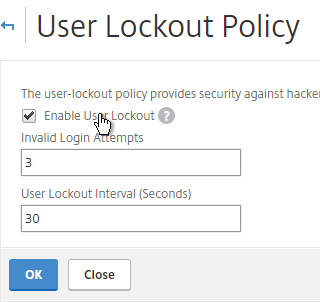
- On the right, click User Lockout Configuration.

- If desired, check the box next to Enable User Lockout, and configure the maximum logon attempts. Click OK.
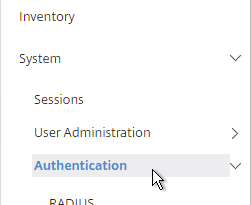
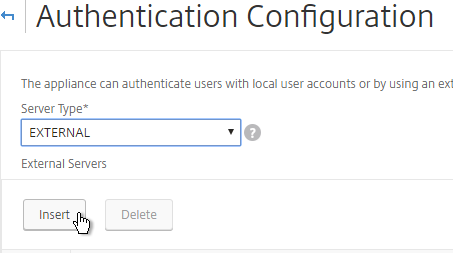
- On the left, under System, click Authentication.
- On the right, click Authentication Configuration.
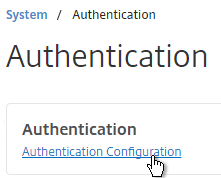
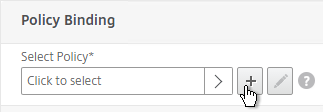
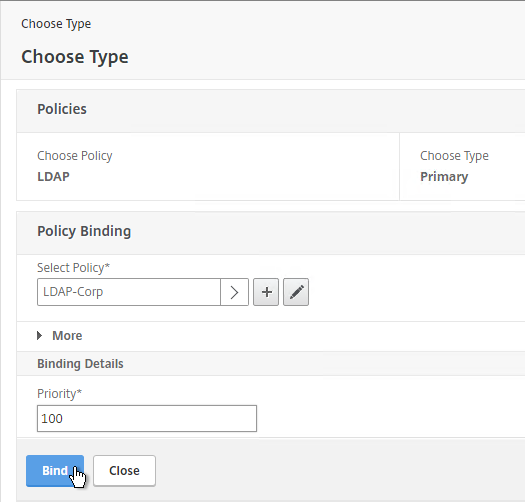
- Change the Server Type to EXTERNAL, and click Insert.
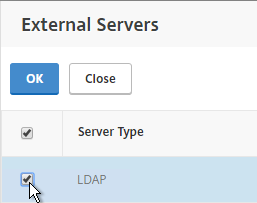
- Select the LDAP server you created earlier, and click OK.
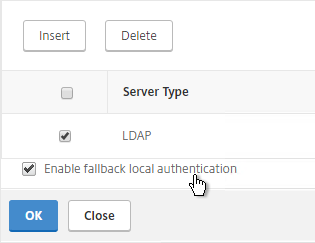
- Click OK.
Thresholds
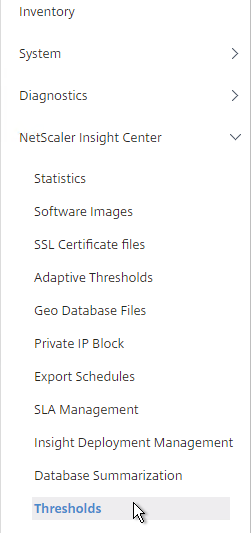
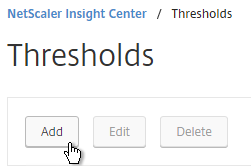
- Go to NetScaler Insight Center > Thresholds.
- On the right, click Add.
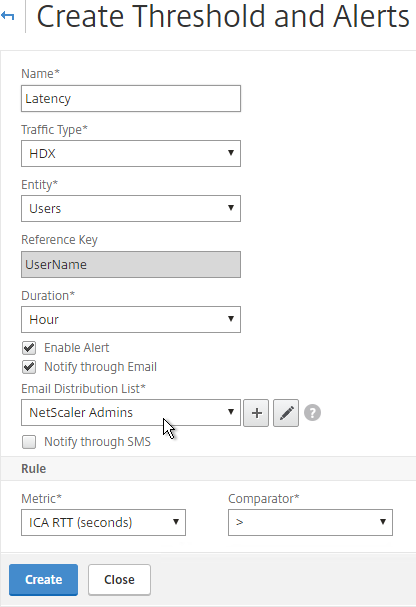
- Enter a name.
- For Traffic Type, select HDX.
- In the Entity drop-down, select a category of alerts. What you choose here determines what’s available in the Rule section.
- Check the box to Enable Alert.
- Check the box to Notify through Email.
- In the Rule section, select a rule, and enter threshold values. Click Create.
Geo Map
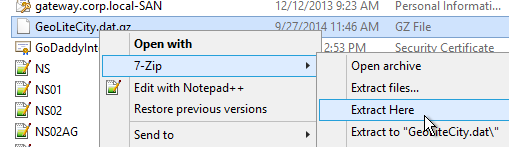
- Download the Maxmind database from http://geolite.maxmind.com/download/geoip/database/GeoLiteCity.dat.gz.
- Extract the .gz file.
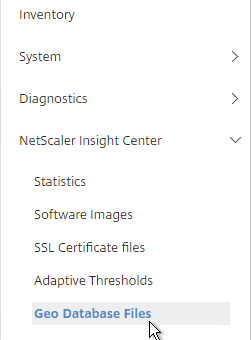
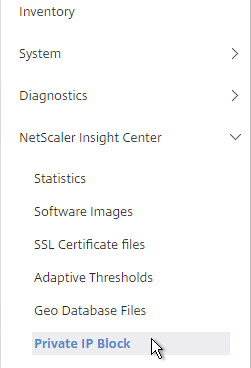
- On the Configuration tab, expand NetScaler Insight Center, and click Geo Database Files.
- On the right, click Upload.
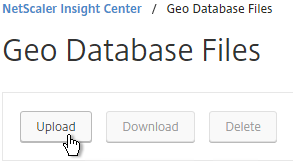
- Browse to the extracted GeoLiteCity.dat file and click Open.
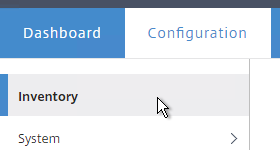
- Click the Inventory node.
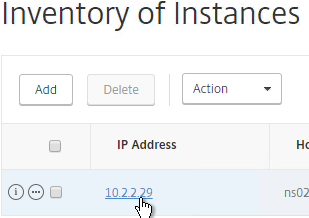
- Click the IP address for a device in the inventory.
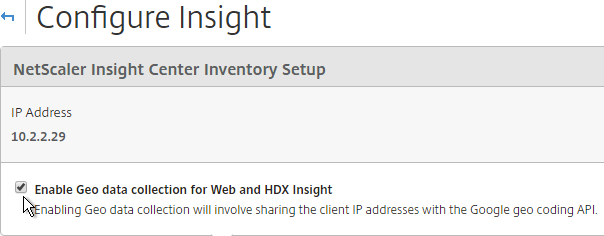
- Check the box to Enable Geo data collection for Web and HDX Insight.
- You can define Geo locations for internal subnets. Go to NetScaler Insight Center > Private IP Block.
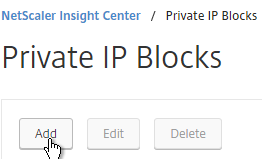
- On the right, click Add.
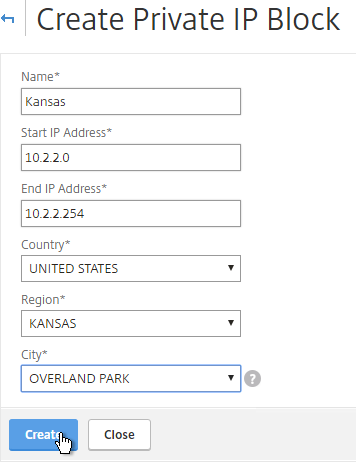
- Enter a name.
- Enter the starting and ending IP address.
- Select a Geo Location. Note that these are not necessarily alphabetical.
- Click Create.
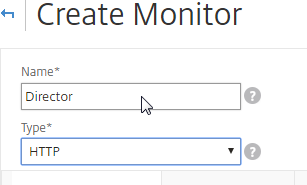
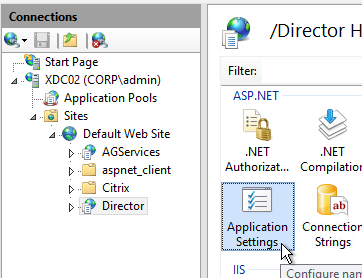
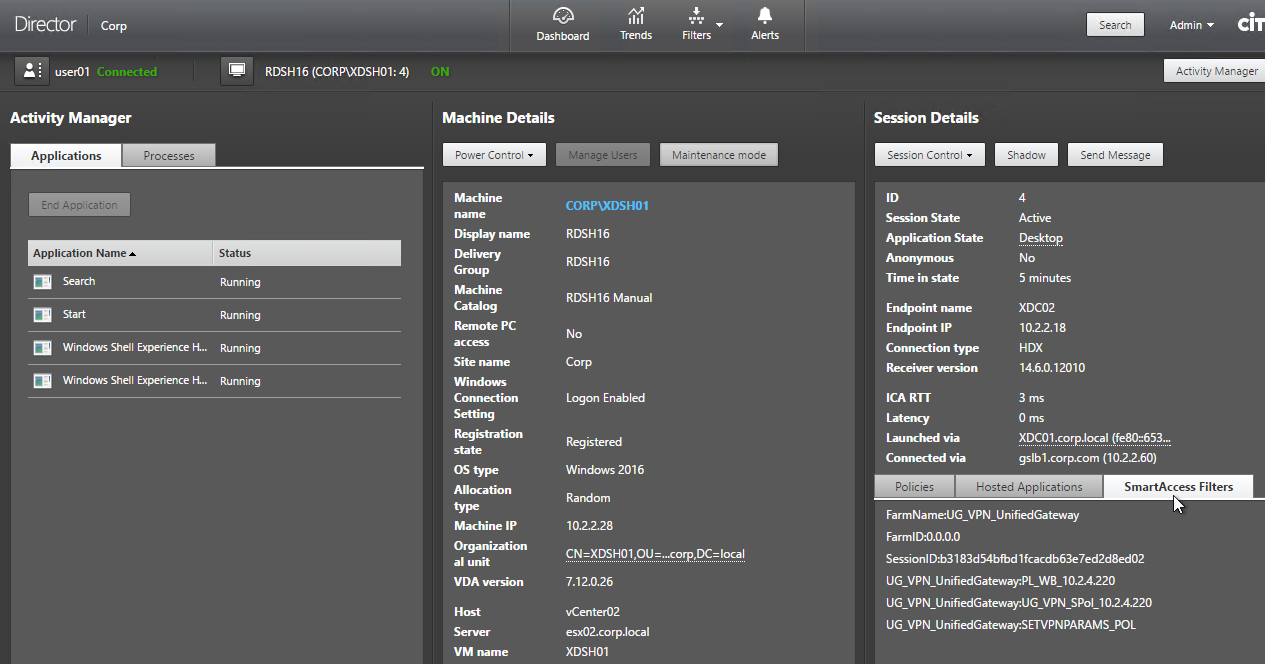
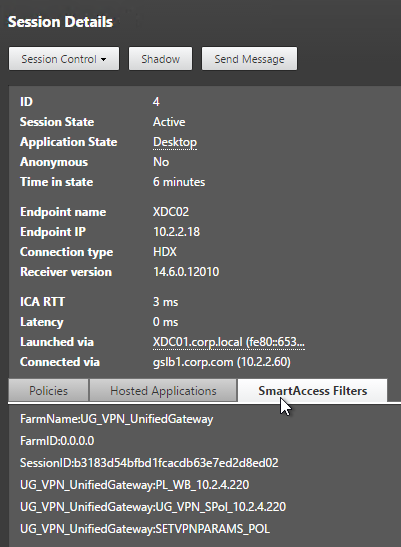
Director Integration
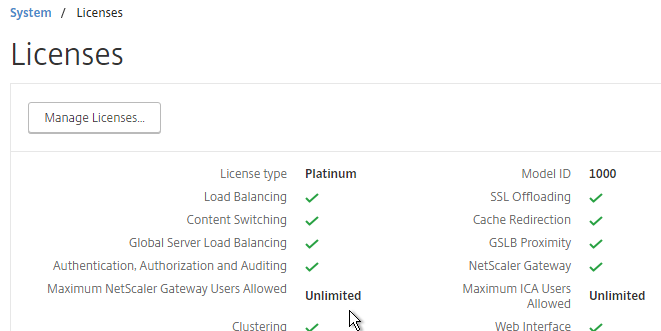
Integrating Insight Center with Director requires XenApp/XenDesktop to be licensed for Platinum Edition. The integration adds Network tabs to the Trends and Machine Details views.
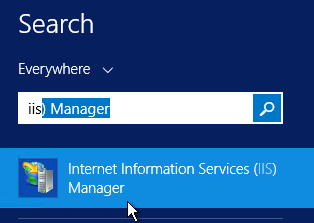
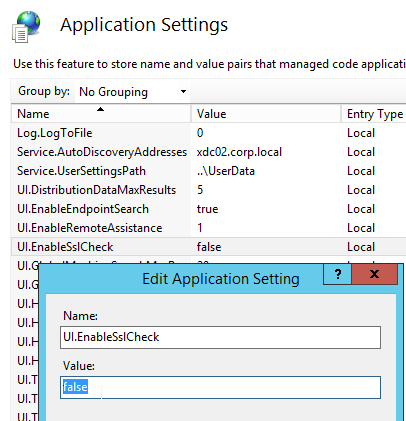
If using HTTPS to connect to Insight Center, then the Insight Center certificate must be valid and trusted by both the Director Server and the Director user’s browser.
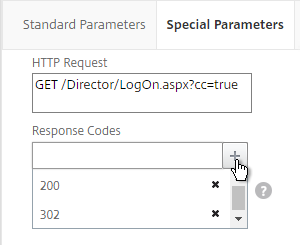
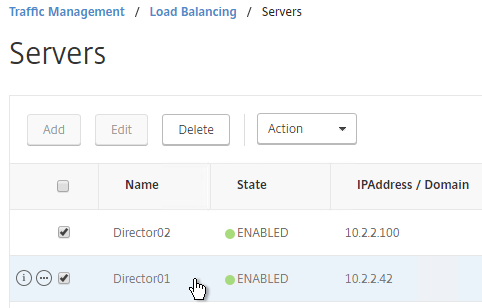
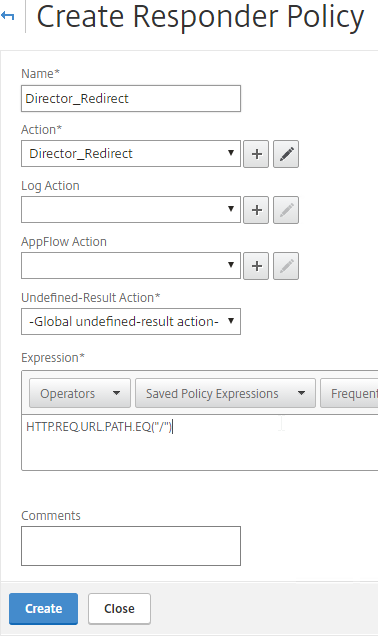
To link Citrix Director with NetScaler HDX Insight, on the Director server run C:\inetpub\wwwroot\Director\tools\DirectorConfig.exe /confignetscaler.
- If HTTPS (recommended), the Insight certificate must be valid and trusted.
- Enter 0 for Insight. Do this on both Director servers.

- Do this on both Director servers.
Use Insight Center
HDX Insight
HDX Insight Dashboard displays ICA session details including the following:
- WAN Latency
- DC Latency
- RTT (round trip time)
- Retransmits
- Application Launch Duration
- Client Type/Version
- Bandwidth
- Licenses in use
HDX Insight can also display Geo Maps. Configure Insight Center with Private IP Blocks.
More info at HDX Insight Reports and Use Cases: HDX Insight at Citrix Docs.
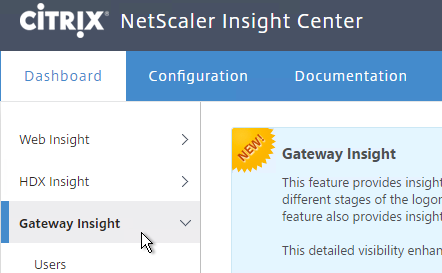
Gateway Insight
Insight Center has a new Gateway Insight dashboard.
This feature displays the following details:
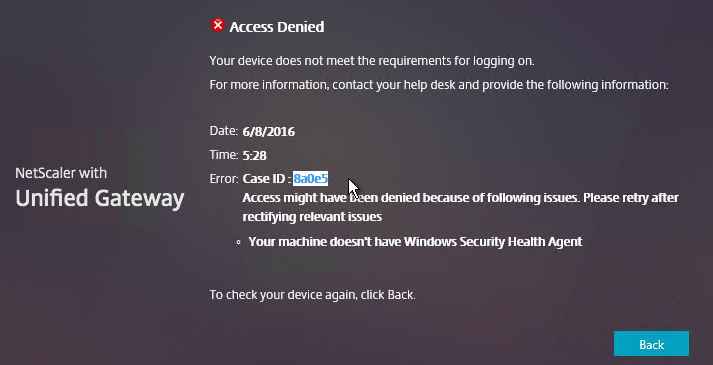
- Gateway connection failures due to failed EPA scans, failed authentication, failed SSON, or failed application launches.
- Bandwidth and Bytes Consumed for ICA and other applications accessed through Gateway.
- # of users
- Session Modes (clientless, VPN, ICA)
- Client Operating Systems
- Client Browsers
More details at Gateway Insight at Citrix Docs.
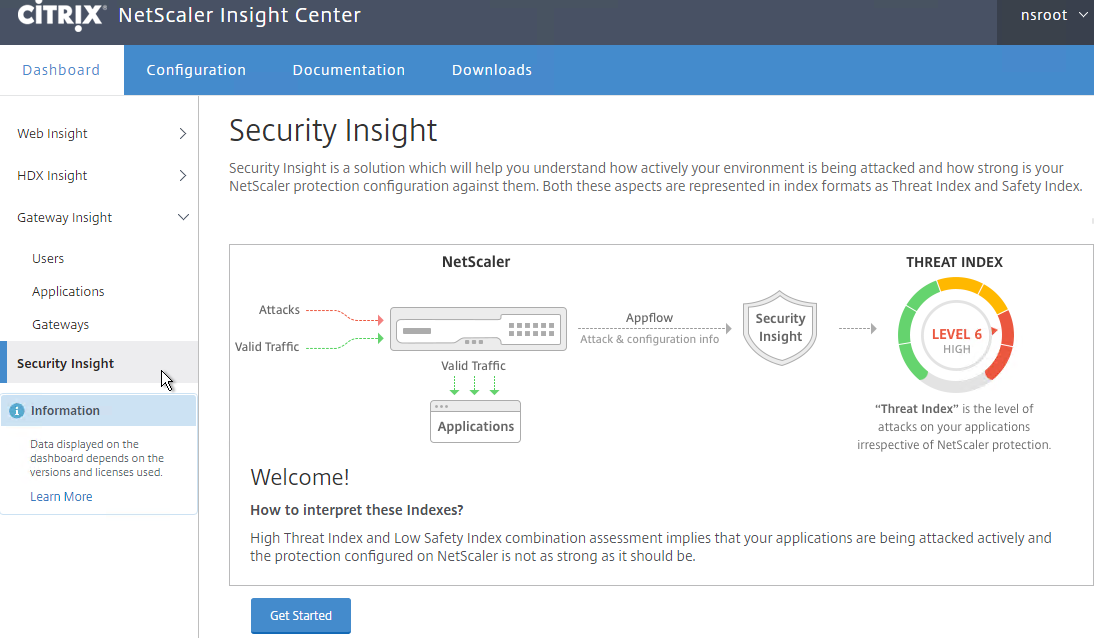
Security Insight
The new Security Insight dashboard uses data from Application Firewall to display Threat Index (criticality of attack), Safety Index (how securely NetScaler is configured), and Actionable Information. More info at Security Insight at Citrix Docs.
Troubleshooting
Citrix CTX215130 HDX Insight Diagnostics and Troubleshooting Guide: Syslog messages; Error counters; Troubleshooting checklist, Logs
Citrix Blog Post – NetScaler Insight Center – Tips, Troubleshooting and Upgrade
See Troubleshooting Tips at Citrix Docs. Here are sample issues covered in Citrix Docs:
- Can’t see records on Insight Center dashboard
- ICA RTT metrics are incorrect
- Can’t add NetScaler appliance to inventory
- Geo maps not displaying
Upgrade Insight Center
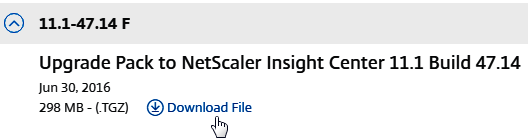
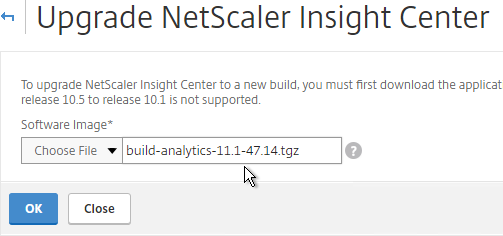
- Download the latest Upgrade Pack for Insight Center.
- Login to Insight Center.
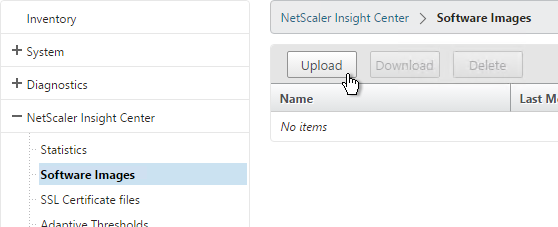
- If you are running Insight Center 10.5 or older, on the Configuration tab, go to NetScaler Insight Center > Software Images, and upload the file. If running Insight Center 11.0 or newer, you can skip this step.
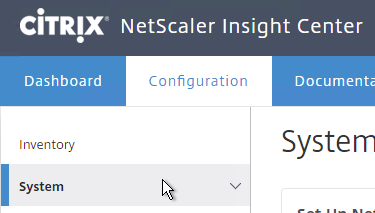
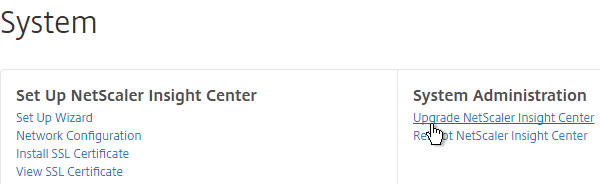
- On the Configuration tab, on the left, click the System node.
- On the right, in the right pane, click Upgrade NetScaler Insight Center.
- Browse to the build-analytics-11.1.tgz Software Image Upgrade Pack, and click OK.
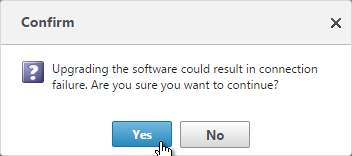
- Click Yes to reboot the appliance.
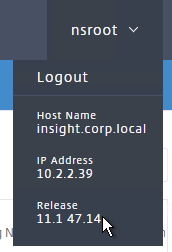
- After it reboots, login. The new firmware version will be displayed in the top right corner.