Navigation
This page contains the following topics:
- Planning
- Import Appliance into vSphere
- IP Configuration and Multi-Node
- Initial Web Configuration
- NSroot Password
- Management Certificate
- System Configuration
- Email Notifications
- Authentication
- Thresholds
- Geo Map
- Director Integration
- Use Insight Center – HDX Insight, Gateway Insight, Security Insight
- Troubleshooting
- Upgrade Insight Center
💡 = Recently Updated
Planning
Note: HDX Insight only works with Session Reliability on NetScaler 10.5 build 54 or newer. Older builds, including NetScaler 10.1, do not support Session Reliability with HDX Insight. Read the release notes for your NetScaler firmware build to see the latest known issues with AppFlow, Session Reliability, and High Availability.
Requirements for HDX Insight:
- Your NetScaler appliance must be running Enterprise Edition or Platinum Edition.
- NetScaler must be 10.1 or newer. Insight Center 11.1 does work with NetScaler 10.5 and NetScaler 11.0.
- HDX Insight works with the following Receivers:
- Receiver for Windows must be 3.4 or newer.
- Receiver for Mac must be 11.8 or newer.
- Receiver for Linux must be 13 or newer.
- Notice no mobile Receivers. See the Citrix Receiver Feature Matrix for the latest details.
- ICA traffic must flow through a NetScaler appliance:
- One method is to implement ICA Proxy through NetScaler Gateway. You can even do this internally. However Single Sign-on does not work through NetScaler Gateway. To use ICA Proxy without authenticating at NetScaler Gateway, see CTX200129 – How to Force Connections through NetScaler Gateway Using Optimal Gateways Feature of StoreFront.
- Another method is to route ICA traffic through a NetScaler SNIP and use the NetScaler as a router. Citrix Blog Post – How to Deploy NetScaler Insight Center with Policy Based Routing
- Citrix Docs How NetScaler Insight Center is Deployed in a Network – Transparent Mode, NetScaler Gateway Single-Hop and Double-Hop, LAN User Mode (NetScaler as SOCKS Proxy), CloudBridge, Multi-Hop (NetScaler and CloudBridge with connection chaining)
- New in NetScaler 11 is the ability to use SOCKS proxy (Cache Redirection) for ICA traffic without requiring users to use NetScaler Gateway and without making any routing changes. You configure this on the NetScaler appliance. See Citrix Blog Post Gathering HDX Insight Analytics for LAN Users with NetScaler Using SOCKS for more information.
For ICA round trip time calculations, in a Citrix Policy, enable the following settings:
- ICA > End User Monitoring > ICA Round Trip Calculation
- ICA > End User Monitoring > ICA Round Trip Calculation Interval
- ICA > End User Monitoring > ICA Round Trip Calculation for Idle Connections
Citrix CTX204274 How ICA RTT is calculated on NetScaler Insight: ICA RTT constitutes the actual application delay. ICA_RTT = 1 + 2 + 3 + 4 +5 +6:
- Client OS introduced delay
- Client to NS introduced network delay (Wan Latency)
- NS introduced delay in processing client to NS traffic (Client Side Device Latency)
- NS introduced delay in processing NS to Server (XA/XD) traffic (Server Side Device Latency)
- NS to Server network delay (DC Latency)
- Server (XA/XD) OS introduced delay (Host Delay)
The version/build of Insight Center must be the same or newer than the version/build of the NetScaler appliances.
Citrix whitepaper – NetScaler Insight Center Deployment & Sizing Guide: virtual machine sizing, firewall rules, licensing, Receiver versions, etc.
Import Appliance
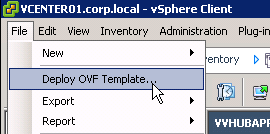
You can use either the vSphere Client or the vSphere Web Client to import the appliance. In vSphere Client, open the File menu and click Deploy OVF Template. vSphere Web Client instructions are shown below.
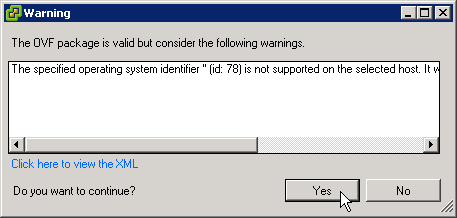
You might see this operating system error when not using the vSphere Web Client. Click Yes and proceed. It seems to work.
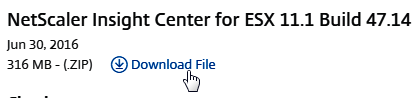
- Download Insight Center for ESX, and then extract the .zip file.
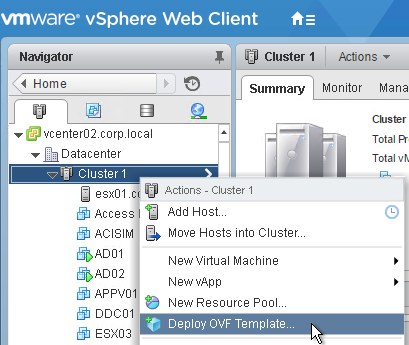
- In vSphere Web Client, right-click a cluster, and click Deploy OVF Template.
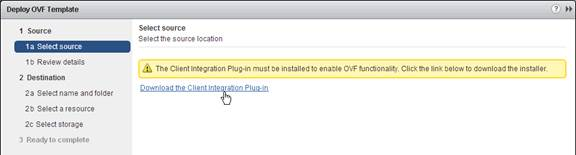
- In the Select source page, if you see a message regarding the Client Integration Plug-in, download the installer, run it, and then return to this wizard.
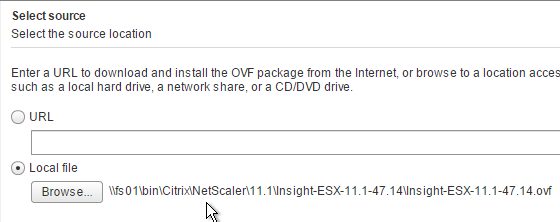
- In the Select source page, select Local file, and browse to the NetScaler Insight .ovf file. Click Next.
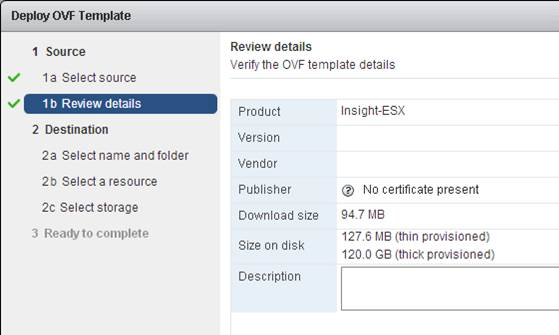
- In the Review details page, click Next.
- In the Select name and folder page, enter a name for the virtual machine and select an inventory folder. Then click Next.

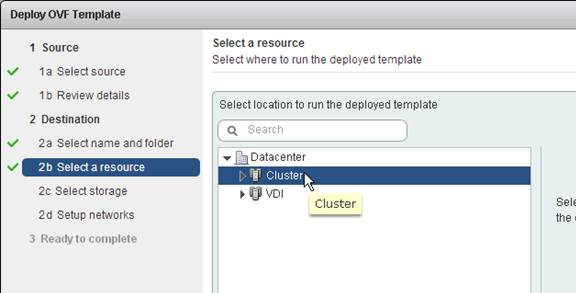
- In the Select a resource page, select a cluster or resource pool and click Next.
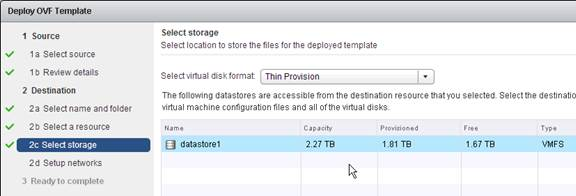
- In the Select storage page, change it to Thin Provision.
- Select a datastore and click Next.
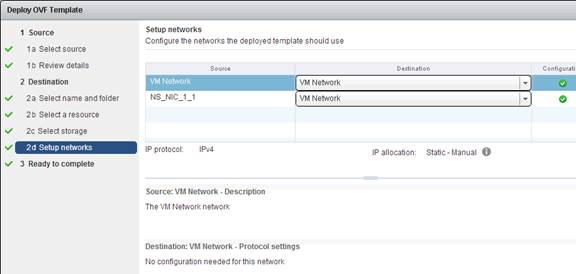
- In the Setup networks page, choose the same valid port group for both NICs. Click Finish.
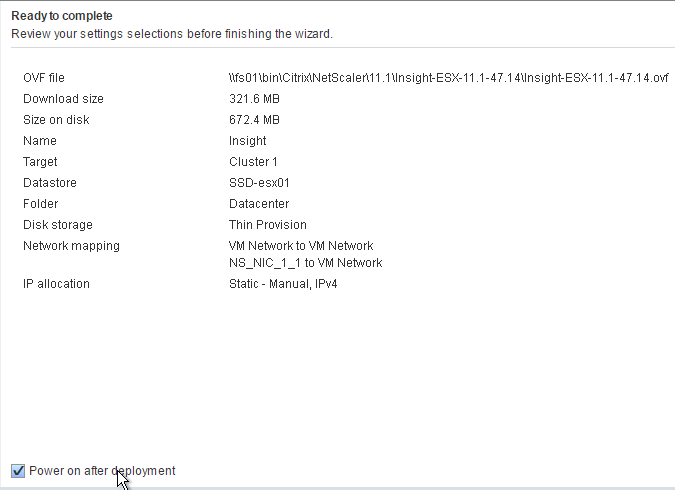
- In the Ready to Complete page, click Finish.
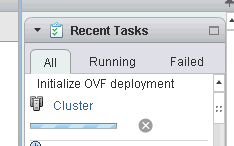
- View the progress of the import in the Recent Tasks pane at the top-right of the window.
- After the appliance is imported, power it on.
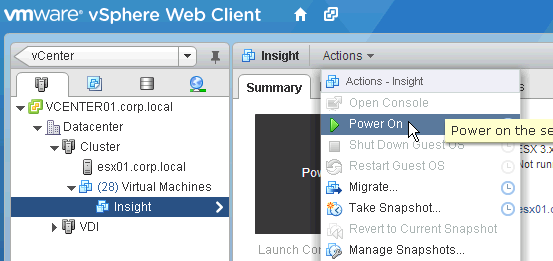
IP Configuration and Multi-Node
- Open the console of the virtual machine and configure an IP address.
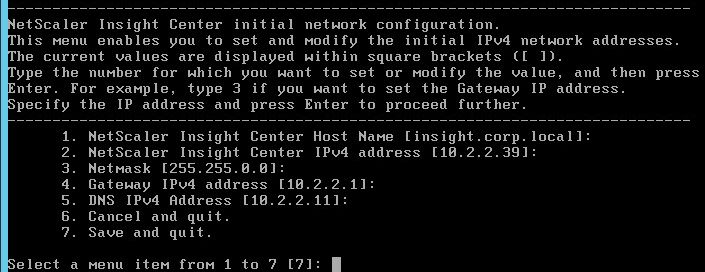
- Enter 7 when done.
- When prompted for Insight Deployment Type, enter 1 for NetScaler Insight Server. The first appliance must always be NetScaler Insight Server.
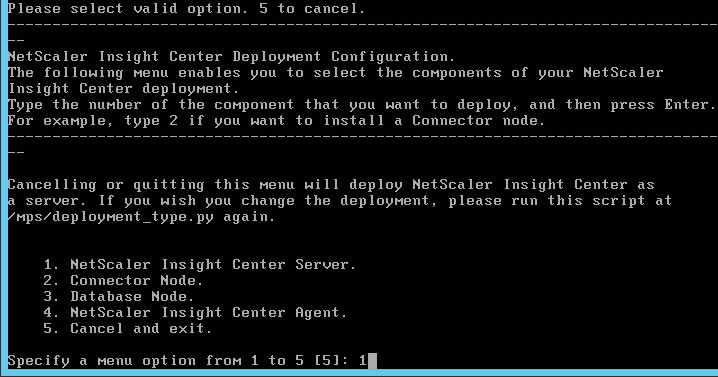
- Enter Yes to reboot.

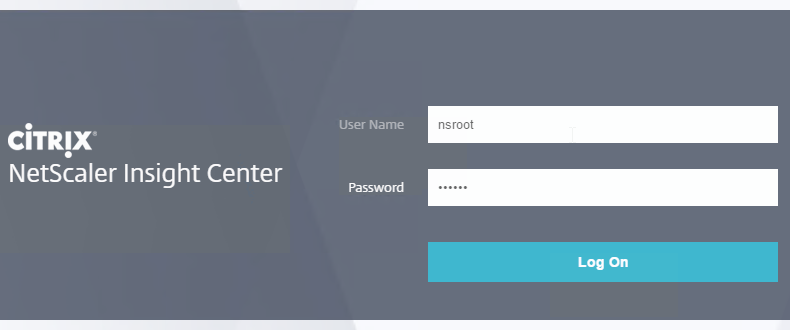
Initial Web Configuration – Add Devices
- Point your browser to the Insight IP address and login as nsroot/nsroot.
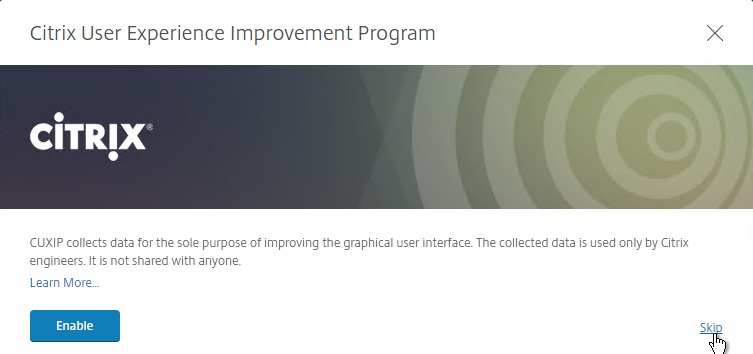
- If you see the Customer User Experience Improvement Program, click Skip or Enable.
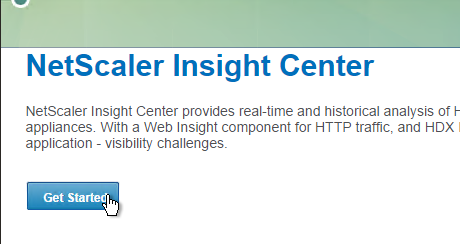
- Click Get Started
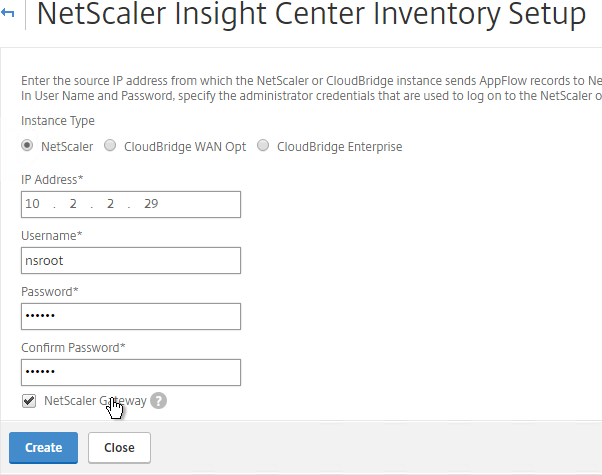
- Enter the IP address and credentials of a NetScaler appliance.
- Check the box next to NetScaler Gateway, and click Add. Note: Insight Center 11.1 defaults to using https for the NSIP communication.
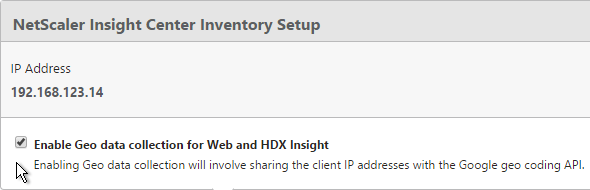
- At the top of the page, if desired, check the box next to Enable Geo data collection for Web and HDX Insight.
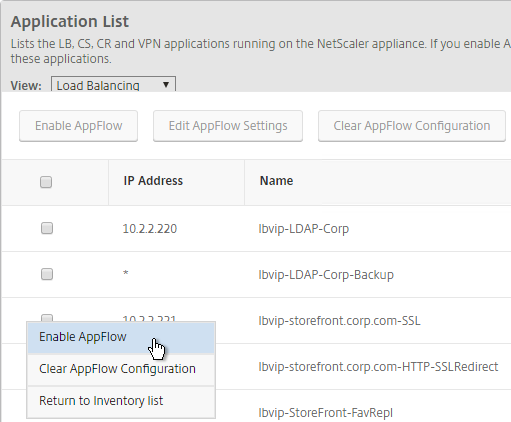
- With Load Balancing selected in the View list, click the ellipsis next to your StoreFront load balancer, and click Enable AppFlow.
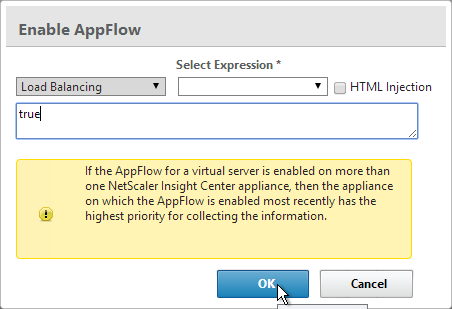
- Type in true, and click OK.
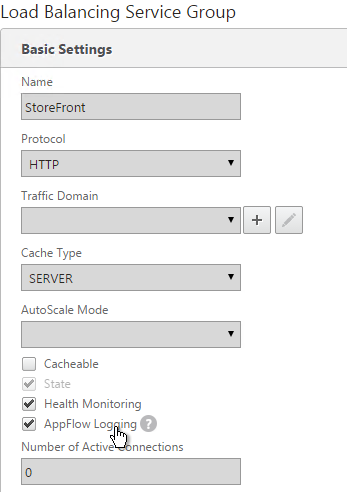
- Note: if your StoreFront Load Balancing vServer uses Service Groups, you might need to enable AppFlow logging on the Service Group. In the NetScaler GUI, edit the Service Group. In the Basic Settings section, check the box next to AppFlow Logging.
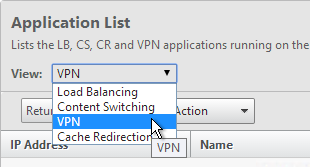
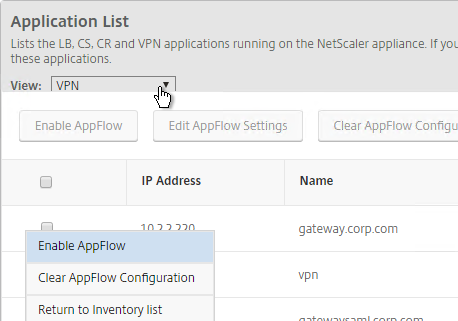
- Back in Insight Center, use the View drop-down to select VPN.
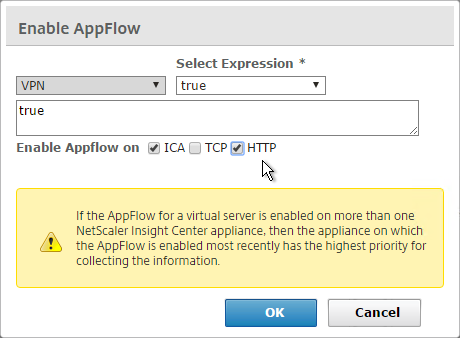
- Click the ellipsis next to a NetScaler Gateway Virtual Server, and click Enable AppFlow.
- In the Select Expression drop-down, select true.
- For Export Option, select ICA, HTTP, and click OK. The HTTP option is for Gateway Insight.
- The TCP option is for the second appliance in double-hop ICA. If you need double-hop, then you’ll also need to run
set appflow param -connectionChaining ENABLEDon both appliances. See Enabling Data Collection for NetScaler Gateway Appliances Deployed in Double-Hop Mode at Citrix Docs for more information.
- New in NetScaler 11 is the ability to use SOCKS proxy (Cache Redirection) for ICA traffic without requiring users to use NetScaler Gateway and without making any routing changes. You configure this on the NetScaler appliance. See Enabling Data Collection for Monitoring NetScaler ADCs Deployed in LAN User Mode at Citrix Docs for more information.
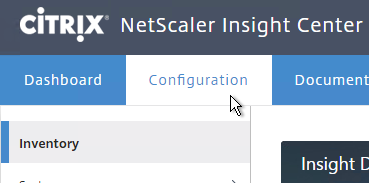
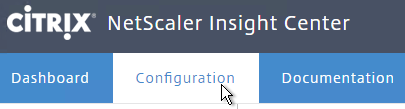
- If you want to add more appliances, click the Configuration tab. The Inventory node will be selected by default.
- On the right, click Add.

Citrix Blog Post – NetScaler Insight Center – Tips, Troubleshooting and Upgrade
Nsroot Password
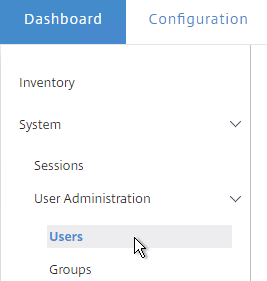
- On the Configuration tab, expand System, expand User Administration, and click Users.
- On the right, highlight the nsroot account, and click Edit.
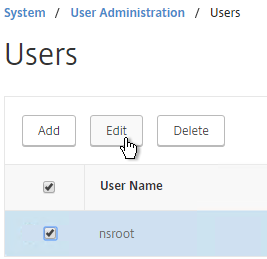
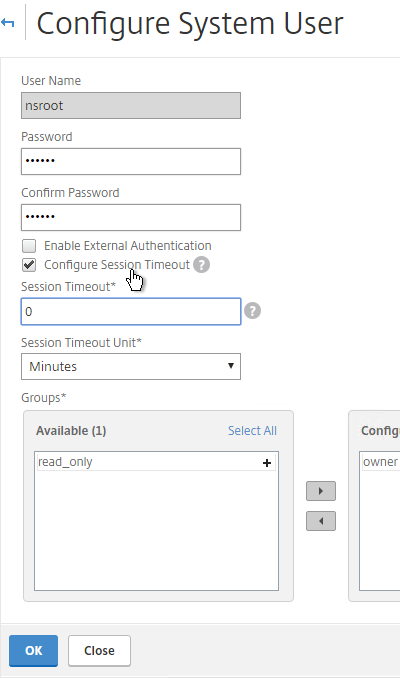
- Enter a new password.
- You can also specify a session timeout. Click OK.
Management Certificate
The certificate to upload must already be in PEM format. If you have a .pfx, you must convert it to PEM (separate certificate and key files). You can use NetScaler to convert the .pfx, and then download the converted certificate from the appliance.
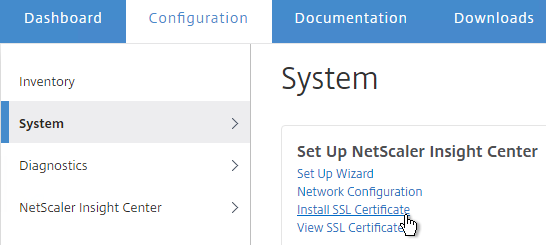
- On the left, switch to the System node.
- In the right pane, in the left column, click Install SSL Certificate.
- Browse to the PEM format certificate and key files. If the keyfile is encyrpted, enter the password. Click OK.
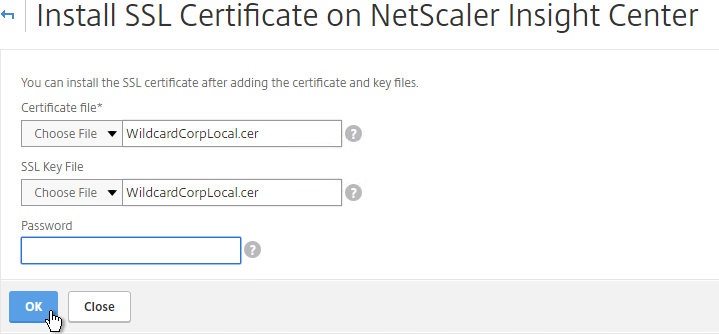
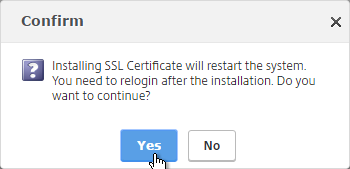
- Click Yes to reboot the system.
System Configuration
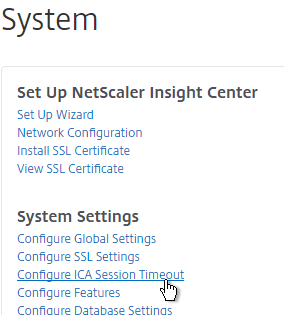
- Click the Configuration tab on the top of the page.
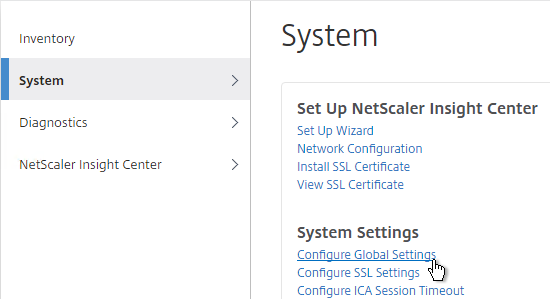
- On the left, click the System node.
- On the right, modify settings as desired. Start with Configure Global Settings.
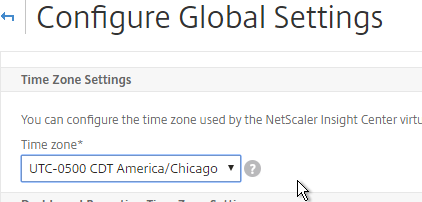
- At the top of the page, configure the Time Zone.
- If you scroll down, there’s a Enable Session Timeout option. Click OK when done.
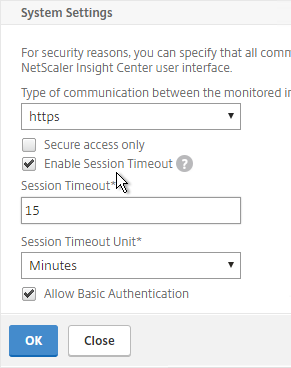
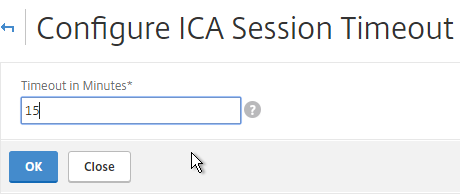
- The ICA Session Timeout can be configured by clicking the link. Two minutes of non-existent traffic must occur before the session is considered idle. Then this idle timer starts. See Managing ICA Sessions at Citrix Docs for more information
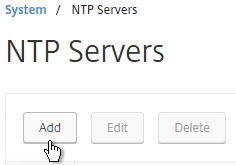
- On the left, expand System, and click NTP Servers.
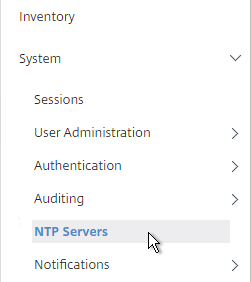
- On the right, click Add.
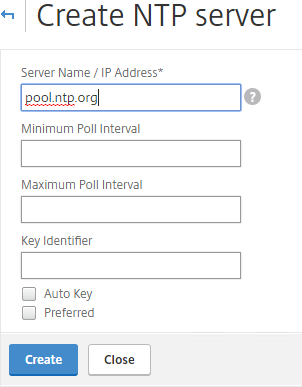
- Enter an NTP address, and click Create.
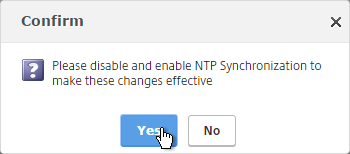
- Click Yes to confirm.
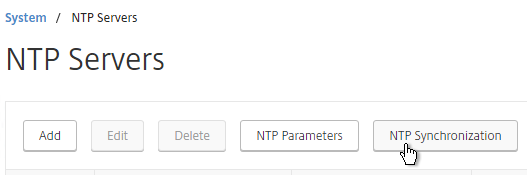
- After adding NTP servers, click NTP Synchronization.
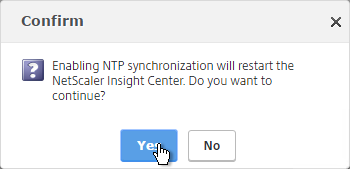
- Check the box next to Enable NTP Sync, and click OK.
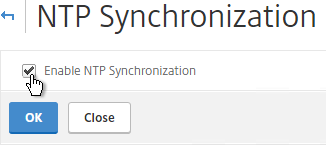
- Click Yes to restart.
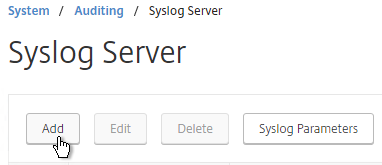
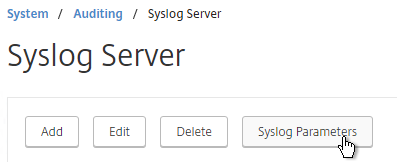
- On the left, expand Auditing, and click Syslog Servers.

- On the right, click Add.
- Enter the syslog server IP address, and select Log Levels. Click Create.
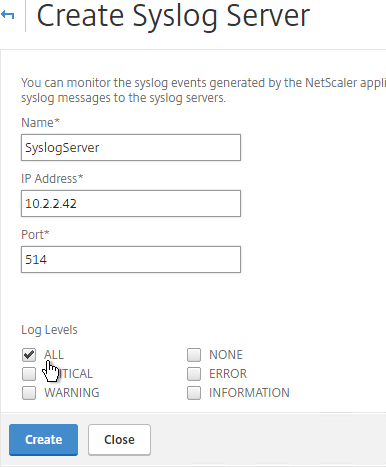
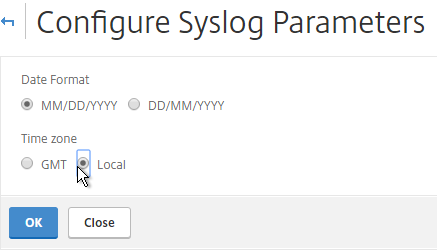
- On the right, you can click Syslog Parameters to change the timezone and date format.
Email Notifications
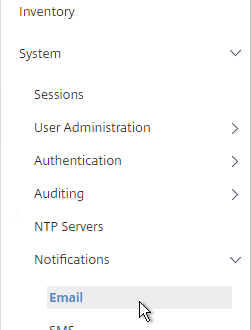
- On the left, expand System, expand Notifications, and click Email.
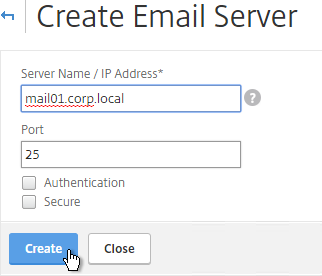
- On the right, on the Email Servers tab, click Add.
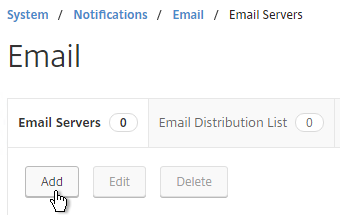
- Enter the SMTP server address, and click Create.
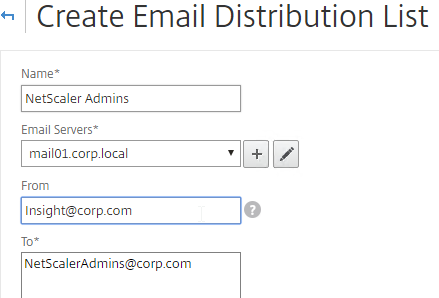
- On the right, switch to the Email Distribution List tab, and click Add.

- Enter an address for a destination distribution list, and click Create.
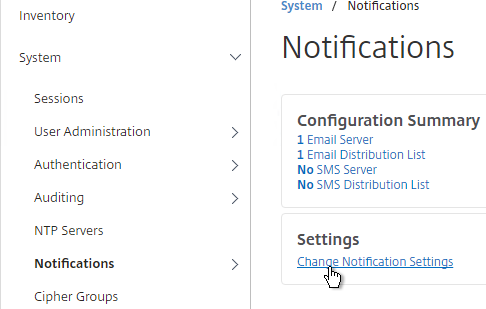
- If you click Notifications on the left, on the right, there’s Change Notification Settings.
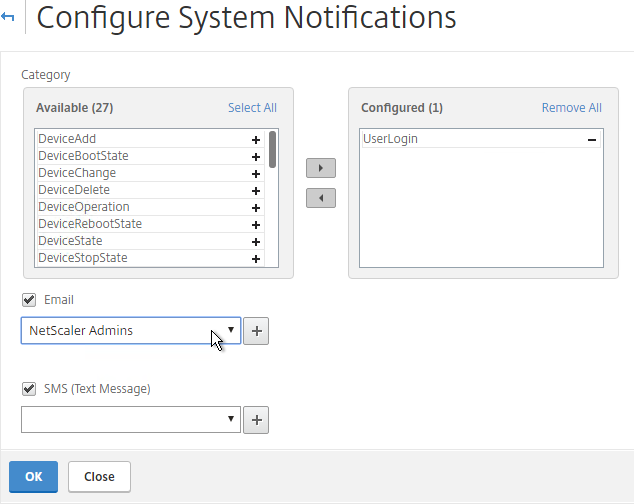
- Choose the notifications you wish to receive by moving them from left to right.
- In the Email drop-down, select the Distribution List you created earlier.
- Click OK when done.
Authentication
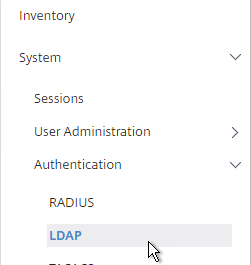
- On the left, expand System¸ expand Authentication, and click LDAP.
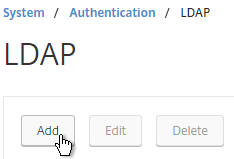
- On the right, click Add.
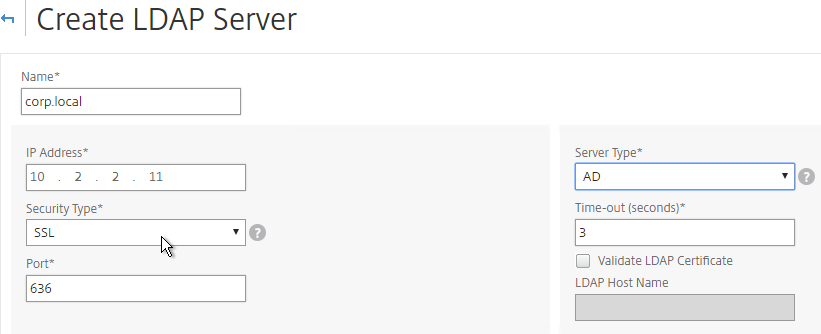
- This is configured identically to NetScaler. Enter a Load Balancing VIP for LDAP. Change the Security Type to SSL, and Port to 636. Scroll down.
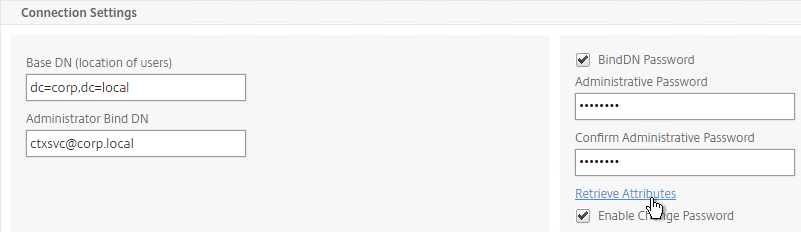
- Enter the bind account.
- Check the box for Enable Change Password.
- Click Retrieve Attributes and scroll down.
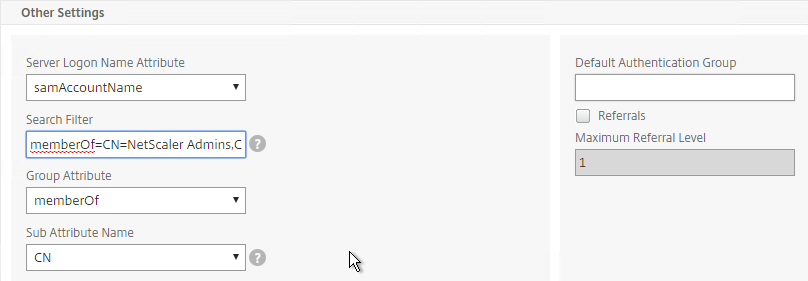
- For Server Logon Attribute, select sAMAccountName.
- For Group Attribute, select memberOf.
- For Sub Attribute Name, select cn.
- To prevent unauthorized users from logging in, configure a Search Filter. Scroll down.
- If desired, configure Nested Group Extraction.
- Click Create.

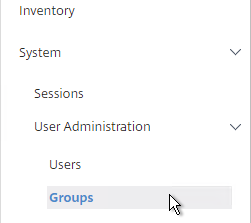
- On the left, expand User Administration, and click Groups.
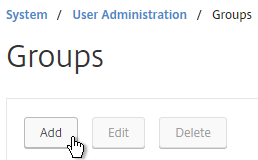
- On the right, click Add.
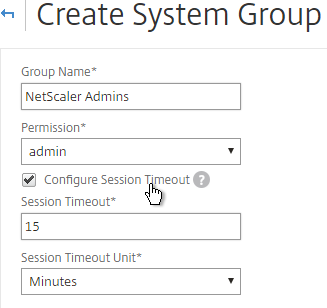
- Enter the case sensitive name of your NetScaler Admins group.
- Select the admin Permission.
- If desired, configure a Session Timeout. Click Create.

- On the left, under System, click User Administration.
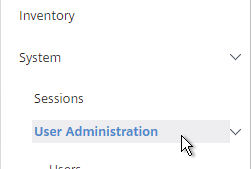
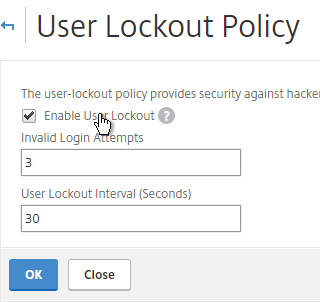
- On the right, click User Lockout Configuration.

- If desired, check the box next to Enable User Lockout, and configure the maximum logon attempts. Click OK.
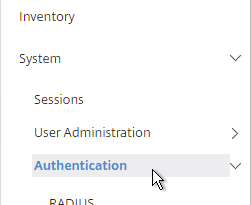
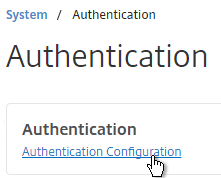
- On the left, under System, click Authentication.
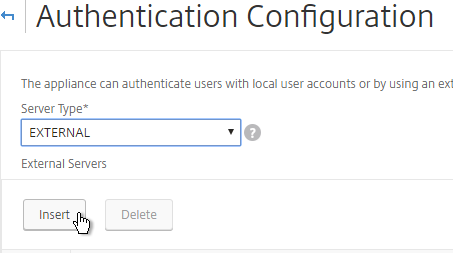
- On the right, click Authentication Configuration.
- Change the Server Type to EXTERNAL, and click Insert.
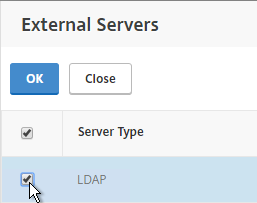
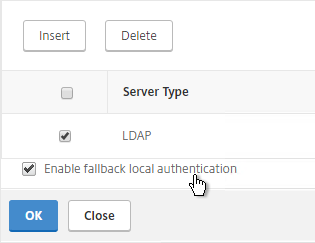
- Select the LDAP server you created earlier, and click OK.
- Click OK.
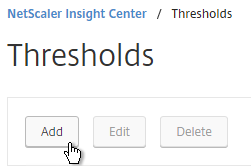
Thresholds
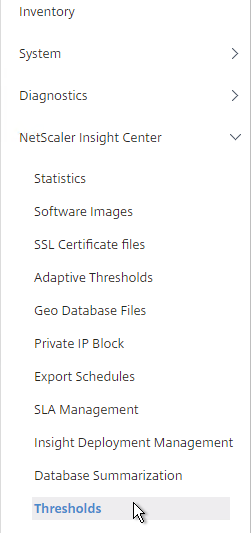
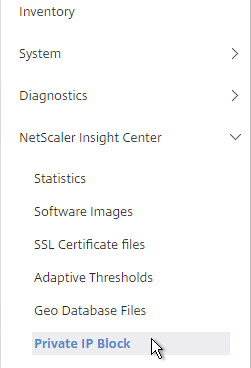
- Go to NetScaler Insight Center > Thresholds.
- On the right, click Add.
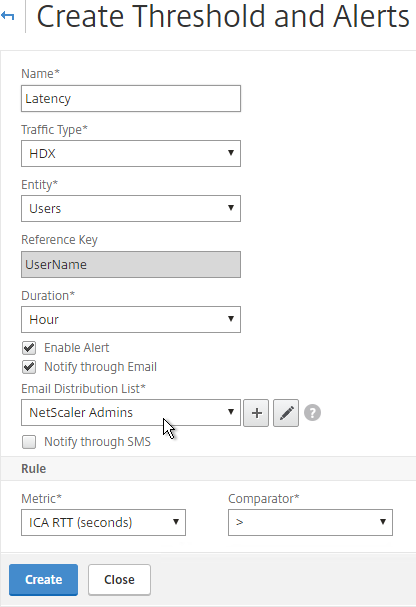
- Enter a name.
- For Traffic Type, select HDX.
- In the Entity drop-down, select a category of alerts. What you choose here determines what’s available in the Rule section.
- Check the box to Enable Alert.
- Check the box to Notify through Email.
- In the Rule section, select a rule, and enter threshold values. Click Create.
Geo Map
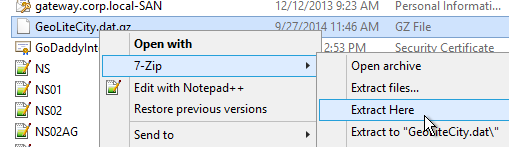
- Download the Maxmind database from http://geolite.maxmind.com/download/geoip/database/GeoLiteCity.dat.gz.
- Extract the .gz file.
- On the Configuration tab, expand NetScaler Insight Center, and click Geo Database Files.
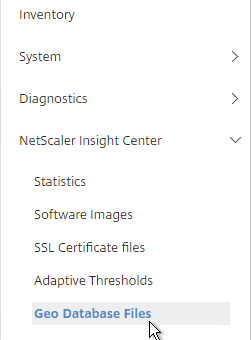
- On the right, click Upload.
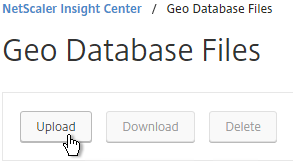
- Browse to the extracted GeoLiteCity.dat file and click Open.
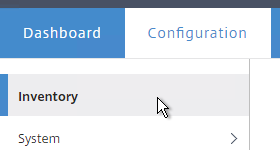
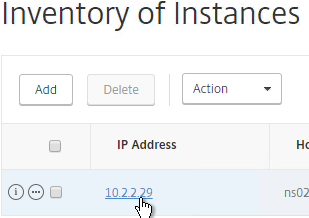
- Click the Inventory node.
- Click the IP address for a device in the inventory.
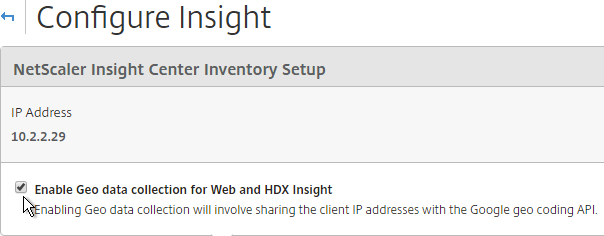
- Check the box to Enable Geo data collection for Web and HDX Insight.
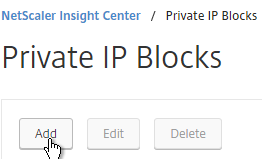
- You can define Geo locations for internal subnets. Go to NetScaler Insight Center > Private IP Block.
- On the right, click Add.
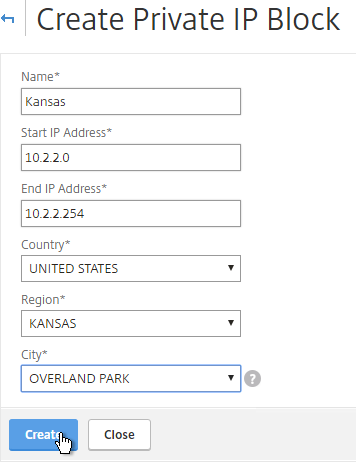
- Enter a name.
- Enter the starting and ending IP address.
- Select a Geo Location. Note that these are not necessarily alphabetical.
- Click Create.
Director Integration
Integrating Insight Center with Director requires XenApp/XenDesktop to be licensed for Platinum Edition. The integration adds Network tabs to the Trends and Machine Details views.
If using HTTPS to connect to Insight Center, then the Insight Center certificate must be valid and trusted by both the Director Server and the Director user’s browser.
To link Citrix Director with NetScaler HDX Insight, on the Director server run C:\inetpub\wwwroot\Director\tools\DirectorConfig.exe /confignetscaler.
- If HTTPS (recommended), the Insight certificate must be valid and trusted.
- Enter 0 for Insight. Do this on both Director servers.

- Do this on both Director servers.
Use Insight Center
HDX Insight
HDX Insight Dashboard displays ICA session details including the following:
- WAN Latency
- DC Latency
- RTT (round trip time)
- Retransmits
- Application Launch Duration
- Client Type/Version
- Bandwidth
- Licenses in use
HDX Insight can also display Geo Maps. Configure Insight Center with Private IP Blocks.
More info at HDX Insight Reports and Use Cases: HDX Insight at Citrix Docs.
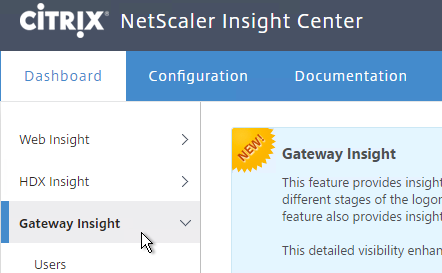
Gateway Insight
Insight Center has a new Gateway Insight dashboard.
This feature displays the following details:
- Gateway connection failures due to failed EPA scans, failed authentication, failed SSON, or failed application launches.
- Bandwidth and Bytes Consumed for ICA and other applications accessed through Gateway.
- # of users
- Session Modes (clientless, VPN, ICA)
- Client Operating Systems
- Client Browsers
More details at Gateway Insight at Citrix Docs.
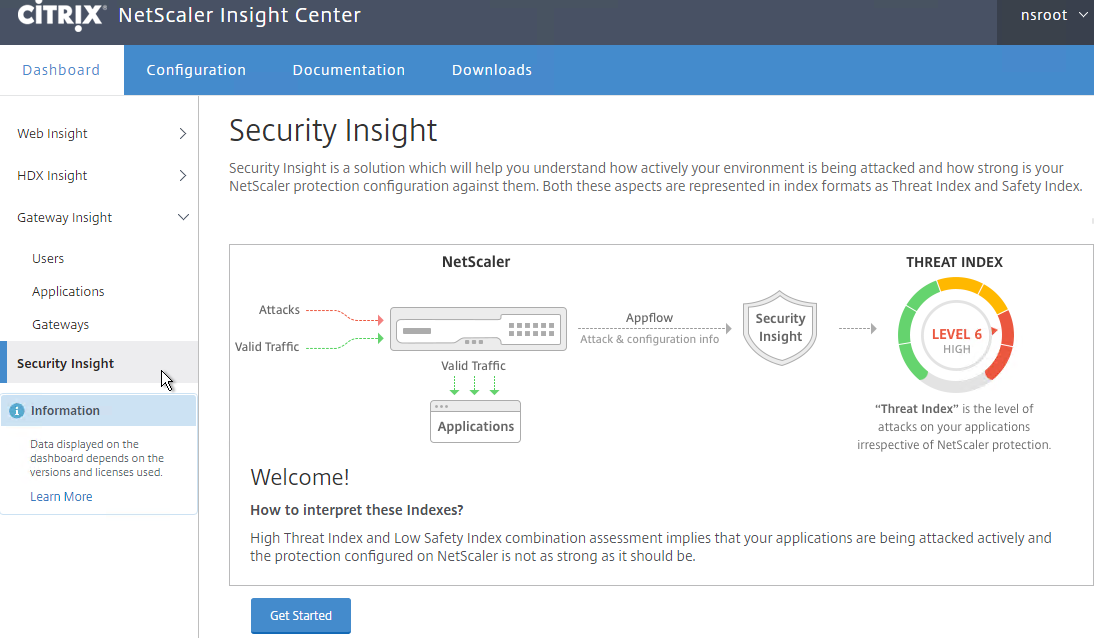
Security Insight
The new Security Insight dashboard uses data from Application Firewall to display Threat Index (criticality of attack), Safety Index (how securely NetScaler is configured), and Actionable Information. More info at Security Insight at Citrix Docs.
Troubleshooting
Citrix CTX215130 HDX Insight Diagnostics and Troubleshooting Guide: Syslog messages; Error counters; Troubleshooting checklist, Logs
Citrix Blog Post – NetScaler Insight Center – Tips, Troubleshooting and Upgrade
See Troubleshooting Tips at Citrix Docs. Here are sample issues covered in Citrix Docs:
- Can’t see records on Insight Center dashboard
- ICA RTT metrics are incorrect
- Can’t add NetScaler appliance to inventory
- Geo maps not displaying
Upgrade Insight Center
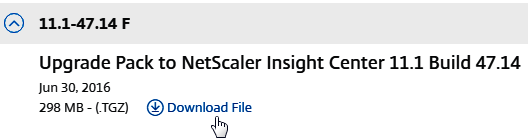
- Download the latest Upgrade Pack for Insight Center.
- Login to Insight Center.
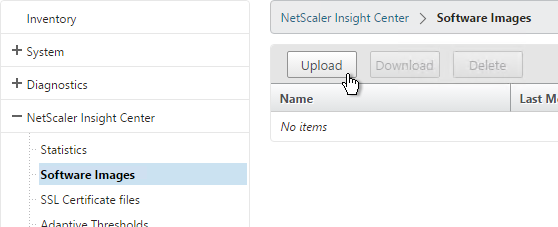
- If you are running Insight Center 10.5 or older, on the Configuration tab, go to NetScaler Insight Center > Software Images, and upload the file. If running Insight Center 11.0 or newer, you can skip this step.
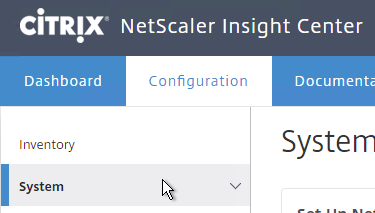
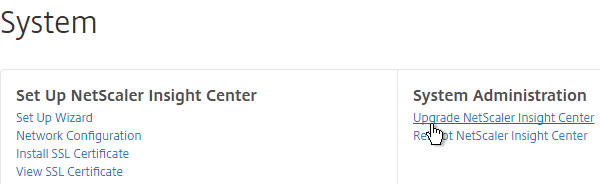
- On the Configuration tab, on the left, click the System node.
- On the right, in the right pane, click Upgrade NetScaler Insight Center.
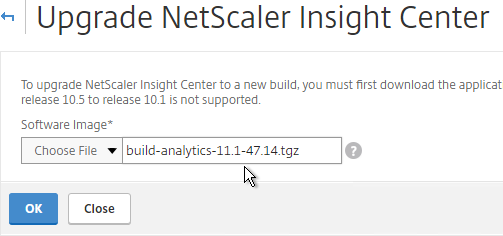
- Browse to the build-analytics-11.1.tgz Software Image Upgrade Pack, and click OK.
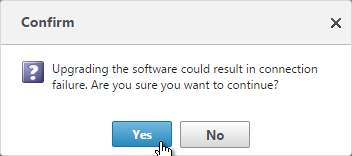
- Click Yes to reboot the appliance.
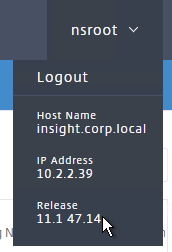
- After it reboots, login. The new firmware version will be displayed in the top right corner.
Hi Carl,
Quick Question.
What different between NetScaler Insight Center vs NetScaler MAS ??
btw all your article is very helpful!
MAS is the replacement for Insight Center. MAS = Insight Center + Command Center
I setup NetScaler Insight Center and wanted to add my NetScalers but got the following error:
Add operation failed, Reason: NetScaler Version(NS11.1: Build 56.19.nc) is higher than Insight Center Version (11.1 ,Build 56.15)
When I look at the Citrix download page, the newest version for Insight Center available for download is 56.15. Any idea if Citrix will update Insight Center to 56.19 any soon? Any workarounds?
Why Insight Center instead of MAS? MAS is the replacement for Insight Center.
Good question Carl. I was simply not aware of the fact that Insight Center was EOL and MAS being the replacement. So thank you, MAS it is!
I just upgraded Netscaler Gateway VPX to 11.1.53.13 and InSight to 11.1.53.10. I want to see Gateway Insight stats for user logon issues and documentation says to enable AAA Enhanced Authentication Feedback on the Netscaler to. My HDX stats were working fine before I did this but shortly after HDX stats were no longer populated. I went back and unchecked the Enhanced Authentication Feedback box on the Netscaler and stats were back for HDX. Anyone else see this?
Hi ,
anyone know how to add another network interface on the appliance and configure it ?
more important , is it possible and acceptable for the appliance?
Thanks
Regards
CHokri kefi
Hi Carl,
I did not understand one thing.
I have read and applied the steps in your article on NS VPX
(https://www.carlstalhood.com/netscaler-11-1-system-configuration/)
Now if I want the Network tab on the director to work, should I also install Insight center and integrate it with NS VPX, or do I get it wrong?
Or can I populate the Network tab in the Director by configuring the Director with the NS ADC (VPX)?
Thanks for all.
NetScaler MAS is the preferred monitoring appliance since Insight Center has been removed from NetScaler 12 and newer. Director can only point to MAS or Insight Center and can’t connect directly to a NetScaler instance.
Hey Carl. I have installed Insight Center Server, 2 connectors and 2 database nodes. They show up under “Insight Deployment Management”, but the “Deploy” button is missing. What am I doing wrong?
Gateway Insight is working when my NS VPX gateway vserver is using LDAP authentication. But when the vserver is configured for SAML authentication (XA environment is configured for Federated Authentication) there is no data shown for Gateway Insight.
Hi Carl, in step #6 for “Managing ICA session” this value seems to be set by default at 15min. I’m reading on edocs “You can use the ICA session timeout feature to specify the time period for which an ICA session can remain in the idle state before being terminated. ” ?? Is it that mean that “Insight Center” can terminate an ICA session ? How its possible ?
Thanks in advance !
I asked that same question to the Product Managers and nobody replied.
Thanks for quick reply ! we have annoying ICA session random disconnects in a double hop scenario and we cant identify the cause. The default configuration with 15min timeout maybe explains the random disconnect if Insight Center can terminate session… I will try to change the value.
Hi Vincent, did you manage to solve your random disconnects issue? I have the same issue with HTML Injection enabled. It drops session when someone else logs in or just refreshes Storefront, so I disabled HTML Injection to workaround this, but it stopped showing any data in HDX Insight
Hi Serg, the answer is no…. but we have some improvement. we have upgraded our Netscaler to ns11.1 49.16nc with Insight Center 11.1.50.10 . In the Netscaler we have activated “Session Reliability on HA Failover” You can look at that topic : “http://discussions.citrix.com/topic/353922-netscaler-appflow-logging-breaks-session-reliability/”.
We add another setting on Xenapp servers, a reg key WSCReconnectMode=0 : https://support.citrix.com/article/CTX136339 . It seems help but some day we have 2-3 disconnect during one week, and boom 30 in the same day… We are using Citrix Desktop Lock on the workstations and it seems to logoff the session because of an authentication error within storefront. .. We have around 2500 session per day
I have still issue with Insight Center where I’m not getting any session statistics… popup in Insight Center : “System has detected the ICA sessions that do not support logging, corresponding reports will not be available.” I have two tickets open with Citrix.
Hi Carl, is it possible to query the mongodb directly to pull data I need to generate a custom report? If so, do you have any suggestions how or can point me in the right direction? Insight Center is nice but limited as far as reporting goes. Thanks
I assume you’ve looked into the REST API and found it lacking?
I just saw your reply today. I just started looking into Nitro today, but before then I been looking deeper into the actual database. I realize it’s actually using postgres. I was able to connect to the database and run custom SQL to pull out data but after much digging and seeing how the tables are structured, I see there’s no way to link the session data with the hdx_application data. I basically want to dump a report with the following columns that looks something like this below
Username, Application Name, start_time, clientIP, serverIP
testuser1, MS Excel, 11/1/2016 3:305 pm, 10.3.3.4, 10.5.5.33
The session data doesn’t seem to have any information on the exact app that ran. The tables that do contain application names like MS Excel or Word, etc do not contain IP addresses or start_time of the session. There doesn’t seem to be any way to join the data to get the report I need. We need this for audit purpose. Does anyone know best way to gather this data? I’m thinking maybe the datacollectors could possibly log this data somewhere? Any suggestion or references would be great. So far I’m not having much luck with Nitro either.
Thanks!
Hi Carl.
I have a question. How can I add a Disk o increment the capacity of the appliance?
If you expand the virtual disk and reboot, does it use the larger disk?
I’ve added a disk of 500 GB, but I don’t know if the appliance is using it. How can I check that? Thanks
You should be able to go to the Console, login, run
shell, and then rundf -h.with the command df -h, I can see that the disk is already added. But now I have a problem, when I do some changes after reboot these losses.
Is necesary do something after add the disk? I followed the steps mentioned in citrix edocs:
How do I attach an additional disk to NetScaler Insight Center?
To attach an additional disk to NetScaler Insight Center:
Shut down the NetScaler Insight Center virtual machine.
In the hypervisor, attach an additional disk of the required disk size to NetScaler Insight Center virtual machine.
For example, for a NetScaler Insight Center virtual machine of 120 GB, if you want to increase its disk space to 200 GB, you then need to attach a disk space of 200 GB instead of 80 GB. Newly attached 200 GB of disk space will be used to store Database data, NetScaler Insight Center log files. The existing 120 GB disk space will be used to store core files, Operating system log files, and so on.
Start the NetScaler Insight Center virtual machine.
If you’re losing your configuration after a reboot, please open a Citrix Support Case.
Hi Carl, if I enable AppFlow on my Load Balancing I cannot longer get to the login page of my load balanced StoreFront in IE – it is just spinning Citrix Receiver wheel and not loading. But it works fine in Chrome and Edge. Can that be because of SSO? As SSO works in IE only when AppFlow policy is not applied.
Thank you.
There’s an HTML Injection option. If you disable, does it work?
What build?
HTML Injection option was disabled, enabling it fixed my issue. (NetScaler and Insight both 11.1 48.10)
I understand now why it was spinning the wheel – it tried to use pass through authentication, but for some reason it doesn’t work with AppFlow enabled. Username and Password authentication works fine, but not Domain Pass-through. Not sure what HTML Injection does but it works with this checkbox enabled. I will keep it testing.
Thank you Carl
I’m curious, other than a VM snapshot, is there something in the box providing backup and restore?
Hi Carl, I updated from 11.0 to 11.1 and the update is fine. But how can I enable existing NS in the inventory to enable NSG monitoring ? Like in the your step 5 . There are no option to update existing device in the inventory.
Do I have to delete them and re-add it with Netscaler Gateway checkbox checked ? what about all statistic collected ?
Thanks in advance
Vince
Are you saying that your device is no longer in inventory? Or are you saying you can’t edit the device to enable AppFlow?
the appflow need to be enable on the netscaler on in Insight Center?
My 2 Netscalers are still in the inventory after the upgrade. But I can’t re-edit them in the inventory to enable NSG…
I tryied to delete one NS in the inventory and re-add it and check “Netscaler Gateway” and I receive this message.
Add operation failed, Reason: License cannot be retrieved. Either the NetScaler is unresponsive or the login credentials are incorrect. I have ns10.5 61.11 and login are valid.
When adding the device, do you see it running commands on the appliance? You can tail -f /var/log/ns.log to see the commands.
yes it looks the command are running… but with the same message… I will open a case with Citrix.
Aug 3 19:34:07 srvname analytics_afdecoder: xx.xx.xx.xx 08/03/2016:19:34:07 GMT : DEVICECONFIG CMD_EXECUTED : User *********** – Remote_ip – Command “disable feature appflow” – Status “Completed” – Message “Done”
Aug 3 19:34:07 srvname analytics_afdecoder: xx.xx.xx.xx 08/03/2016:19:34:07 GMT : DEVICECONFIG CMD_EXECUTED : User *********** – Remote_ip – Command “save config” – Status “Completed” – Message “Done”
Aug 3 19:34:10 srvname analytics_afdecoder: xx.xx.xx.xx 08/03/2016:19:34:10 GMT : DEVICECONFIG CMD_EXECUTED : User *********** – Remote_ip – Command “enable feature appflow” – Status “Completed” – Message “Done”
Aug 3 19:34:10 srvname analytics_afdecoder: xx.xx.xx.xx 08/03/2016:19:34:10 GMT : DEVICECONFIG CMD_EXECUTED : User *********** – Remote_ip – Command “save config” – Status “Completed” – Message “Done”
Aug 3 19:34:32 srvname analytics_service: xx.xx.xx.xx 08/03/2016:19:34:32 GMT : GUI CMD_EXECUTED : User nsroot – Remote_ip yy.yy.yy.yy – Command “login login tenant_name=Owner,password=***********,challenge_response=***********,token=dd5900b73b1b5ab,client_port=-1,cert_verified=false,sessionid=***********,session_timeout=1800,permission=superuser” – Status “Done”
Aug 3 19:37:16 srvname analytics_service: xx.xx.xx.xx 08/03/2016:19:37:16 GMT : GUI CMD_EXECUTED : User nsroot – Remote_ip yy.yy.yy.yy – Command “add managed_device – Status “Failed” – Message “Add operation failed, Reason: License cannot be retrieved. Either the NetScaler is unresponsive or the login credenAug 3 19:44:41 srvname analytics_service: xx.xx.xx.xx 08/03/2016:19:44:41 GMT : GUI CMD_EXECUTED : User nsroot – Remote_ip yy.yy.yy.yy – Command “add managed_device – Status “Failed” – Message “Add operation failed, Reason: License cannot be retrieved. Either the NetScaler is unresponsive or the login credentials are incorrect.”
Aug 3 19:44:59 srvname analytics_service: xx.xx.xx.xx 08/03/2016:19:44:59 GMT : GUI CMD_EXECUTED : User nsroot – Remote_ip yy.yy.yy.yy – Command “add managed_device – Status “Failed” – Message “Add operation failed, Reason: License cannot be retrieved. Either the NetScaler is unresponsive or the login credentials are incorrect.”
Find it !! communication issue with Netscaler… I change the in Configure Global setting of Insight Center from HTTP to HTTPS for the connection between NetScaler Insight Center and a NetScaler appliance. Im now able to change the config of the NS in the inventory and access option for Gateway Insight. Thanks for your help !
I’m not sure of what exactly that checkbox does. Let me research it.
Did you extract it first? I just tried it and it works.
I managed to get it working. I think our proxy was corrupting the download somehow. I downloaded it from another Internet connection and I was able to upload it exactly how you explained above. Thanks for your help Carl!
Hi Carl. I tried to upload the GeoLiteCity Geo data file and get the error GeoLiteCity.dat is not a supported geo data file.