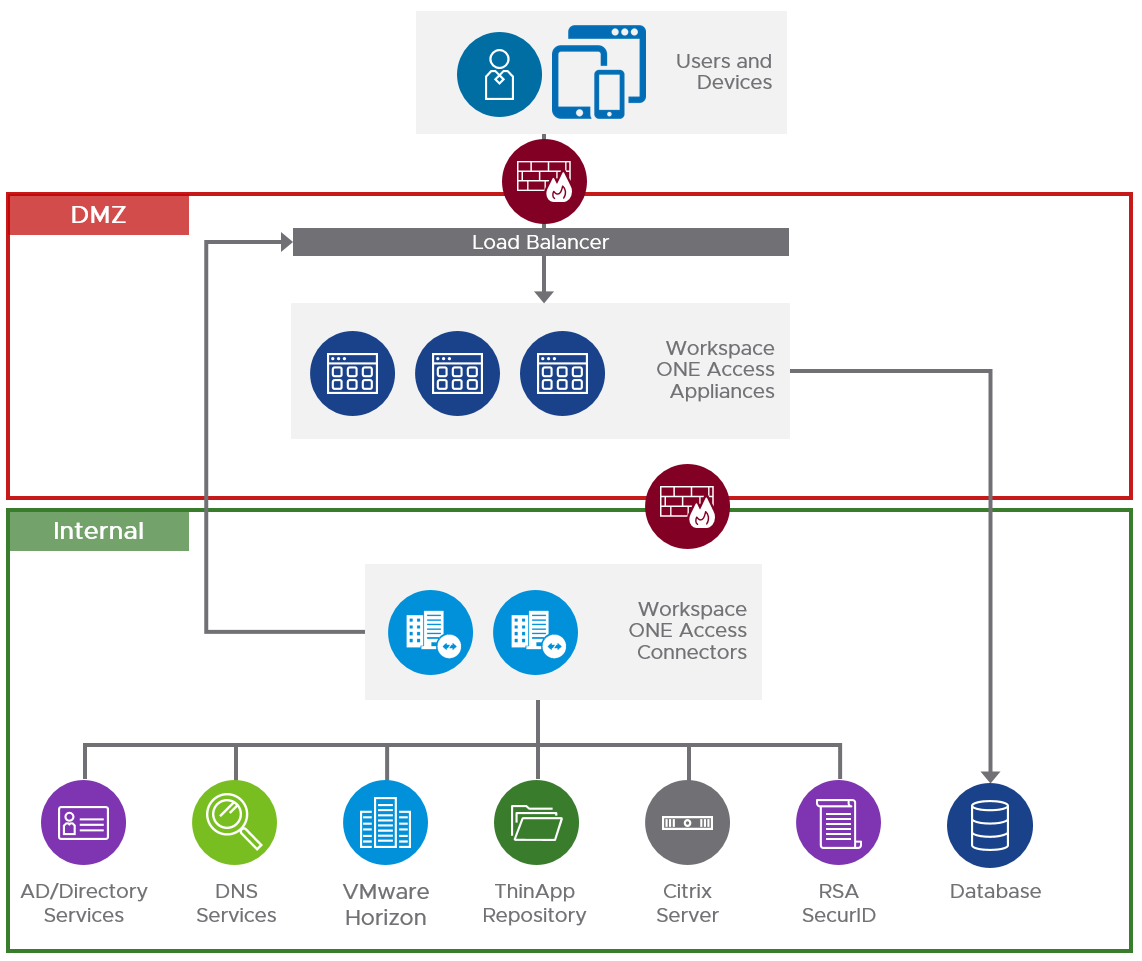
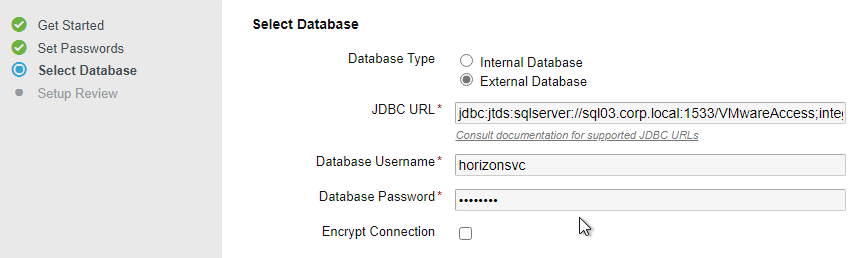
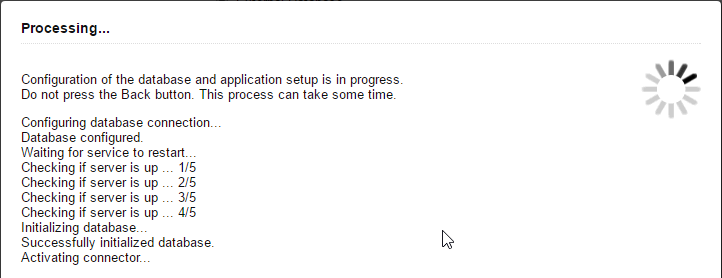
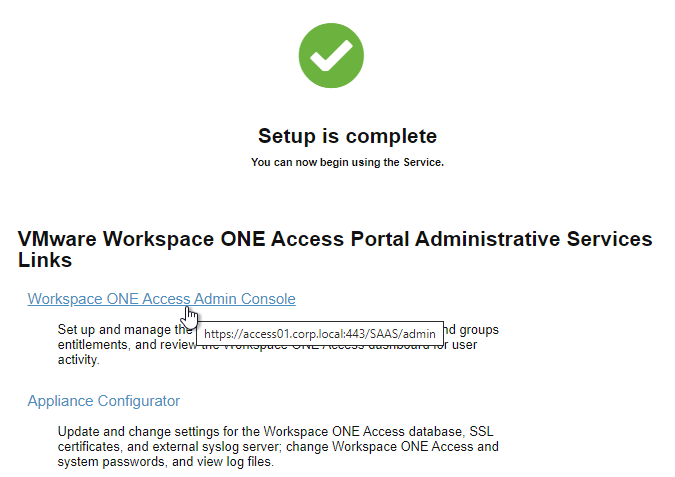
This topic assumes you’ve already set up one VMware Workspace ONE appliance as detailed at https://www.carlstalhood.com/vmware-access/
Navigation
- Change Log
- NetScaler ADC Configuration
- Load Balancing FQDN
- Clone Appliance
- Add to NetScaler
- Multi-datacenter
💡 = Recently Updated
Change Log
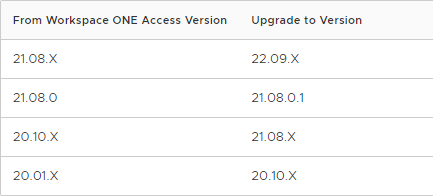
- 2021 Sep 8 – updated for VMware Workspace ONE Access 21.08
- 2019 Jul 20 – ADC Load Balancing Configuration – added WebSockets
- 2019 Apr 25 – updated article for Identity Manager 19.03.
- 2018 May 27 – updated Load Balancing Monitor configuration based on Proper VMware Identity Manager Node Monitoring when using F5 BIG-IP Appliances-UPDATED at VMware Communities
Citrix ADC Configuration
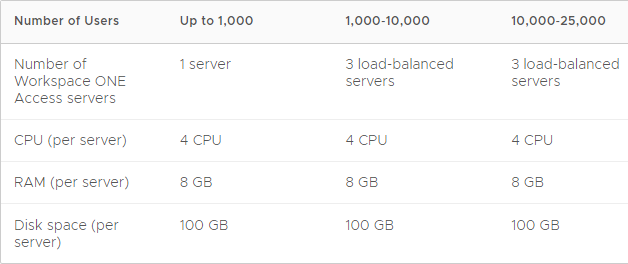
VMware recommends a minimum of three VMware Access nodes. See Recommendations for Workspace ONE Access Cluster at VMware Docs.
Setup the load balancing before you clone the appliance. GUI instructions in this section. Or skip to the CLI Commands.
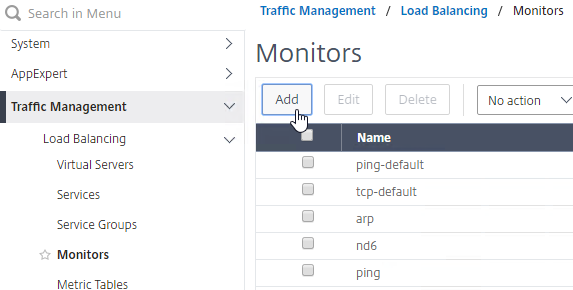
- In your Citrix ADC, go to Traffic Management > Load Balancing > Monitors, and add a monitor.
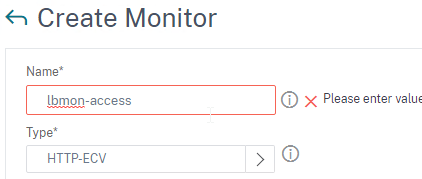
- Give the monitor a name and select HTTP-ECV as the Type. (Source = Proper VMware Identity Manager Node Monitoring when using F5 BIG-IP Appliances-UPDATED at VMware Communities)
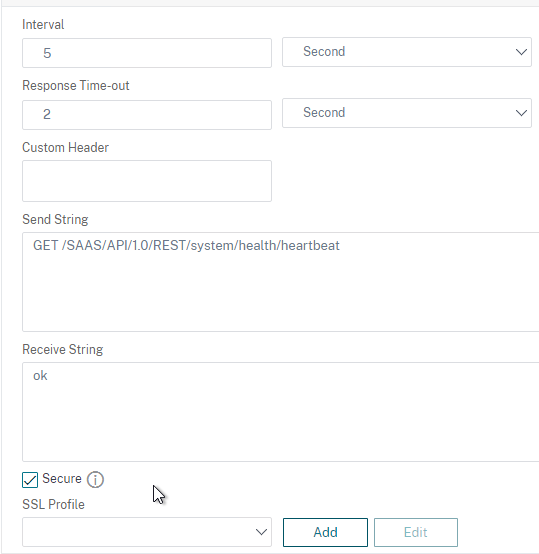
- In the Basic Parameters section:
- In the Send String field, enter
GET /SAAS/API/1.0/REST/system/health/heartbeat - In the Receive String field, enter
ok - Check the box next to Secure. Ignore the SSL Profile field.
- In the Send String field, enter
- Scroll down and click Create.

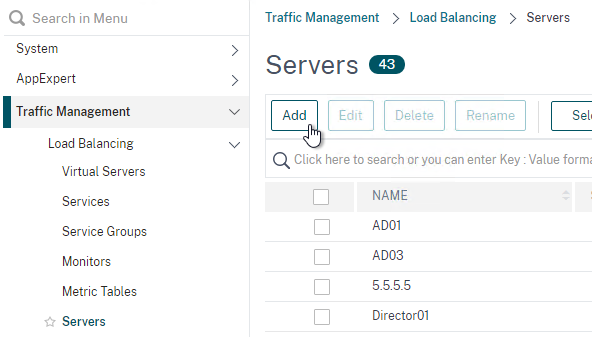
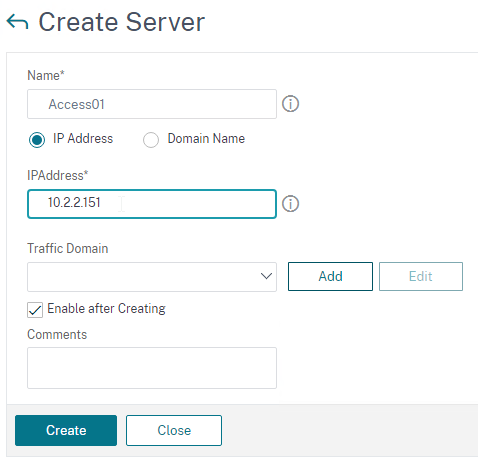
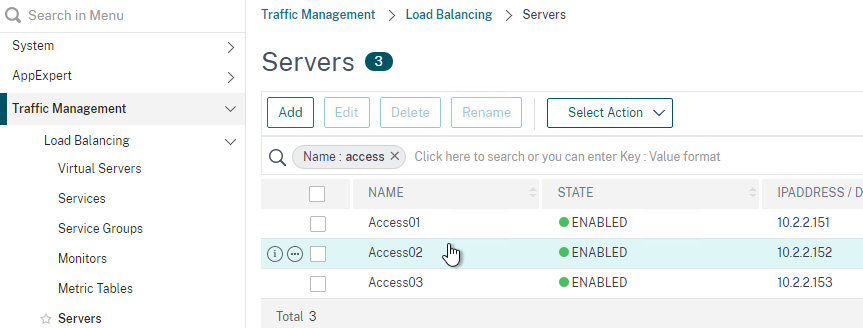
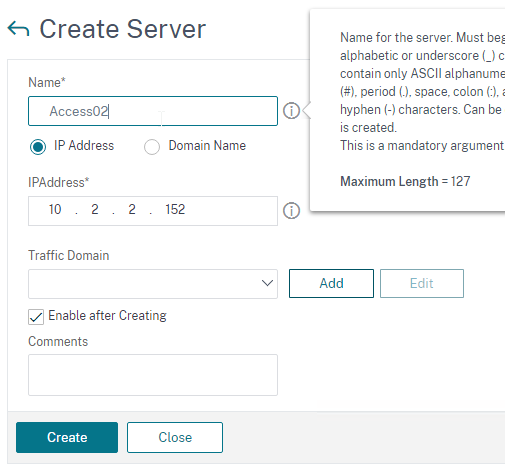
- Go to Traffic Management > Load Balancing > Servers and add three servers that point to the IP addresses of your planned three VMware Access appliances. These don’t have to exist yet.

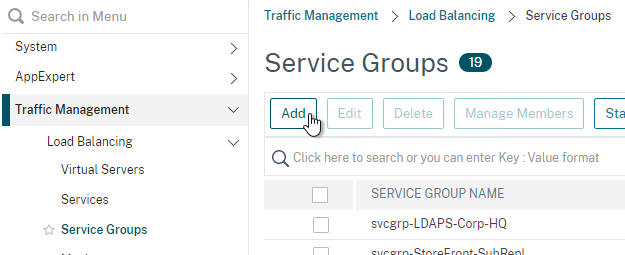
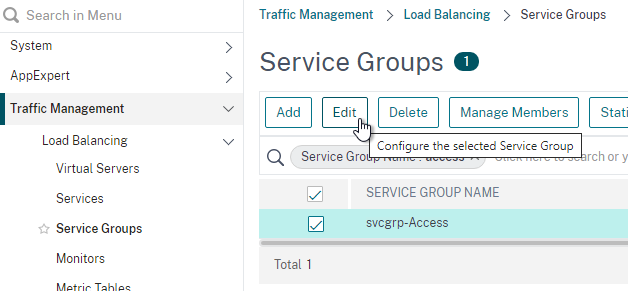
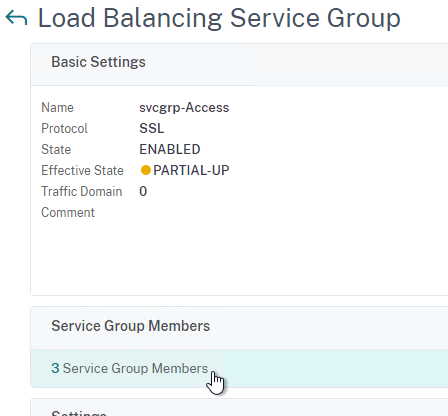
- Go to Traffic Management > Load Balancing > Service Groups and add a Service Group.
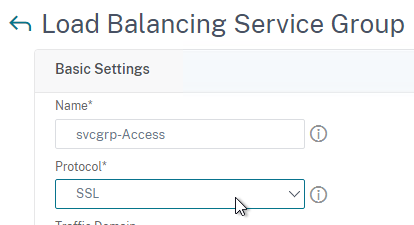
- Give the Service Group a name.
- The protocol is SSL. Note: if you configured certificate-based client authentication in VMware Access, then use SSL_BRIDGE instead of SSL.
- Scroll down and click OK to close the Basic Settings section.
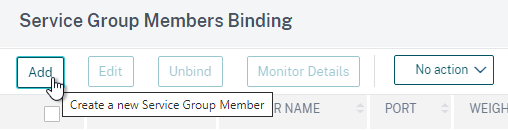
- Bind three members to it and specify port 443.
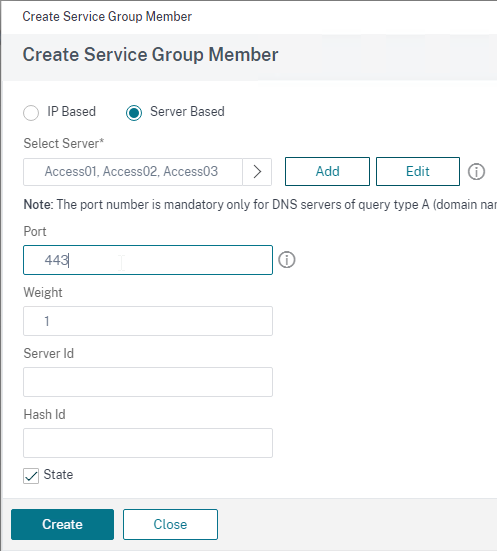
- Click OK to finish adding members.
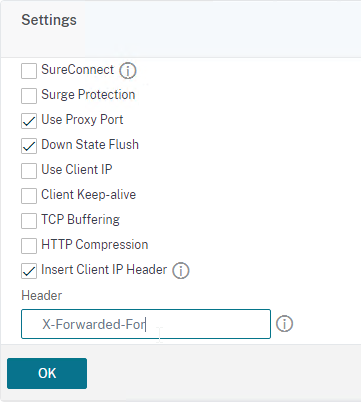
- On the left, in the Settings section, click the pencil icon.
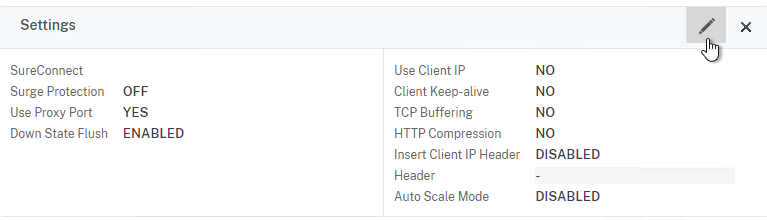
- Check the box for Client IP and enter X-Forwarded-For in the Header field.
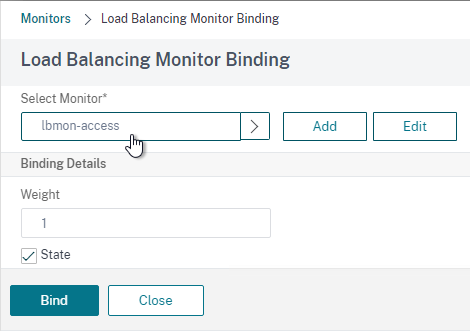
- Bind a monitor, and select the Access monitor you created earlier.
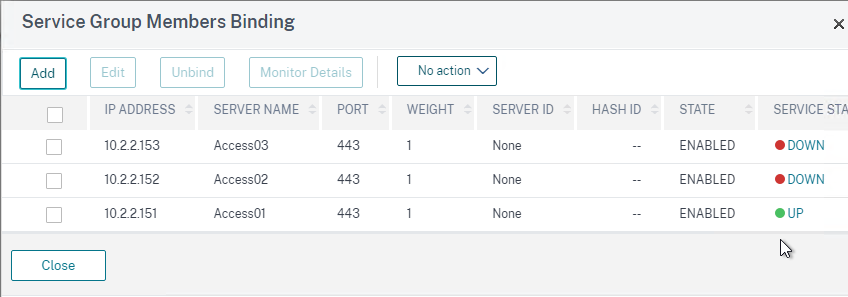
- If you click the three members, then one of them should be UP.
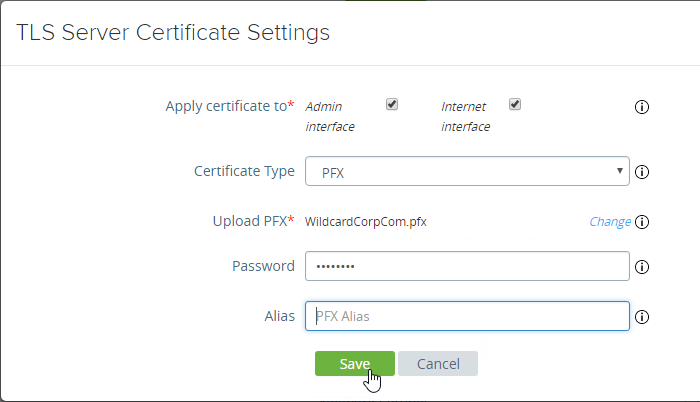
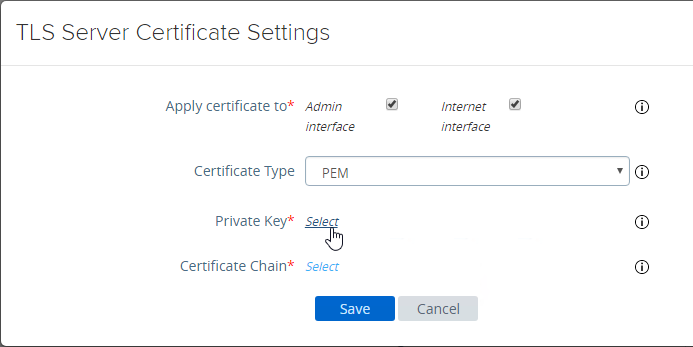
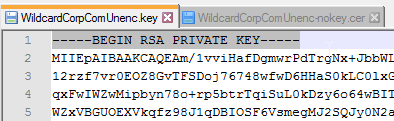
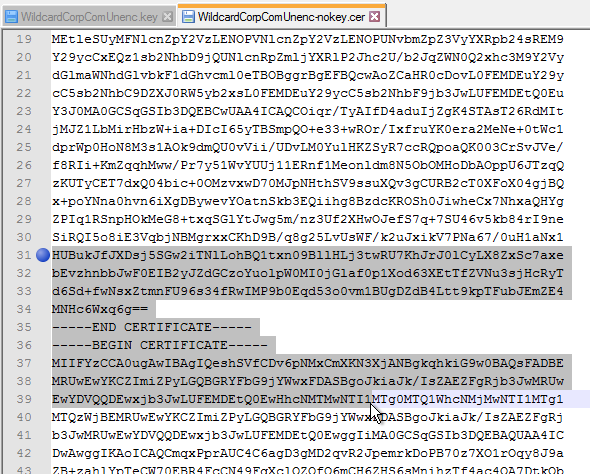
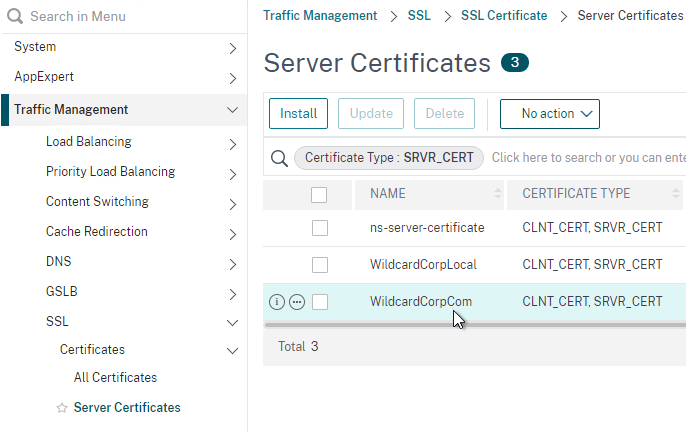
- Go to Traffic Management > SSL > Certificates > Server Certificates and install a certificate that matches your VMware Access FQDN.
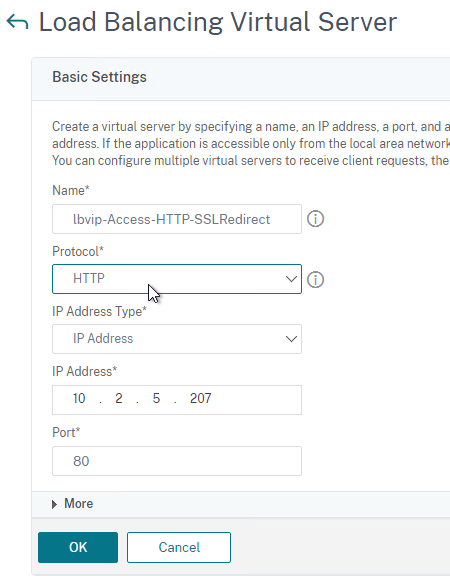
- Go to Traffic Management > Load Balancing > Virtual Servers and add a Virtual Server.
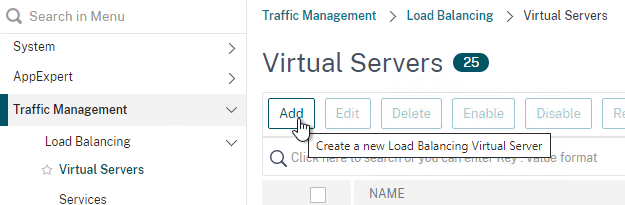
- Give the Load Balancing Virtual Server a name.
- Protocol = SSL. Note: if you configured certificate-based client authentication in VMware Access, then use SSL_BRIDGE instead of SSL.
- Enter a new VIP.

- Click OK to close the Basic Settings section.
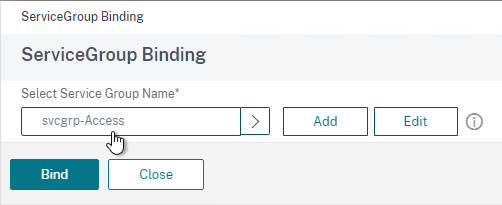
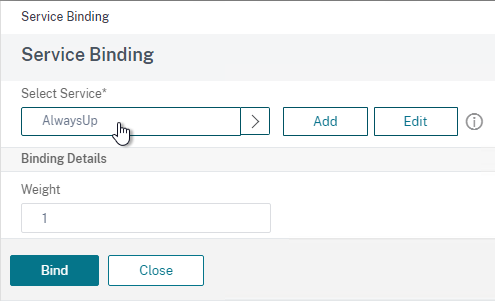
- Bind the Service Group created earlier.
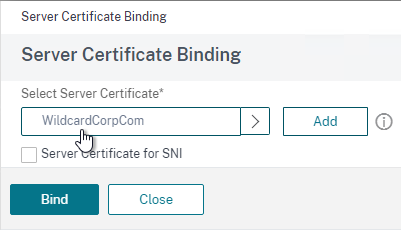
- Bind the certificate. This certificate must match the name users will use to access VMware Access.
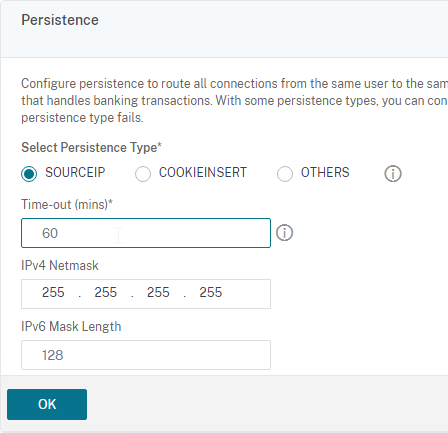
- Configure Persistence:
- While still editing the Virtual Server, on the right, in the Advanced Settings column, click Persistence to move it to the left.

- On the left, in the Persistence section, select SOURCEIP, and give it a timeout of 60 minutes or more. COOKIEINSERT might not work with some mobile devices.
- Click OK to save the Persistence settings. If you don’t click OK, then your persistence settings won’t be saved.
- While still editing the Virtual Server, on the right, in the Advanced Settings column, click Persistence to move it to the left.
- Enable WebSockets for Outbound Connectors:
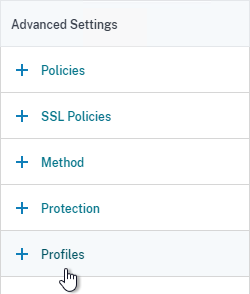
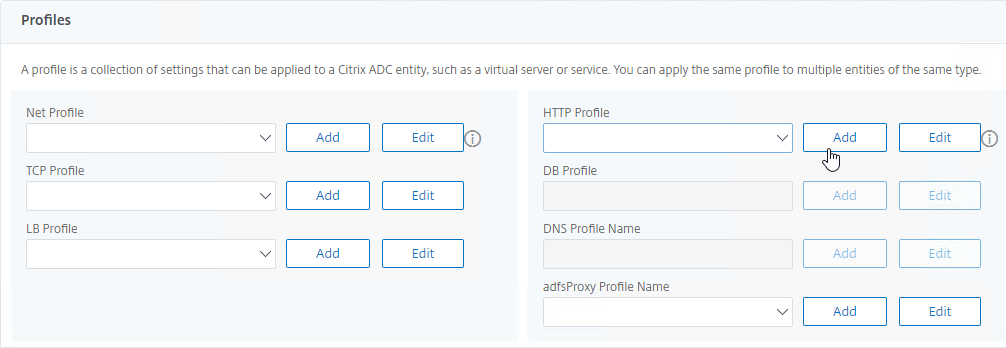
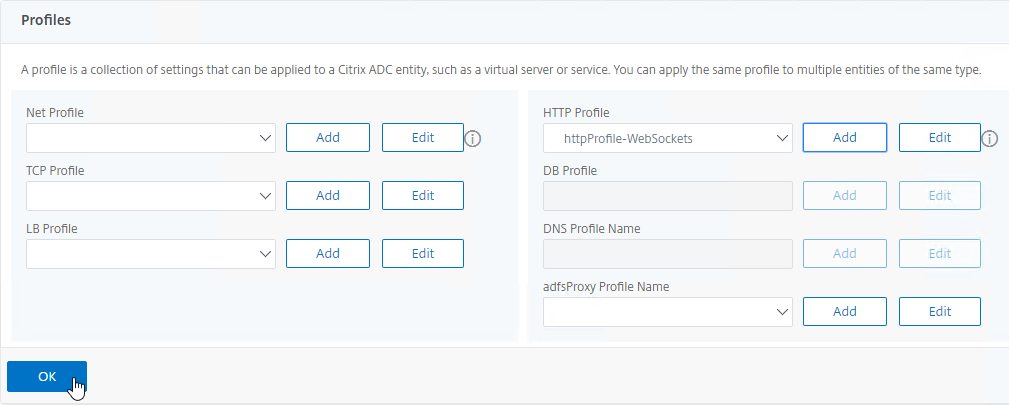
- While still editing the Virtual Server, on the right, in the Advanced Settings column, click Profiles to move it to the left.
- On the left, in the Profiles section, next to HTTP Profile, click Add.
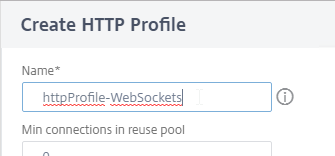
- The primary purpose of this HTTP Profile is to enable WebSockets so name it accordingly.
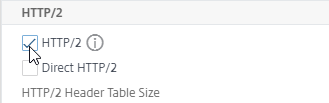
- As you scroll down, optionally check the box next to HTTP/2.
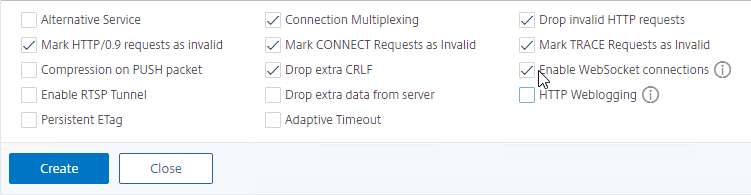
- Scroll down to the bottom and optionally check the boxes next to Mark HTTP/0.9 requests as invalid, Mark CONNECT Requests as Invalid, Mark TRACE Requests as Invalid, and Drop Invalid HTTP requests,

- At the bottom right, check the box next to Enable WebSocket connections.
- Click Create to finish creating the HTTP Profile.
- Back in the Profile section, make sure your new HTTP Profile is selected, and then click OK to close the Profiles section. Make sure you click OK in this section, or your new HTTP Profile won’t be enabled.
- While still editing the Virtual Server, on the right, in the Advanced Settings column, click Profiles to move it to the left.
- If you haven’t enabled the Default SSL Profile, then perform other normal SSL configuration including: disable SSLv3, disable TLSv1, disable TLSv11, bind an A+ Cipher Group, and enable Strict Transport Security. You can do these settings in the GUI in the SSL Parameters and SSL Ciphers sections of the Virtual Server.
set ssl vserver MyvServer -ssl3 DISABLED -tls1 DISABLED -tls11 DISABLED -tls12 ENABLED

unbind ssl vserver MyvServer -cipherName DEFAULT

bind ssl vserver MyvServer -cipherName SSLLabs-APlus

bind ssl vserver MyvServer -eccCurveName ALL
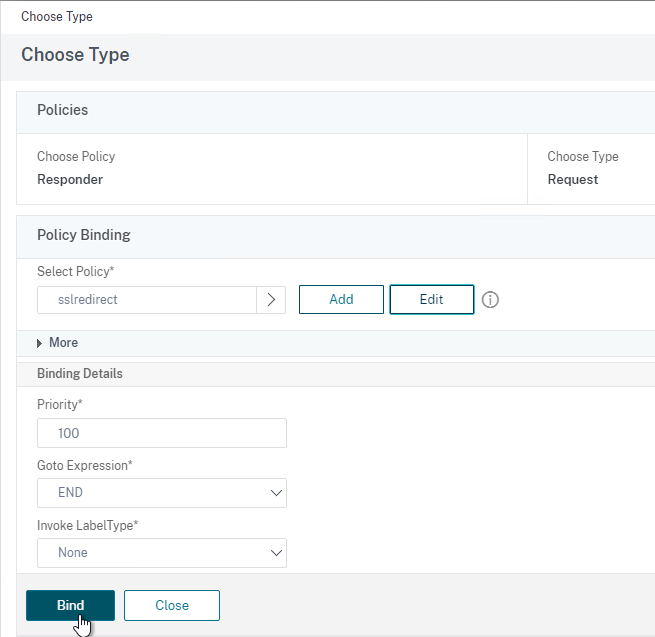
- Create another Load Balancing Virtual Server on HTTP port 80 and configure it to redirect HTTP to HTTPS.
CLI Commands
Here are the CLI Commands for the configuration shown above:
add server Access01 10.2.2.151
add server Access02 10.2.2.152
add server Access03 10.2.2.153
add lb monitor lbmon-access HTTP-ECV -send "GET /SAAS/API/1.0/REST/system/health/heartbeat" -recv ok -secure YES
add service AlwaysUp 1.1.1.1 HTTP 80 -healthMonitor NO
add serviceGroup svcgrp-Access SSL -cip ENABLED X-Forwarded-For
bind serviceGroup svcgrp-Access Access01 443
bind serviceGroup svcgrp-Access Access02 443
bind serviceGroup svcgrp-Access Access03 443
bind serviceGroup svcgrp-Access -monitorName lbmon-Access
add ns httpProfile httpProfile-WebSockets -dropInvalReqs ENABLED -markHttp09Inval ENABLED -markConnReqInval ENABLED -markTraceReqInval ENABLED -webSocket ENABLED -http2 ENABLED -builtin MODIFIABLE
add lb vserver lbvip-Access-SSL SSL 10.2.5.207 443 -persistenceType SOURCEIP -timeout 60 -httpProfileName httpProfile-WebSockets
add lb vserver lbvip-Access-HTTP-SSLRedirect HTTP 10.2.5.207 80
add responder action http_to_ssl_redirect_responderact redirect "\"https://\" + HTTP.REQ.HOSTNAME.HTTP_URL_SAFE + HTTP.REQ.URL.PATH_AND_QUERY.HTTP_URL_SAFE"
add responder policy http_to_ssl_redirect_responderpol HTTP.REQ.IS_VALID http_to_ssl_redirect_responderact
bind lb vserver lbvip-Access-HTTP-SSLRedirect AlwaysUp
bind lb vserver lbvip-Access-SSL svcgrp-Access
bind lb vserver lbvip-Access-HTTP-SSLRedirect -policyName http_to_ssl_redirect_responderpol -priority 100 -gotoPriorityExpression END -type REQUEST
set ssl vserver lbvip-Access-SSL -sslRedirect ENABLED -ssl3 DISABLED -tls11 ENABLED -tls12 ENABLED
bind ssl vserver lbvip-Access-SSL -cipherName SSLLabs-APlus
unbind ssl vserver lbvip-Access-SSL -cipherName DEFAULT
bind ssl vserver lbvip-Access-SSL -certkeyName WildCorpCom
bind ssl vserver lbvip-Access-SSL -eccCurveName ALL
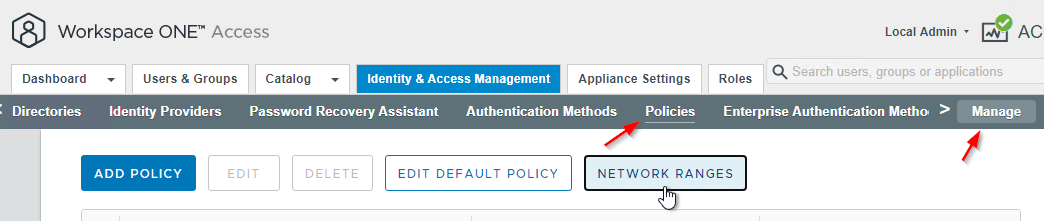
VMware Access Load Balancing FQDN
VMware Access must be able to connect to the Load Balanced FQDN on HTTPS 443. The load balancing certificate must match the Load Balanced FQDN and must be trusted by VMware Access. See below to import a root certificate to VMware Access.
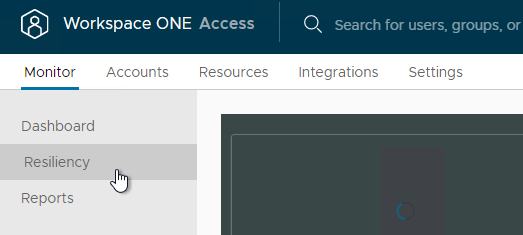
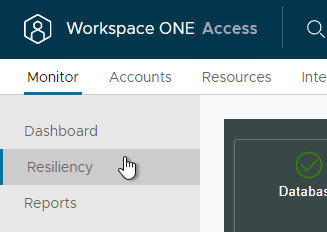
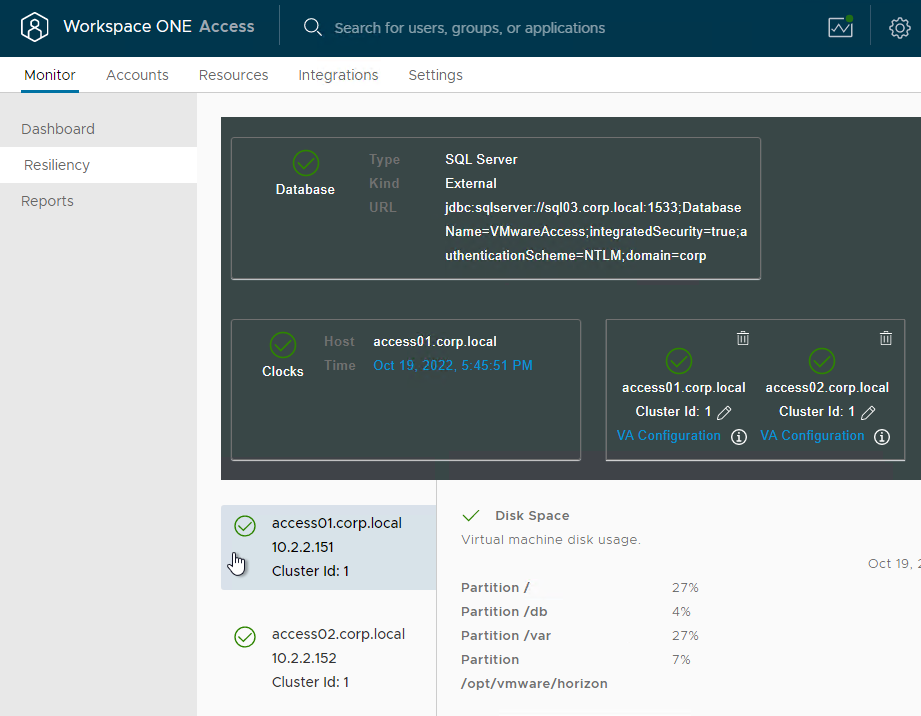
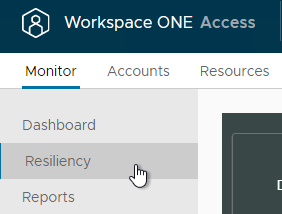
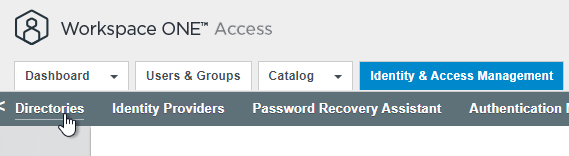
- In the VMware Access appliance, go to Monitor> Resiliency.
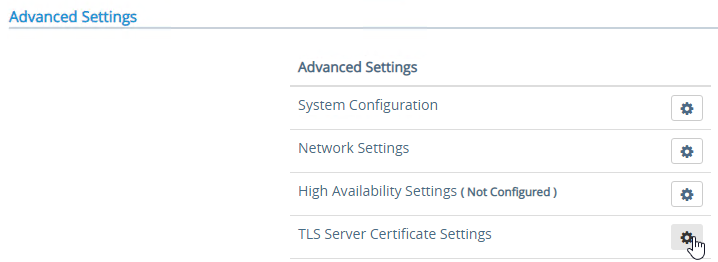
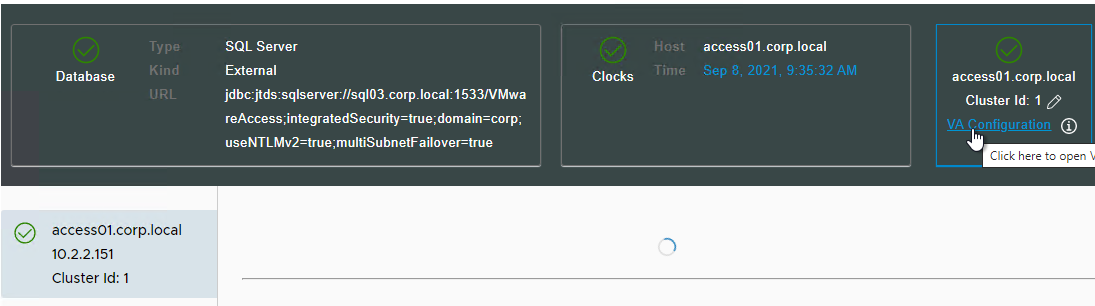
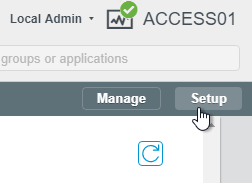
- Select an appliance. Then in the top right, click VA Configuration.
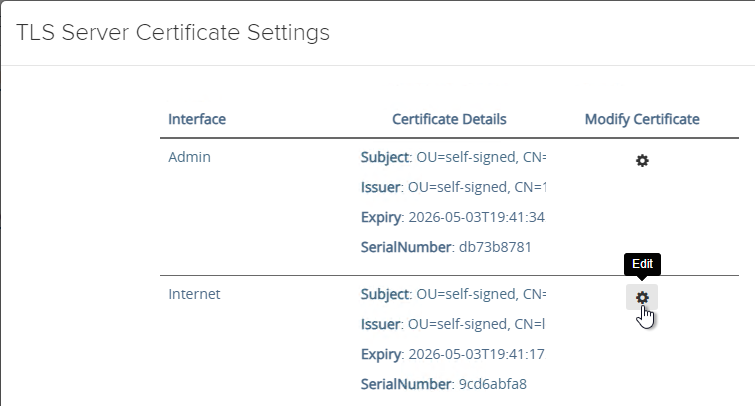
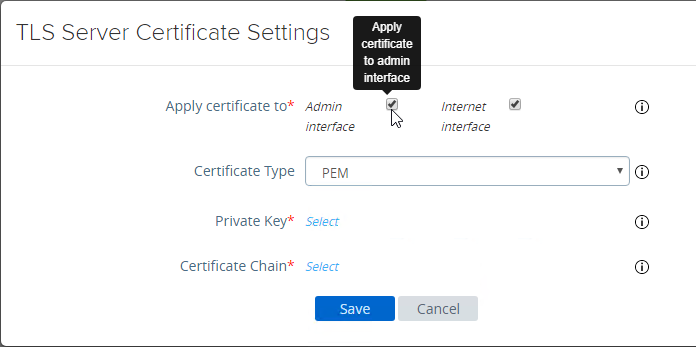
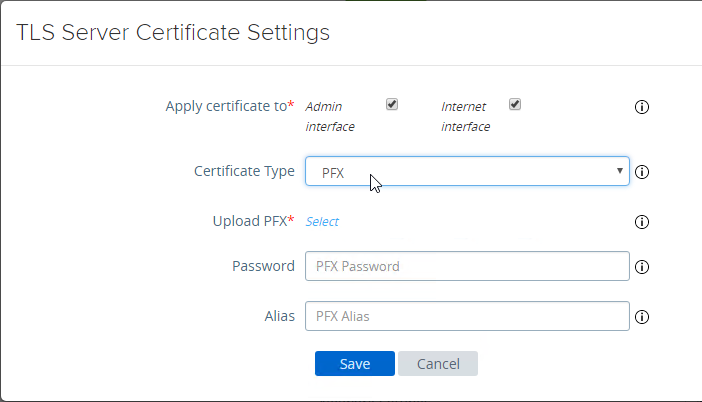
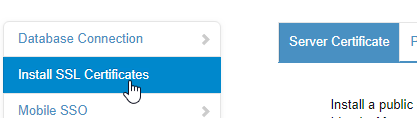
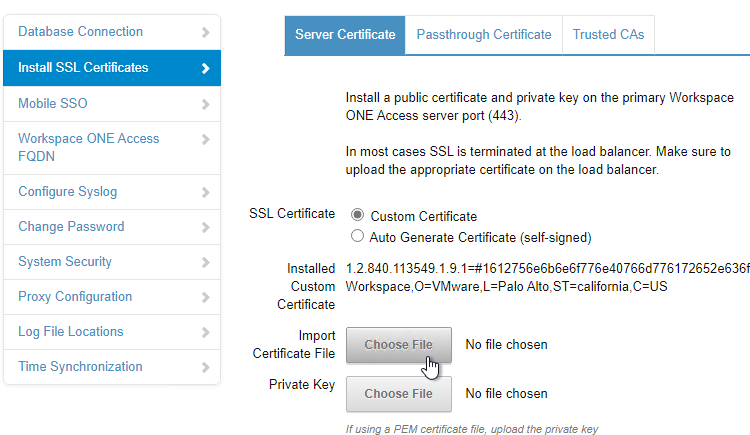
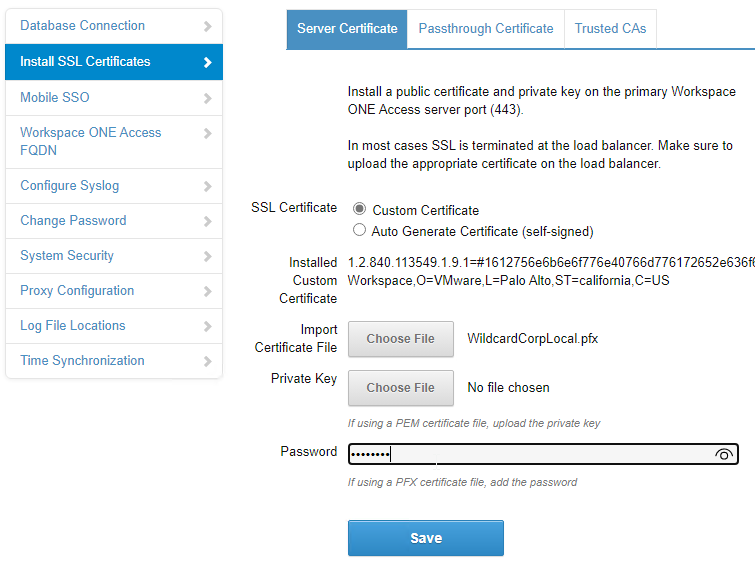
- On the left, click Install SSL Certificates.
- On the right, switch to the tab named Trusted CAs.
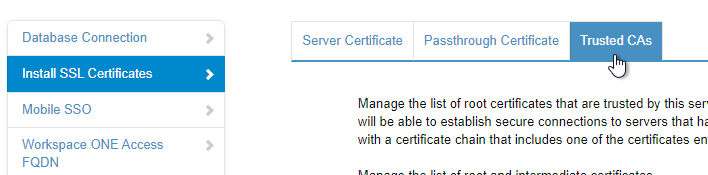
- Paste in the CA root certificate in PEM (Base64) format. This is the CA cert that signed the server cert that is bound to the load balancing VIP. Click Add.
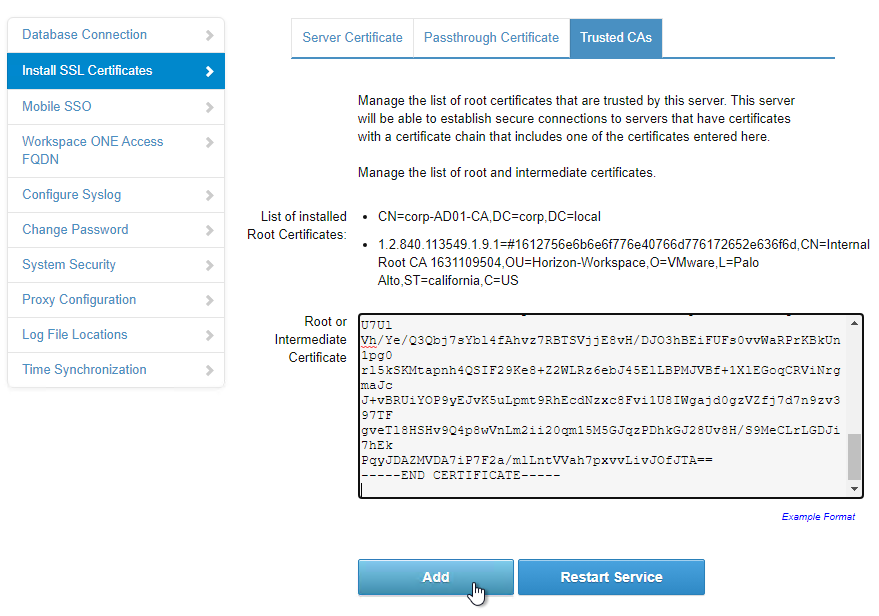
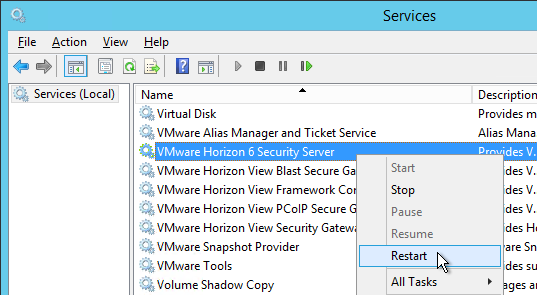
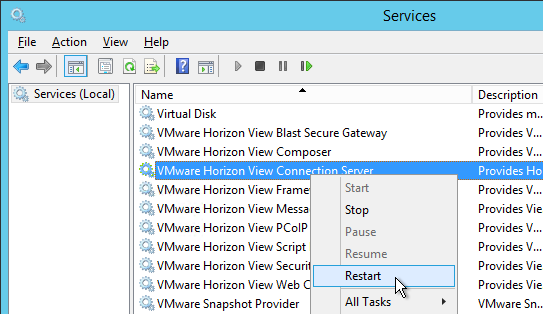
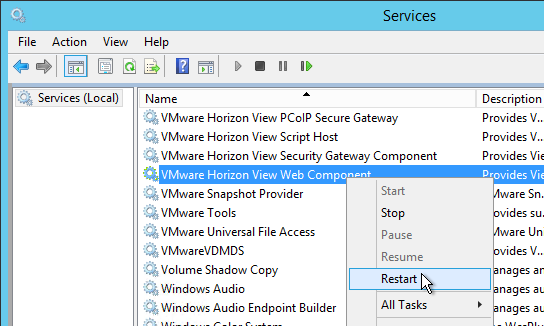
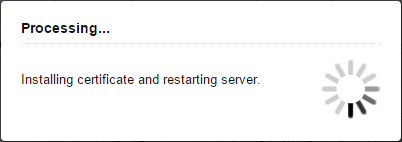
- Click Restart Service.

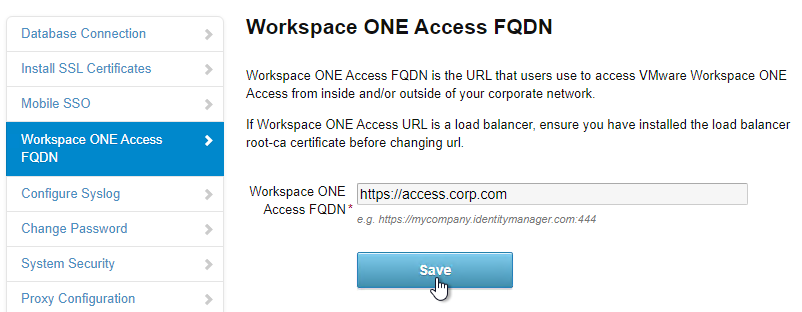
- On the left, click the Workspace ONE Access FQDN page.
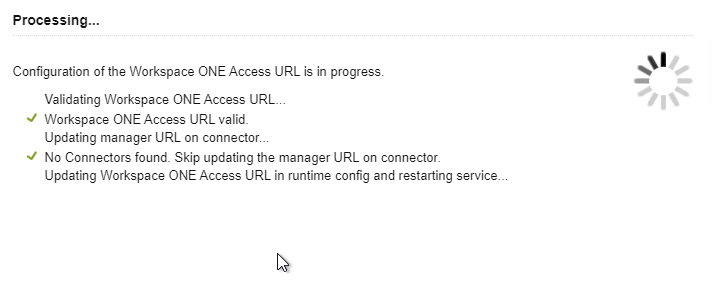
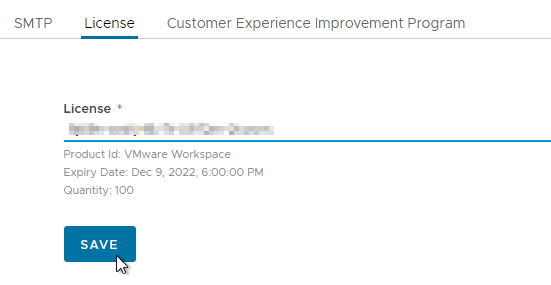
- Enter the FQDN that resolves to the VIP on the load balancer and click Save.
- The appliance will restart.
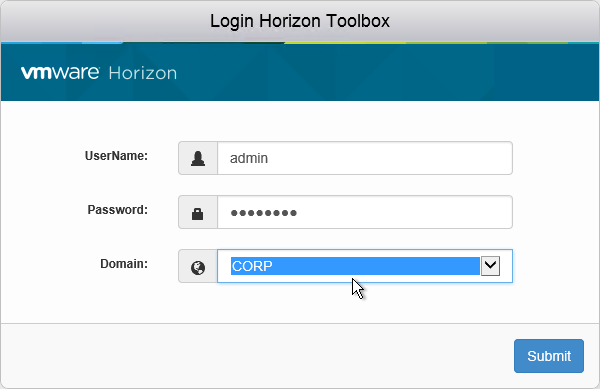
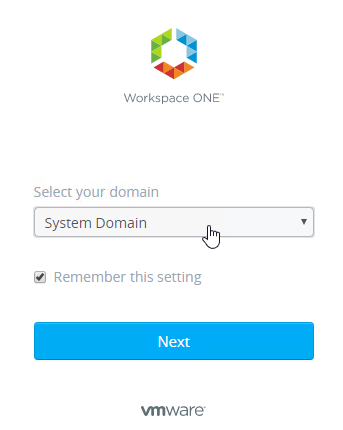
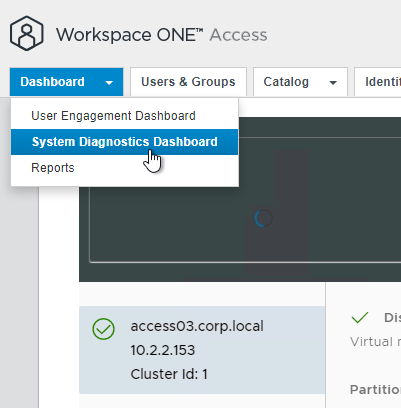
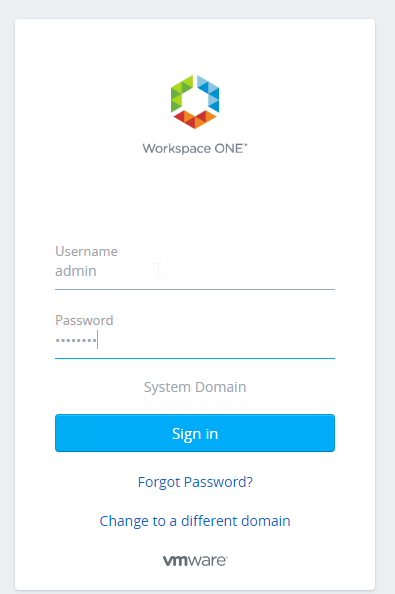
- Connect to the load balanced DNS name, select System Domain, and login as admin.
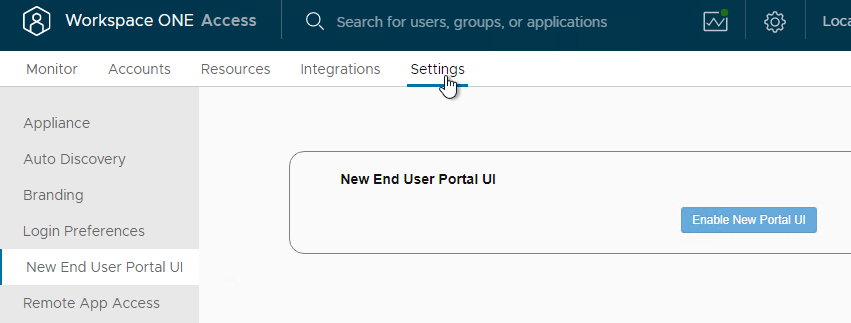
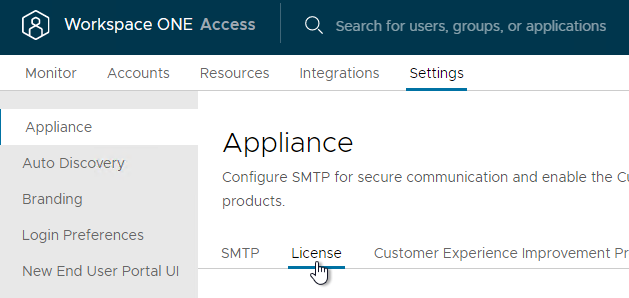
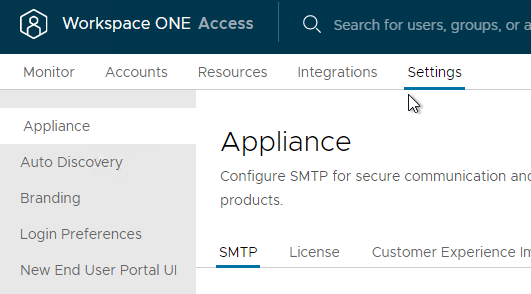
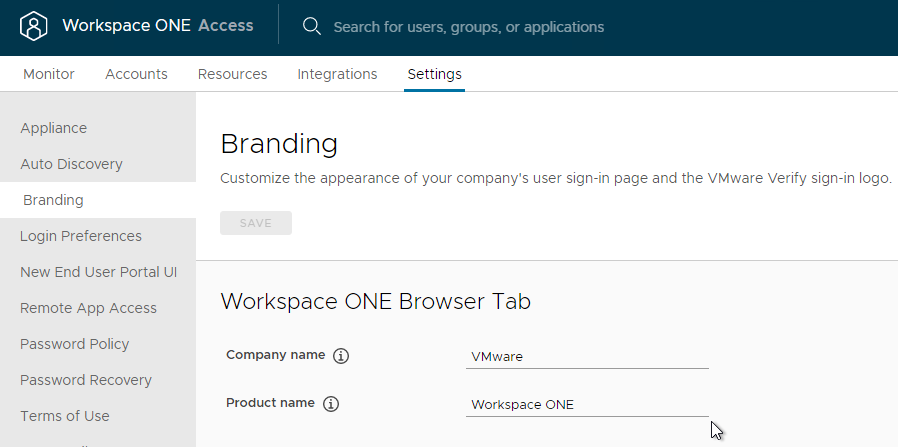
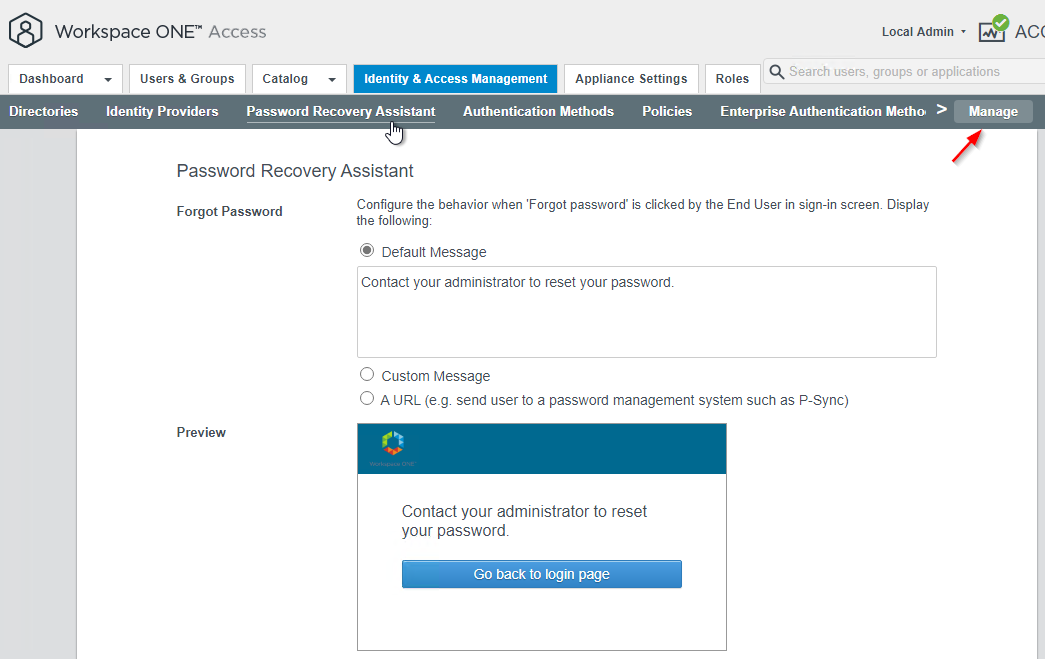
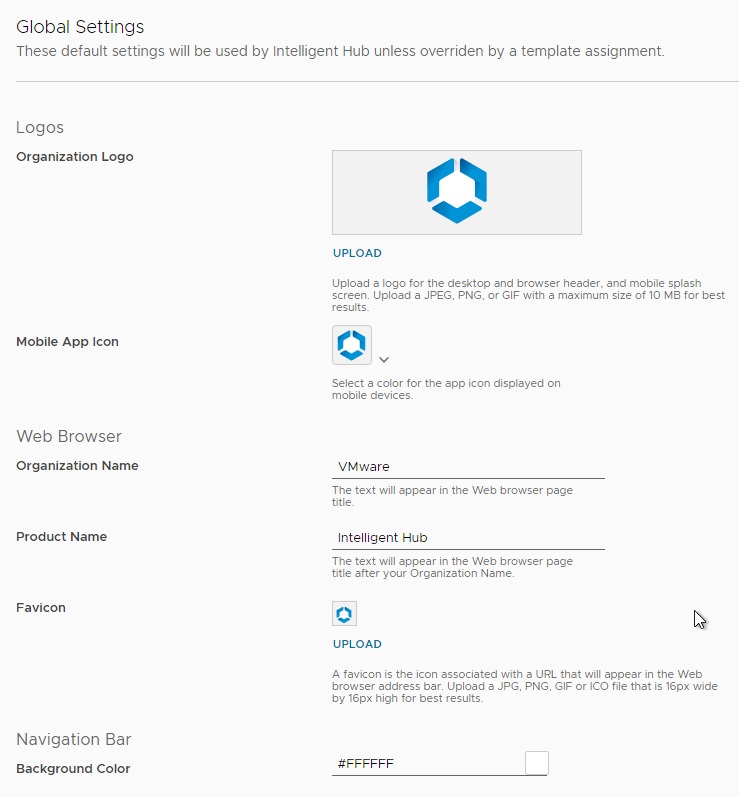
- In 22.09 and newer, go to Settings > New End User Portal UI and enable it if it’s not already enabled.
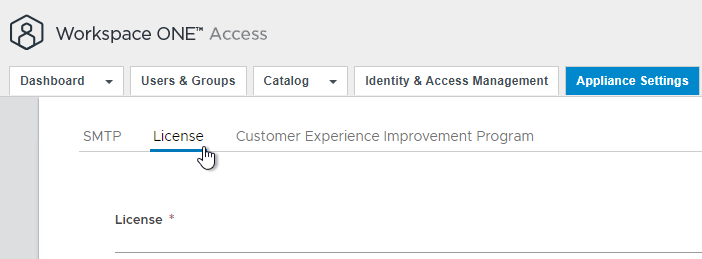
- In older VMware Access:
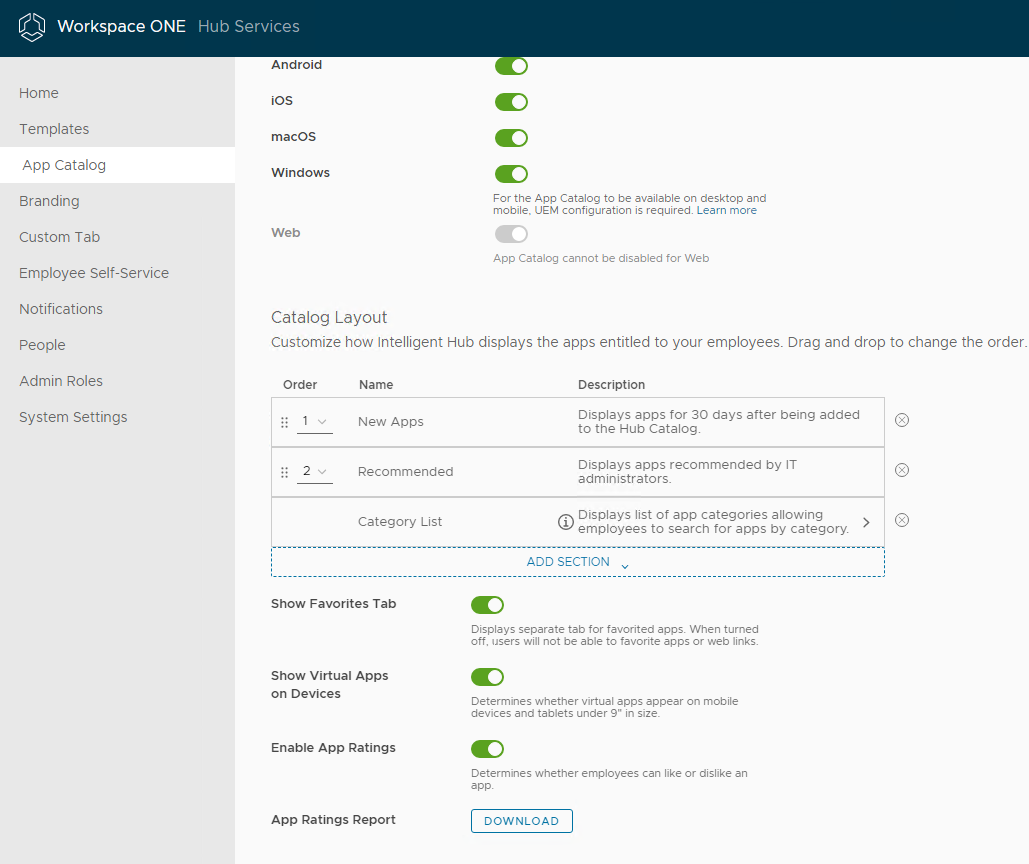
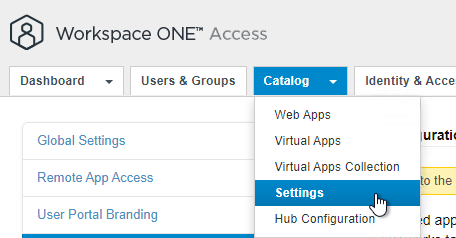
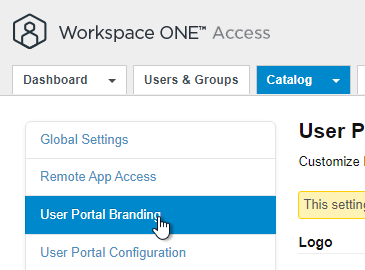
- Go to Catalog > Settings.
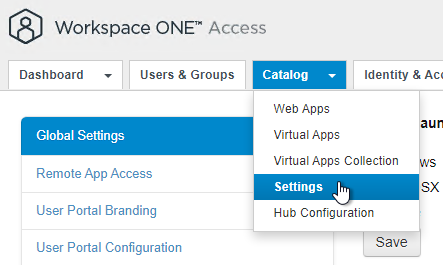
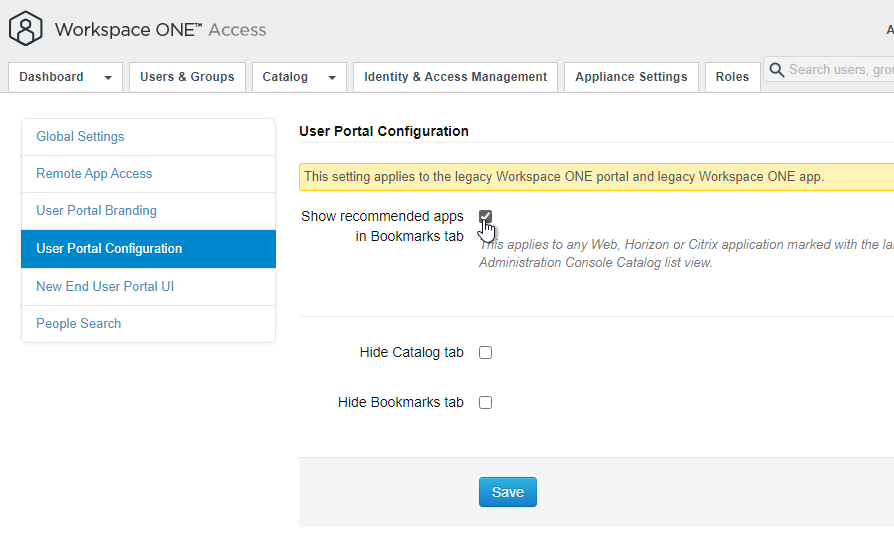
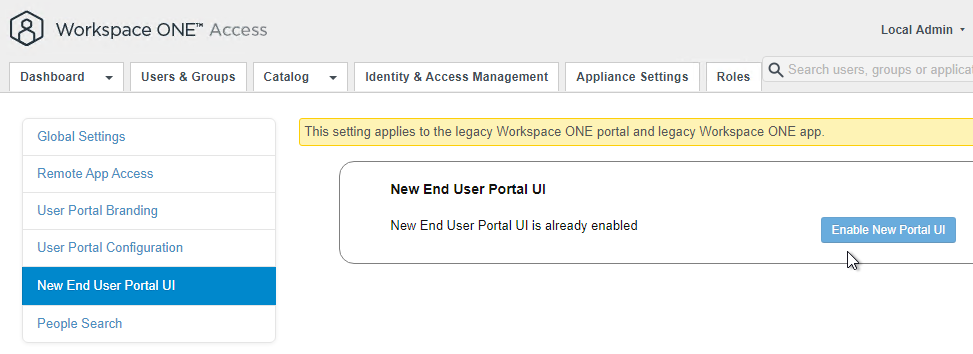
- On the left, click New End User Portal UI.
- On the right, click Enable New Portal UI if it’s not already enabled.
- Go to Catalog > Settings.
Clone Appliance
In Identity Manager 2.7 and newer, VMware recommends a minimum of three nodes. See Recommendations for Workspace ONE Access Cluster at VMware Docs.
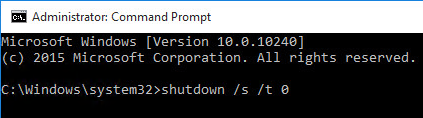
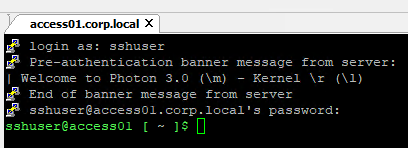
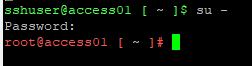
- Login to the appliance console.
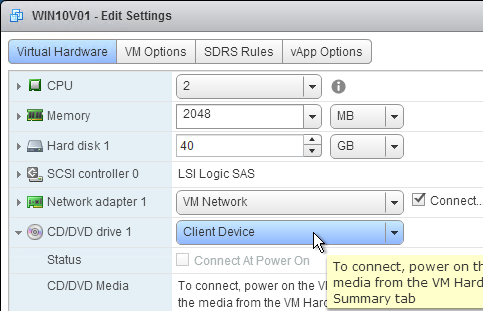
- If you see the file /etc/udev/rules.d/70-persistent-net.rules, delete it.

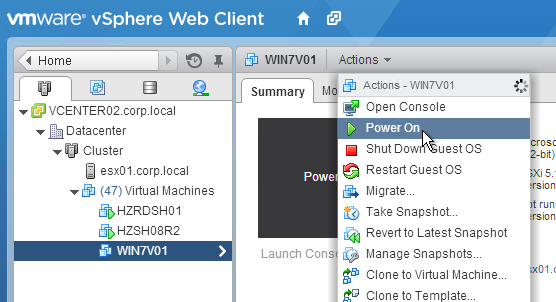
- Shut down the original VMware Access appliance.
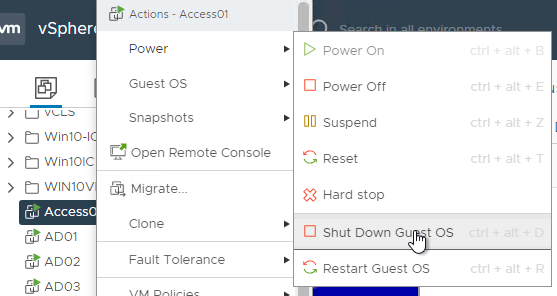
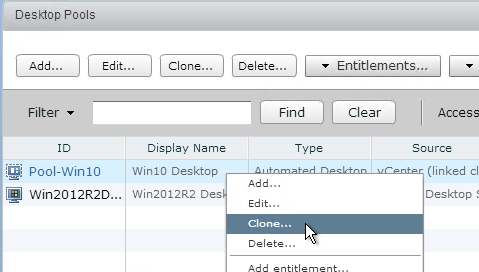
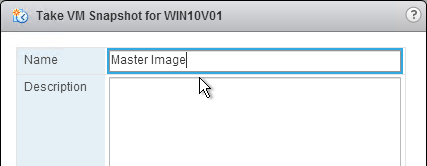
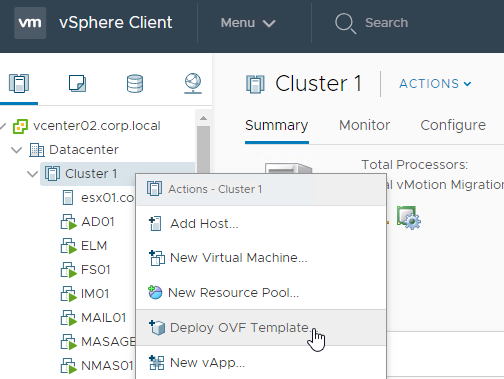
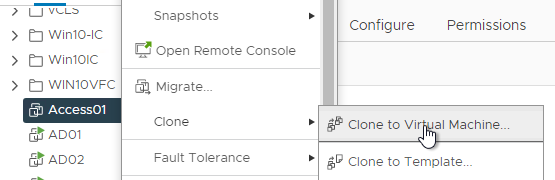
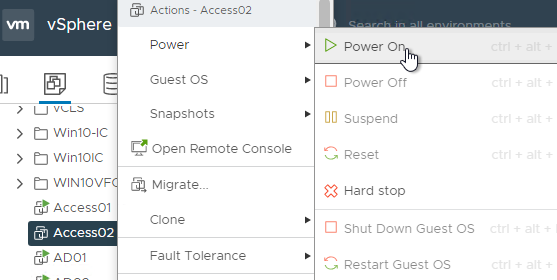
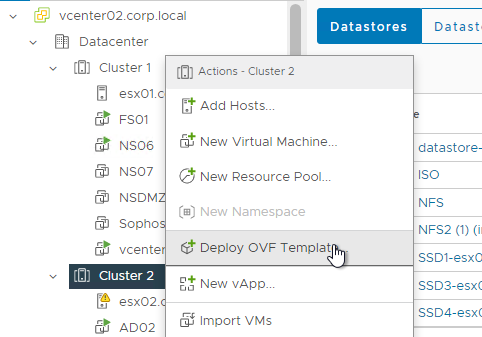
- Right-click the VMware Access appliance and clone it to a new Virtual Machine.
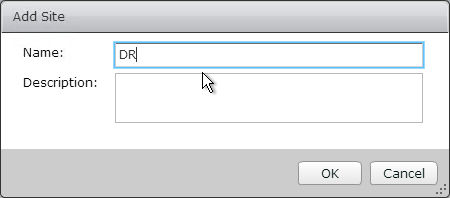
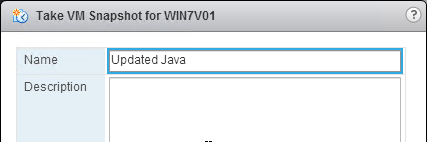
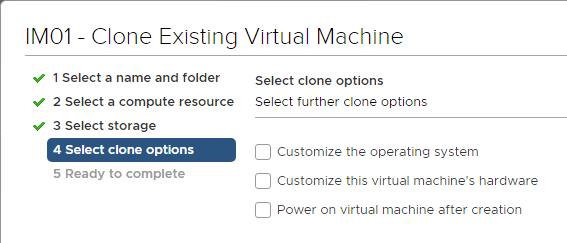
- Give the cloned appliance a name.

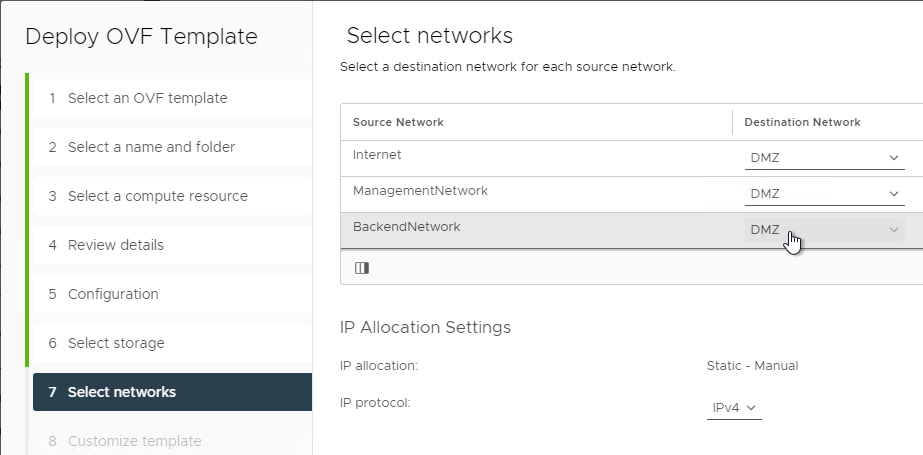
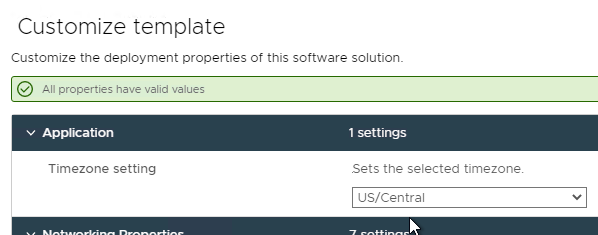
- In the Select clone options page, do not customize, and do not power on the machine. The original VM should be powered on before powering on the new VM. Click Next.
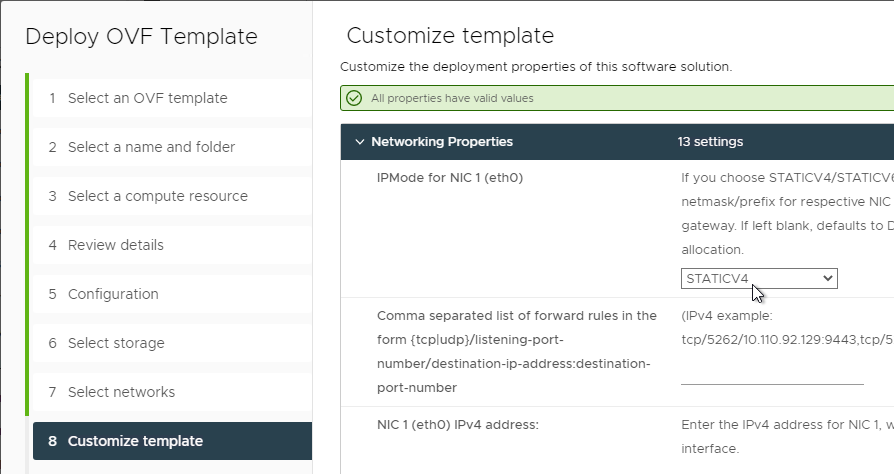
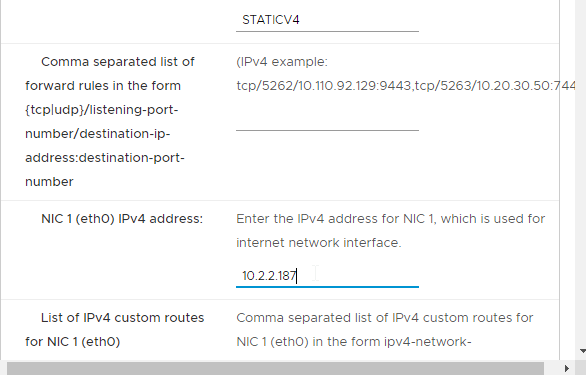
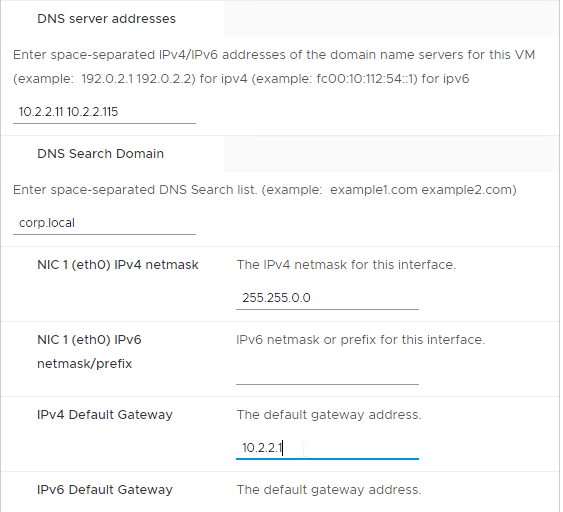
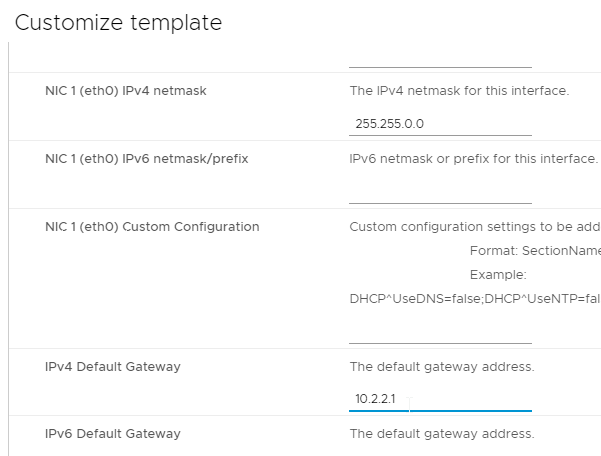
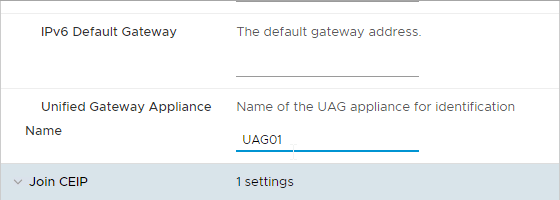
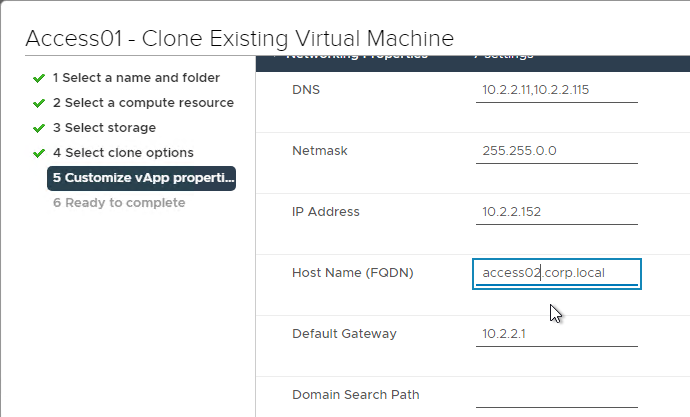
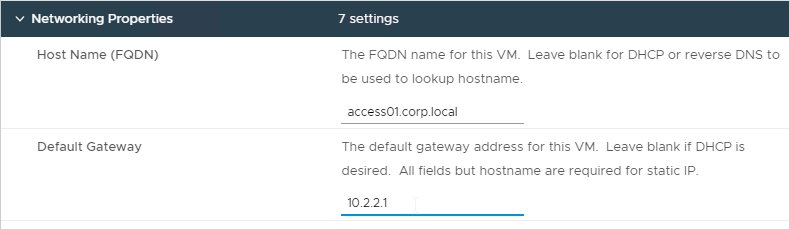
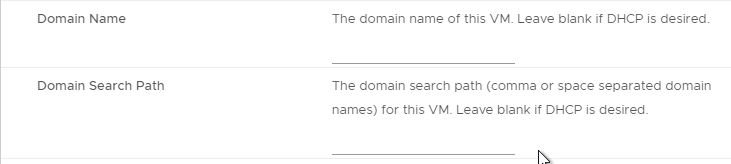
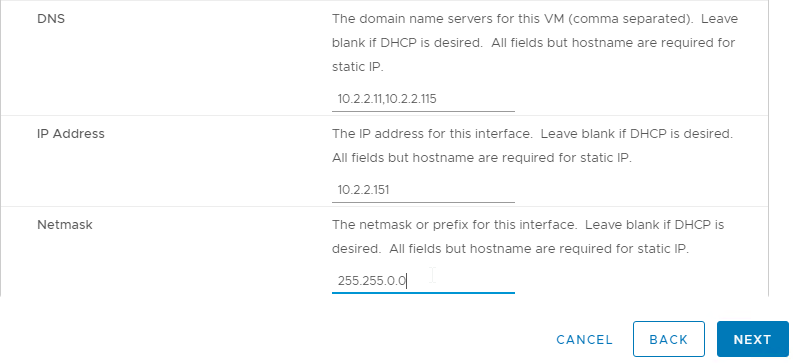
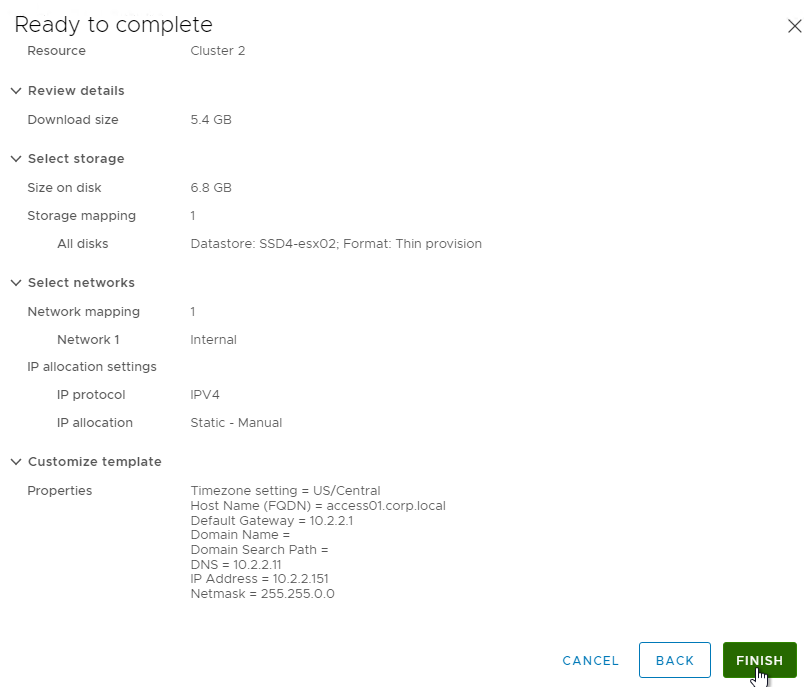
- In the Customize vApp properties page, expand Networking Properties and change the IP Address and Host Name (FQDN). Click Next and then click Finish.
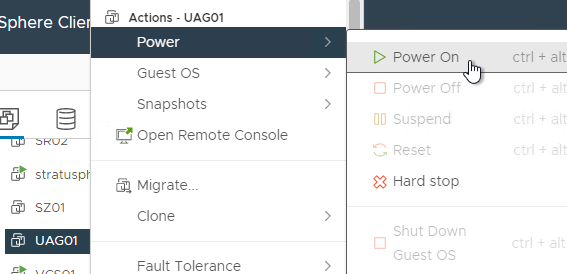
- After cloning is complete, power on the original VMware Access appliance. Don’t power on the cloned appliance until the original is fully functional.

- Wait for the original appliance to fully boot (you see the blue screen).
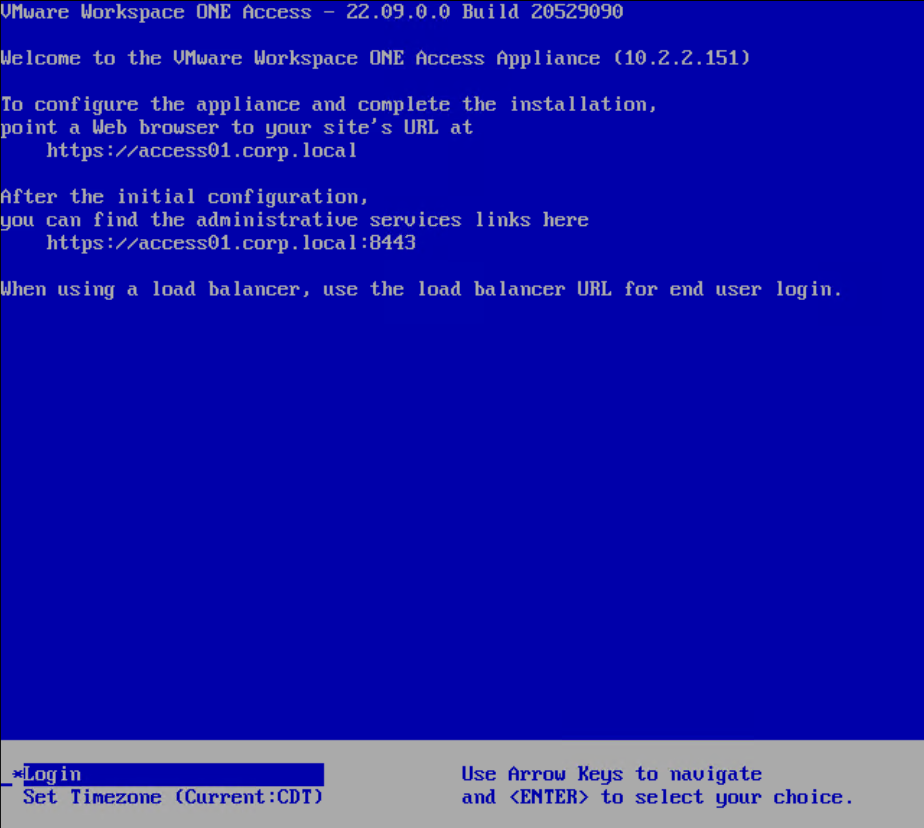
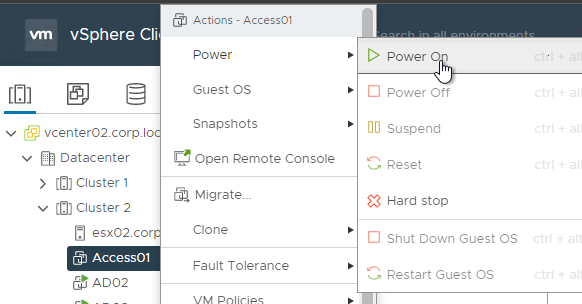
- Once the original appliance is running (the blue login screen is shown), you can power on the new cloned appliance.
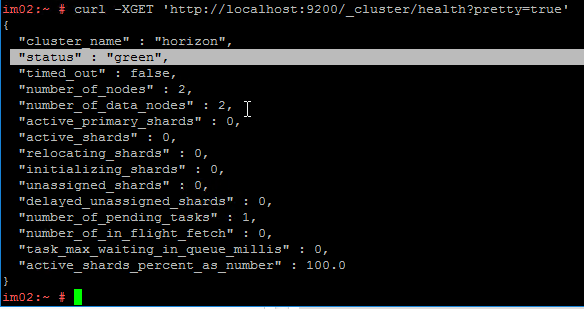
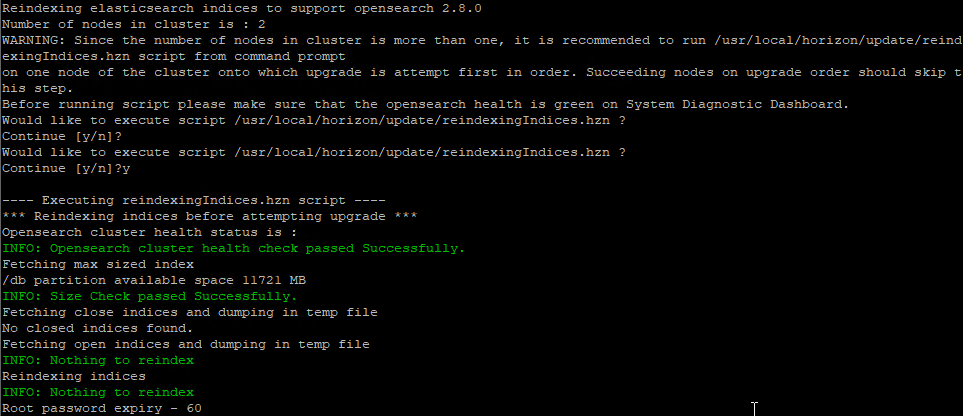
- Once both appliances are booted, login to one of them and run
curl -XGET 'http://localhost:9200/_cluster/health?pretty=true'. Make sure it says two nodes and status is green. It might take a couple minutes before the two nodes become clustered. You might have to reboot the cloned node before it joins the cluster.
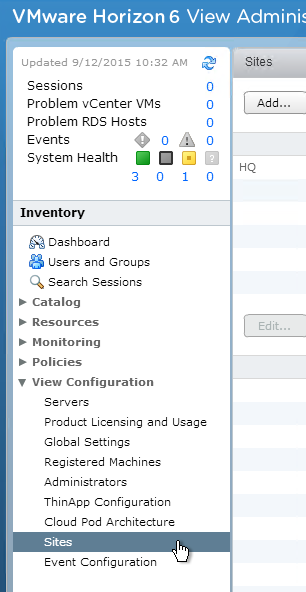
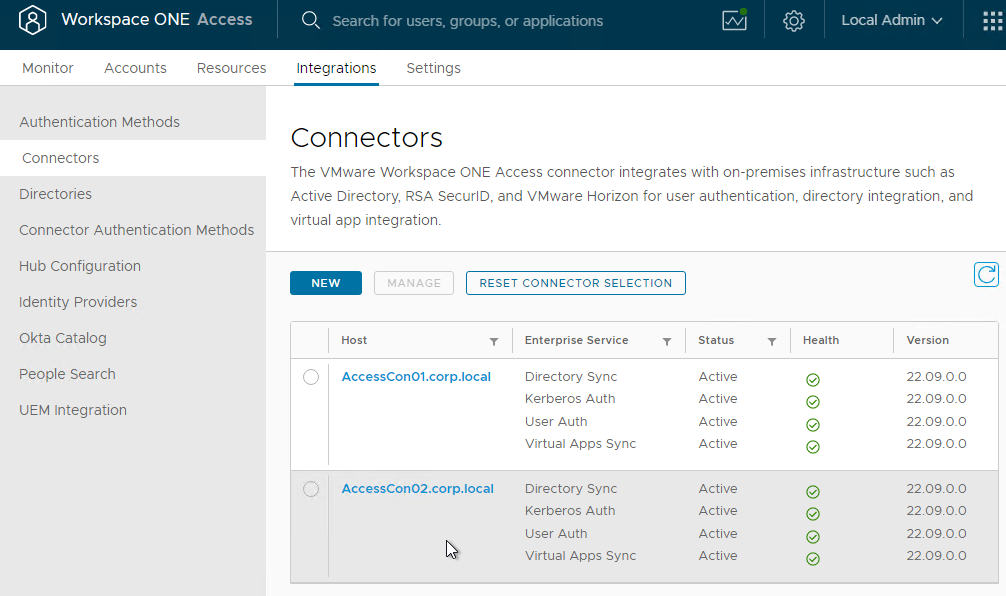
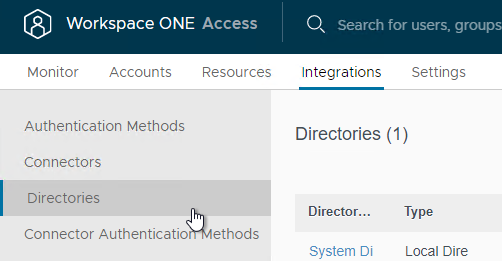
- In VMware Access Admin Console, go to Monitor > Resiliency.
- All nodes should be shown with green check mark status.
- Repeat this entire section to clone to a third appliance.
Add Cloned Appliances to NetScaler ADC
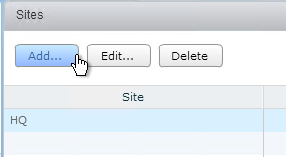
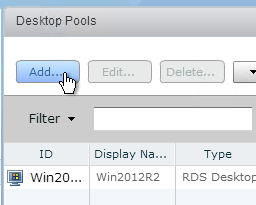
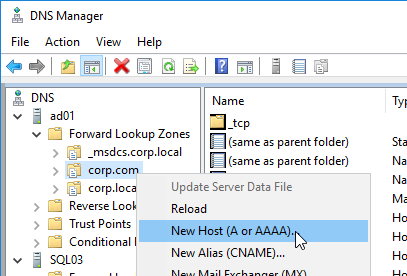
- In Citrix ADC, go to Traffic Management > Load Balancing > Servers, and add a Server for the new appliance.
- Go to Traffic Management > Load Balancing > Service Groups and edit the existing VMware Access Service Group.
- Click the Members section.
- Bind a new Member and select the new appliance on Port 443. The rest of Load Balancing should already have been configured.

Multi-datacenter
For multi-datacenter, see Component Design: Multi-site Design at Workspace ONE Access Architecture at VMware Tech Zone.
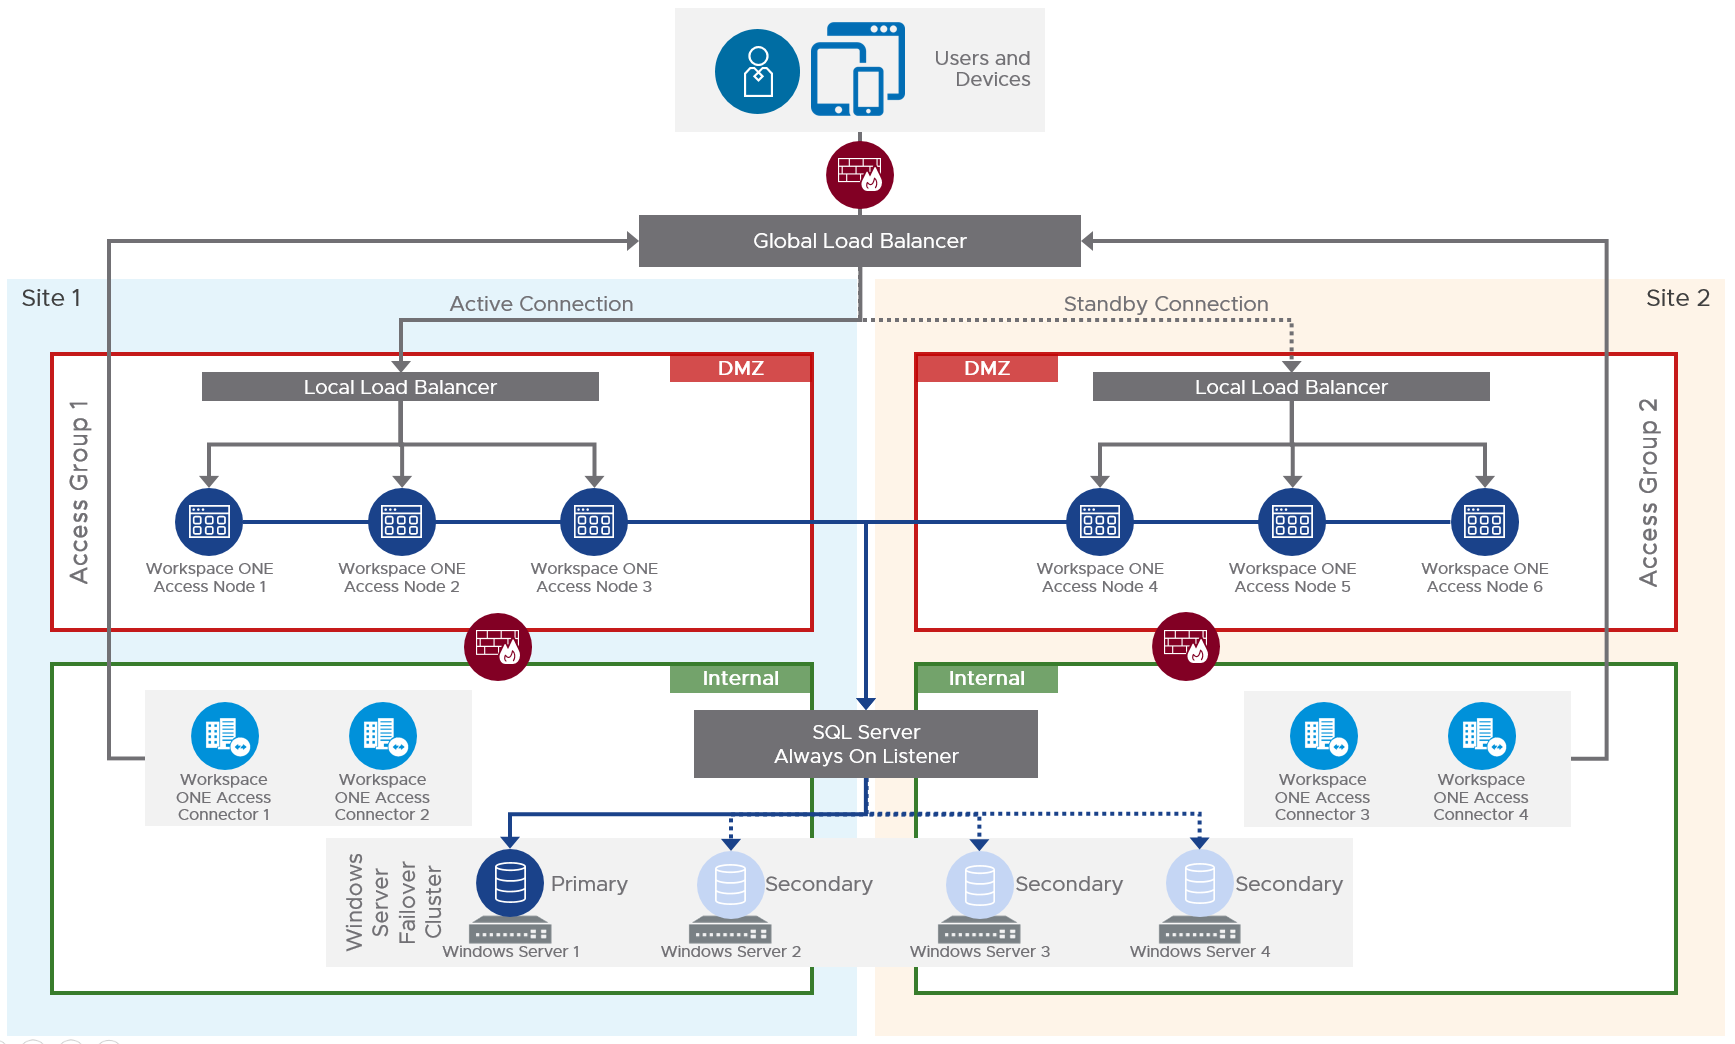
Also see Setting up a Secondary Data Center for Workspace ONE Access at VMware Docs.
- The database in the primary datacenter is replicated to the secondary datacenter.
- The VMware Access appliances in the secondary datacenter have read-only connectivity to the database in the secondary datacenter.
- Active-active data centers is not supported. The secondary data center is a hot stand-by.
- Horizon Connection Server groups are configured in failover order.
- Citrix ADC GSLB or F5 GTM handles failover of the VMware Access DNS name.


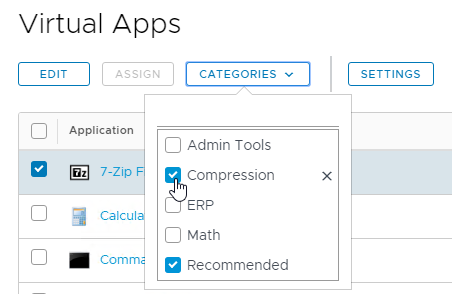
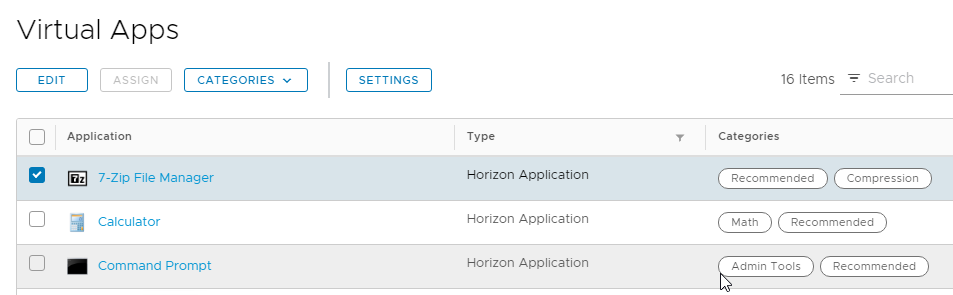
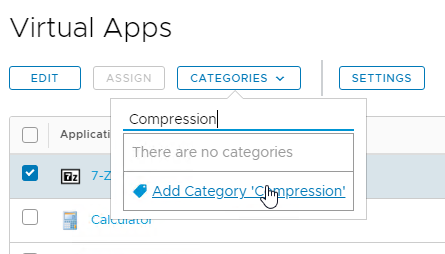 3The category is then displayed next to the catalog item.