Navigation
- Preparation
- Licensing
- Administrators
- Help Desk
- vCenter and View Composer
- Disable Secure Tunnel
- Events Configuration
- Global Settings
- Global Policies
- Authentication
- Backups
Preparation
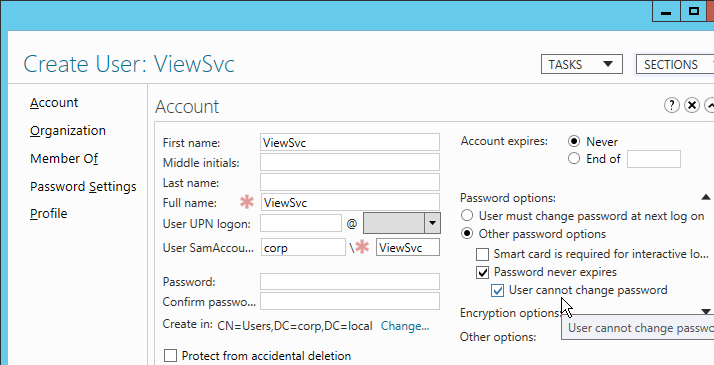
Horizon Service Account
- Create an account in Active Directory that View will use to login to vCenter. This account can also be used by Composer to create computer accounts in Active Directory.
- Make sure the password does not expire.
- Domain User is sufficient. Permissions will be delegated where needed.
vCenter Role for View Composer
This role has all permissions needed for both full clones and linked clones.
- Create an account in Active Directory that View will use to login to vCenter.
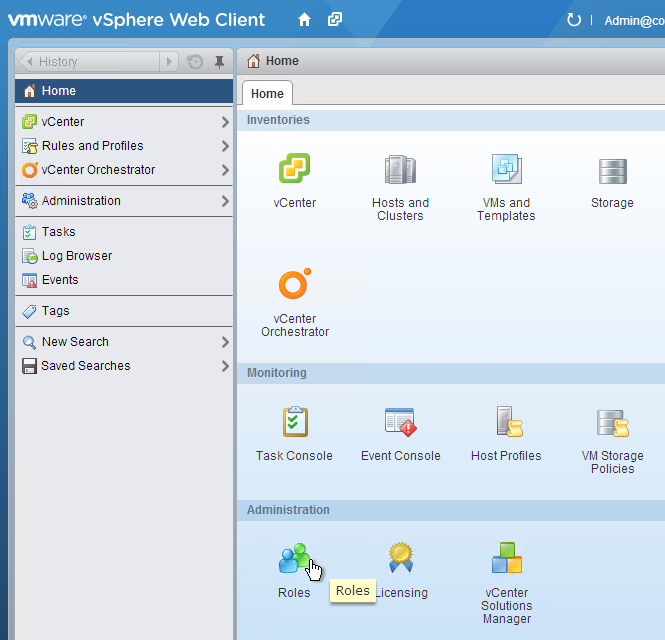
- In vSphere Web Client, on the Home screen, click Roles.
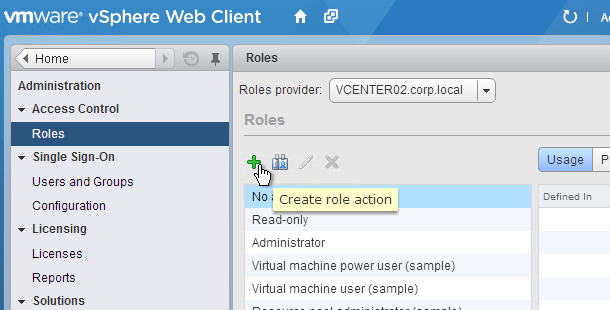
- Click the plus icon to add a Role.
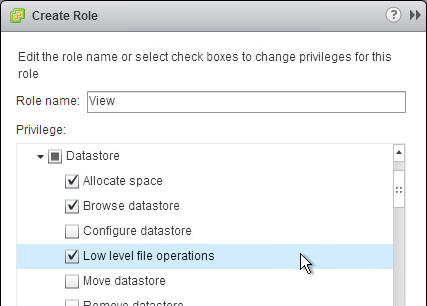
- Name the role View or similar.
- Expand Datastore and enable Allocate space, Browse datastore, and Low level file operations.
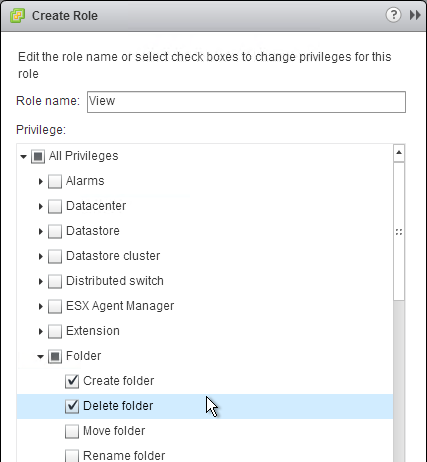
- Expand Folder and enable Create folder, and Delete folder.
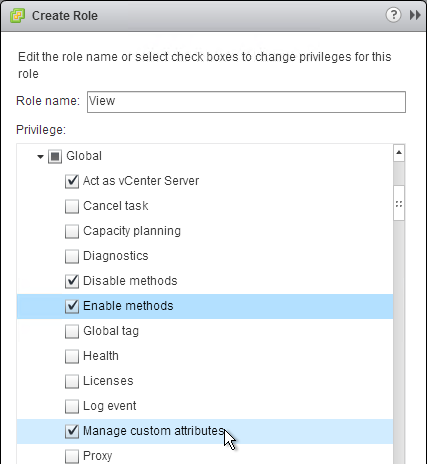
- Expand Global and enable Act as vCenter Server, Disable Methods, Enable Methods, and Manage custom attributes.
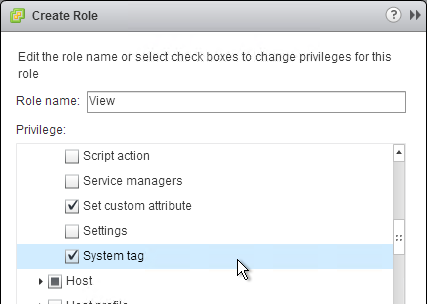
- Scroll down and enable Set custom attribute and System tag.
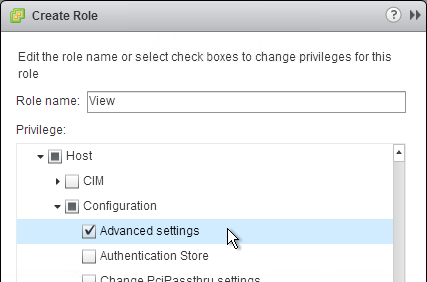
- Expand Host, expand Configuration and enable Advanced Settings.
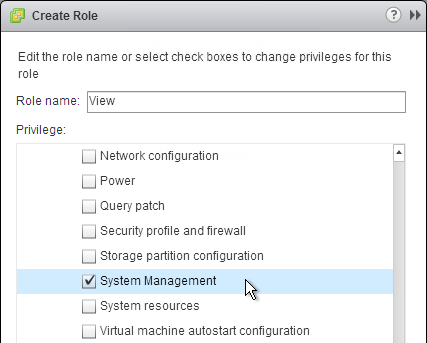
- Scroll down and enable System Management.
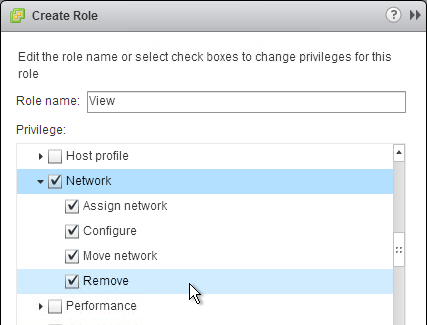
- Enable Network and everything under it.
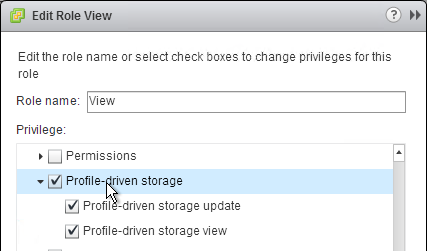
- For Virtual SAN, enable Profile-driven storage and everything under it. VMware 2094412 – When attempting to deploy linked clones using VMware Virtual SAN (VSAN) you receive the error: Unable to connect to PBM sub system PB may be down
- Expand Resource and enable Assign virtual machine to resource pool and Migrate powered off virtual machine.

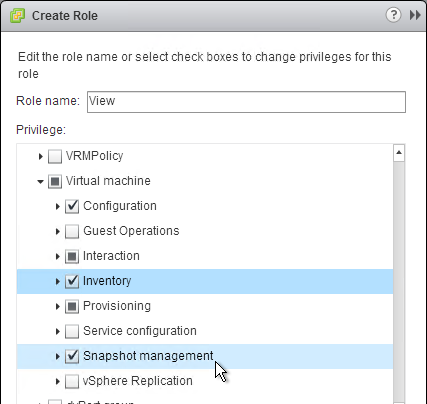
- Expand Virtual Machine and enable everything under Configuration, Inventory, and Snapshot Management (or State).
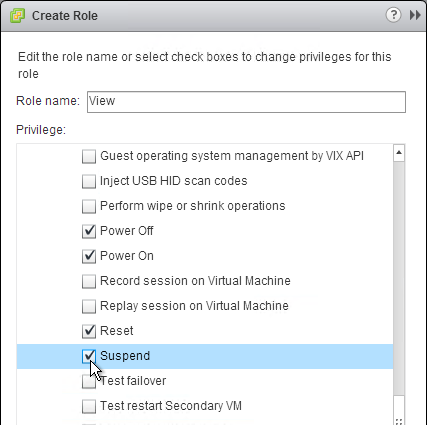
- Expand Virtual Machine > Interaction and enable Power Off, Power On, Reset, and Suspend.
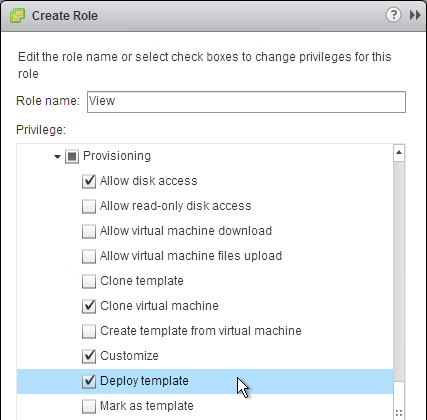
- Expand Virtual Machine > Provisioning. Enable Allow disk access, Clone virtual machine, Customize, and Deploy template.
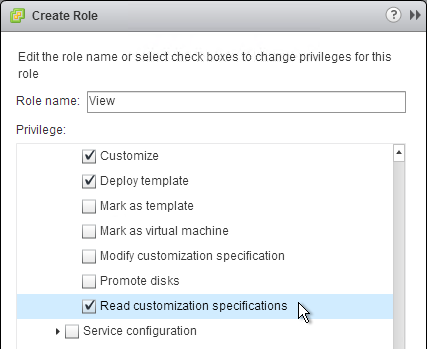
- Scroll down and enable Read customization specifications. Click OK when done.
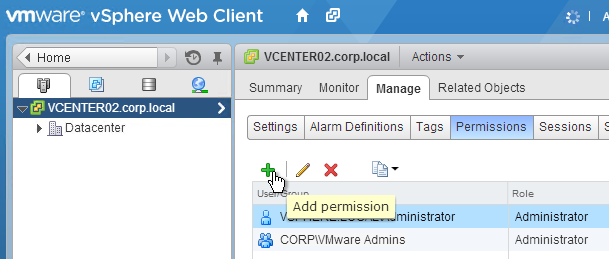
- Browse to the vCenter object. Permissions must be assigned at the vCenter level. It won’t work at any lower level.
- On the right, switch to the Manage tab and select the Permissions sub-tab.
- Click the plus icon to add a permission.
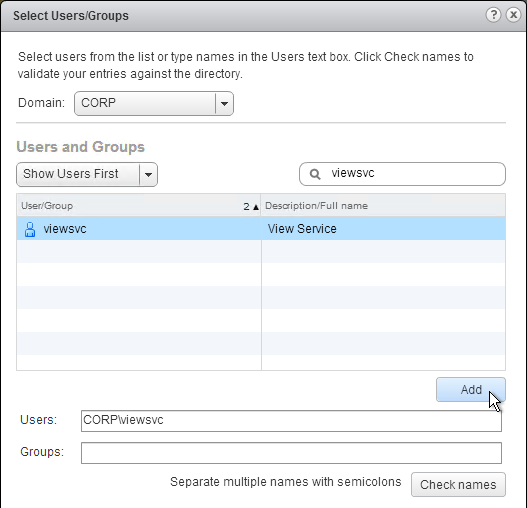
- Under Users and Groups click Add.
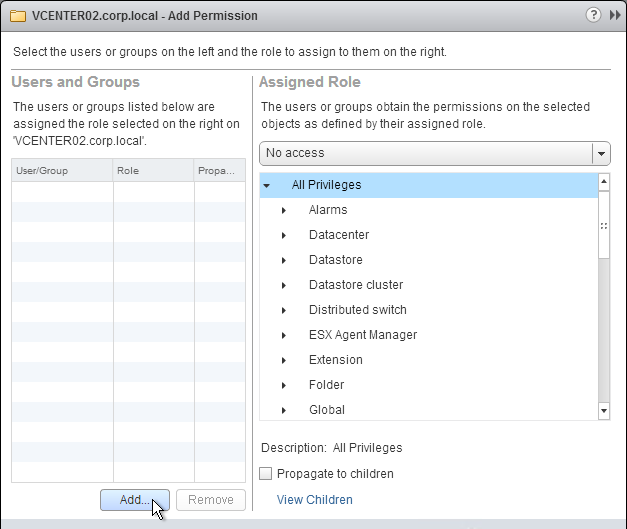
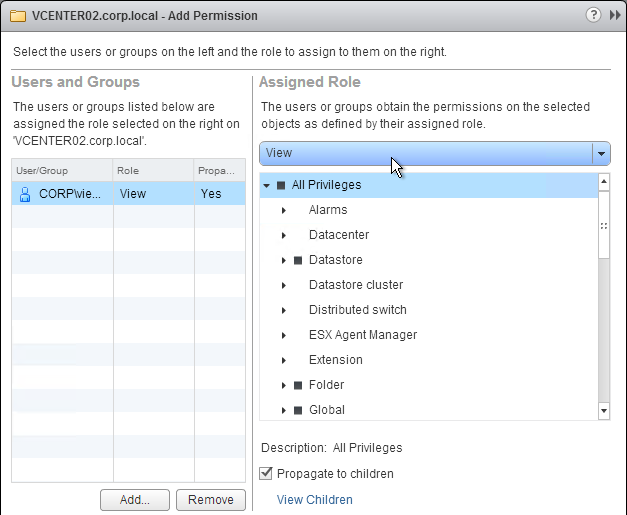
- Find the Active Directory account that View will use to login to vCenter, click Add and then click OK.
- On the right, under Assigned Role, change it to View Composer Administrator. Then click OK.
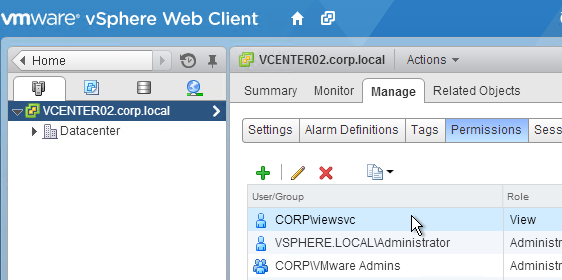
- The service account is now listed on the Permissions sub-tab.
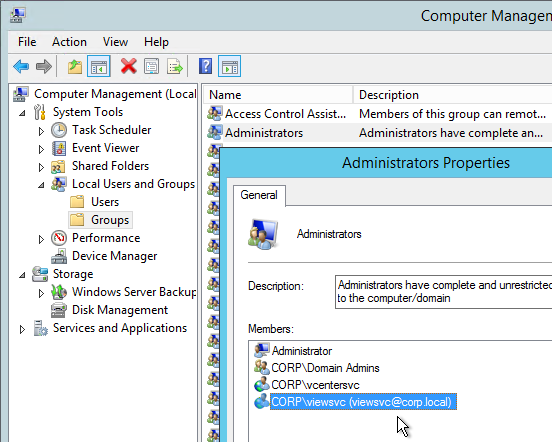
- The service account also must be a local administrator on the vCenter server. In Server Manager, go to Tools > Computer Management.
- Go to System Tools > Local Users and Groups > Groups. Double-click Administrators. Add the View service account and click OK.
Active Directory Delegation
View Composer uses an Active Directory account to create computer objects in Active Directory. This service account must be granted permission to create computer objects.
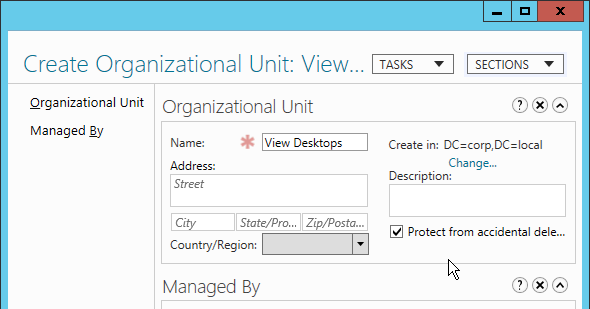
- Create an OU in Active Directory where the virtual desktop computer objects will be stored.
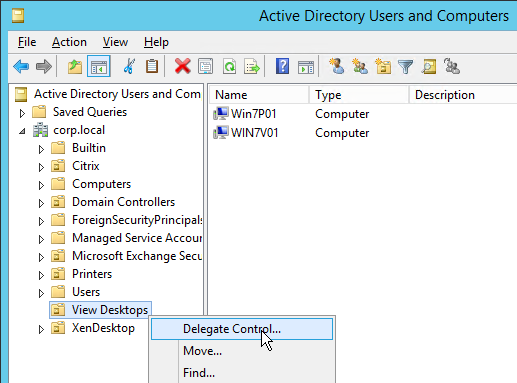
- In Active Directory Users & Computers, right-click the OU where the computer objects will be stored and click Delegate Control. This wizard is not included in Active Directory Administrative Center.
- In the Welcome to the Delegation of Control Wizard page, click Next.
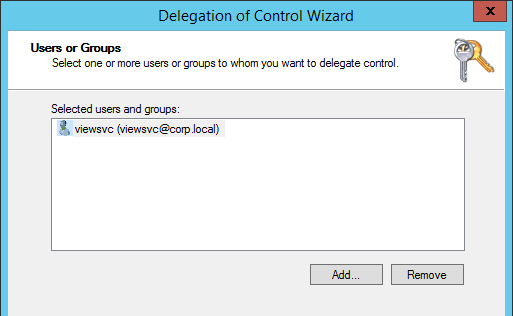
- In the Users or Groups page, add the Active Directory service account for View Composer. Then click Next.
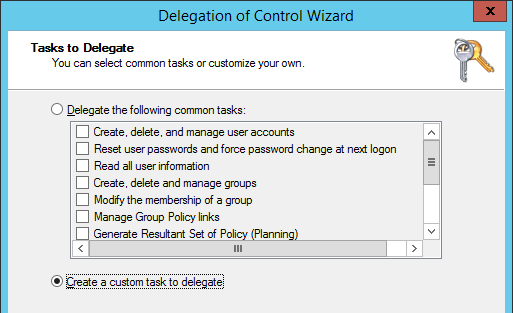
- In the Tasks to Delegate page, select Create a custom task to delegate and click Next.
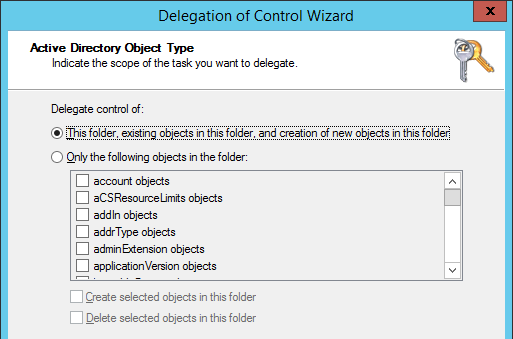
- In the Active Directory Object Type page, click Next.
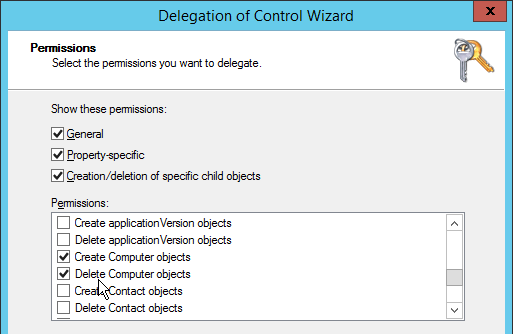
- In the Permissions page, check the three boxes under Show these permissions.
- In the Permissions section, check the boxes next to Read All Properties and Write All Properties.
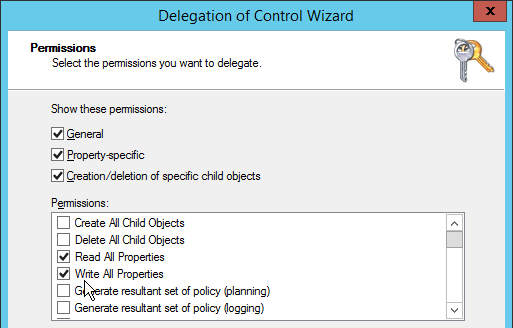
- In the Permissions section, scroll down and check the boxes next to Create Computer objects and Delete Computer objects. Click Next.
- In the Completing the Delegation of Control Wizard page, click Finish.

Events SQL Database
A new empty SQL database is needed for storage of View Events. Only SQL authentication is supported.
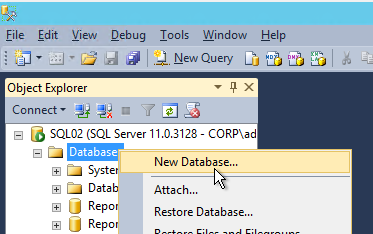
- In SQL Server Management Studio, create a new database.
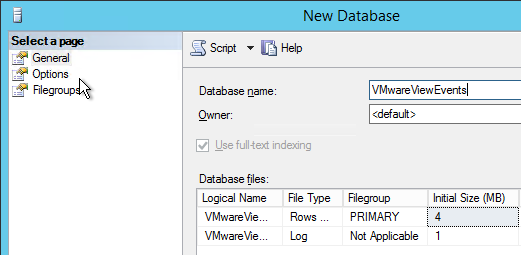
- Name it VMwareViewEvents or similar. Switch to the Options tab.
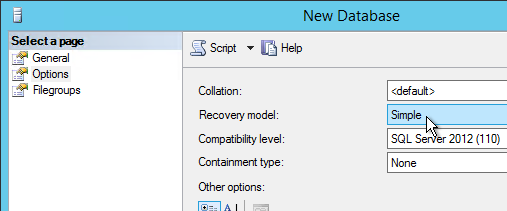
- Select your desired Recovery model and click OK.
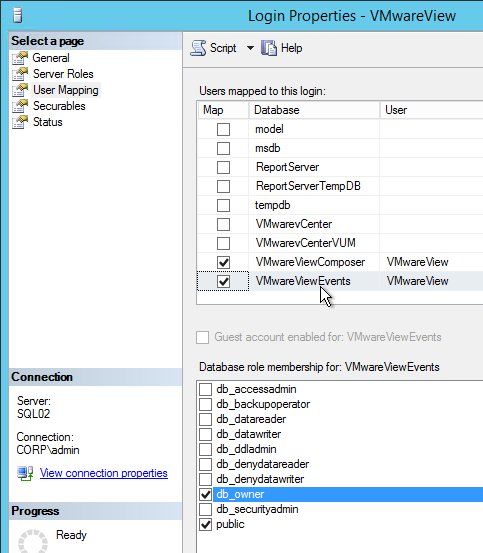
- Add a SQL login if one does not exist already. Windows authentication is not supported.
- Right-click a SQL login and click Properties.
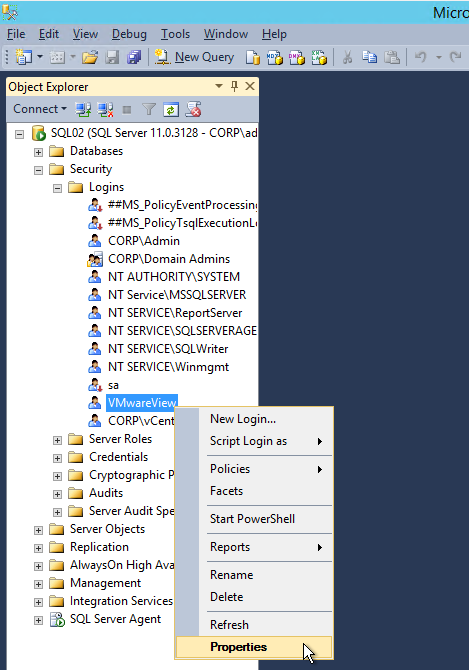
- On the User Mapping page, check the Map box next to the VMwareViewEvents database.
- On the bottom, add the user to the db_owner database role. Click OK when done.
Licensing
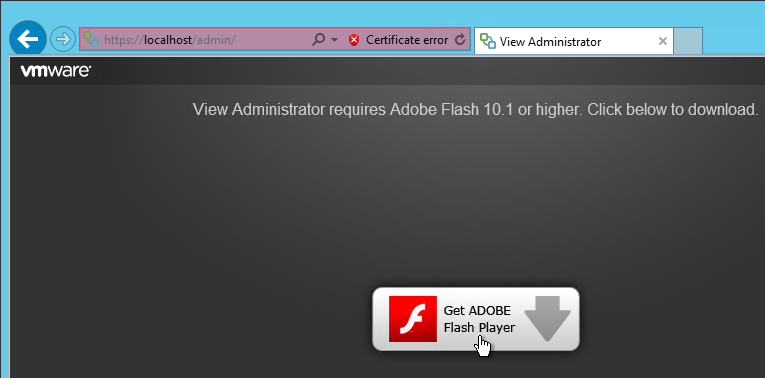
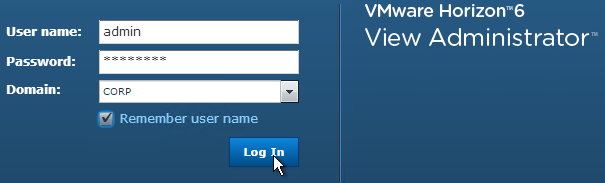
- Run the Horizon 6 Administration Console by double-clicking the desktop shortcut. Or, go to https://FQDN/admin.
- If Flash is not installed, you are prompted to install it. This won’t work on Windows Server 2012 unless you have the Desktop Experience feature installed. To avoid this, use Chrome.
- Login using a Horizon View administrator account.
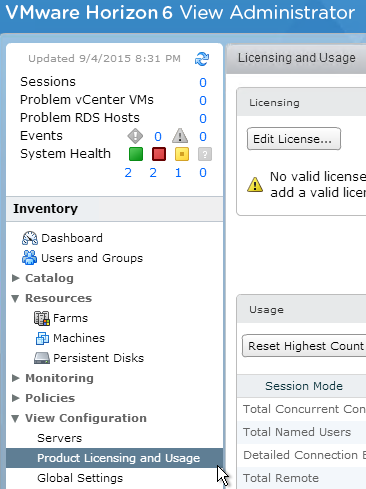
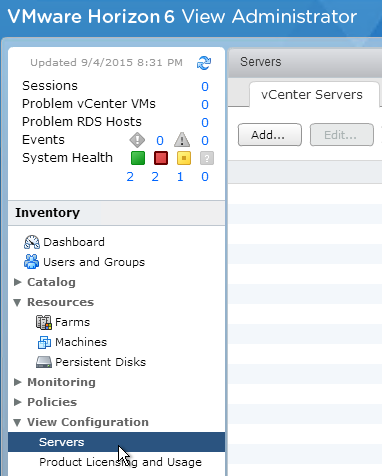
- On the left, under View Configuration, click Product Licensing and Usage.
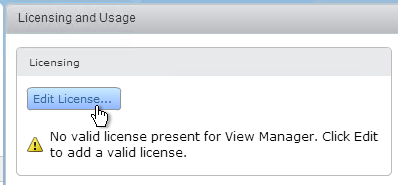
- On the top left of the right pane, click Edit License.
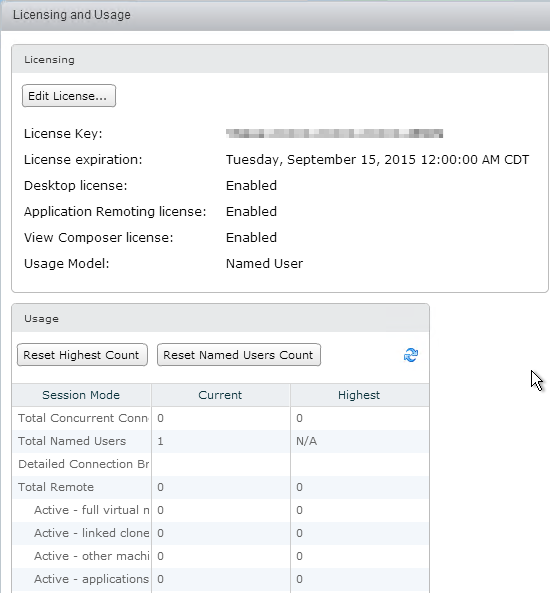
- In the Edit License window, enter your license serial number and click OK.
- The license expiration is now displayed. Note that only Horizon Advanced and above have Application Remoting (published applications).
Administrators
- On the left, expand View Configuration and click Administrators.
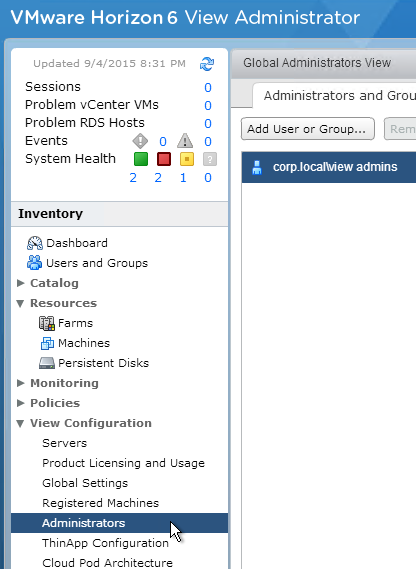
- On the right, click Add User or Group near the top.
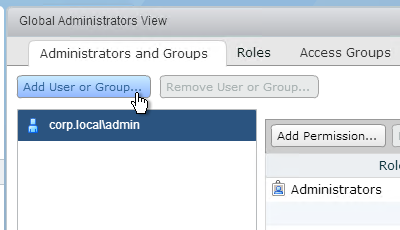
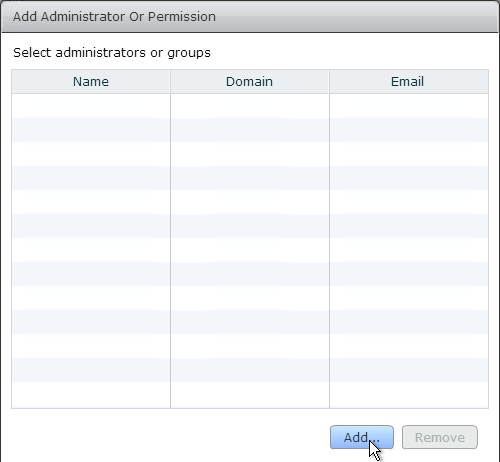
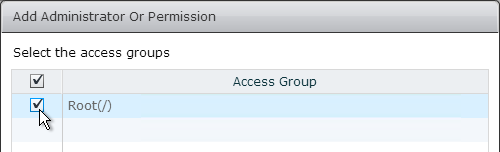
- In the Add Administrator Or Permission page, click Add.
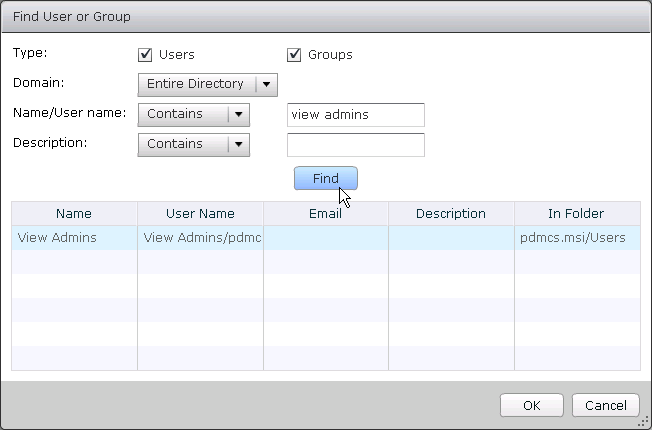
- Enter the name of a group that you want to grant permissions to and click Find.
- After the group is found, click it to highlight it and click OK.
- Then click Next.
- Select the role (e.g. Administrators) and click Next.

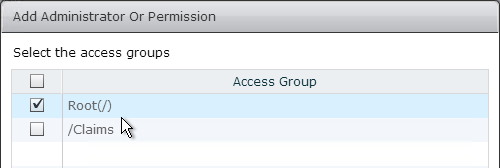
- Select an access group to which the permission will be applied and click Finish. Note: If you intend to integrate with VMware Identity Manager, then only pools in the root Access group will sync with Identity Manager. Other Access Groups won’t work.
Help Desk
None of the built-in roles are useful for Help Desk. Create a new role.
- On the right, switch to the Roles tab and click Add Role.
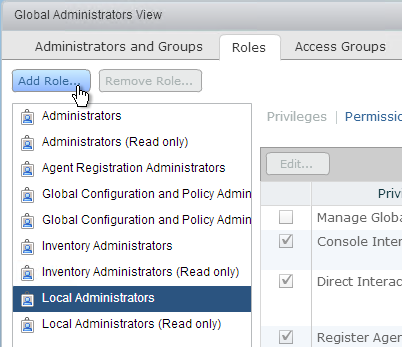
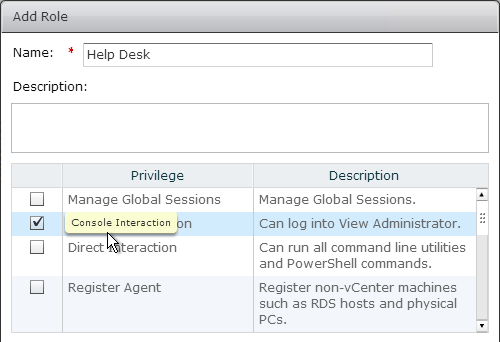
- Name the role Help Desk or similar.
- Check the box next to Console Interaction and scroll down.
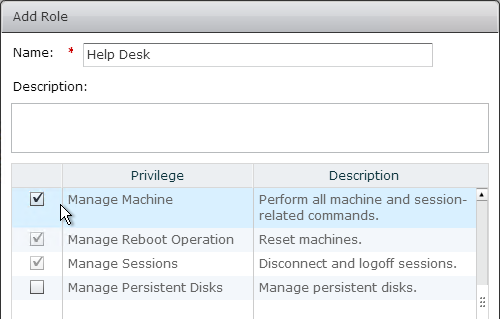
- Check the box next to Manage Machine and click OK.
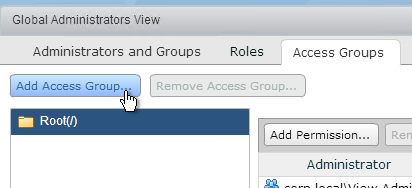
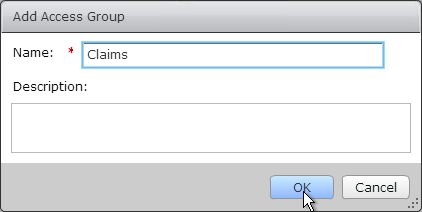
- To further restrict Help Desk permissions, on the Access Groups tab, create an Access Group. Pools can be placed in an Access Group and if an administrator only has permission to one Access Group then pools in other access groups cannot be managed. Note: If you intend to integrate with VMware Identity Manager, then only pools in the root Access group will sync with Identity Manager. Other Access Groups won’t work.
- Switch back to the Administrators and Groups tab and click Add User or Group.
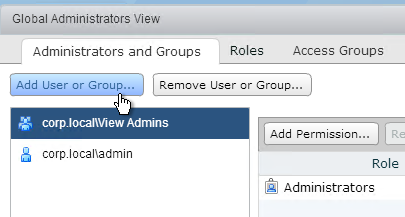
- In the Add Administrator Or Permission window, click Add, find your Help Desk group and click Next.

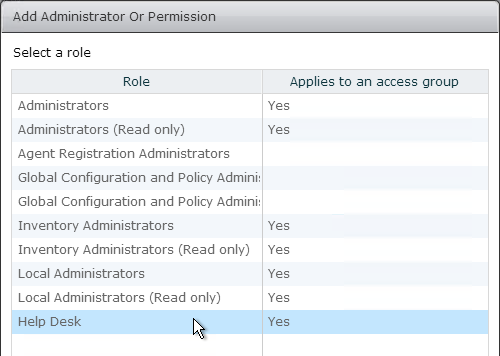
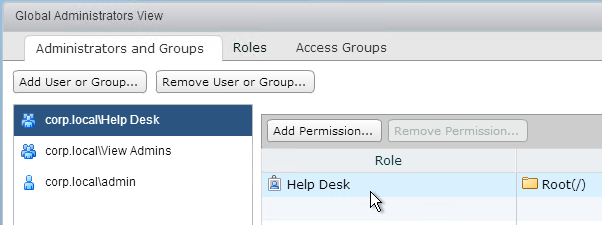
- Click the Help Desk role to highlight it and click Next.
- Check the box next to an Access Group to which the permissions will be applied and click Finish. Note: If you intend to integrate with VMware Identity Manager, then only pools in the root Access group will sync with Identity Manager. Other Access Groups won’t work.
- The group is added to the list and the role is shown on the right.
vCenter and View Composer
If you are adding multiple vCenter servers, make sure each vCenter Server has a Unique ID. In vSphere Web Client, go to the vCenter Server > Manage > Settings > General > Edit > Runtime Settings and confirm that the ID is unique for each vCenter server.

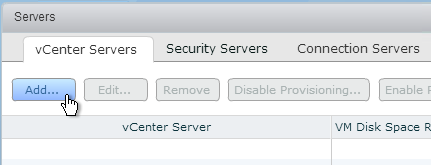
- On the left, expand View Configuration and click Servers.
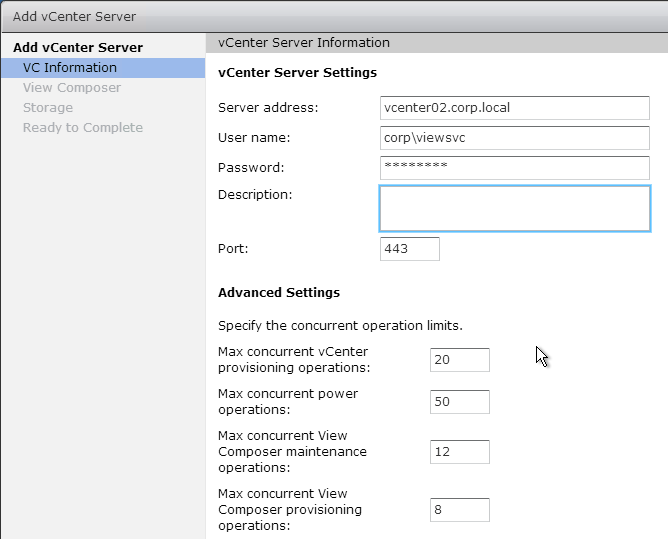
- In the right pane, in the vCenter Servers tab, click Add.
- In the Server address field, enter the FQDN of the vCenter server.
- In the User Name field, enter the Active Directory account that View will use to login to vCenter as detailed earlier in this post. Also enter the password.
- Click Next.
- If you see a message regarding invalid certificate, click View Certificate.
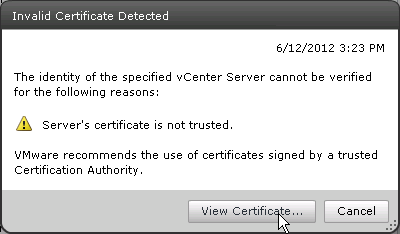
- Then click Accept.
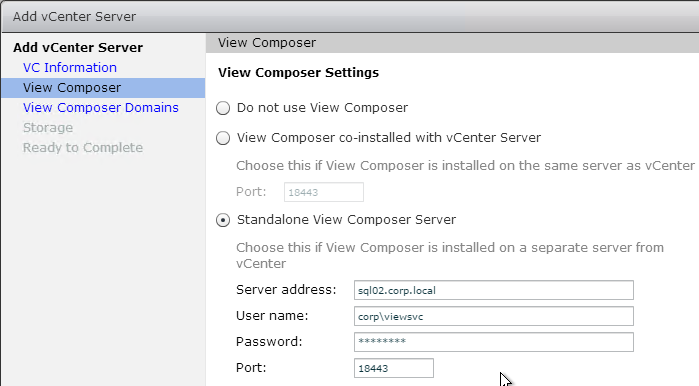
- In the View Composer page, select Standalone View Composer Server. Enter the FQDN of the server and the credentials of an account to access the View Composer server. The service account must be a local administrator on the View Composer Server. Click Next.
- If you see an invalid certificate, click View Certificate.

- Then click Accept.
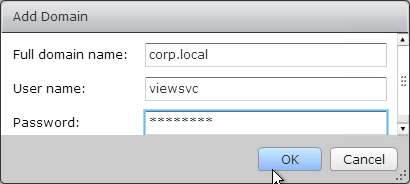
- In the View Composer Domains page, click Add.
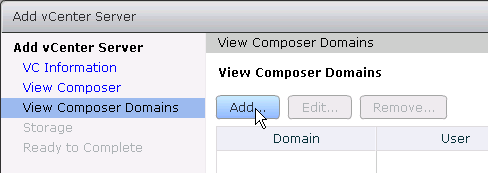
- Enter the Full domain name of where the virtual desktop computer objects will be created.
- Enter the Active Directory service account credentials that has permission to create computer objects and click OK. Then click Next.
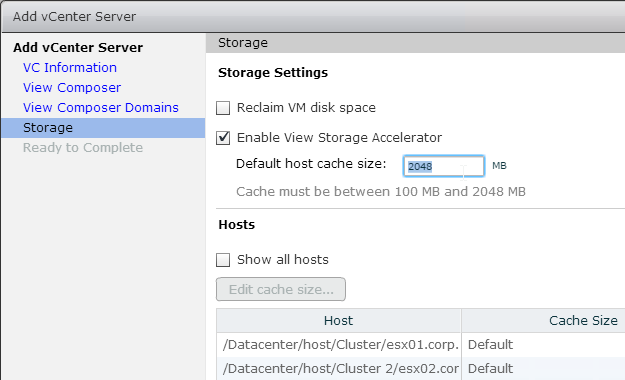
- In the Storage page, check the box to Enable View Storage Accelerator and increase the host cache size to 2048. View Storage Accelerator causes digest files to be created thus increasing disk space requirements. Reclaim VM disk space requires IOPS during its operation. Click Next.
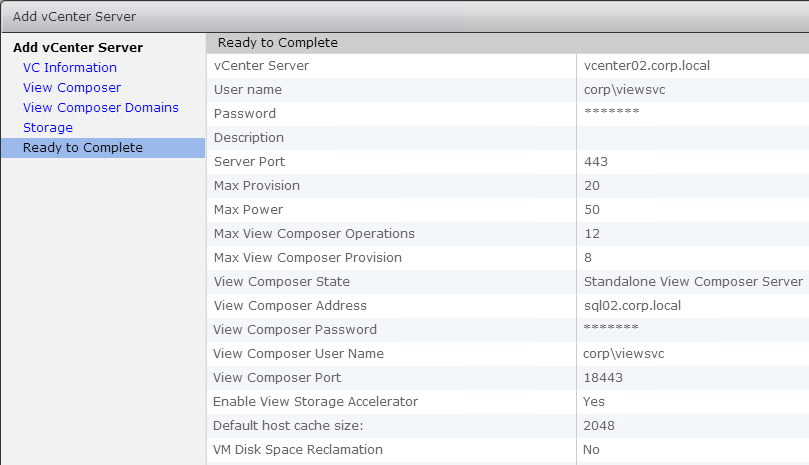
- In the Ready to Complete page, click Finish.
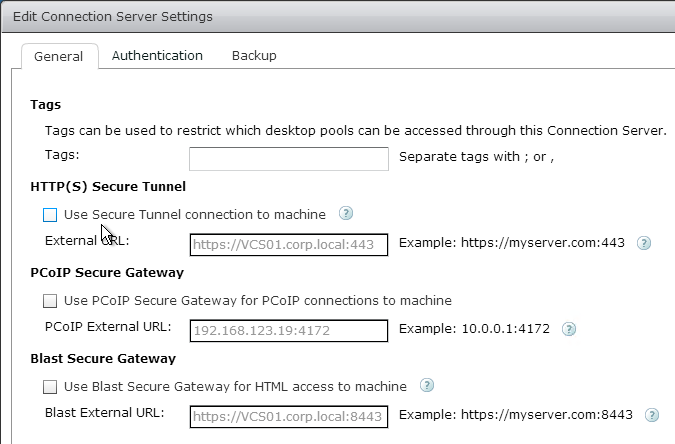
Disable Secure Tunnel
By default, Horizon Clients connect to virtual desktops by tunneling through a Horizon 6 Connection Server. It would be more efficient for the Horizon Clients to connect directly to the virtual desktops.
- In View Administrator, on the left, expand View Configuration and click Servers.
- On the right, switch to the Connection Servers tab.
- Click the Connection Server and click Edit.
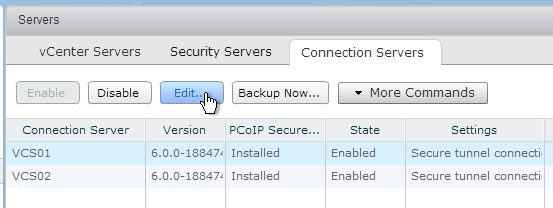
- On the General tab, uncheck the box next to HTTP(S) Secure Tunnel. Also, make sure the other Secure Gateways are not enabled. Click OK. Note: if you are using HTML Blast internally then disabling the gateway will cause Blast connections to go directly to the Agent and the Agent certificate is probably not trusted.
Event Database and Syslog
- On the left of View Administrator, expand View Configuration and click Event Configuration.

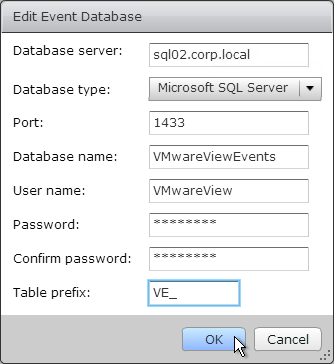
- On the right, under Event Database, click Edit.

- Enter the name of the SQL server.
- Select Microsoft SQL Server as the Database type.
- Enter the name of the database.
- Enter the SQL credentials (no Windows authentication).
- Optionally, enter VE_ (or similar) for the Table prefix. This allows you to use the same Events database for multiple View installations.
- Click OK.
- The View Administrator now shows it configured. You can change the age of events shown in View Administrator.
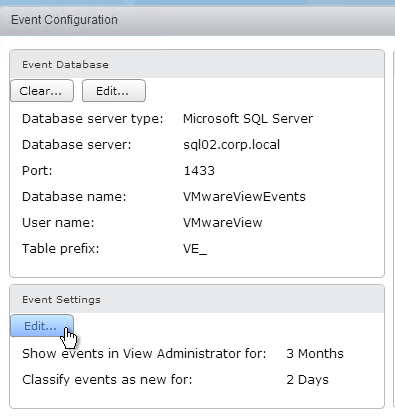
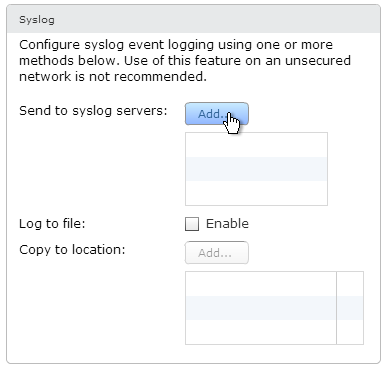
- To add a syslog server, look on the right side of the page.
- You can go to Monitoring > Events to view the events in the database.

Event Database SQL Index
VMware Knowledgebase article – The Event database performance in VMware View 6.0.x is extremely slow (2094580): Symptoms:
- The Event database performance in VMware View 6.0.x is extremely slow when browsing within View
- High CPU usage on the SQL server, hosting the Event database
- The larger the Event database becomes, the slower the queries run.
To resolve this issue, create an index. Run this command on your SQL Event database:
CREATE INDEX IX_eventid ON dbo.VDIevent_data (eventid)
Substitute VDIevent_data for the table name using your Event database prefix.
Event Queries
VMware Fling – Horizon View Event Notifier: collects and sends the alerts via email (SMTP) to users that are specified during the configuration process. It allows aggregation of alerts across multiple Horizon View Pods and for near real-time alerting of Horizon View alerts that are otherwise very difficult to be notified on.
Chris Halstead – VMware Horizon View Events Database Export Utilty: this utility allows administrators to easily apply very detailed filtering to the data and export it to .csv. You can filter on time range, event severity, event source, session type (Application or Desktop), Usernames and Event Types. The application allows for extremely granular export of data. The exported columns can also be customized and the application will export data from both the live and the historical tables in the View Events Database.
VMware Knowledgebase article – Creating SQL views to retrieve the top 50 maximum number of concurrent desktop sessions over a period: This article provides steps to create database views to retrieve the maximum number of concurrent desktop sessions over a period from the event_historical table.
To retrieve the top 50 maximum number of concurrent desktop sessions over a period time from the event_historical table, run this query:
select Count, Time from(select top 50 DOB.<prefix>_data_historical.IntValue as 'Count', DOB.<prefix>_historical.Time as 'Time' from DOB.<prefix>_historical.DOB.<prefix>_data_historical where DOB.<prefix>_historical.EventID = DOB.<prefix>_data_historical.EventID and DOB.<prefix>_data_historical.Name = 'UserCount' and DOB.<prefix>_historical.EventType='BROKER_DAILY_MAX_DESKTOP order by DOB.<prefix>_historical.Time DESC) A Order by Time
Where <prefix> is the prefix for the event table. You can find the prefix that you must use by examining other view definitions, such as user_events.
Global Settings
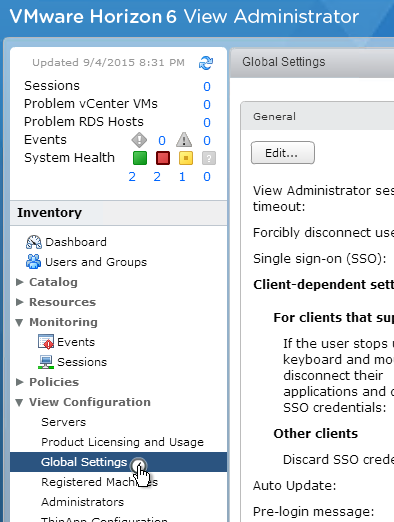
- On the left, under View Configuration, click Global Settings.
- On the right, under Global Settings, click Edit.
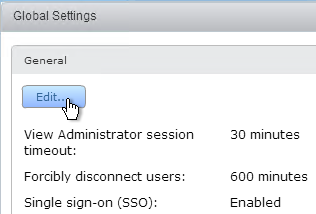
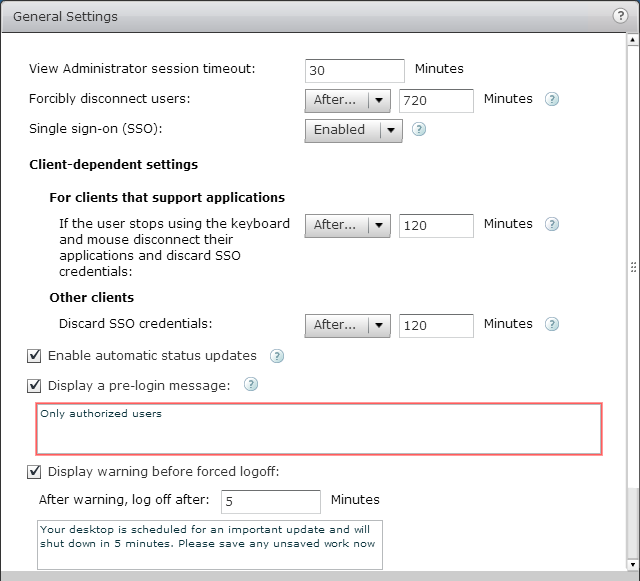
- Set the View Administrator Session Timeout. This applies to administrators and help desk. 4320 minutes (72 hours) is the maximum.
- Forcibly disconnect users is an active session timeout. It is not an idle timeout in that it doesn’t care if the user is working or not. The default is 10 hours so consider increasing it. Note: this timer does not log the user out of Windows. Instead it merely disconnects the user and requires the user to logon to Horizon 6 Connection Server again.
- Under Client-dependent settings, you can set an idle timeout. This is new in Horizon 6. The idle timeout applies to applications only (not desktops). An additional disconnect timeout is configurable in each pool’s settings.
- Enable automatic status updates enables automatic updating of the table displayed in the top-left corner of View Administrator.
- Make other changes as desired. Click OK when done.
- To configure an idle timeout for desktop sessions, use the instructions in http://myvirtualcloud.net/vmware-view-disconnect-logoff-or-shutdown-your-vm-when-idle/. Or create a screensaver. http://communities.vmware.com/message/1756450?tstart=0
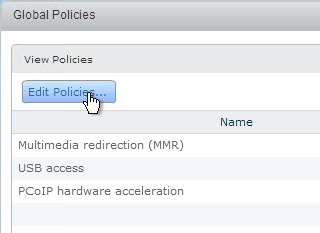
Global Policies
- By default, Multimedia Redirection is disabled. You can enable it by going to Policies > Global Policies.
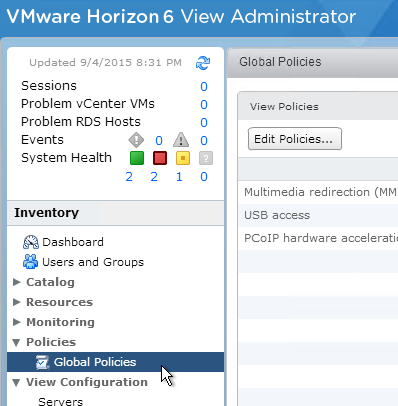
- On the right, click Edit Policies.
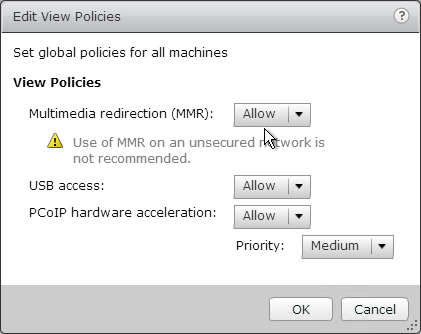
- Set Multimedia redirection to Allow and click OK. Notice that Multimedia redirection is not encrypted.
Authentication
How to Set Up 2-Factor Authentication in Horizon View with Google Authenticator:
- Linux box with Likewise joined to Active Directory.
- Google Authenticator software installed on Linux
- Freeradius installed on Linux
- Configure View to authenticate with RADIUS
- Installation and configuration of Google Authenticator client
Backups
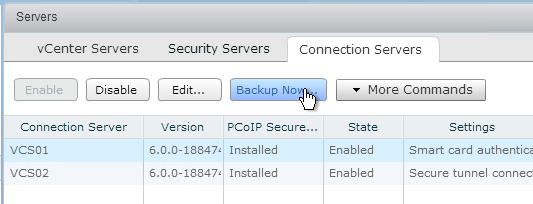
- On the left, expand View Configuration and click Servers.
- On the right, in the Connection Servers tab you can select a Horizon 6 Connection Server and click Backup Now. Backups can be found in C:\ProgramData\VMware\VDM\backups.
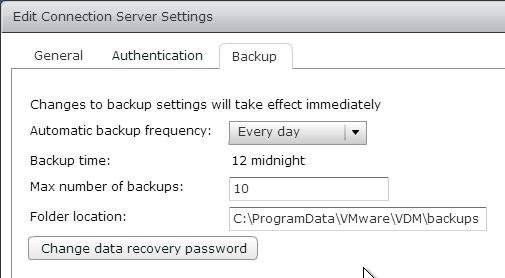
- If you Edit the Horizon 6 Connection Server, on the Backup tab you can schedule automatic backups. This also backs up the View Composer database but not the vCenter database. VMware 1008046 – Performing an end-to-end backup and restore for VMware View Manager.
Related Pages
- Back to VMware Horizon 6
Wonderful and a simple step by step configuration;Thank you Carl!