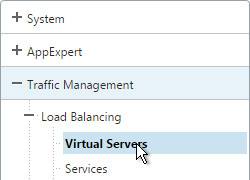
Navigation
LDAP Load Balancing
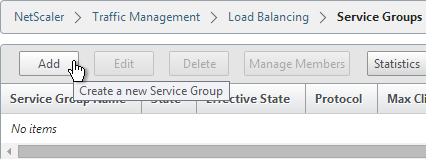
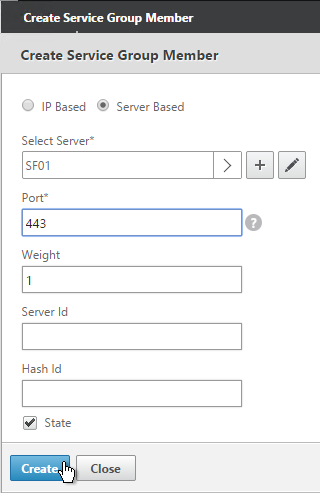
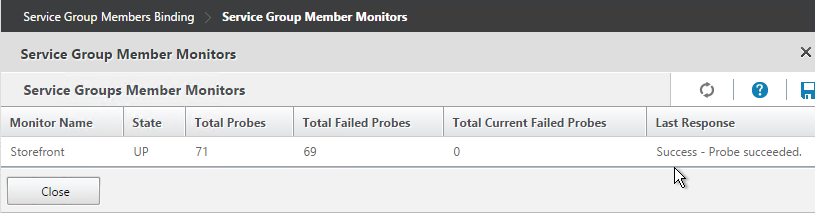
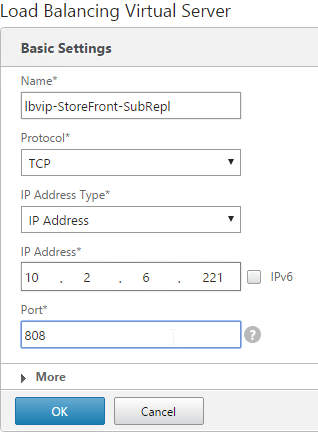
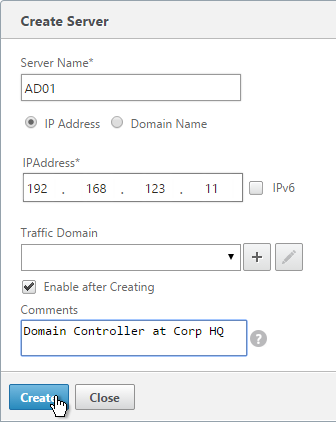
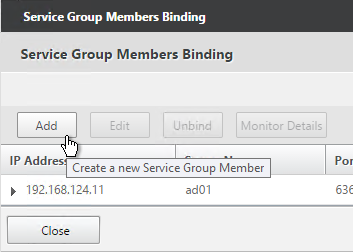
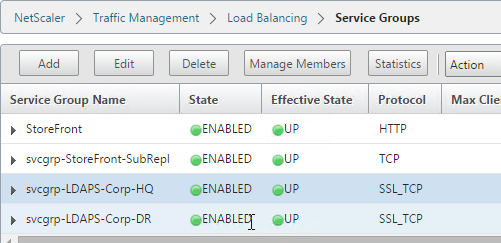
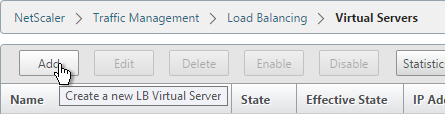
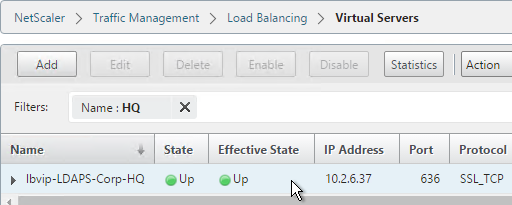
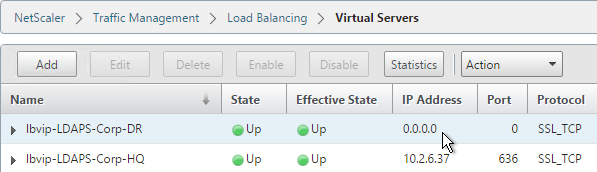
Before you create an LDAP authentication policy, load balance the Domain Controllers. If you don’t load balance your Domain Controllers, then when users enter an incorrect password, the user account will be prematurely locked out.
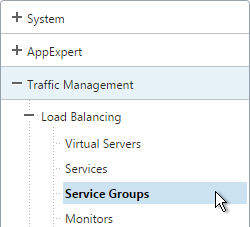
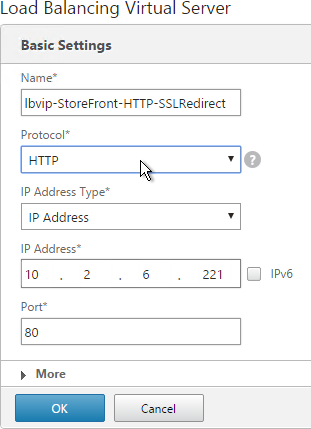
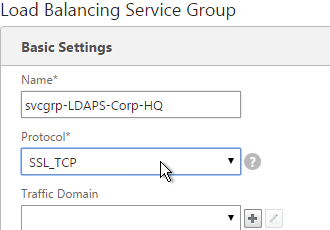
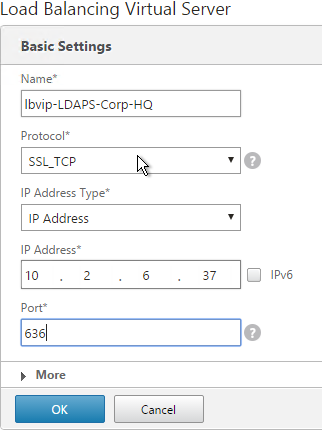
If you have multiple domains, create different Load Balancing Virtual Servers for each domain. These multiple Load Balancing Virtual Servers can share the same VIP if their port numbers are different. Or you can use a different VIP for each domain.
Verify LDAPS
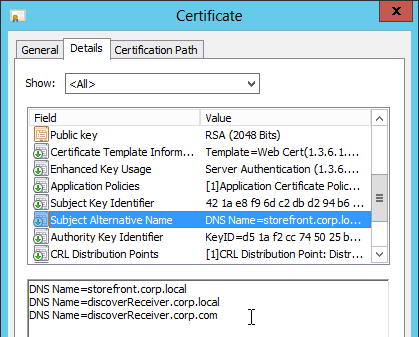
Use the tool ldp.exe to verify that the Domain Controllers have valid certificates installed, and the service account is able to bind to the LDAP tree.
- ldp.exe is included with the Remote Server Administration Tools (AD DS Snap-Ins and Command-Line Tools)

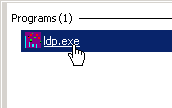
- Run ldp.exe
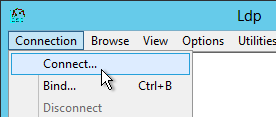
- Open the Connection menu, and click Connect.
- Check the box next to SSL. Change the port to 636. Then enter the FQDN of a Domain Controller, and click OK.
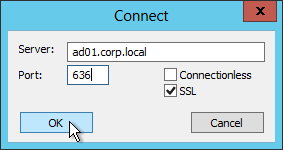
- If it connected successfully, you can then attempt a bind. If the connection was unsuccessful, then there’s probably an issue with the certificate installed on the Domain Controller.
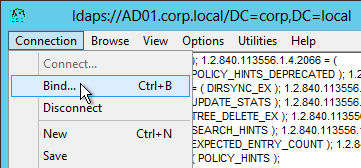
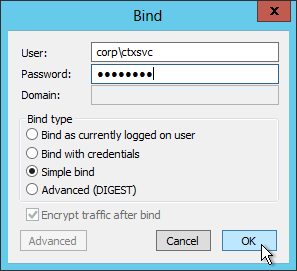
- Open the Connection menu and click Bind.
- Change the Bind type to Simple bind. Then enter the service account credentials. You can use DOMAIN\Username, or you can use Username@Domain.com. Click OK.
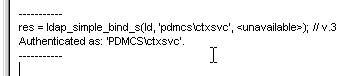
- Look on the right pane to verify a successful bind. If not, fix the credentials and try again.
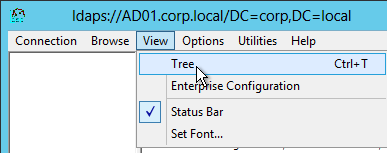
- Once you have successfully binded, you can view the directory tree by opening the View menu, and click Tree.
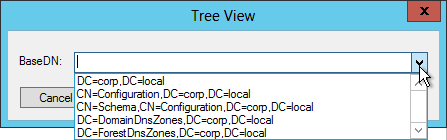
- Click the drop-down to view the directory partitions.
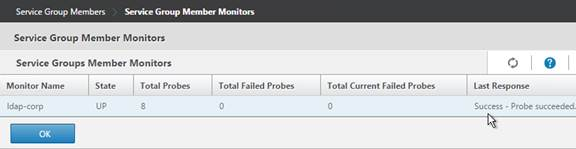
- Repeat these steps to verify each Domain Controller and any load balanced LDAPS.
LDAP Server
To create the LDAP Authentication Server, and LDAP Authentication Policy, do the following:
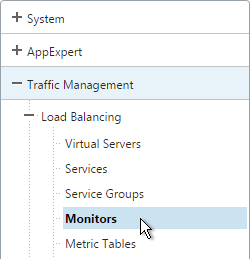
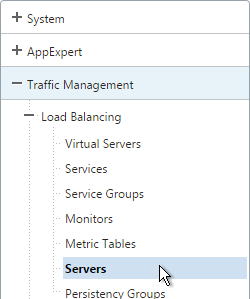
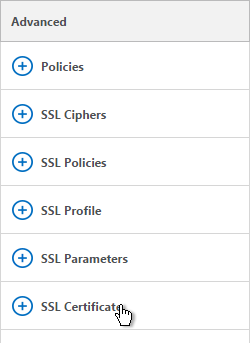
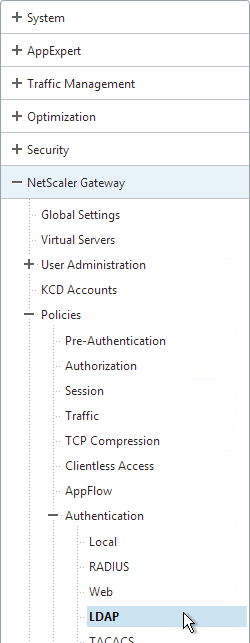
- On the left, expand NetScaler Gateway > Policies > Authentication, and click LDAP.
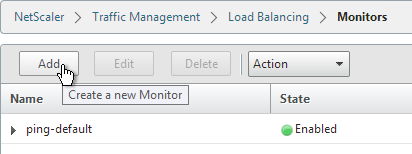
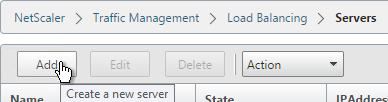
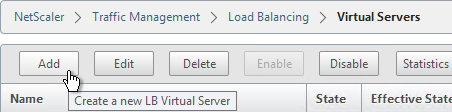
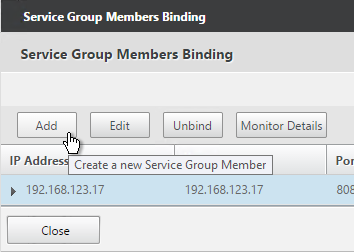
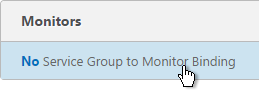
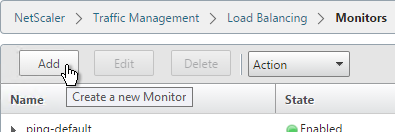
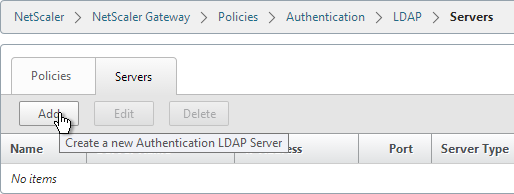
- On the right, switch to the Servers tab, and click Add near the top.
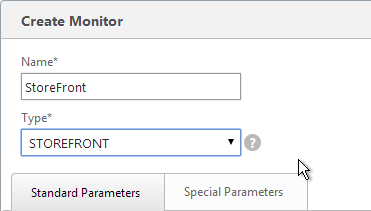
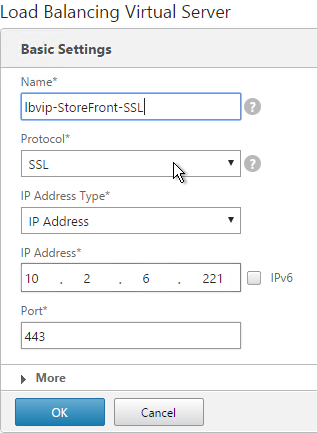
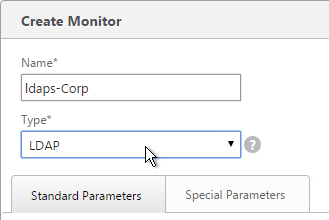
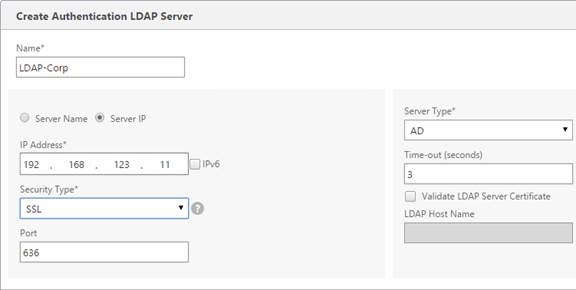
- Enter LDAP-Corp as the name. If you have multiple domains, you’ll need a separate LDAP Server per domain, so make sure you include the domain name.
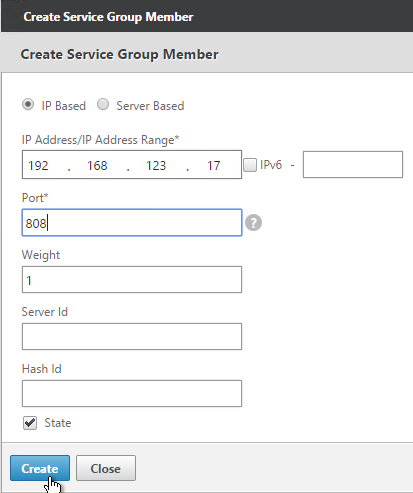
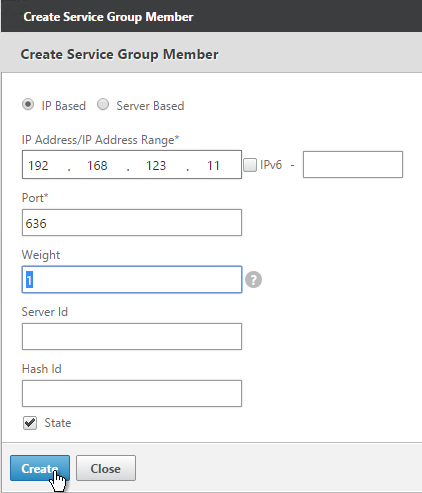
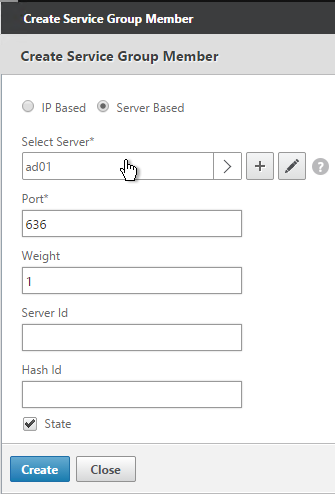
- Change the selection to Server IP. Enter the VIP of the NetScaler load balancing vServer for LDAP.
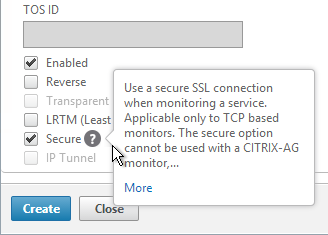
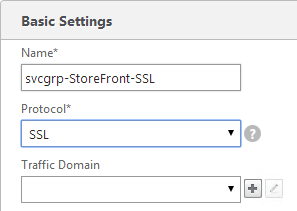
- Change the Security Type to SSL.
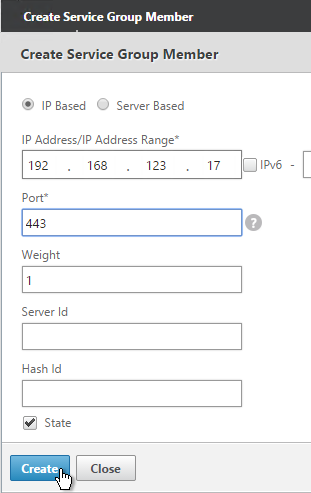
- Enter 636 as the Port. Scroll down.
- Note: there is a checkbox for Validate LDAP Server Certificate. If you want to do this, see Citrix Discussions for instructions for loading the root certificate to /nsconfig/truststore.
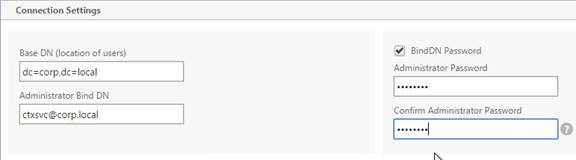
- In the Connection Settings section, in the Base DN field, enter your Active Directory DNS domain name in LDAP format.
- In the Administrator Bind DN field, enter the credentials of the LDAP bind account in userPrincipalName format. Domain\username also works.
- Check the box next to BindDN Password and enter the password. Scroll down.
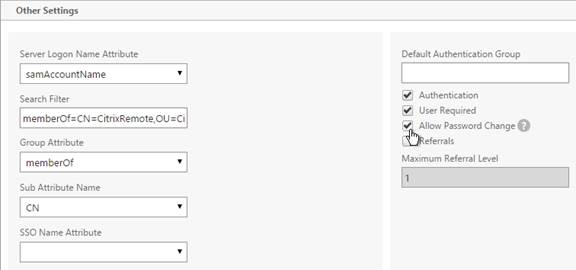
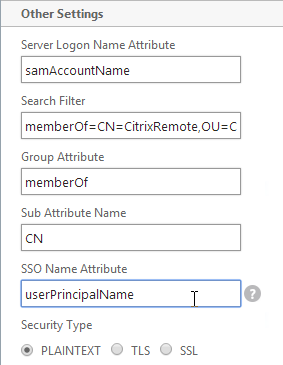
- In the Other Settings section, use the drop-down next to Server Logon Name Attribute, Group Attribute, and Sub Attribute Name to select the default fields for Active Directory.
- On the right, check the box next to Allow Password Change.
- If you want to restrict access to only members of a specific group, in the Search Filter field, enter memberOf=<GroupDN>. See the example below:
memberOf=CN=CitrixRemote,OU=Citrix,DC=corp,DC=local
You can add :1.2.840.113556.1.4.1941: to the query so it searches through nested groups. Without this users will need to be direct members of the filtered group.
memberOf:1.2.840.113556.1.4.1941:=CN=CitrixRemote,OU=Citrix,DC=corp,DC=local
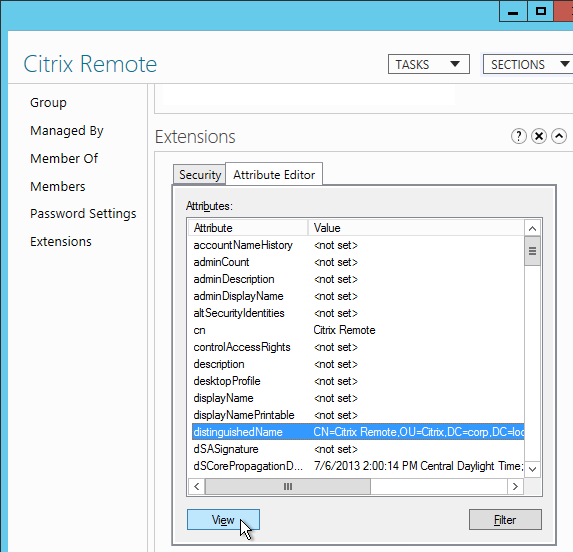
- An easy way to get the full distinguished name of the group is through Active Directory Administrative Center. Double-click the group object, and switch to the Extensions page. On the right, switch to the Attribute Editor tab.
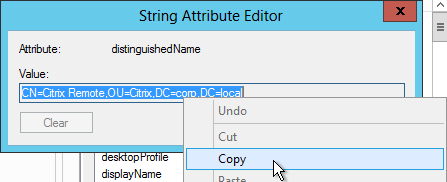
- Scroll down to distinguishedName, double-click it, and then copy it to the clipboard.
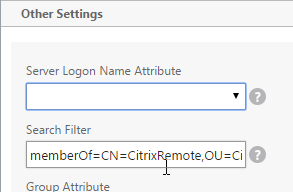
- Back on the NetScaler, in the Search Filter field, type in memberOf=, and then paste the Distinguished Name right after the equals sign. Don’t worry about spaces.
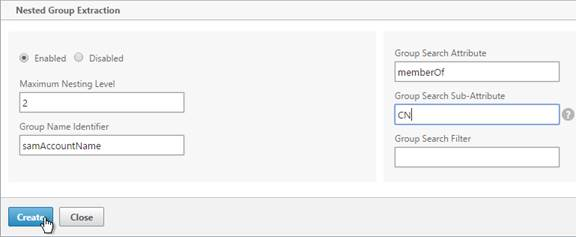
- Scroll down and click Nested Group Extraction to expand it. If desired, change the selection to Enabled.
- Set the Group Name Identifier to samAccountName.
- Set the Group Search Attribute to memberOf.
- Set the Group Search Sub-Attribute to CN.
- For the Group Search Filter field, see CTX123795 Example of LDAP Nested Group Search Filter Syntax.
- Click Create.
LDAP Policy Expression
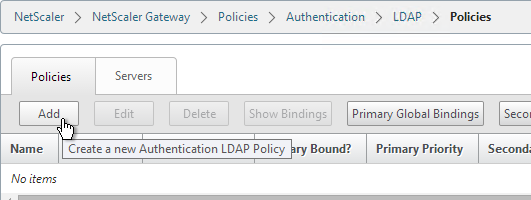
- On the left, expand NetScaler Gateway > Policies > Authentication, and click LDAP.
- On the right, switch to the Policies tab, and click Add.
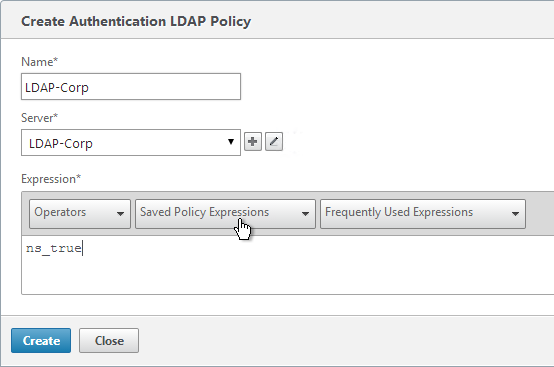
- Name the policy LDAP-Corp. If you have multiple domains, then you’ll need a separate LDAP Policy for each domain, so make sure you include the domain name.
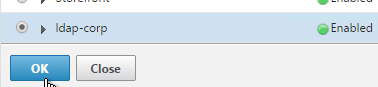
- Select the previously created LDAP-Corp server.
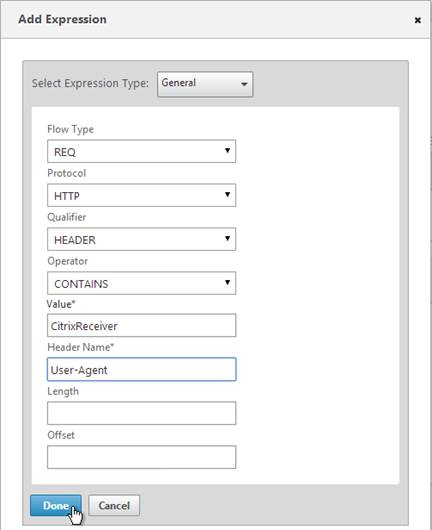
- On the bottom, click the Saved Policy Expressions drop-down, and select the ns_true expression.
- Click Create.
add authentication ldapPolicy LDAP-Corp ns_true LDAP-Corp
Gateway Authentication Feedback and Licenses
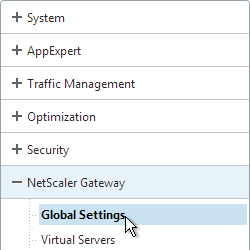
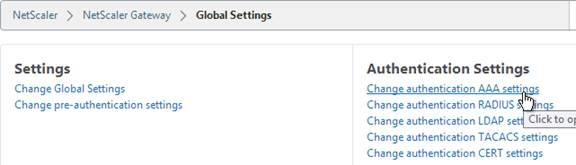
- On the left, under NetScaler Gateway, click Global Settings.
- On the right, in the right column, click Change authentication AAA settings.
- If you are using Gateway features that require Gateway Universal licenses, then change the Maximum Number of Users to the number of Gateway Universal licenses you have installed on this appliance. This field has a default value of 5, and administrators frequently forget to change it, thus only allowing 5 users to connect.
- If desired, check the box for Enable Enhanced Authentication Feedback. This feature provides a message to users if authentication fails. The message users receive include password errors, account disabled or locked, or the user is not found, to name a few. Click OK.
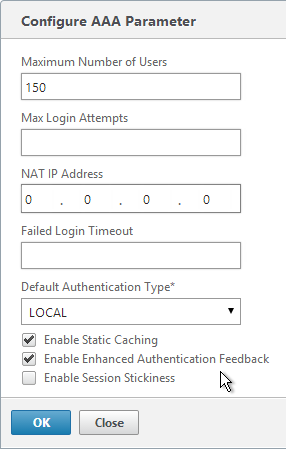
set aaa parameter -enableEnhancedAuthFeedback YES -maxAAAUsers 200
Next Step
For two-factor, configure RADIUS Authentication
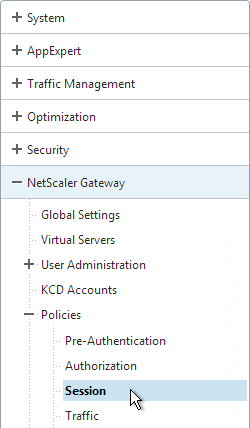
Otherwise, Configure NetScaler Gateway Session Policies
Multiple Domains
To support multiple Active Directory domains on a NetScaler Gateway, you create multiple LDAP authentication policies, one for each Active Directory domain, and bind all of the LDAP policies to the NetScaler Gateway Virtual Server. When the user logs into NetScaler Gateway, only the username and password are entered. The NetScaler will then loop through each of the LDAP policies in priority order until it finds one that contains the entered username/password.
What if the same username is present in multiple domains? As NetScaler loops through the LDAP policies, as soon as it finds one with the specified username, it will try to authenticate with that particular LDAP policy. If the password doesn’t match the user account for the attempted domain then a failed logon attempt will be logged in that domain and NetScaler will try the next domain.
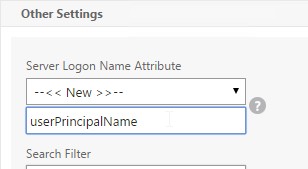
Unfortunately, the only way to enter a realm/domain name during user authentication is to require users to login using userPrincipalNames. To use userPrincipalName, set the LDAP Policy/Server with the Server Logon Name Attribute set to userPrincipalName.
You can even do a combination of policies: some with samAccountName and some with userPrincipalName. The samAccountName policies would be searched in priority order, and the userPrincipalName policies can be used to override the search order. Bind the userPrincipalName policies higher (lower priority number) than the samAccountName policies.
After authentication is complete, a Session Policy will be applied that has the StoreFront URL. The NetScaler Gateway will attempt to log into StoreFront using SSO so the user doesn’t have to login again. When logging into NetScaler Gateway, only two fields are required: username and password. However, when logging in to StoreFront, a third field is required: domain name. So how does NetScaler specify the domain name while logging in to StoreFront?
There are two methods of specifying the domain:
- AAA Group – Configure multiple session policies with unique Single Sign-on Domains. Inside the Session Policy is a field called Single Sign-on Domain for specifying the NetBIOS domain name. If there is only one Active Directory domain, then you can use the same Session Policy for all users. However, if there are multiple domains, then you would need multiple Session Policies, one for each Active Directory domain. But as the NetScaler loops through the LDAP policies during authentication, once a successful LDAP policy is found, you need a method of linking an LDAP policy with a Session Policy that has the corresponding SSO Domain. This is typically done using AAA groups. This method is not detailed here but the general steps are: In the LDAP policy/server, specify a Default Authentication Group. Create a AAA Group that matches it. Then bind the corresponding Session Policy to that AAA group.
- userPrincipalName – Alternatively, configure the LDAP policy/server to extract the user’s UPN and then authenticate to StoreFront using UPN. This is the easiest method but some domains don’t have userPrincipalNames configured correctly.
The userPrincipalName method is detailed below:
- In each of your NetScaler LDAP policies/servers, in the Other Settings section, in the SSO Name Attribute field, enter userPrincipalName. Make sure there are no spaces after this attribute name. NetScaler will use this pull this attribute from AD, and use it to Single Sign-on the user to StoreFront.
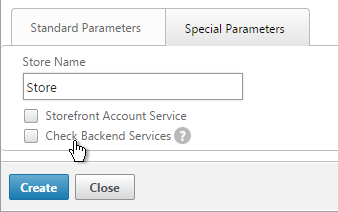
- In StoreFront Console, right-click the Store, and click Manage Authentication Methods.
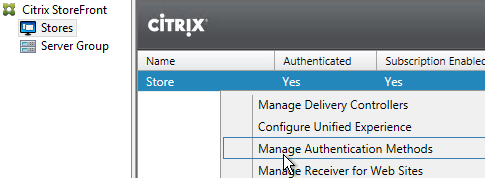
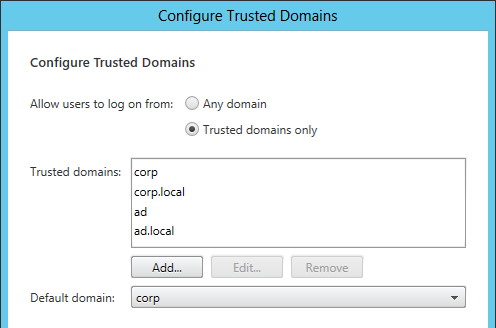
- On the right, click the gear icon, and then click Configure Trusted Domains.

- In the Trusted domains box, select Any domain.
- Or add your domains in DNS format. The advantage of entering domain names is that you can select a default domain if internal users forget to enter a domain name during login. The DNS format is required for UPN logins (e.g. SSO from NetScaler Gateway).
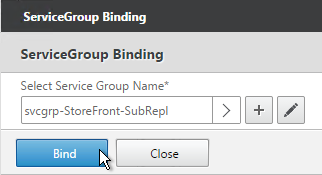
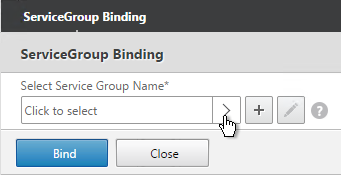
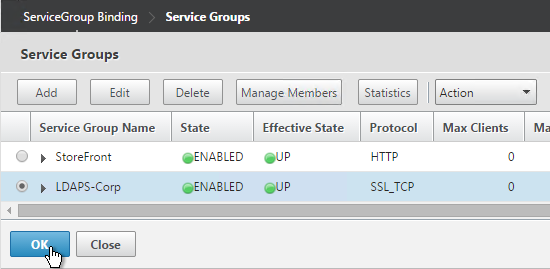
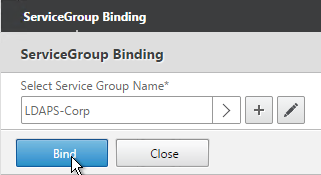
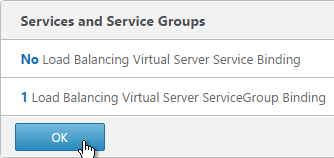
- On the NetScaler Virtual Server, bind LDAP authentication polices in priority order. It will search them in order until it finds a match.

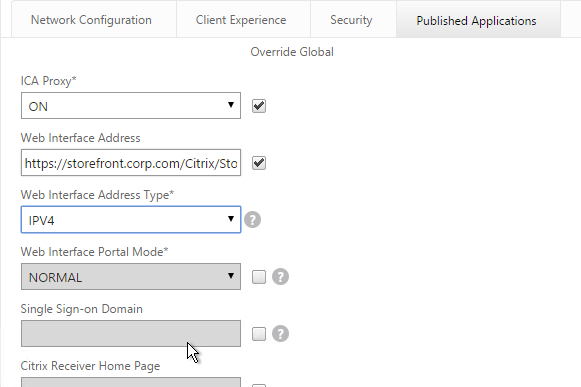
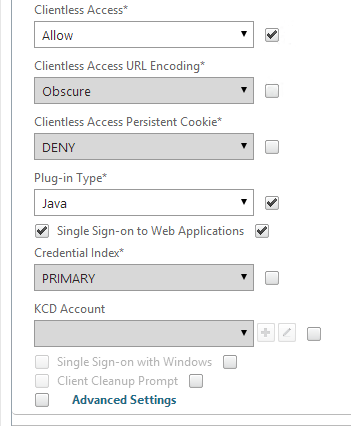
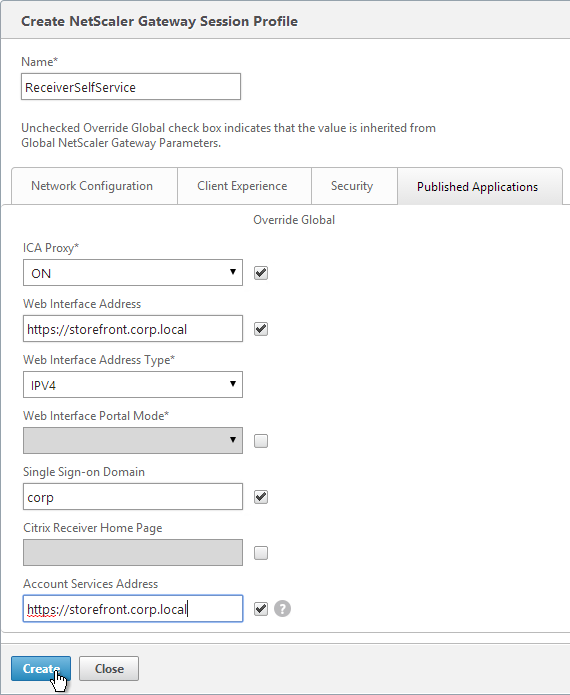
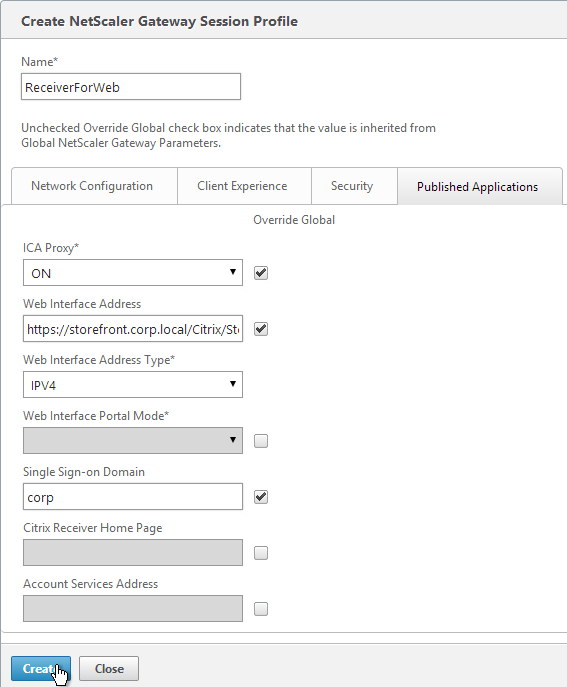
- In your Session Policies/Profiles, in the Published Applications tab, make sure Single Sign-on Domain is not configured. Since NetScaler is using the userPrincipalName, there’s no need to specify a domain. If Single Sign-on Domain is configured, then Single Sign-on authentication will fail.