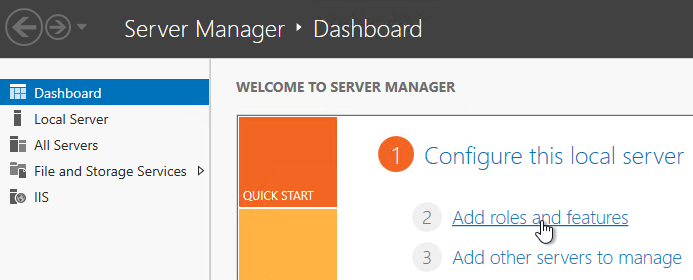
Navigation
This article applies to Session Recording 2411, 2203 LTSR CU6, and 1912 LTSR CU9.
- Change Log
- Planning
- Session Recording Versions
- Upgrade
- Server Installs:
- Session Recording Server Configuration
- Session Recording Agent
- Session Recording Web Player
- Session Recording Player
- Director Integration
- Dynamic Session Recording
💡 = Recently Updated
Change Log
- 2025 Feb 8 – updated Versions section with 2402 CU2
- 2025 Jan 9 – updated article for version 2411 – new Printing Event detection
- 2025 Jan 9 – updated Versions for version 2203 LTSR CU6
- 2023 Jan 26 – Security Vulnerability
- Agent Configuration – fast seek
- Recording Policies – record audio and/or enable lossy recording
Planning
Citrix links:
- Citrix Docs – Session Recording
- Citrix CTX200868 – Configuring Security Features of Session Recording
- Citrix CTX200869 – Building a Highly Scalable Session Recording System
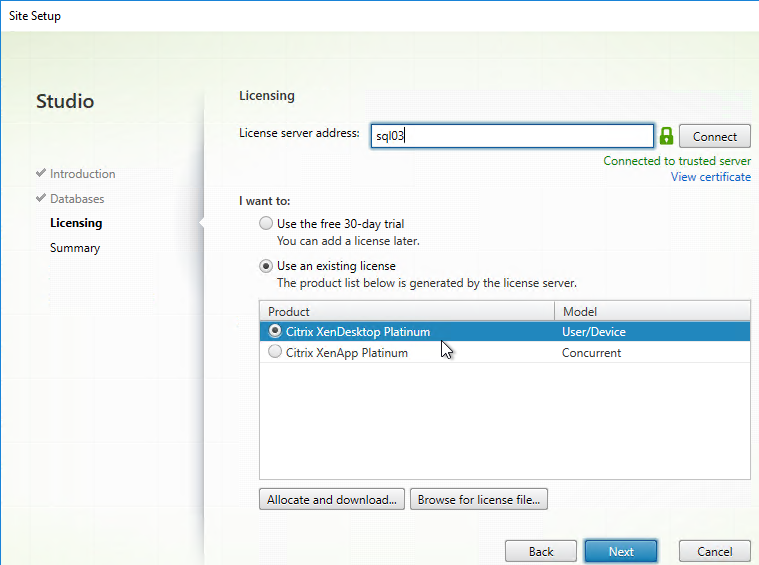
Licensing – Citrix Virtual Apps and Desktops Premium Edition licensing is required.
Farms – There is no relation between Session Recording farms and Citrix Virtual Apps and Desktops farms. You can have Agents from multiple Citrix Virtual Apps and Desktops farms recording to a common Session Recording server. Or you can split a Citrix Virtual Apps and Desktops farm so that different Agents point to different Session Recording servers.
- Load balancing – Session Recording 7.14 and newer can be load balanced. Build two Session Recording servers pointing to the same SQL database. Configure both of them to store recordings on the same UNC path. More details at Configure Session Recording with load balancing at Citrix Docs.
- Note: Load Balancing was removed from Session Recording 7.15 LTSR. In Session Recording 7.16 and newer, Load Balancing is fully supported.
- Scaling – To scale Session Recording to 20,000 users, see Hal Lange and Ryan Revord at Scaling and Load Balancing Session Recording at CUGC.
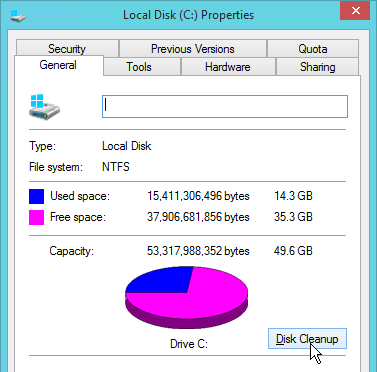
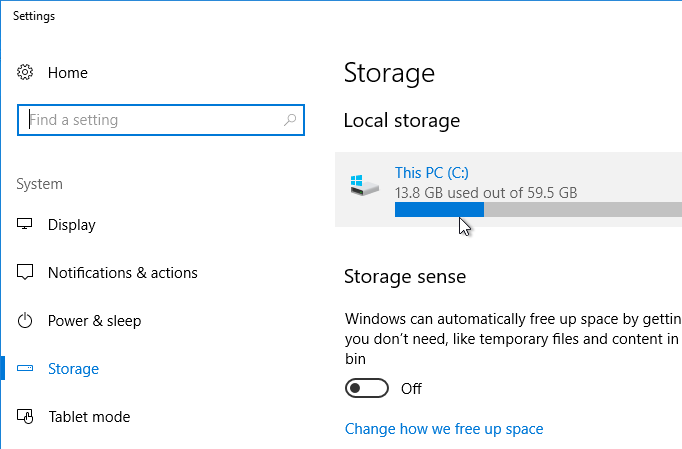
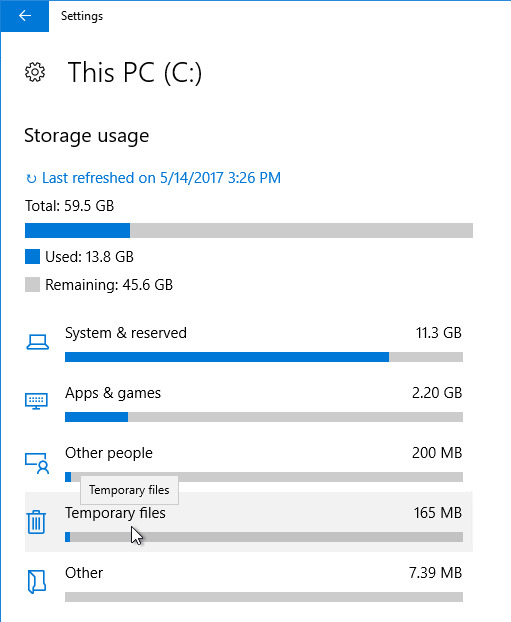
Disk space – The Session Recording server will need a hard drive to store the recordings. Disk access is primarily writes. You can also store recordings on a UNC path (this is required if load balancing).
Offloaded content (e.g. Teams, Browser Content Redirection) is not recorded.
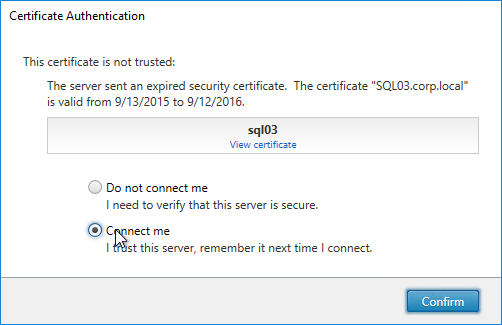
Certificate – Session Recording server needs a certificate. The certificate must be trusted by Agents and Players. Internal Certificate Authority recommended.
- If load balancing, on the Citrix ADC, install a certificate that matches the load balanced name.
- On each Session Recording server, install a certificate that matches the Session Recording server name.
SQL:
- Supported Versions = SQL 2008 R2 Service Pack 3 through SQL 2019. See Citrix Docs for the list.
- Azure SQL Database is supported as detailed at Citrix Docs.
- The SQL database is very small.
- The database name defaults to CitrixSessionRecording and can be changed.
- A separate database is created for CitrixSessionRecordingLogging.
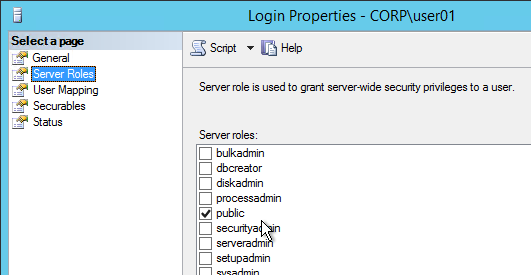
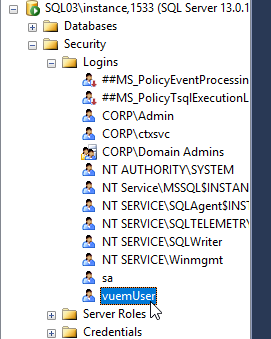
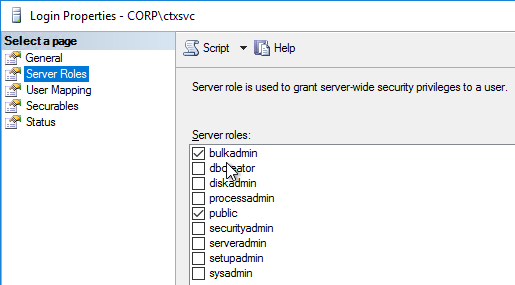
- Temporary sysadmin (or dbcreator and securityadmin) permissions are needed to create the database, and sysadmin can be revoked after installation.
- SQL Browser Service must be running.
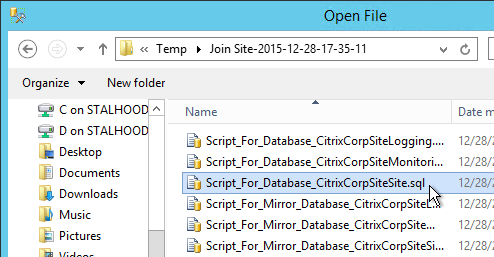
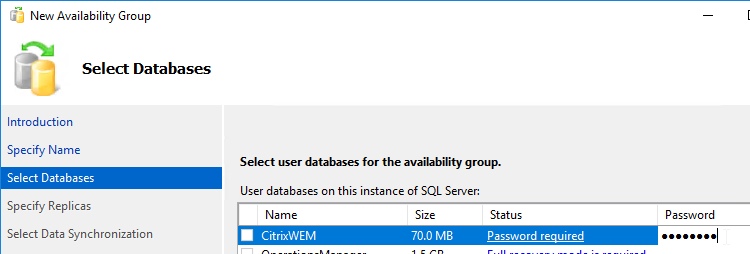
- SQL Server High Availability (AlwaysOn Availability Groups, Clustering, Mirroring) is supported. See Install Session Recording with database high availability at Citrix Docs. And see Citrix Blog Post Session Recording 7.13 – New HA and Database Options
Session Recording Versions
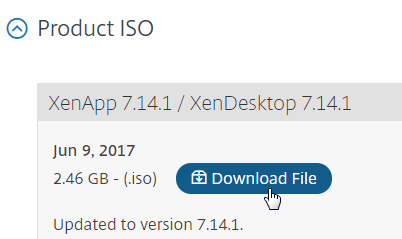
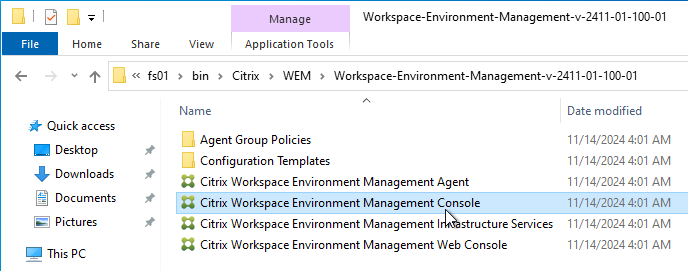
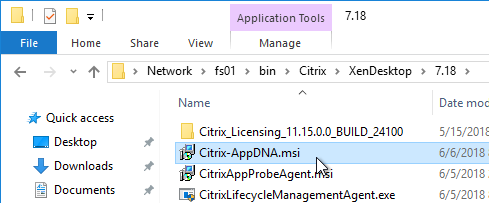
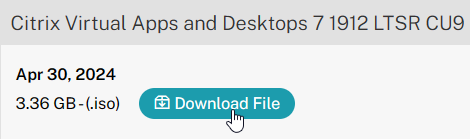
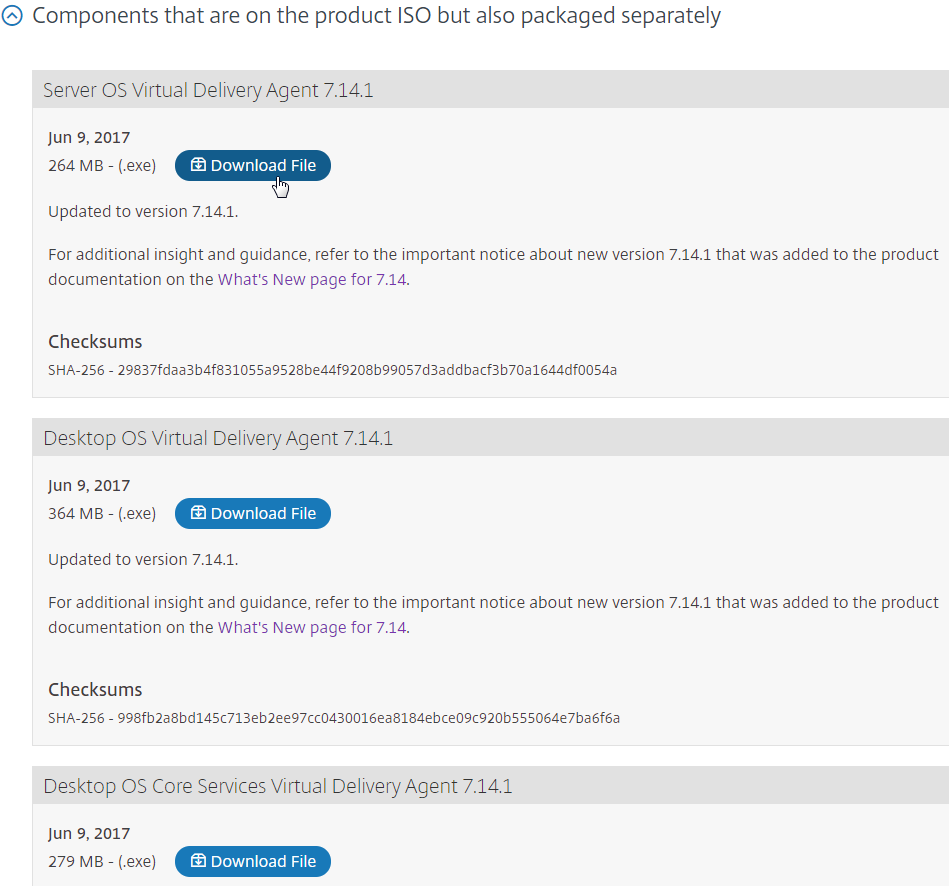
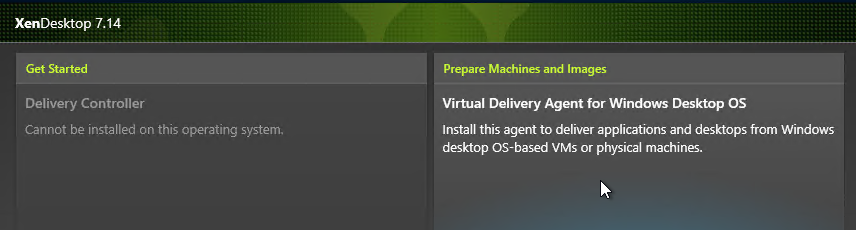
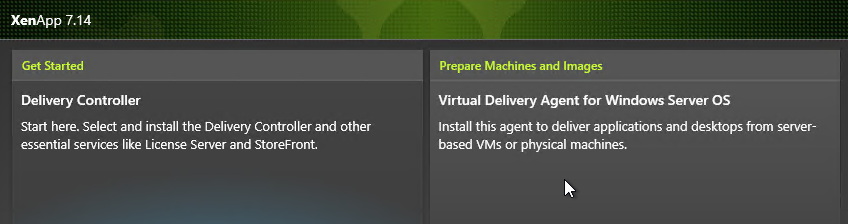
Session Recording is located on the Citrix Virtual Apps and Desktops (CVAD) or XenApp/XenDesktop ISO.
Session Recording security vulnerability fixed in version 2311, version 2203 LTSR CU4, and version 1912 LTSR CU9 and later.
The most recent Current Release version of Session Recording is 2411.

For LTSR versions of Citrix Virtual Apps and Desktops (CVAD), deploy the version of Session Recording that came with your version of CVAD. The installation instructions for Session Recording 2311, Session Recording 2203, Session Recording 1912 and Session Recording 7.15 are essentially the same.
- For Citrix Virtual Apps and Desktops (CVAD) 2402 LTSR, deploy Session Recording 2402 LTSR CU2 from the CVAD 2402 CU2 LTSR ISO.

- For Citrix Virtual Apps and Desktops (CVAD) 2203 LTSR, deploy Session Recording 2203 LTSR CU6 from the CVAD 2203 LTSR CU6 ISO.

- For Citrix Virtual Apps and Desktops (CVAD) 1912 LTSR, deploy Session Recording 1912 LTSR CU9 from the CVAD 1912 CU9 ISO.
Session Recording Server Upgrade
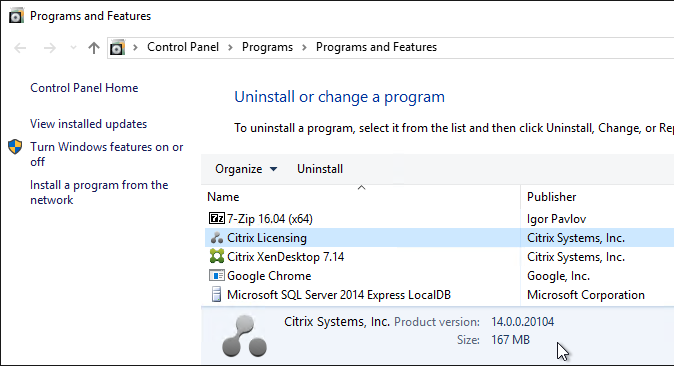
You can upgrade from Session Recording 7.6 and newer.
- If this is a new installation, skip to Install.
- Session Recording 2203 and newer do not support Windows Server 2012 R2.
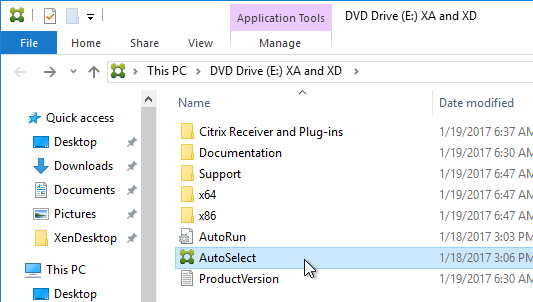
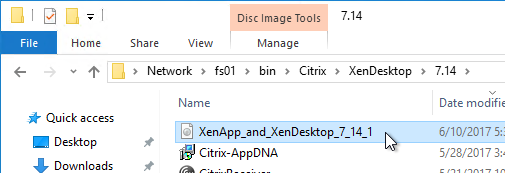
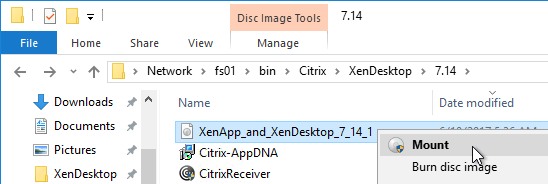
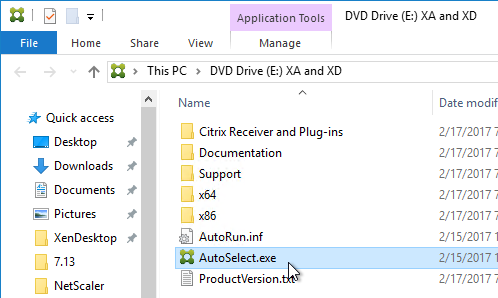
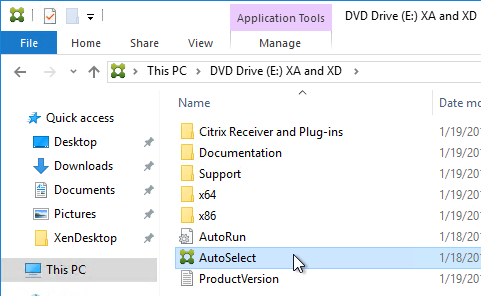
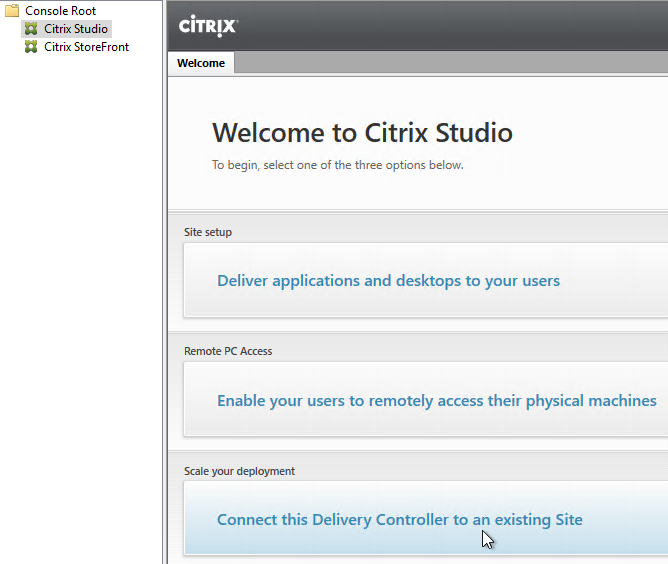
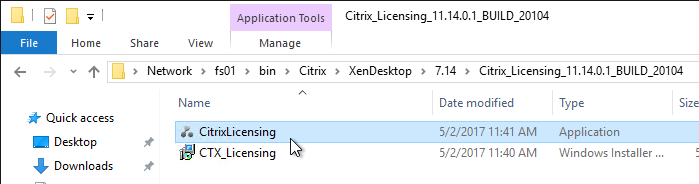
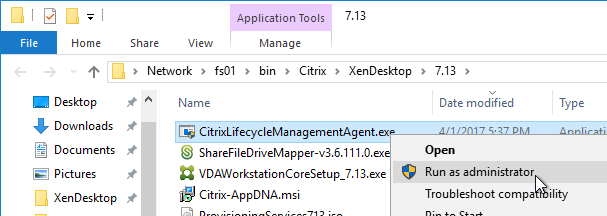
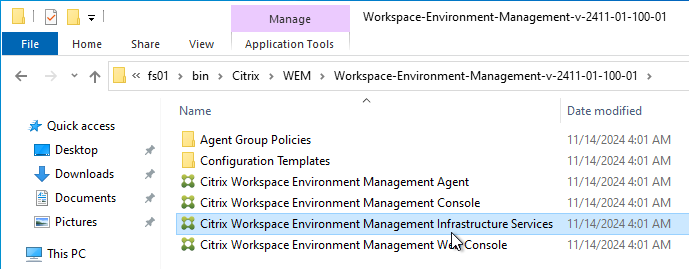
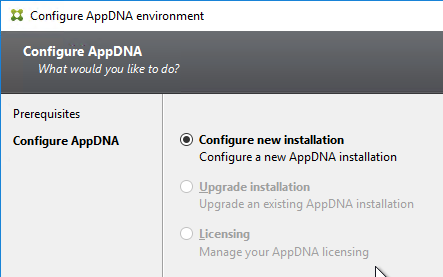
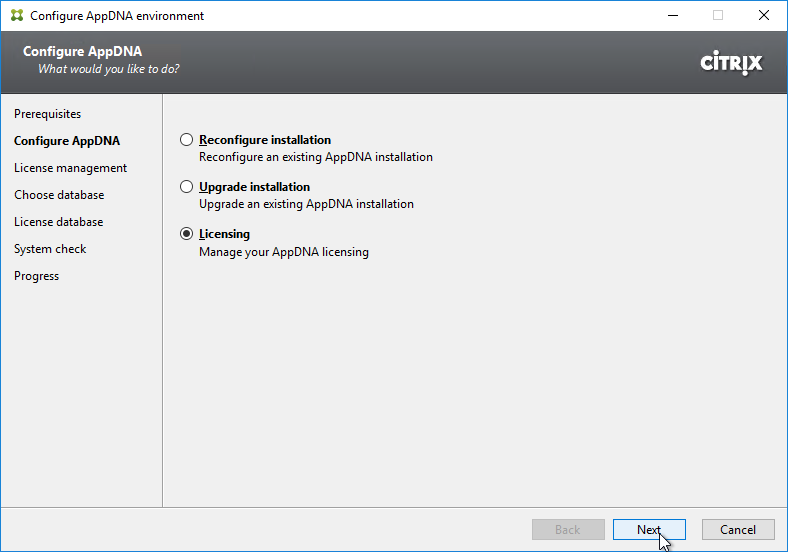
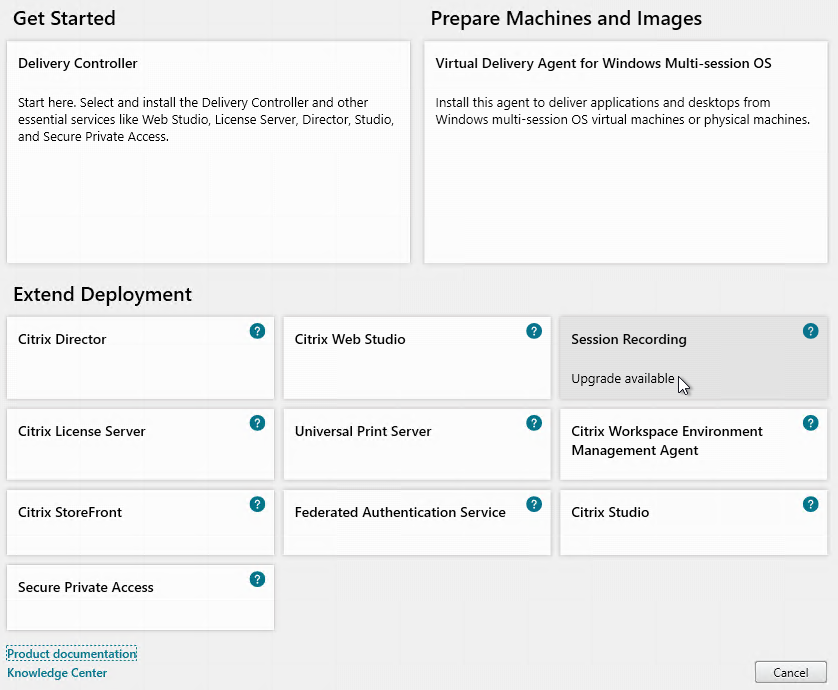
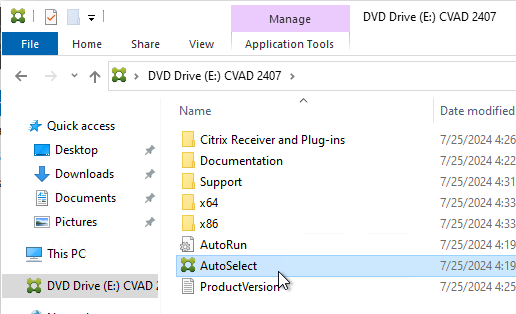
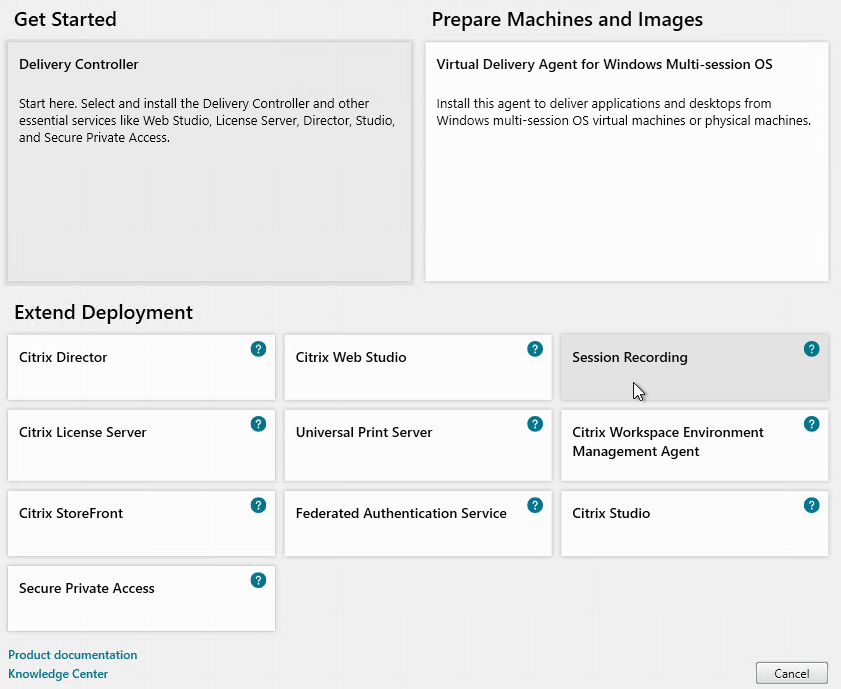
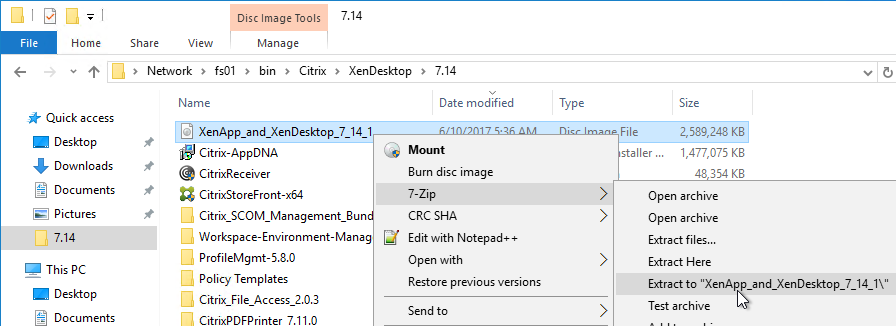
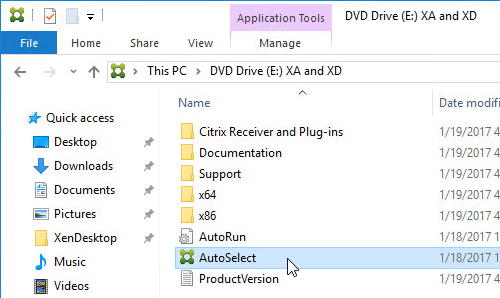
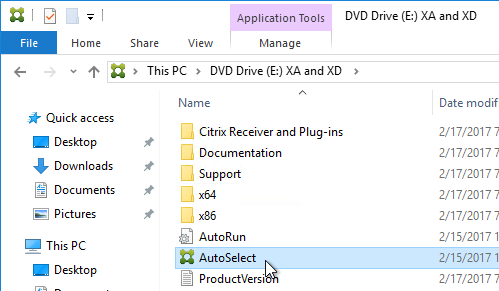
- Go to the downloaded Citrix Virtual Apps and Desktops (CVAD) ISO and run AutoSelect.exe.

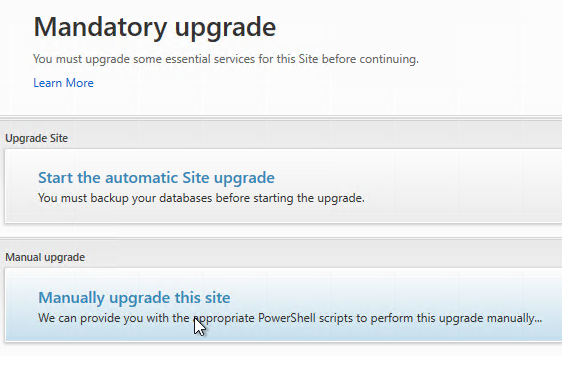
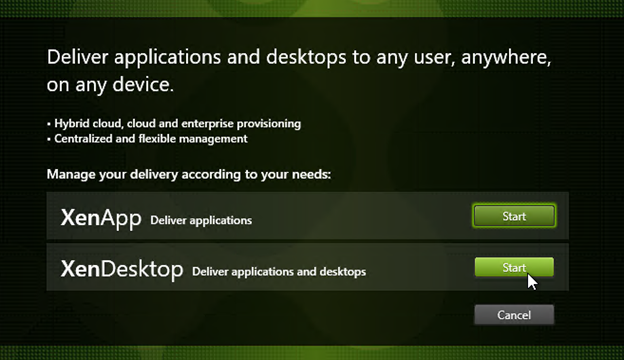
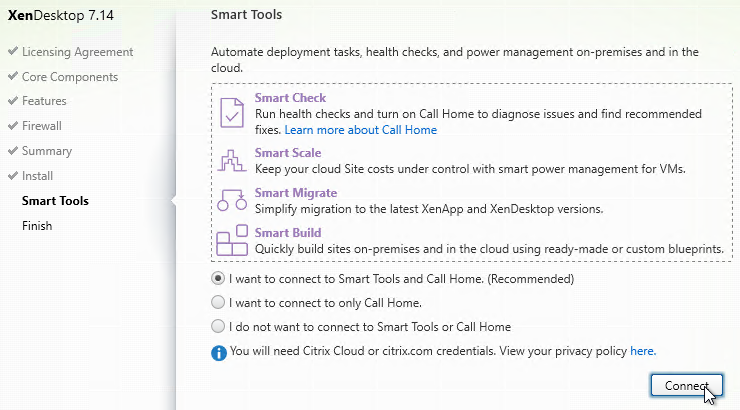
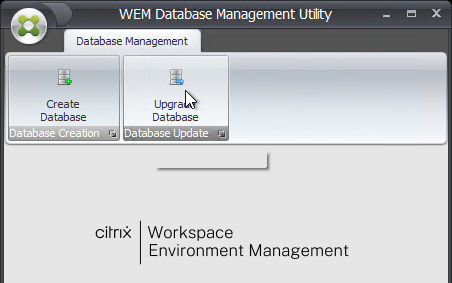
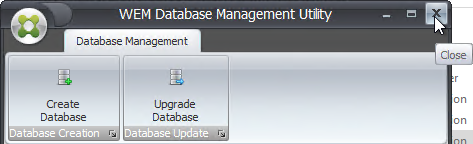
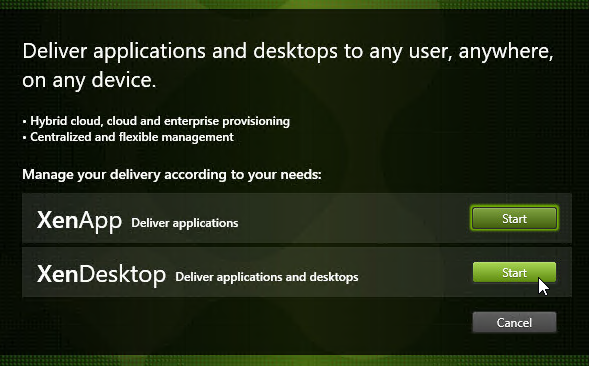
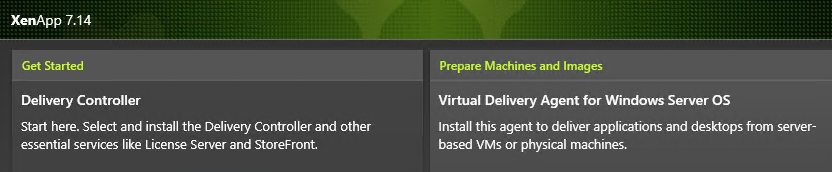
- On the bottom right, click the Session Recording box.
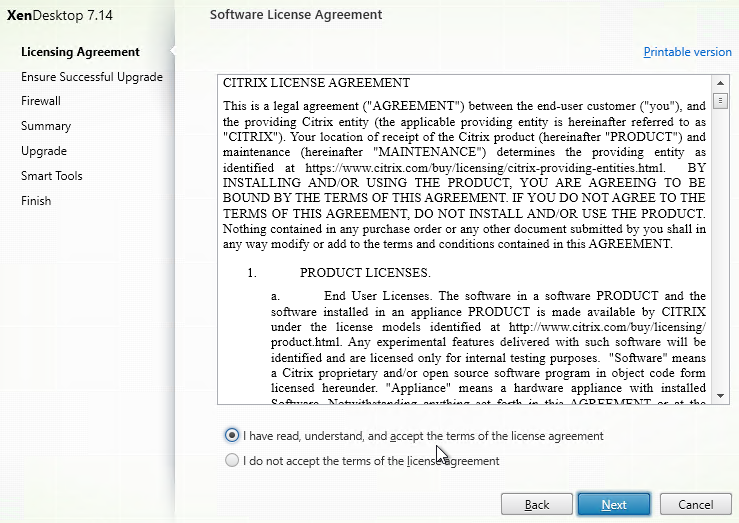
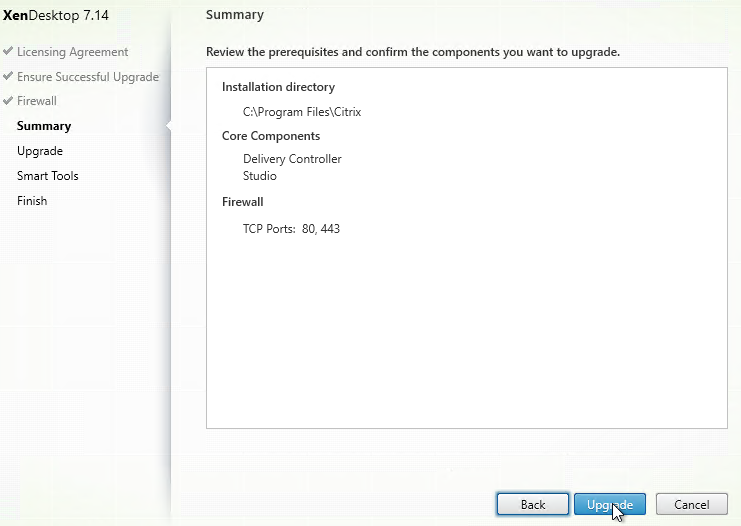
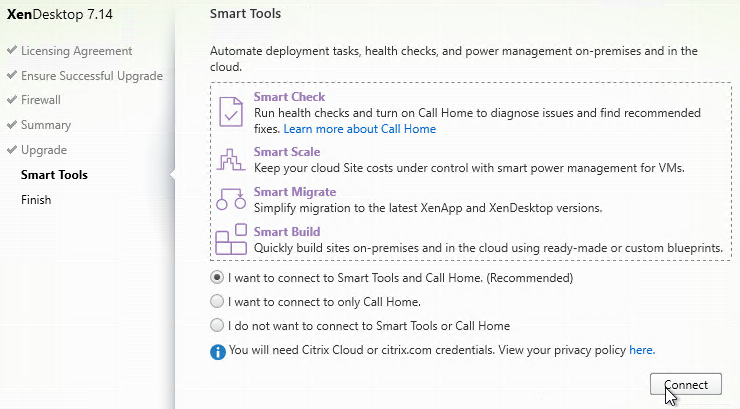
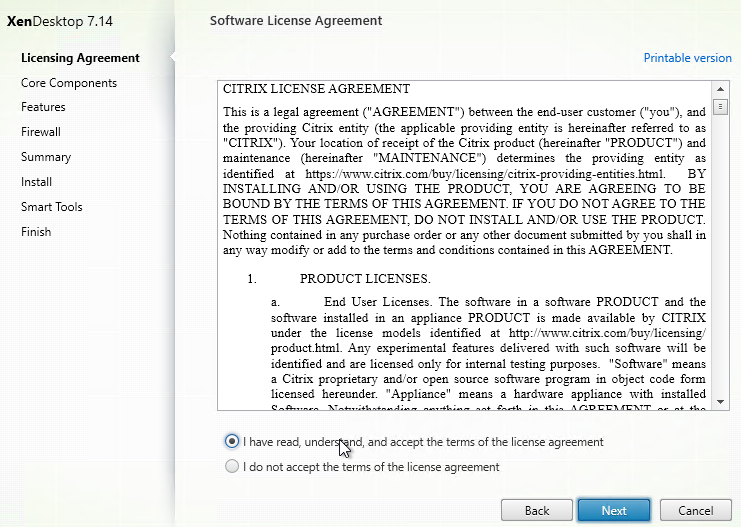
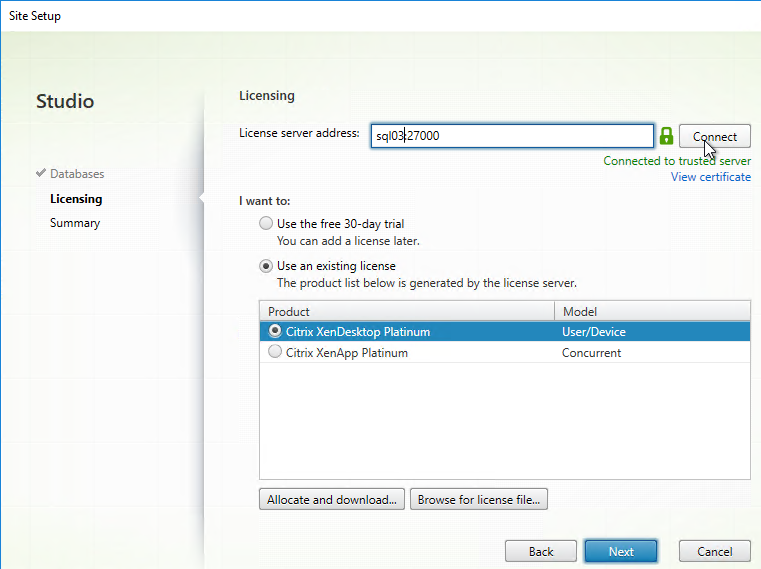
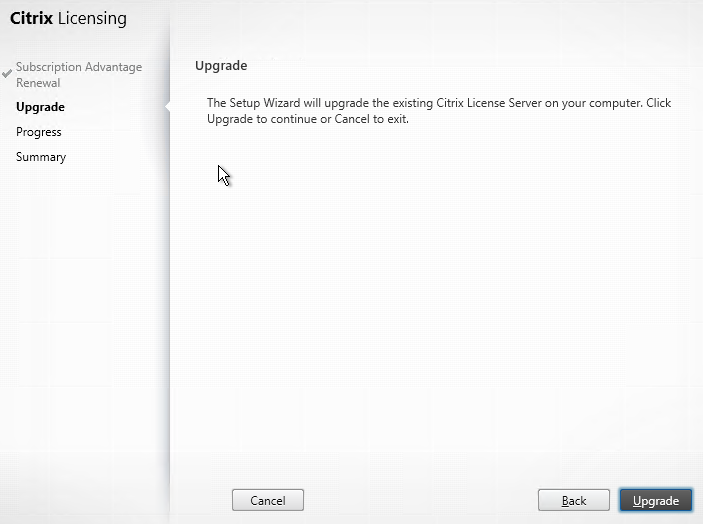
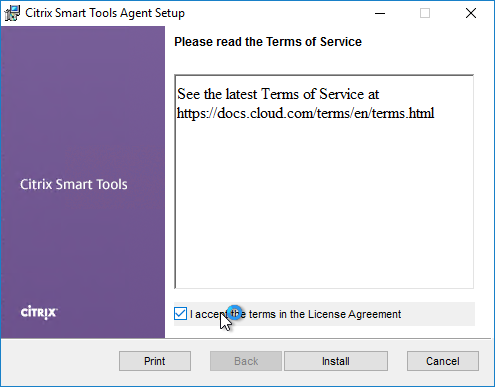
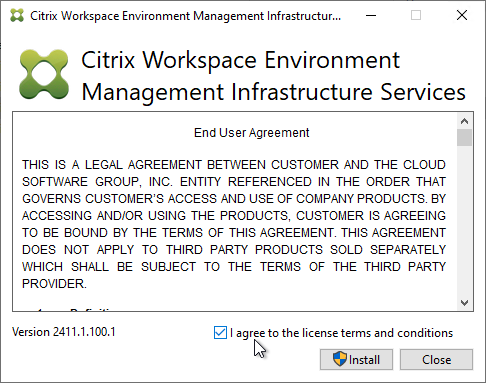
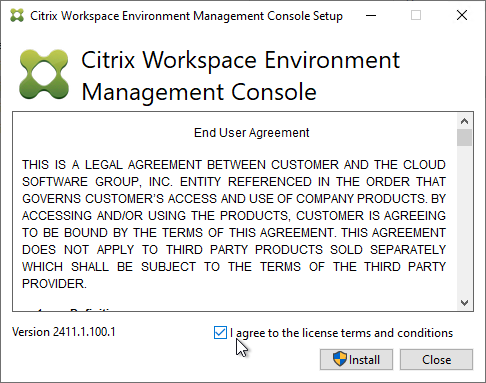
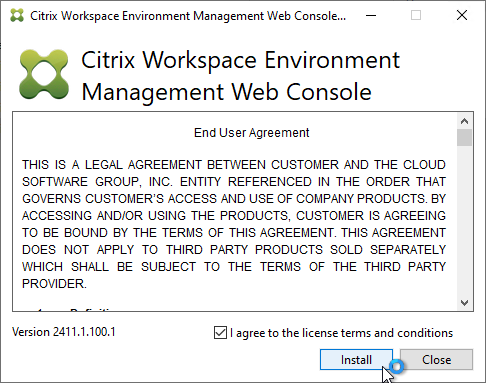
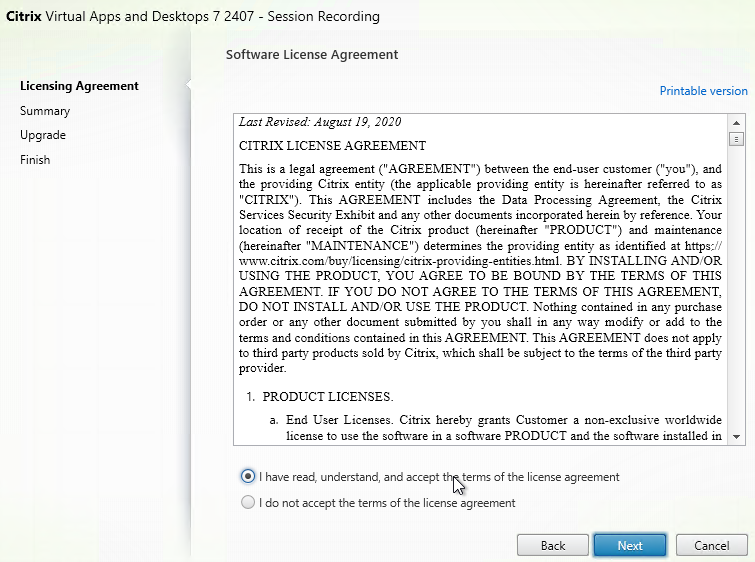
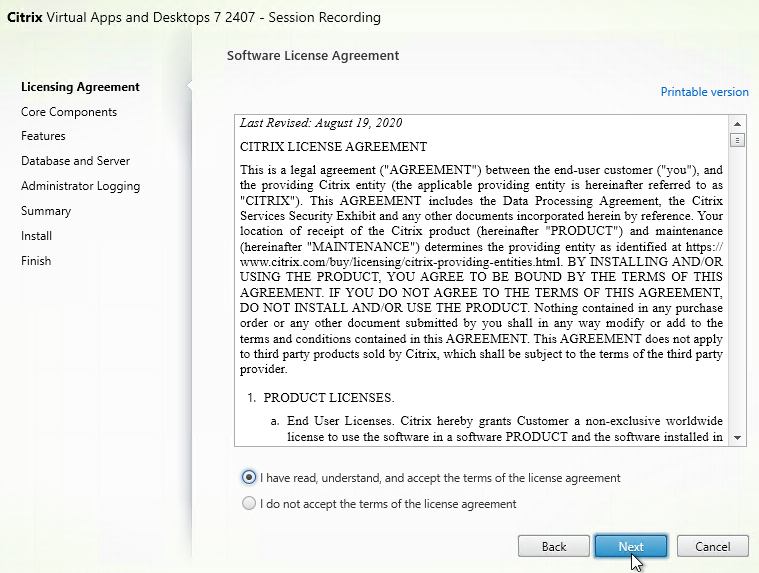
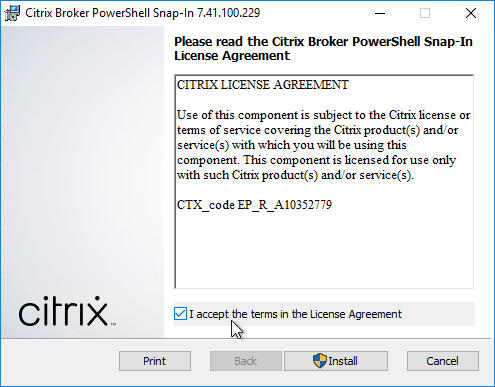
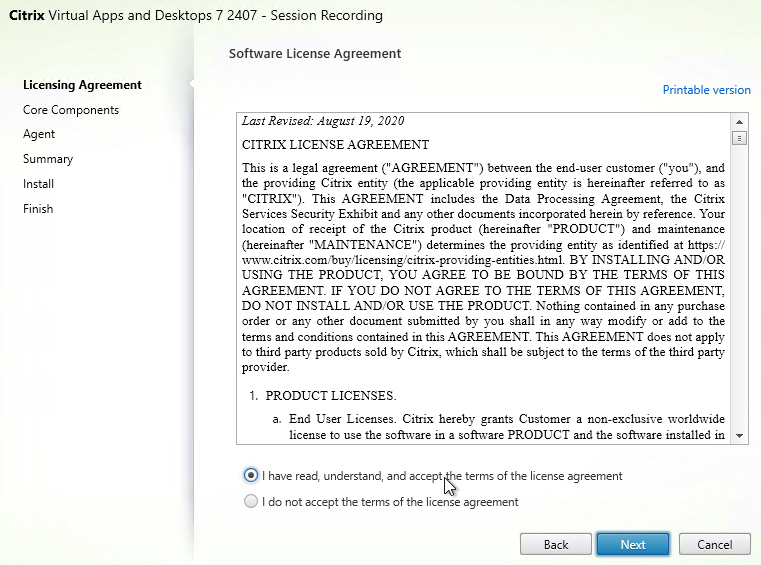
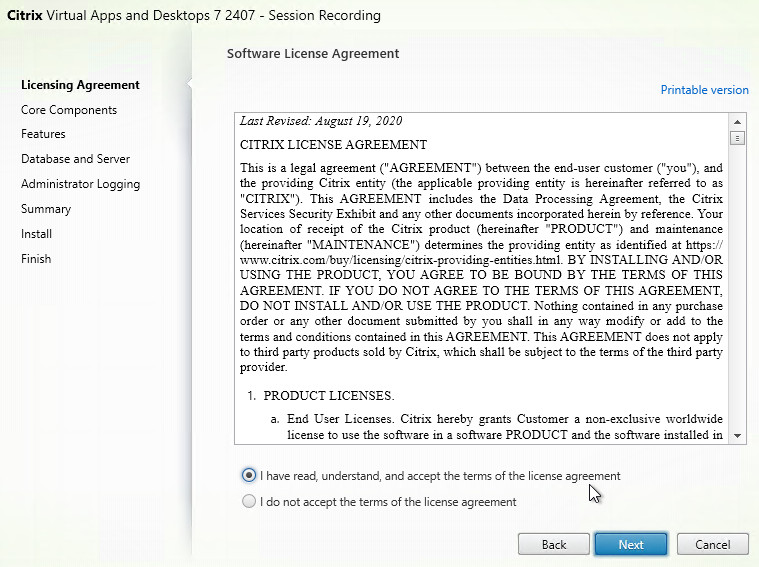
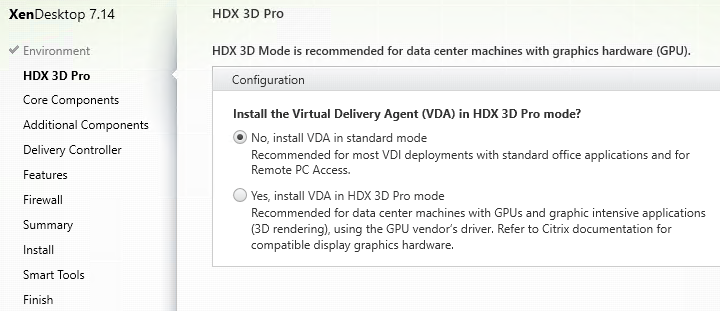
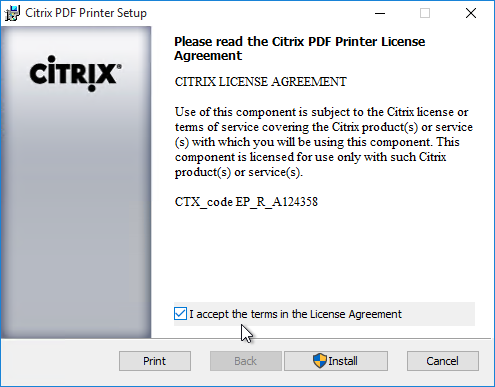
- In the Licensing Agreement page, change the selection to I have read, understand, and accept the terms, and click Next.
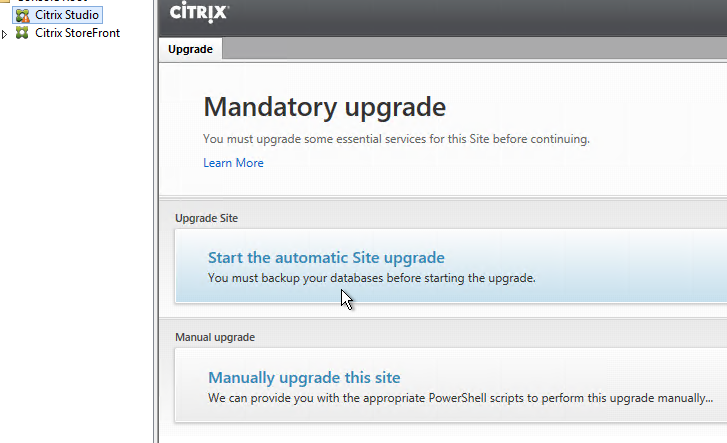
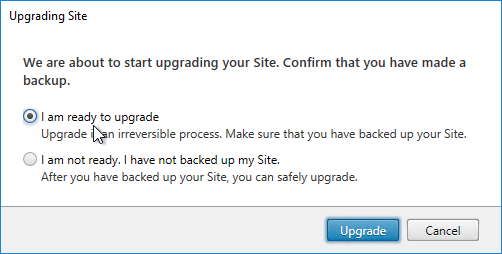
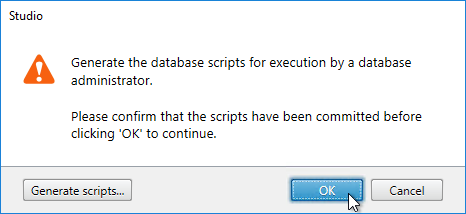
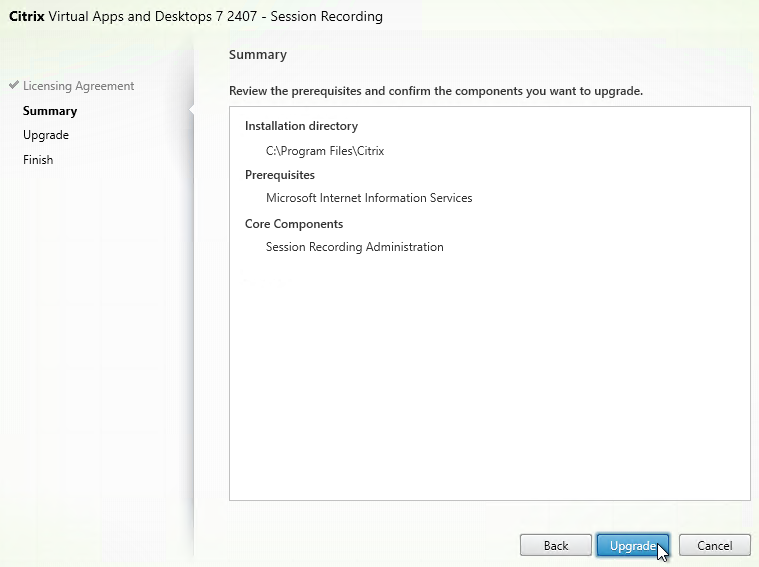
- In the Summary page, click Upgrade.
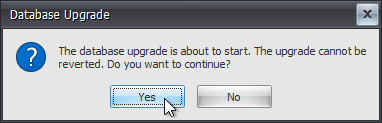
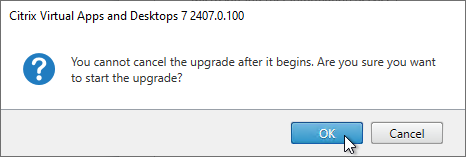
- Click OK to acknowledge that the upgrade cannot be cancelled.
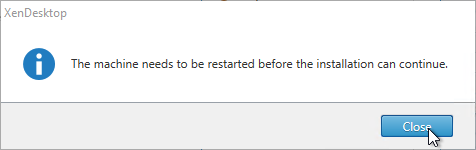
- The machine will probably require a restart.

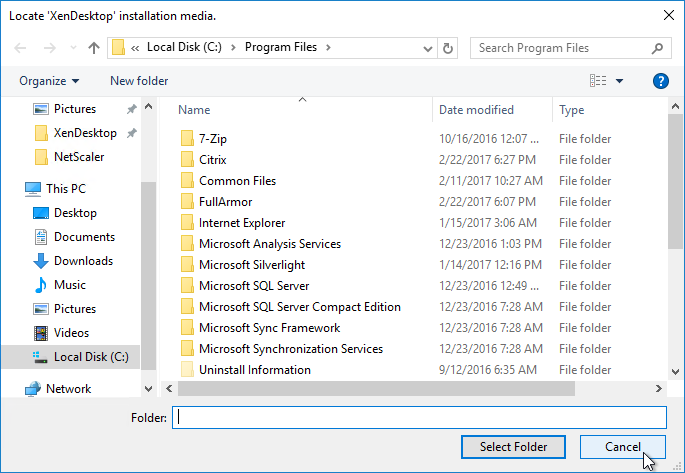
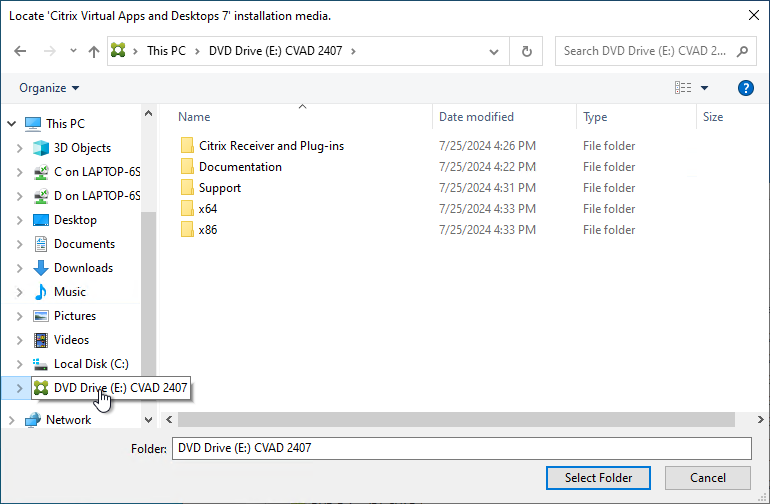
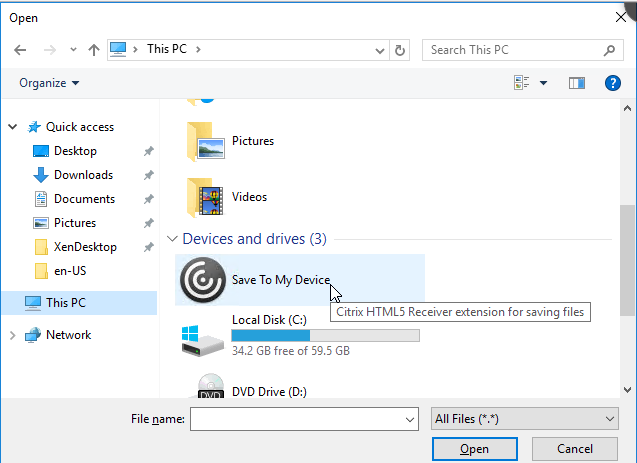
- After the reboot, and after logging in again, you might see a Locate ‘Citrix Virtual Apps and Desktops 7’ installation media window. Don’t click anything yet.
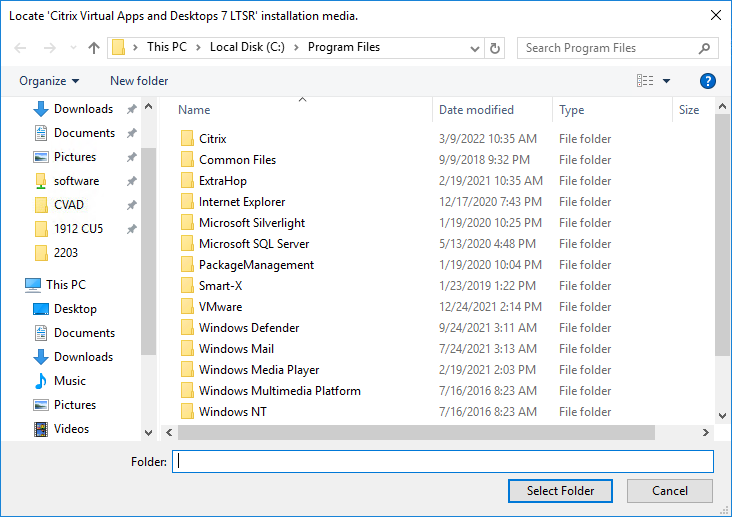
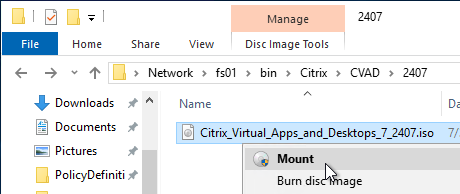
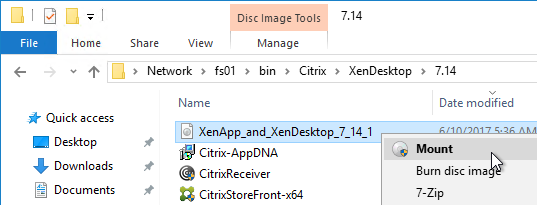
- Go to the Citrix_Virtual_Apps_and_Desktops_7_2407_LTSR.iso file and mount it.

- Go back to the Locate ‘Citrix Virtual Apps and Desktops 7’ installation media window.
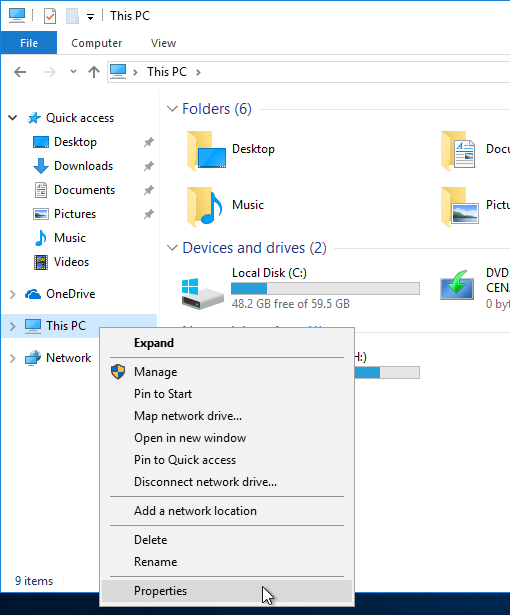
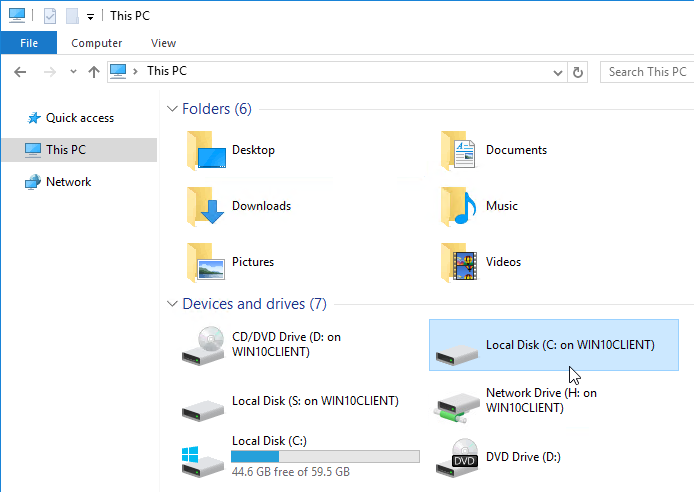
- On the left, expand This PC, and click the DVD Drive.
- Click Select Folder.

- After the reboot, and after logging in again, you might see a Locate ‘Citrix Virtual Apps and Desktops 7’ installation media window. Don’t click anything yet.
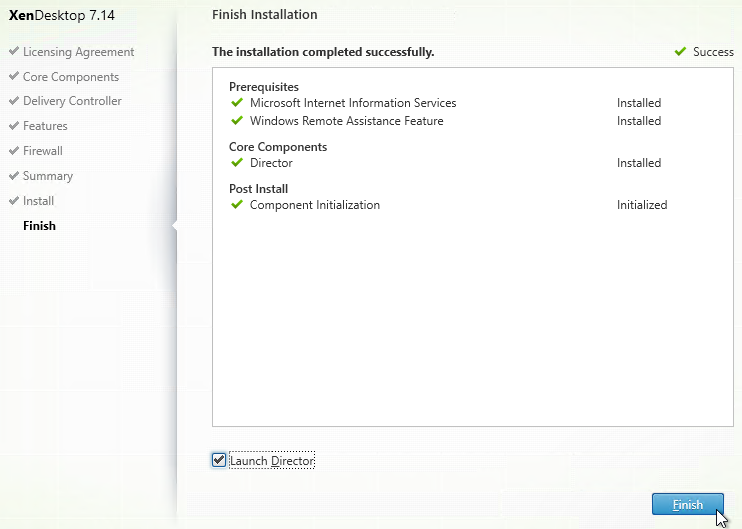
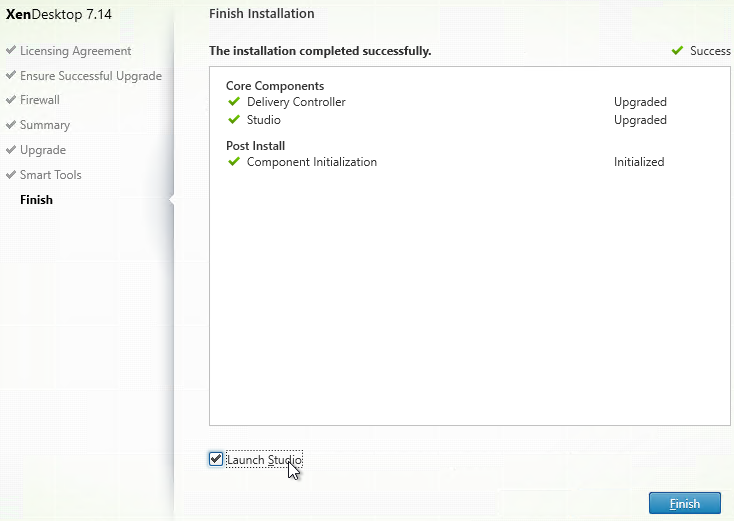
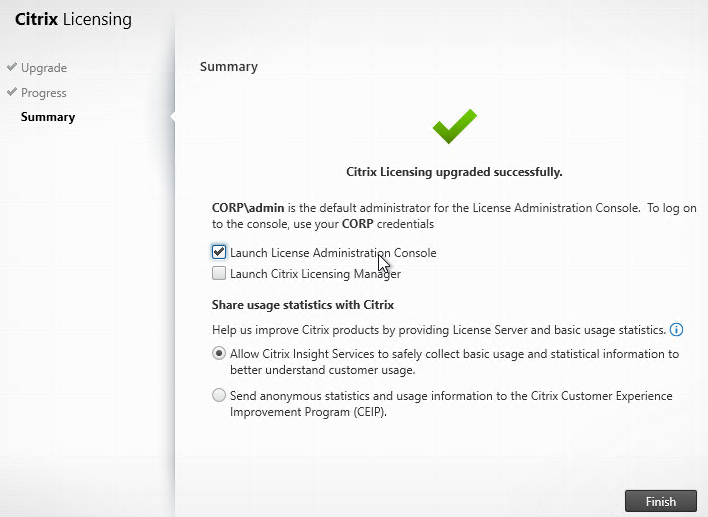
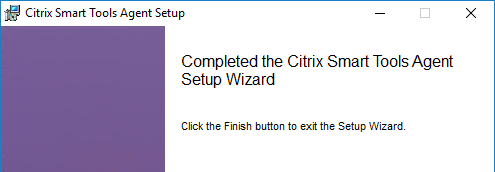
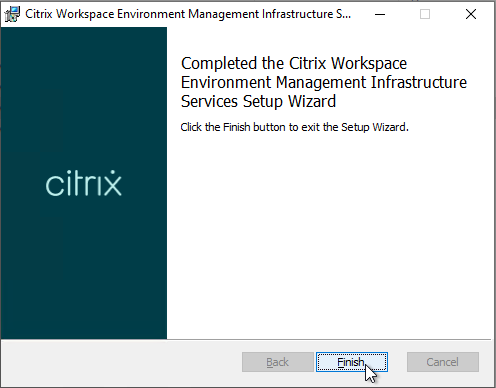
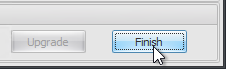
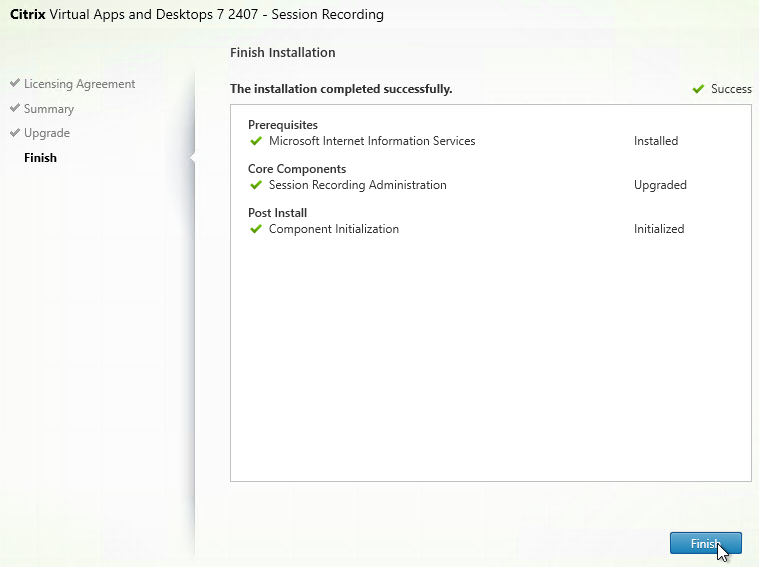
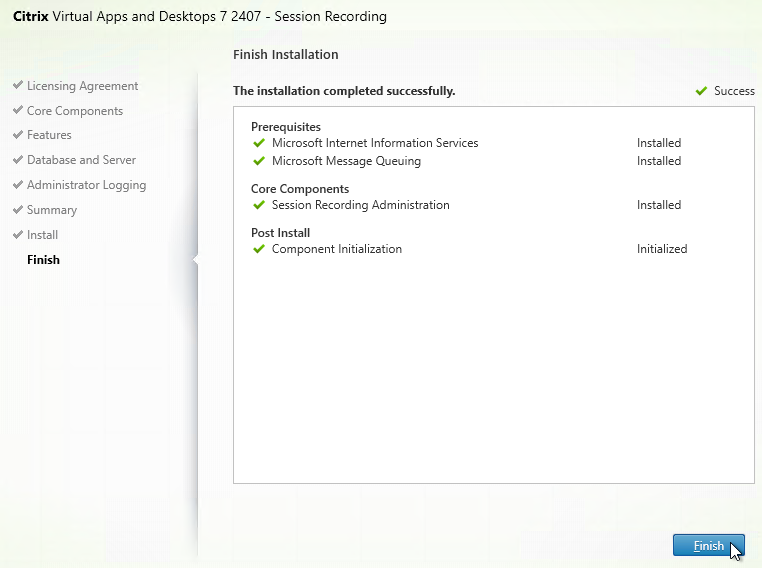
- In the Finish page, click Finish.
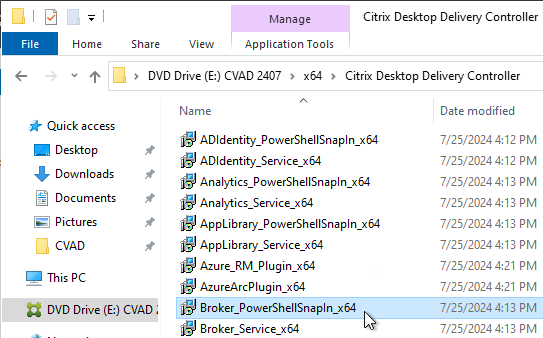
- Also upgrade Broker_PowerShellSnapIn_x64.msi from \x64\Citrix Desktop Delivery Controller on the CVAD ISO.

- Upgrade the Session Recording Agents.
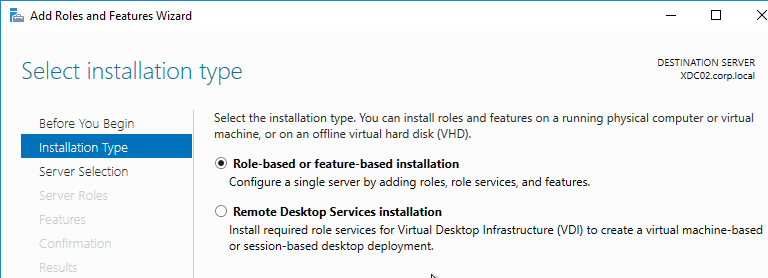
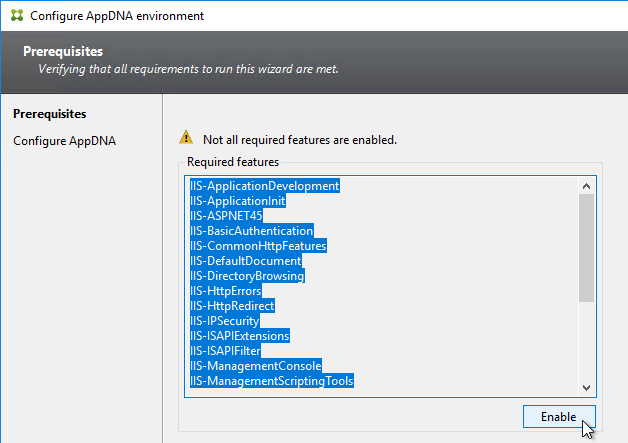
Session Recording Server New Installs
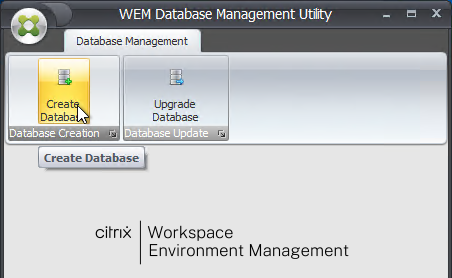
Install
- Session Recording 2203 and newer no longer support Windows Server 2012.
- Go to the downloaded Citrix Virtual Apps and Desktops (CVAD) ISO and run AutoSelect.exe.
- On the bottom right, click the Session Recording box.

- In the Licensing Agreement page, change the selection to I have read, understand, and accept the terms, and click Next.
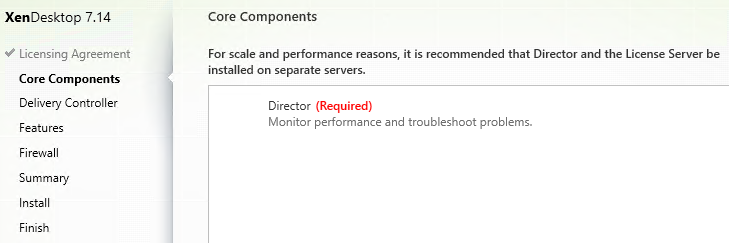
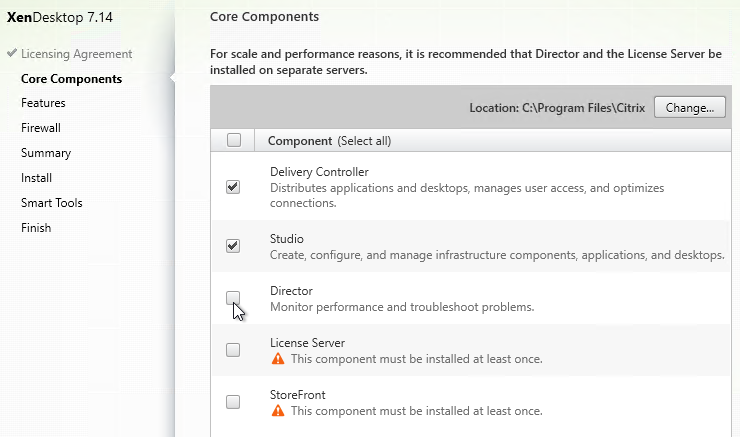
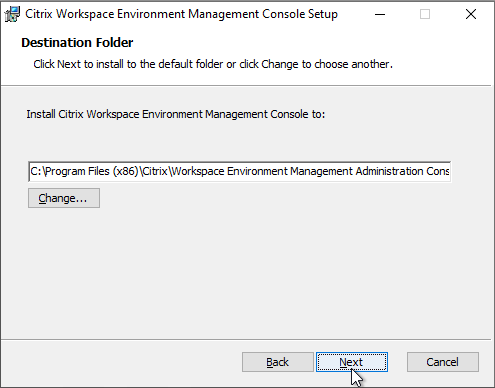
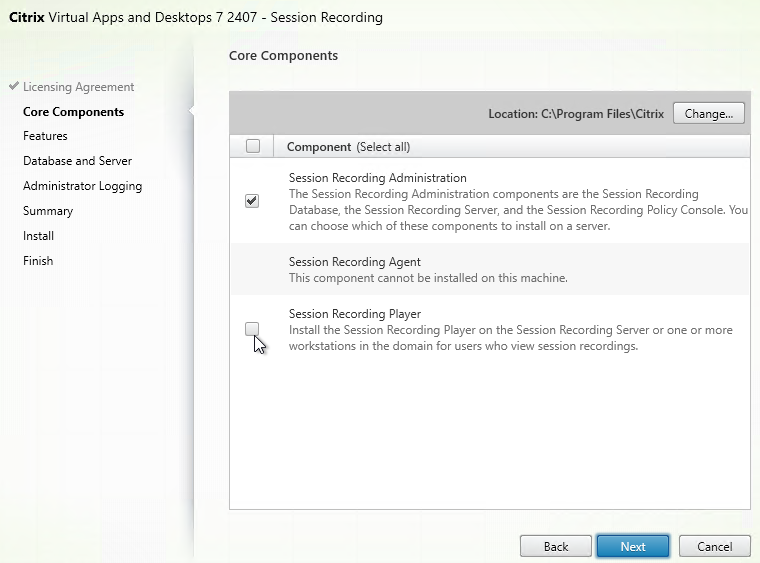
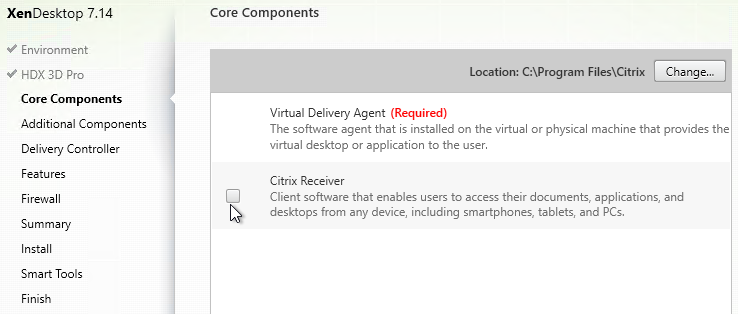
- In the Core Components page, uncheck the box next to Session Recording Player. The Player is typically installed on physical workstations, but not on the Session Recording server. Click Next.
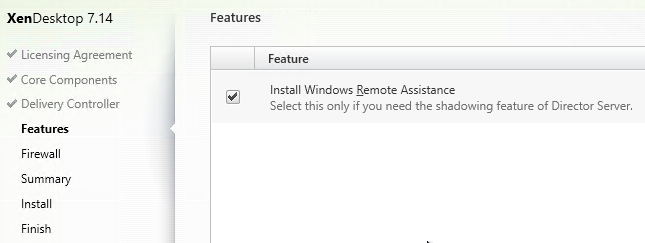
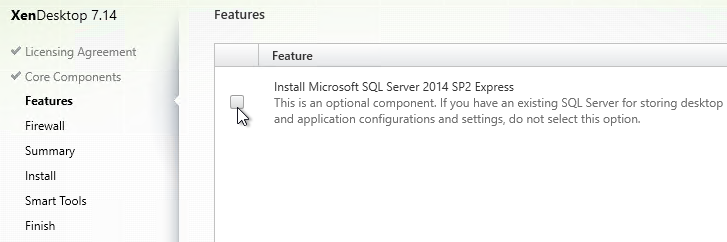
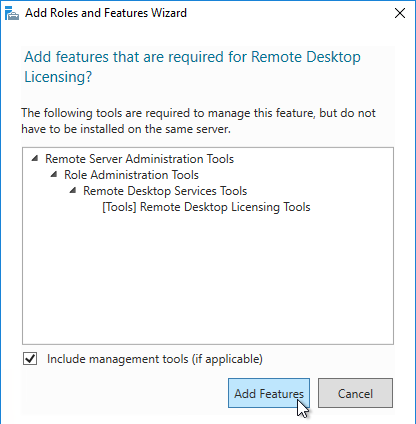
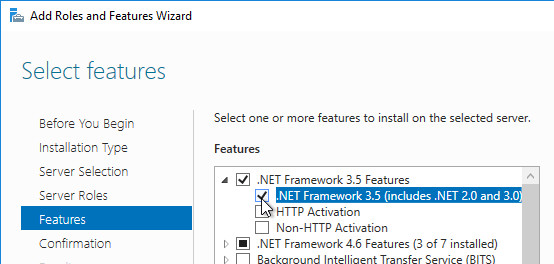
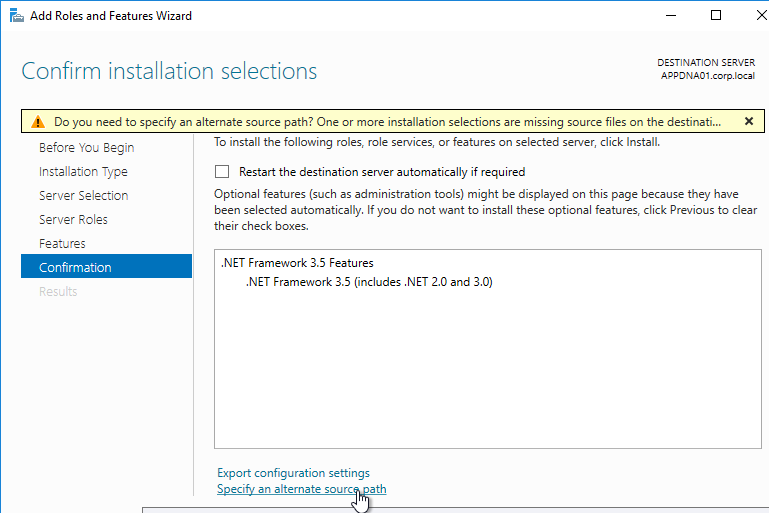
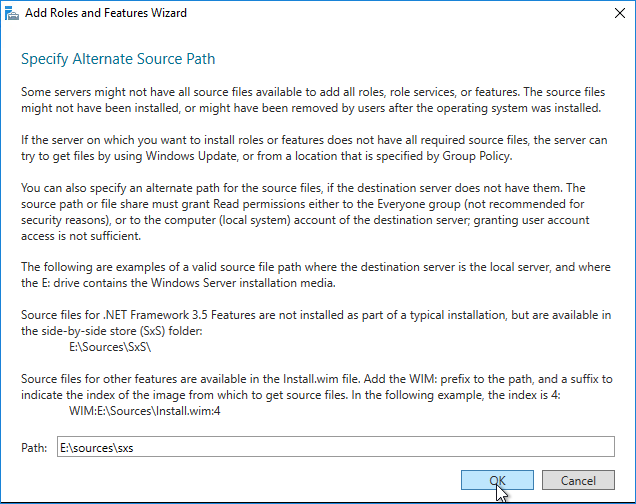
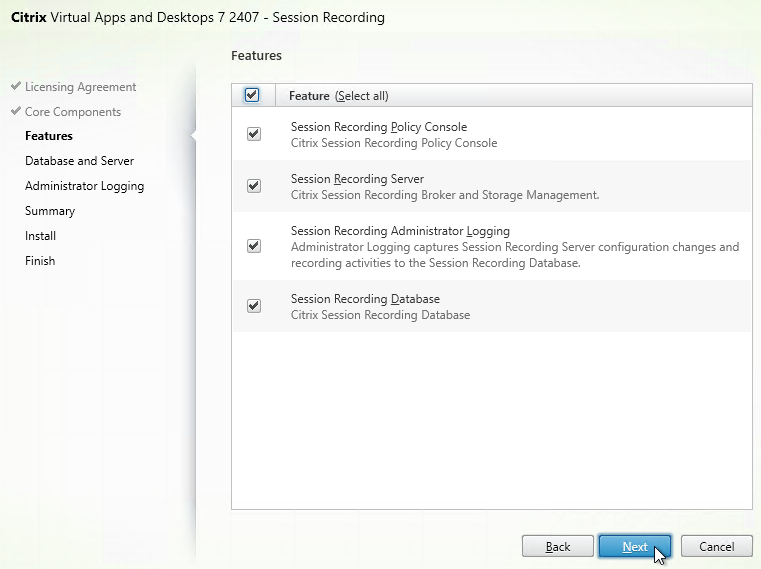
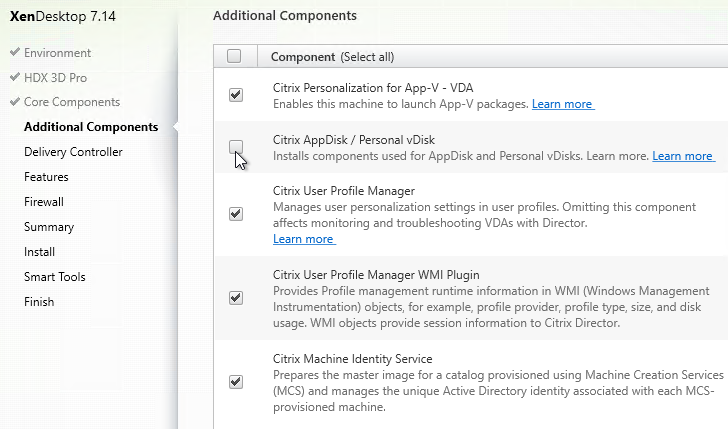
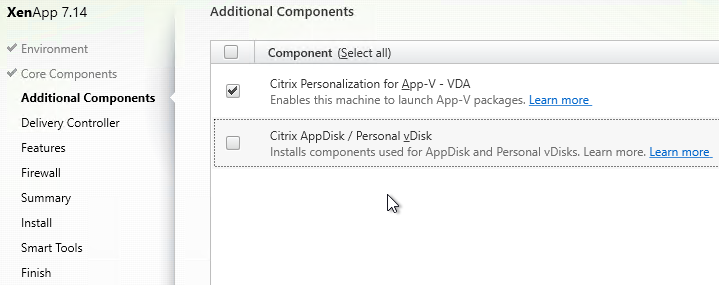
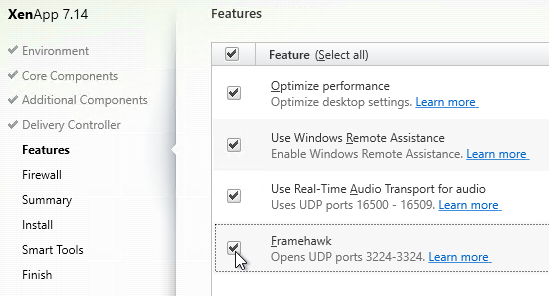
- In the Features page, on the first Session Recording server, install everything.
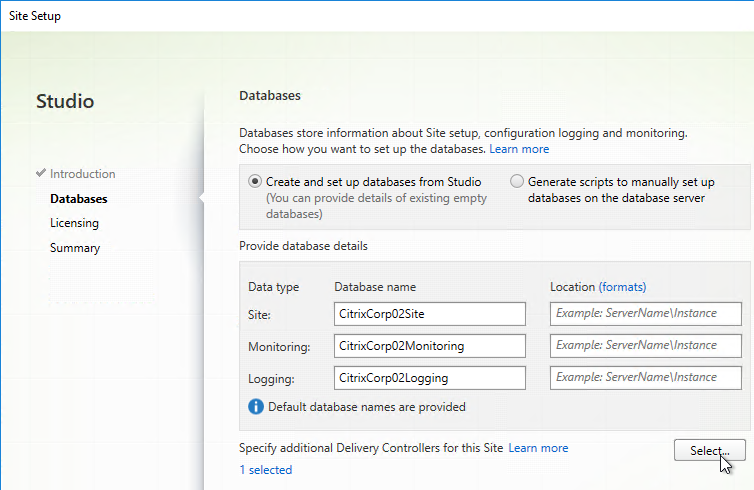
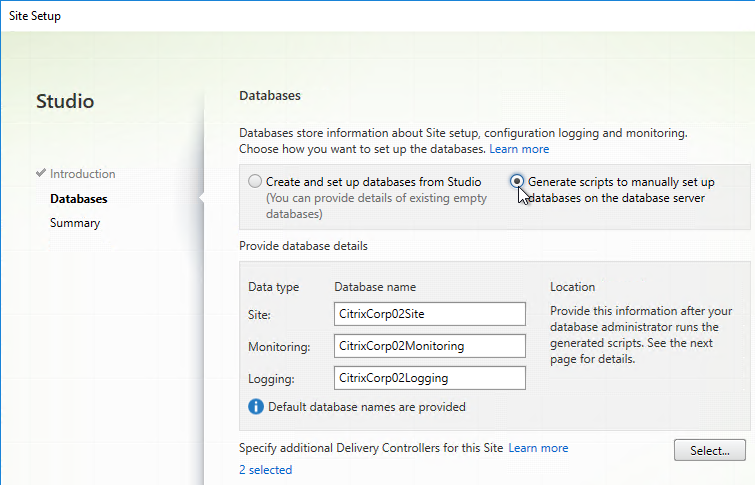
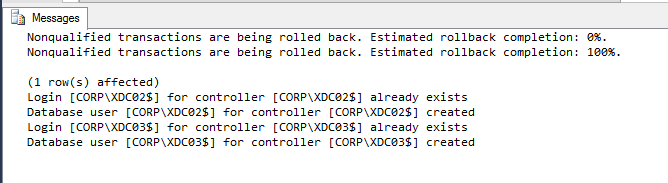
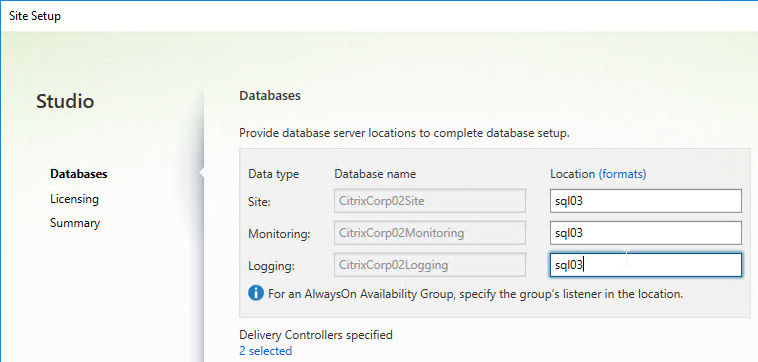
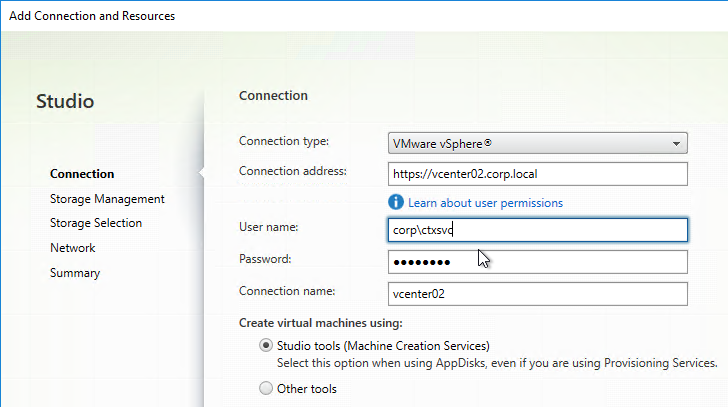
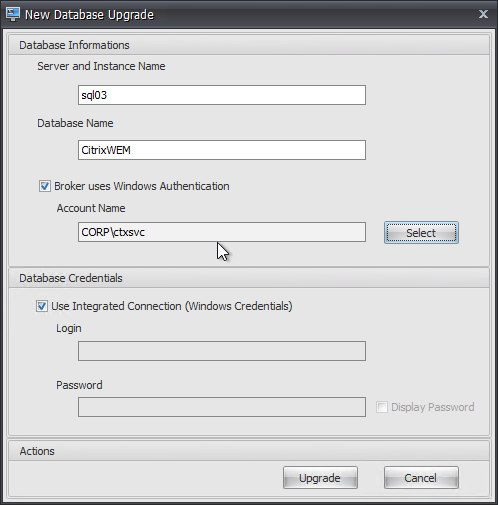
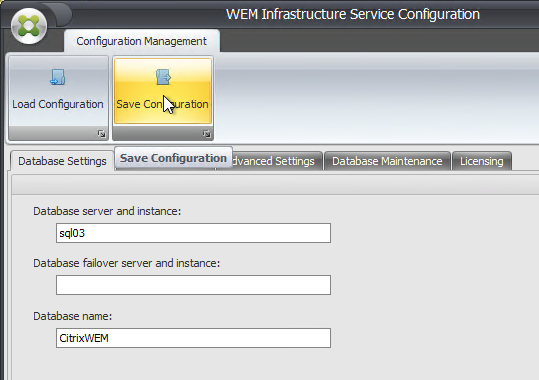
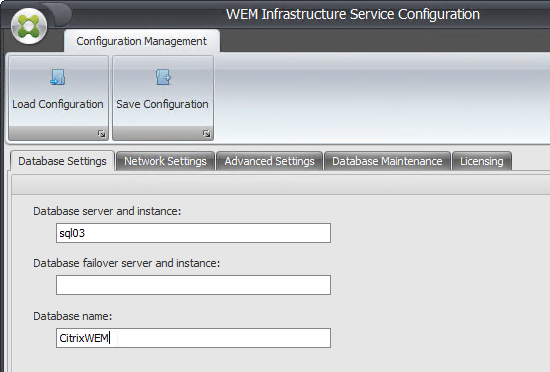
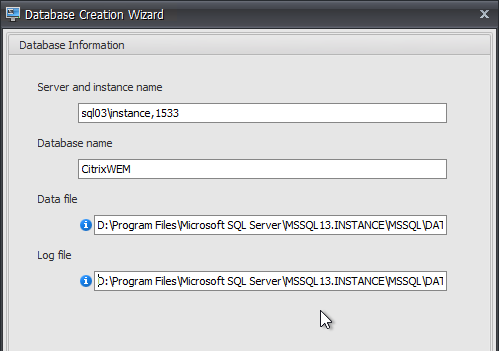
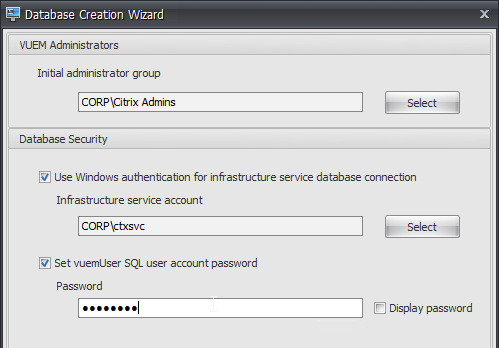
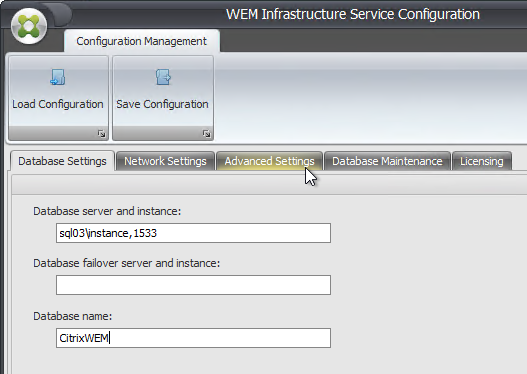
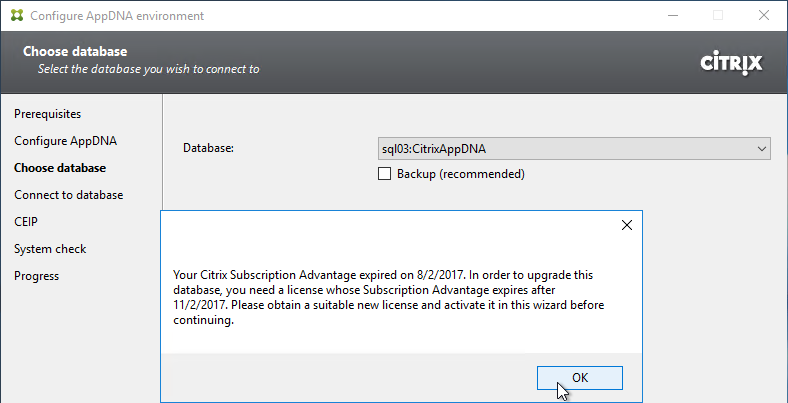
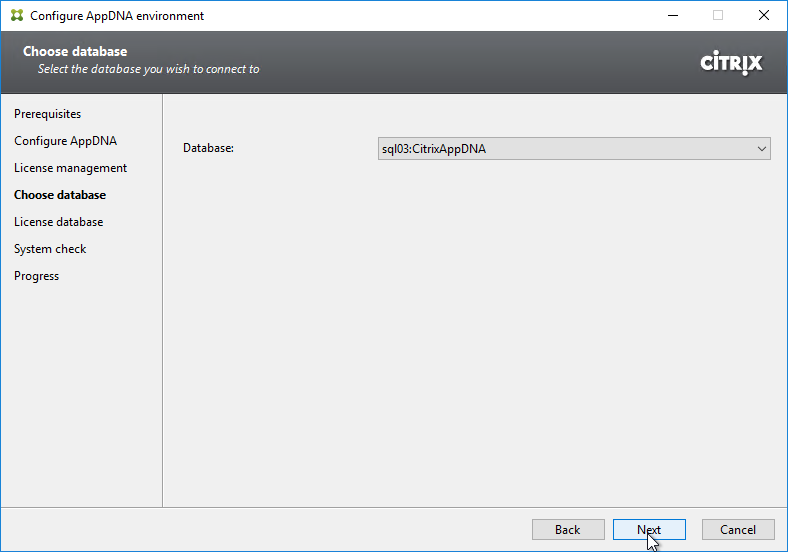
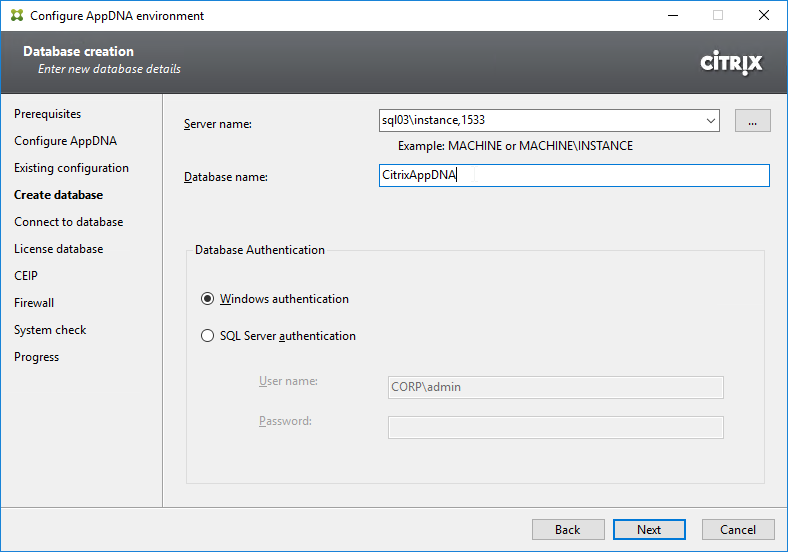
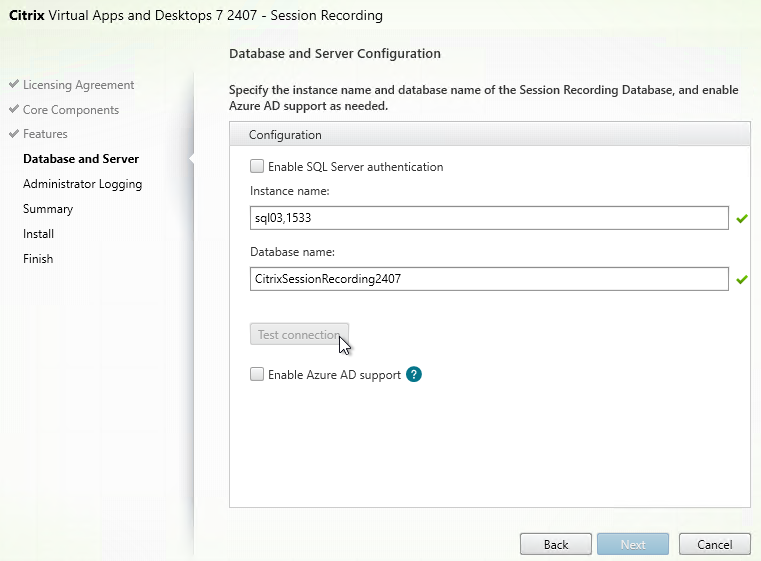
- In the Database and Server page, fill out the fields. Enter the SQL server name. Azure SQL Database is supported as detailed at Citrix Docs. Enter the database name. Click Test connection. Each load balanced Session Recording server must point to the same database.
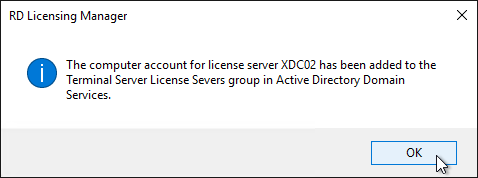
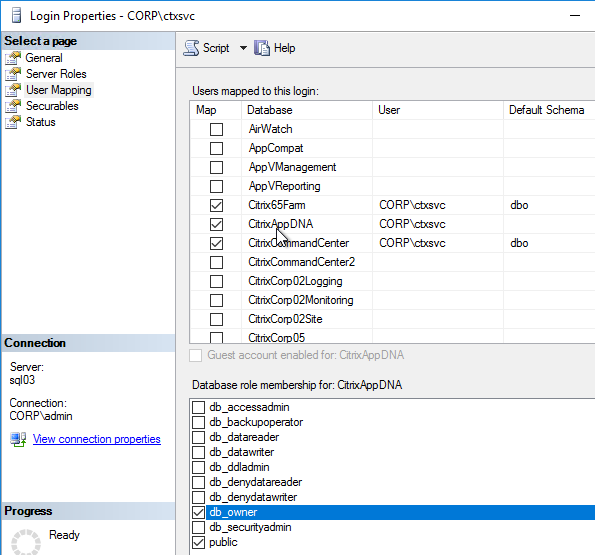
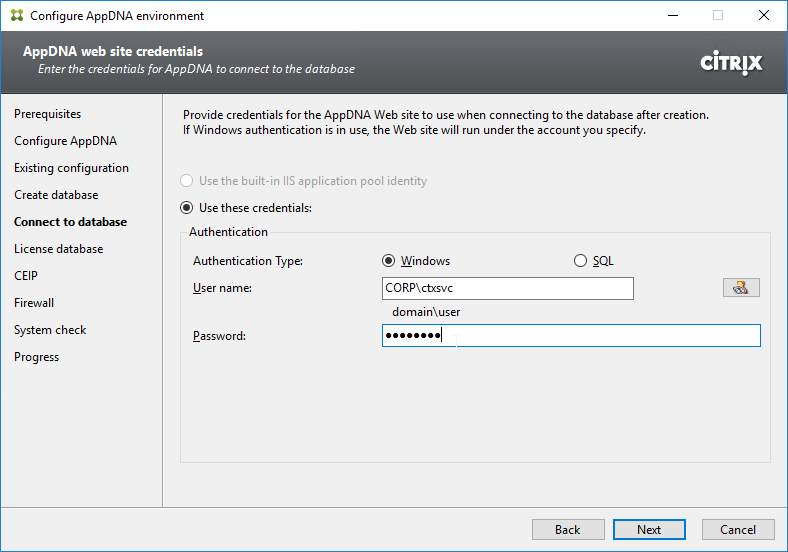
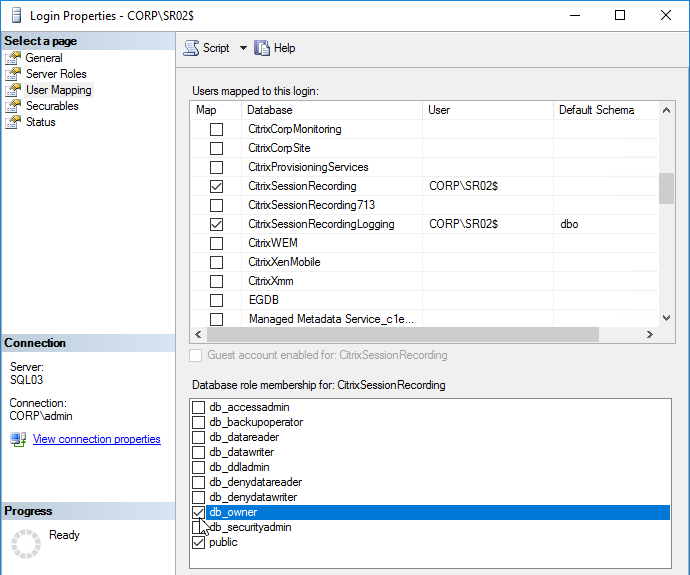
- Session Recording 2402 and newer automatically assign the local machine’s computer account as db_owner to the new database. In older Session Recording, enter the domain\computer_account$ for the Session Recording server. Click Next.
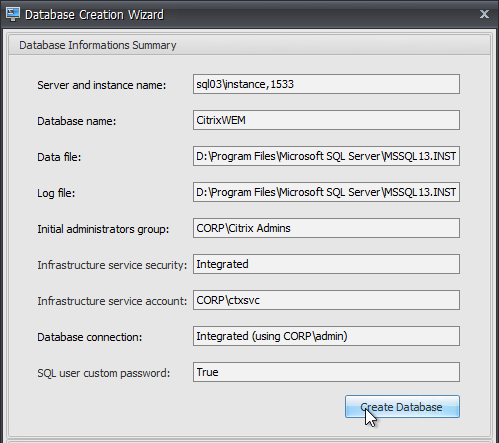
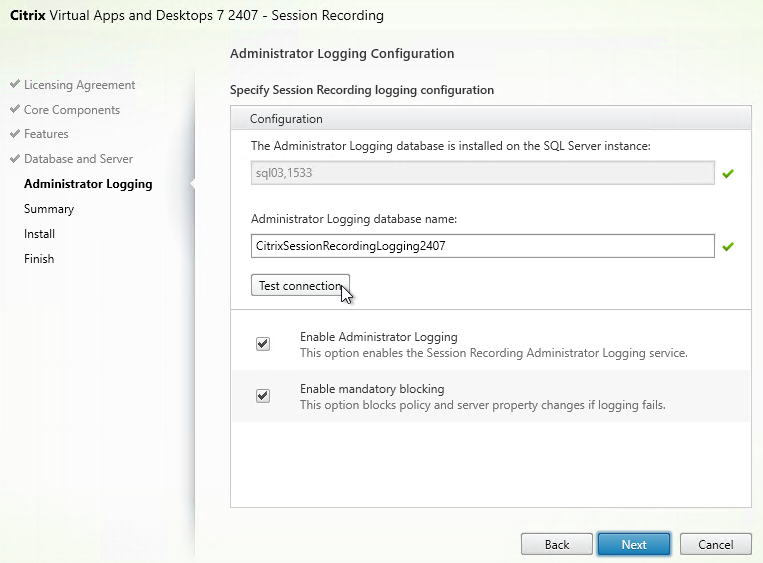
- In the Administrator Logging Configuration page, enter the name of the SQL database, click Test connection, and then click Next.
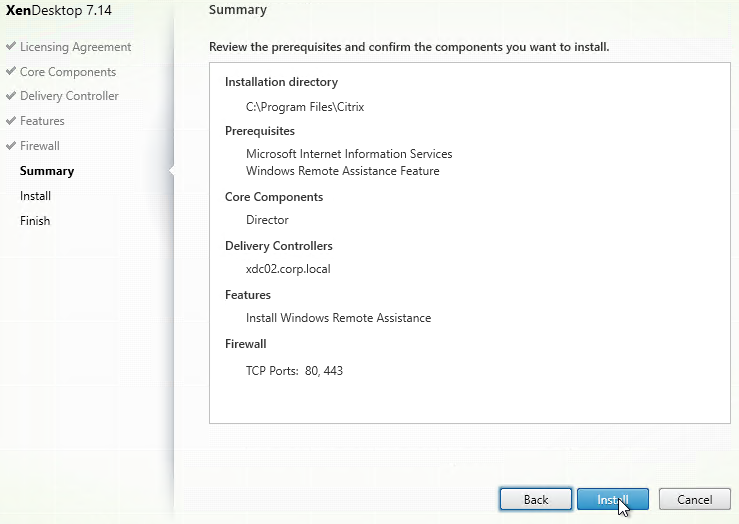
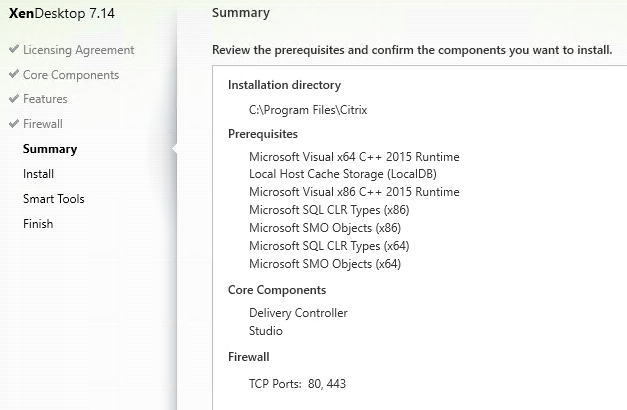
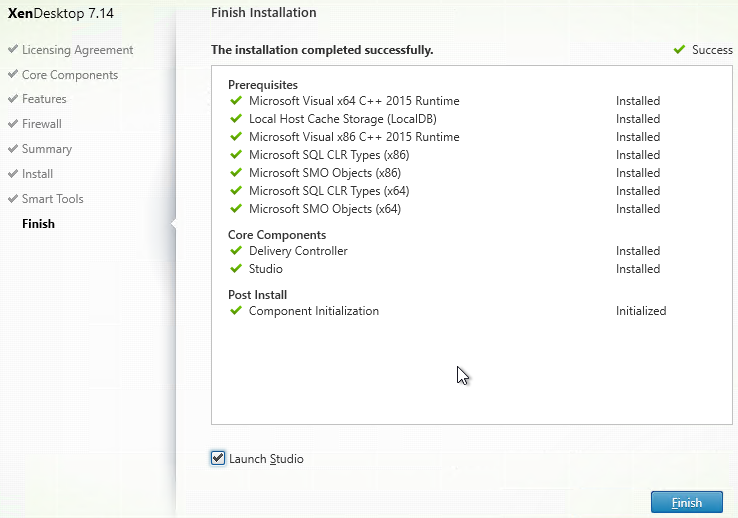
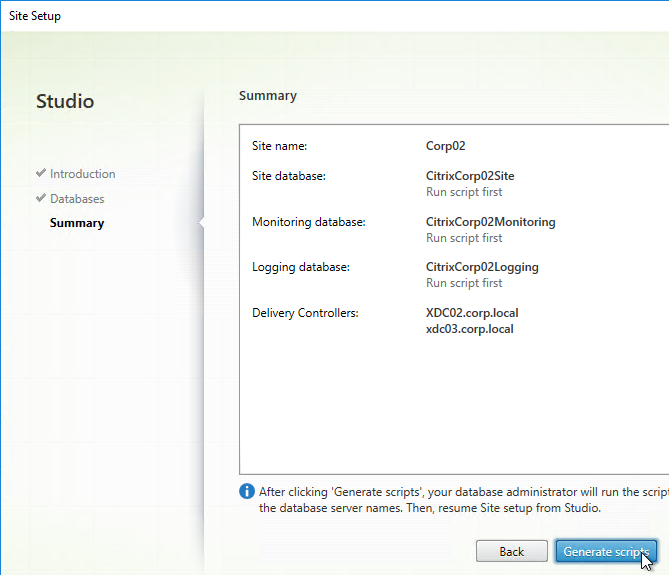
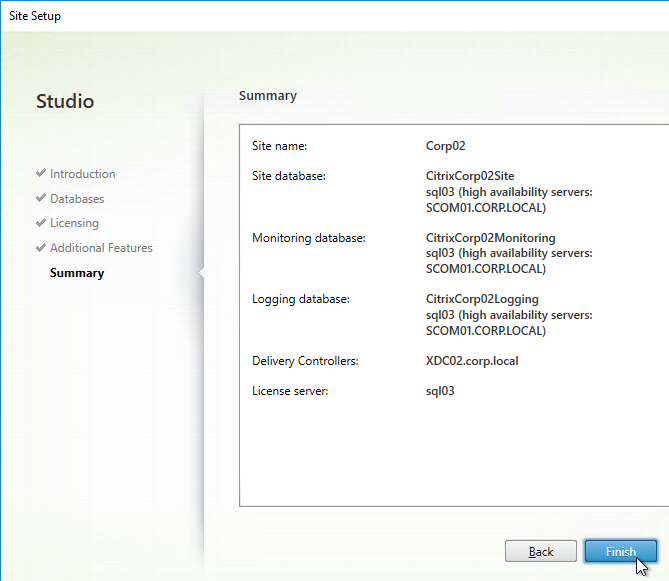
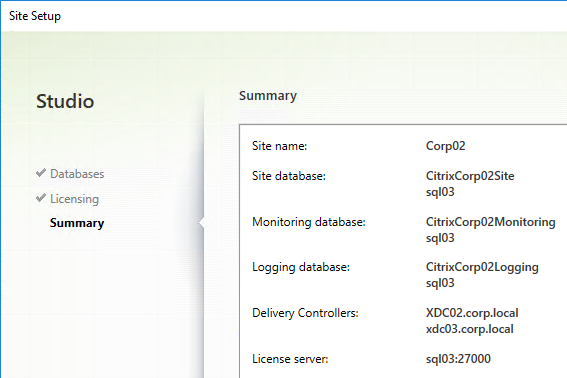
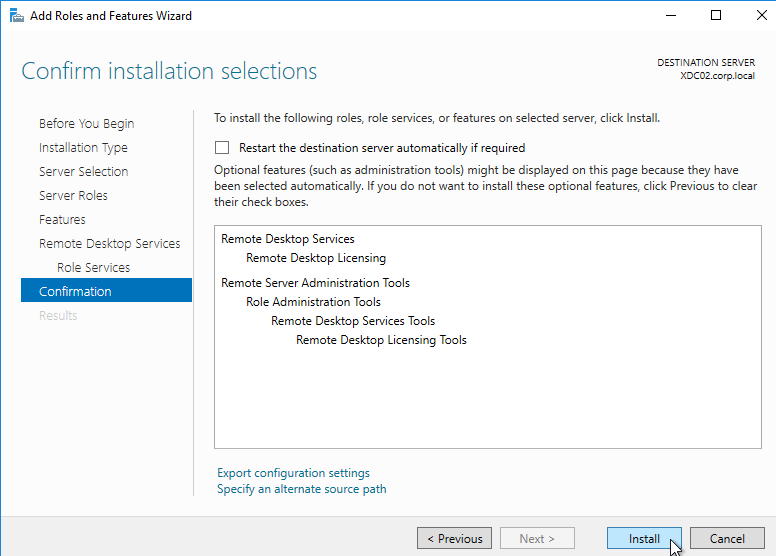
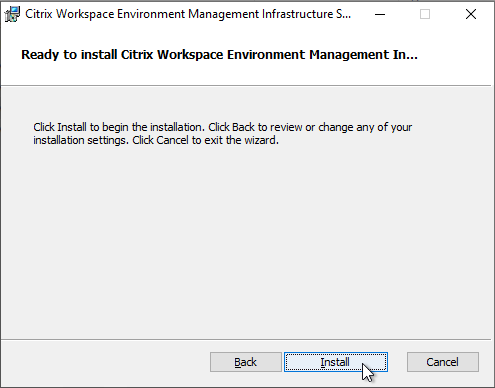
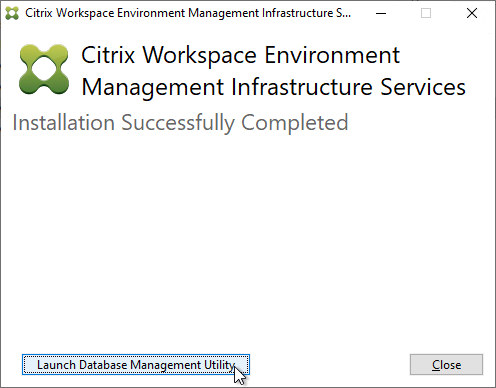
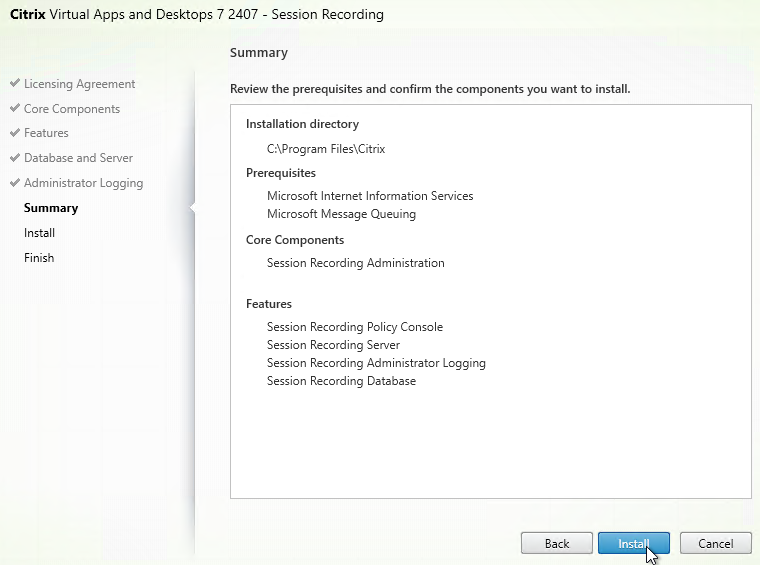
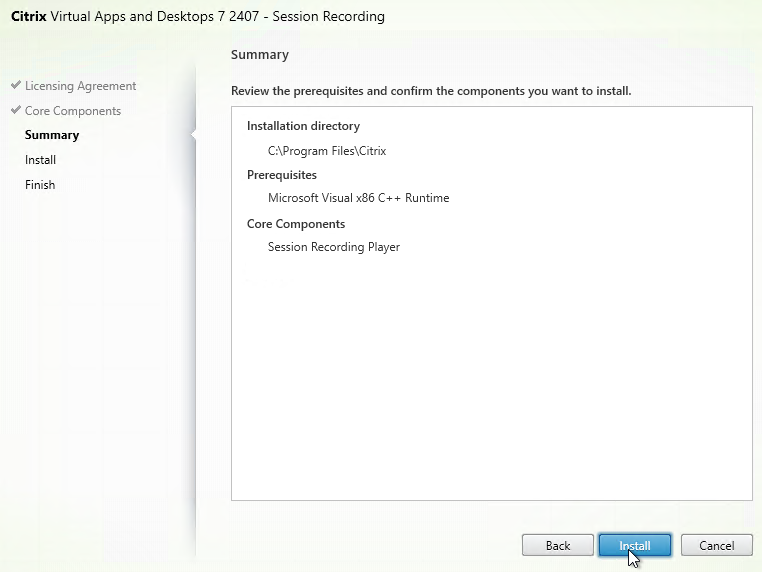
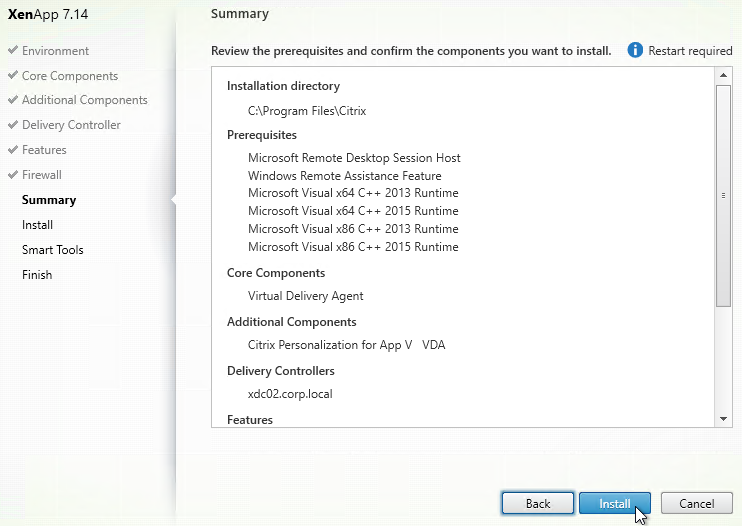
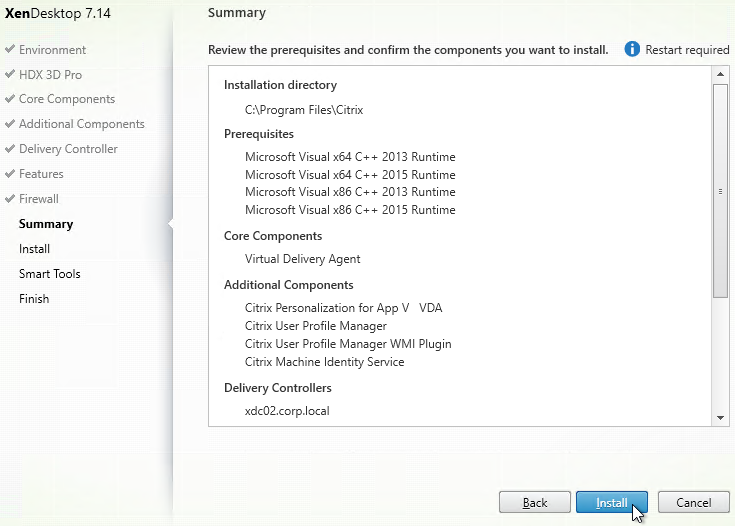
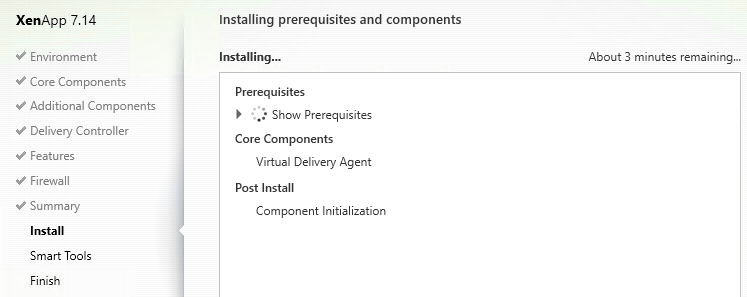
- In the Summary page, click Install.
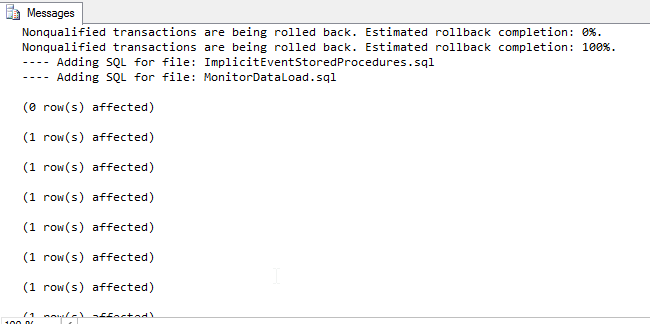
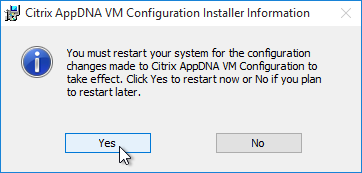
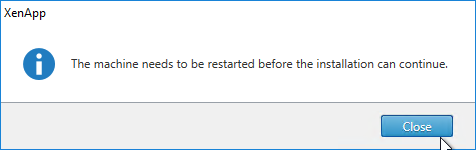
- The installer might require a restart. Let it restart, and login again.

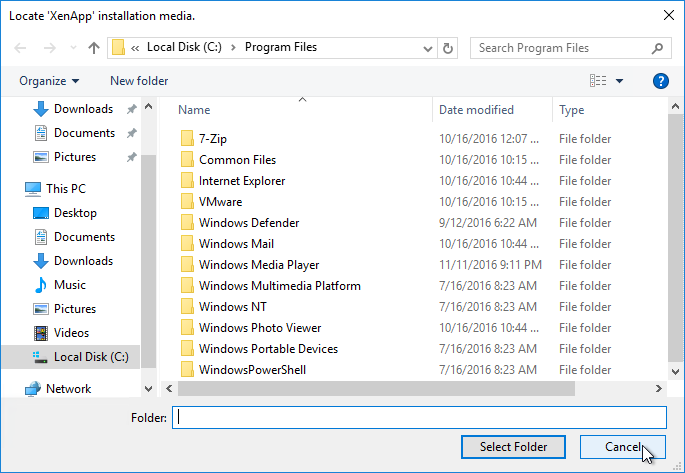
- After the reboot, and after logging in again, you might see a Locate ‘Citrix Virtual Apps and Desktops 7’ installation media window. Don’t click anything yet.
- Go to the Citrix_Virtual_Apps_and_Desktops_7_2407_LTSR.iso file and mount it.

- Go back to the Locate ‘Citrix Virtual Apps and Desktops 7’ installation media window.
- On the left, expand This PC, and click the DVD Drive.
- Click Select Folder.
- After the reboot, and after logging in again, you might see a Locate ‘Citrix Virtual Apps and Desktops 7’ installation media window. Don’t click anything yet.
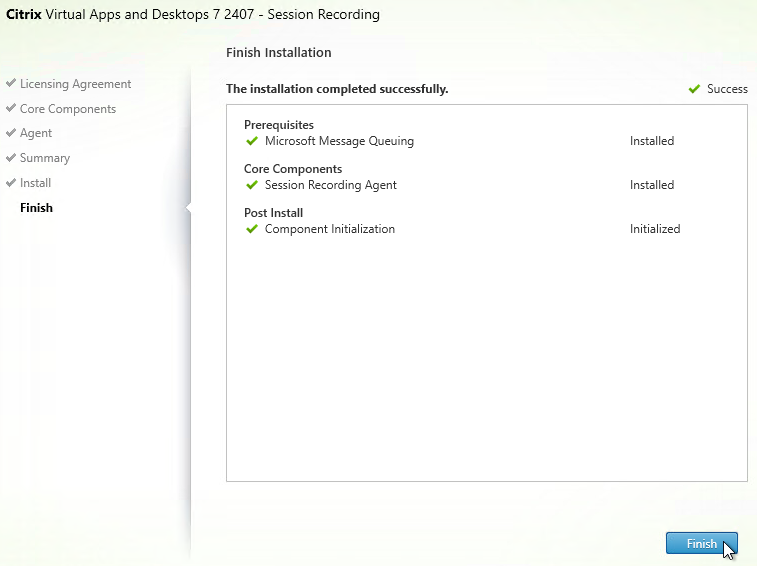
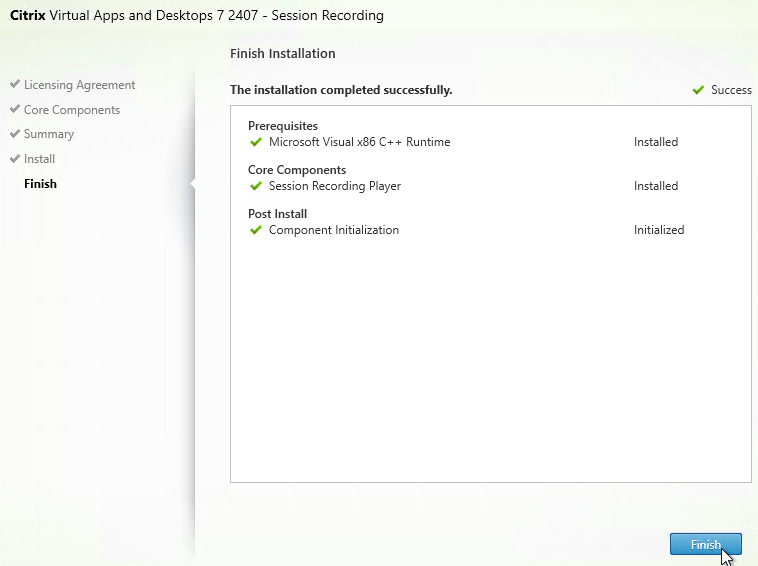
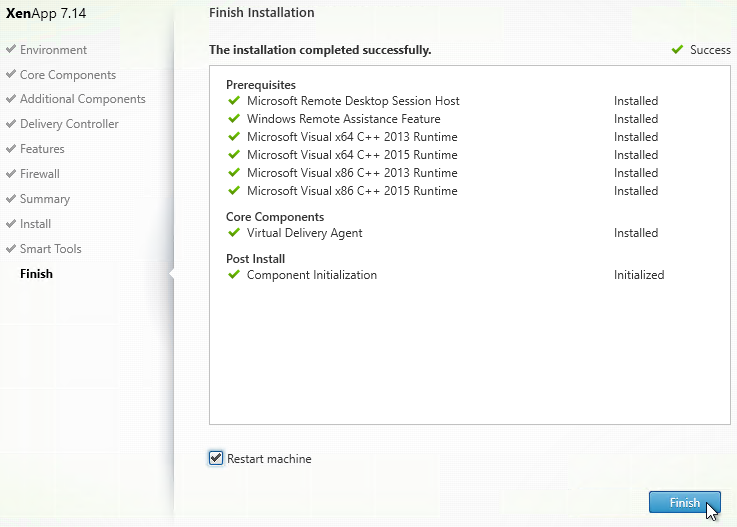
- In the Finish page, click Finish.
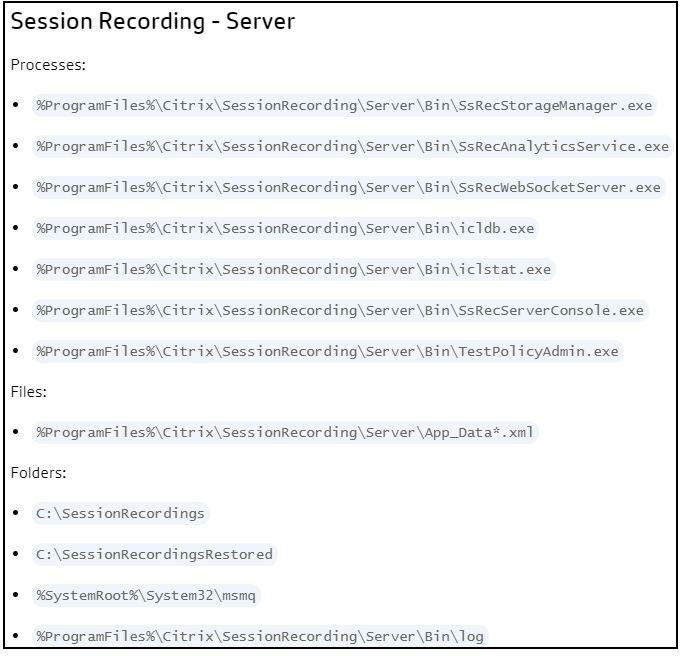
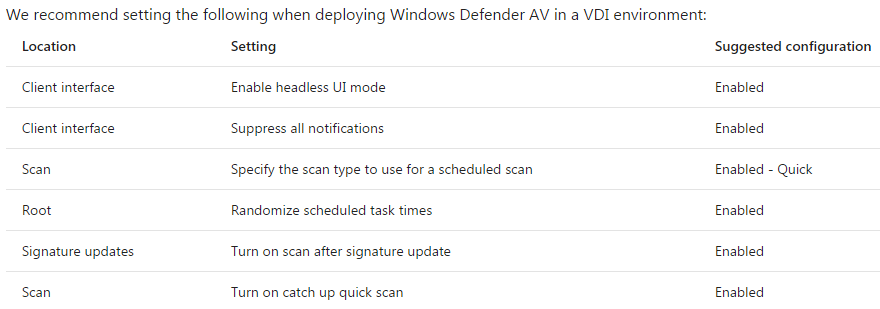
Antivirus Exclusions
See Endpoint Security and Antivirus Best Practices at Citrix Tech Zone
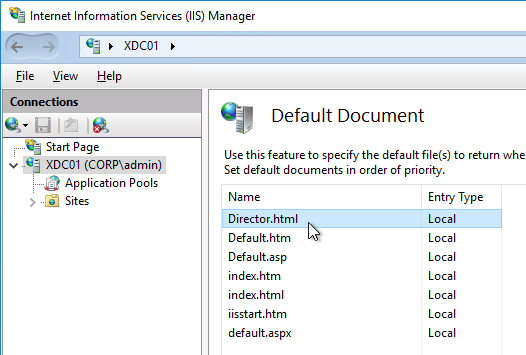
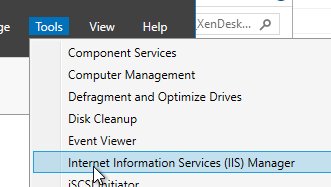
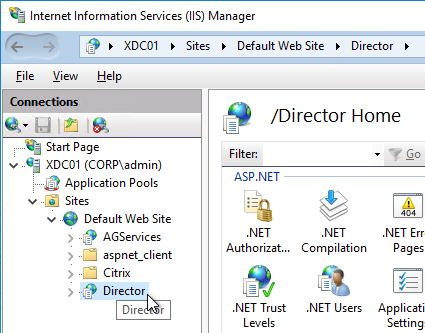
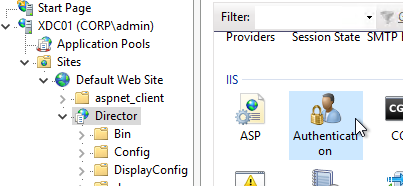
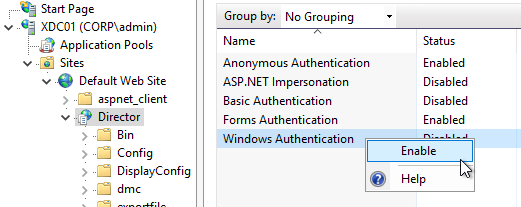
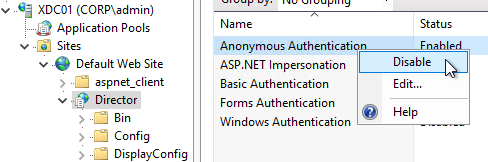
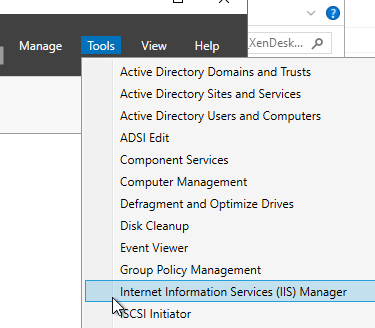
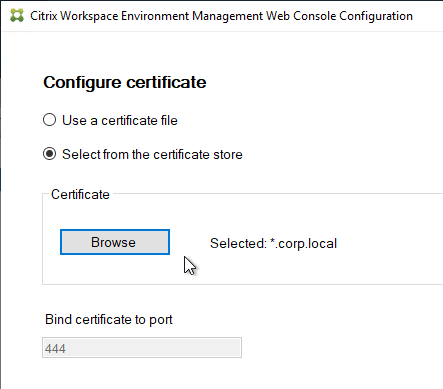
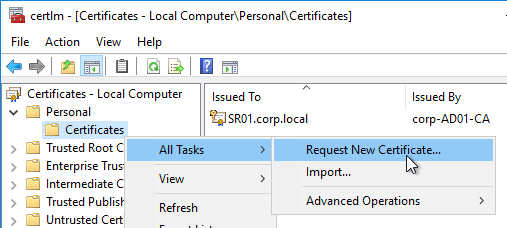
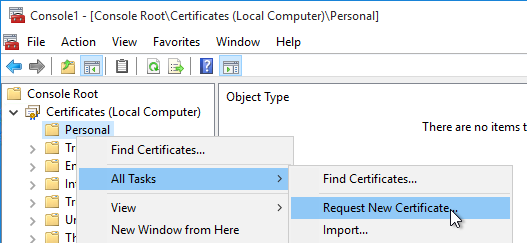
IIS Certificate
- Use MMC Certificates snap-in (certlm.msc), or IIS, or similar, to request a machine certificate.
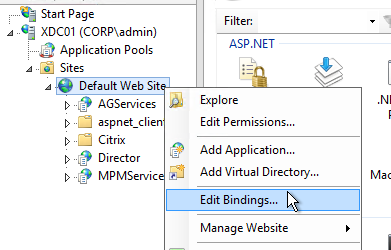
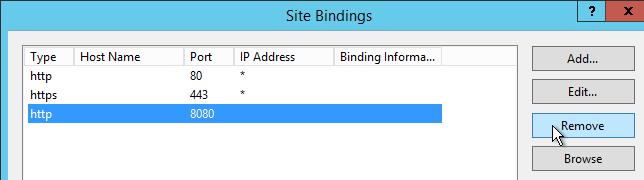
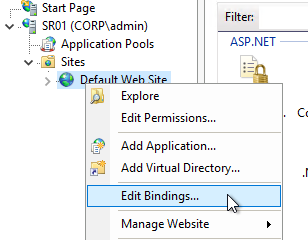
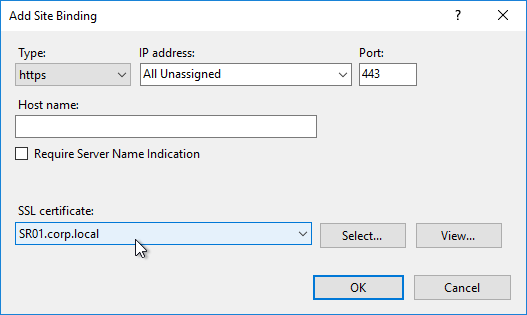
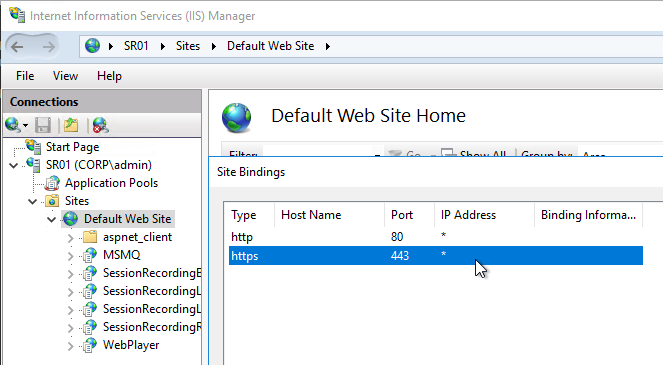
- In IIS Manager, right-click the Default Web Site, and click Edit Bindings.
- On the right, click Add.

- Change the Type to https.
- Select the certificate, and click OK.
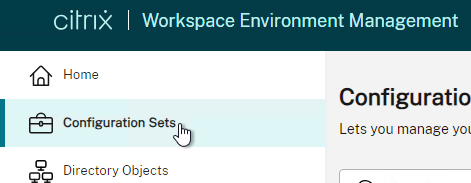
Session Recording Server Configuration
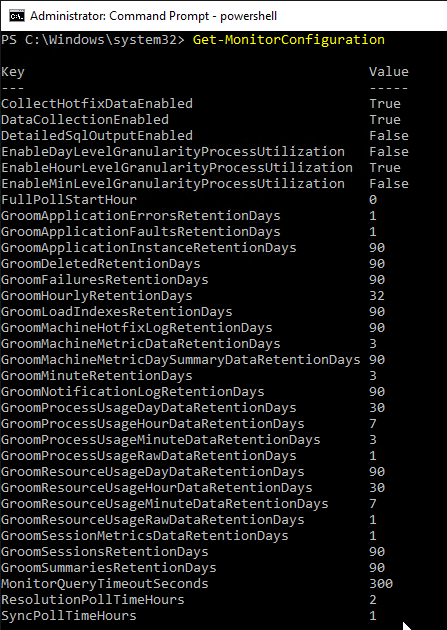
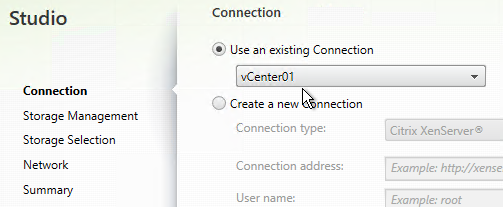
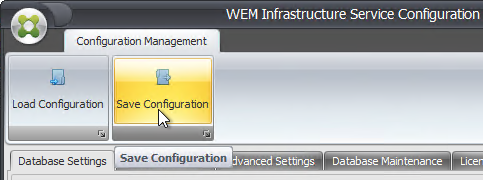
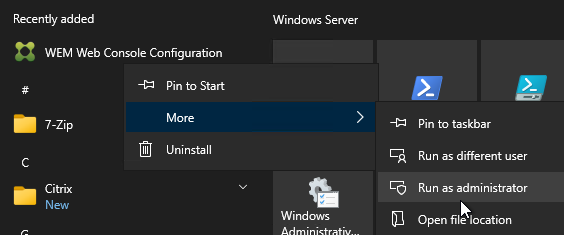
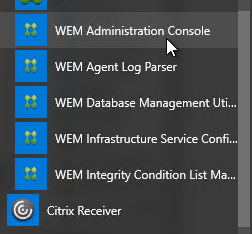
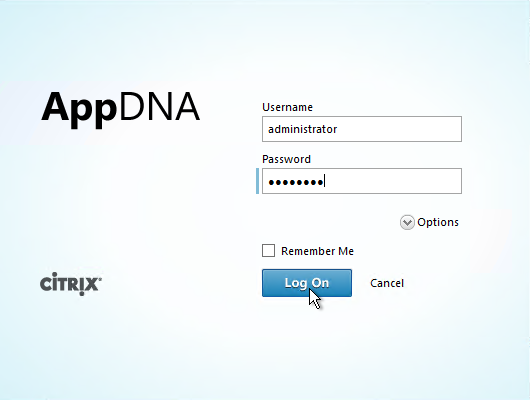
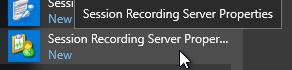
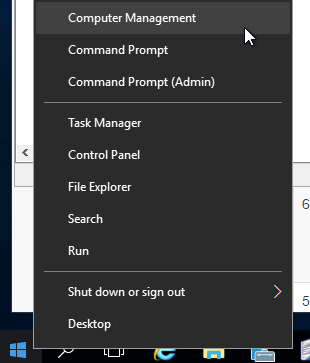
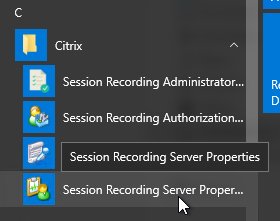
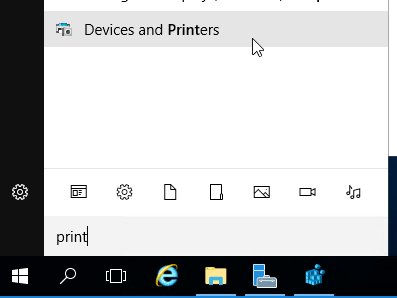
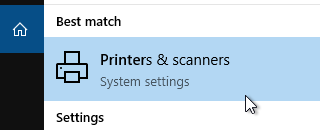
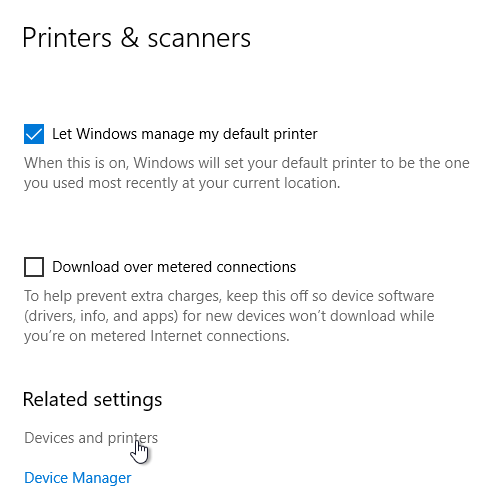
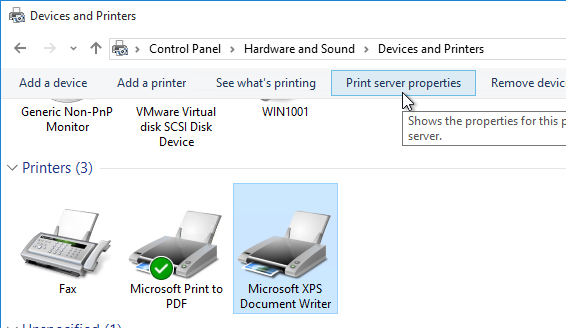
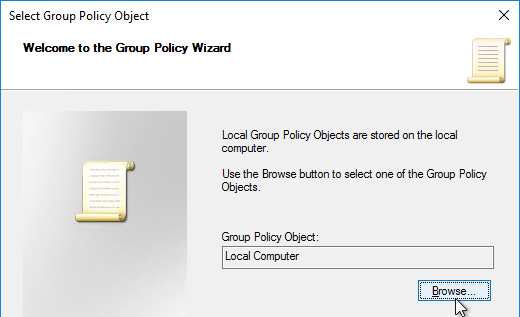
- From Start Menu, run Session Recording Server Properties.
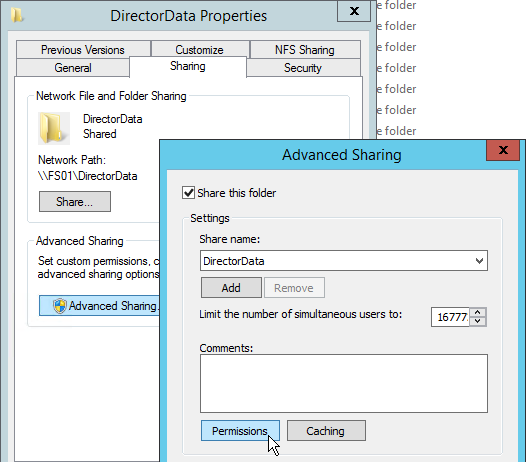
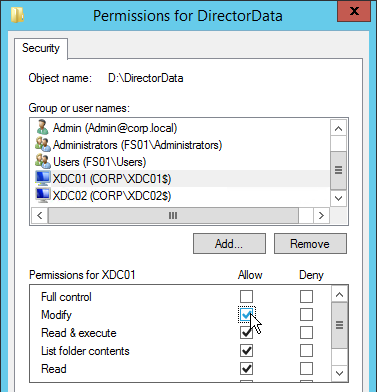
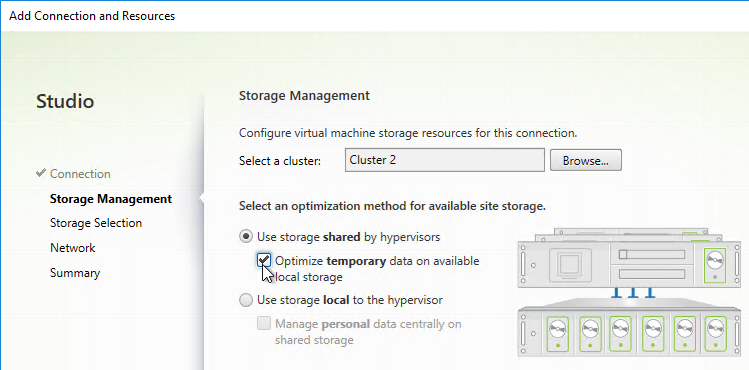
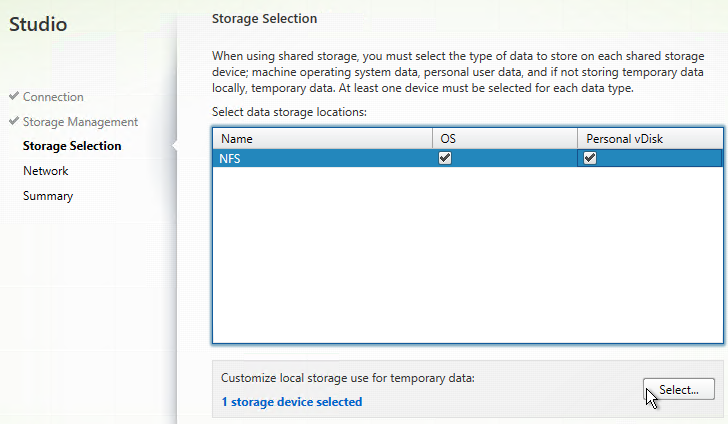
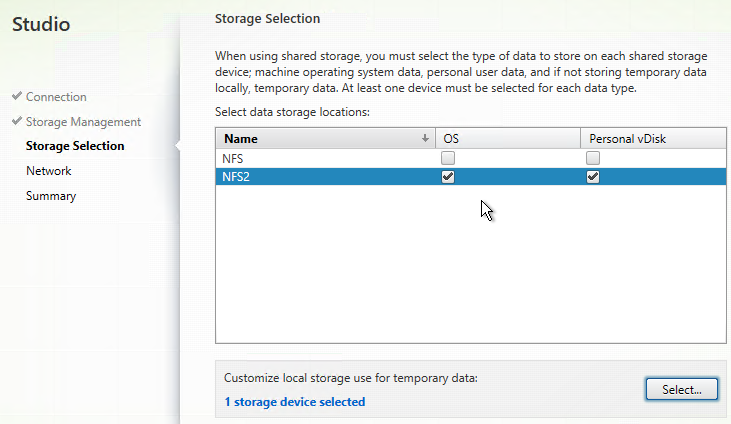
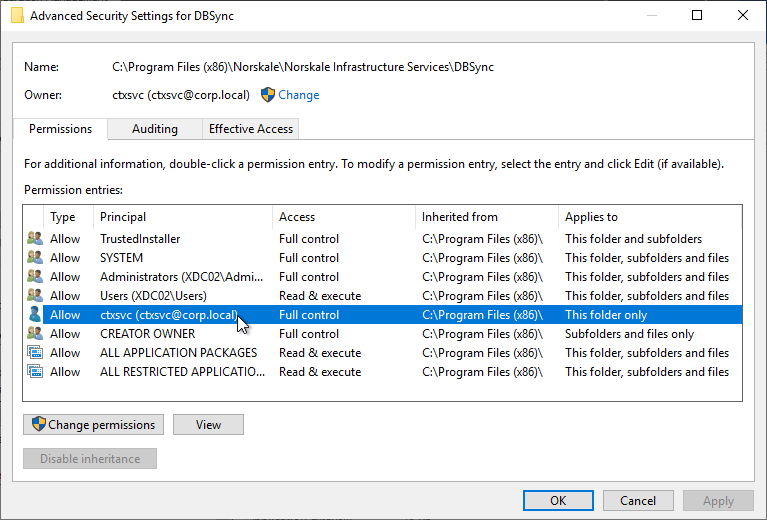
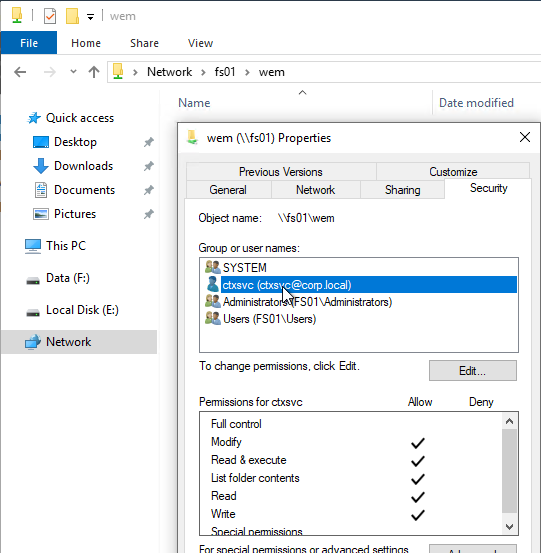
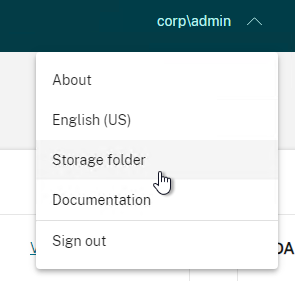
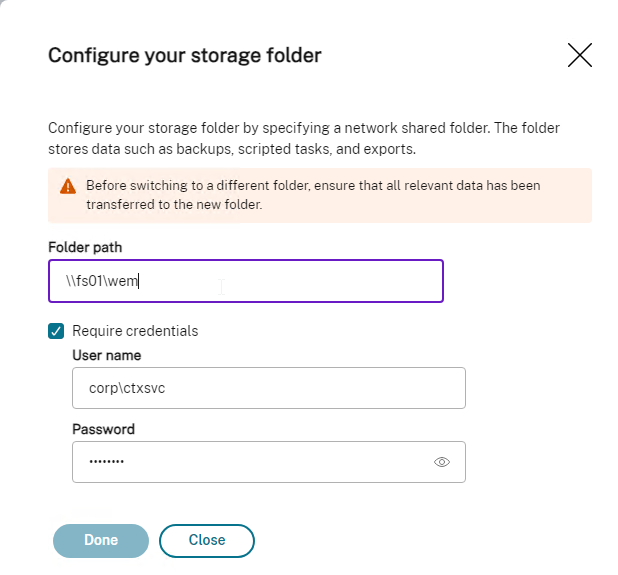
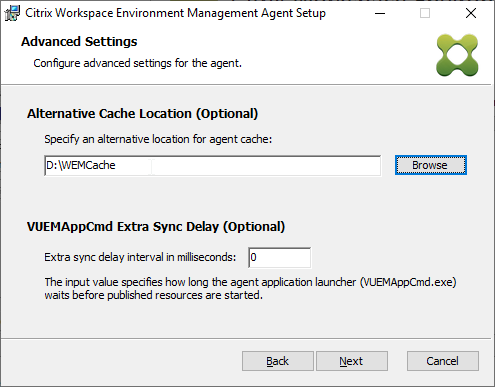
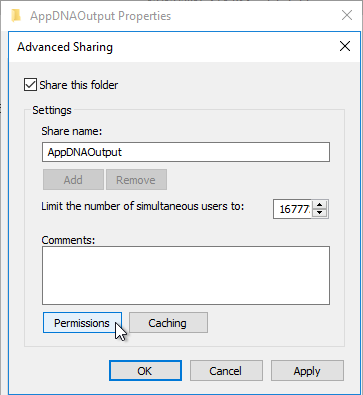
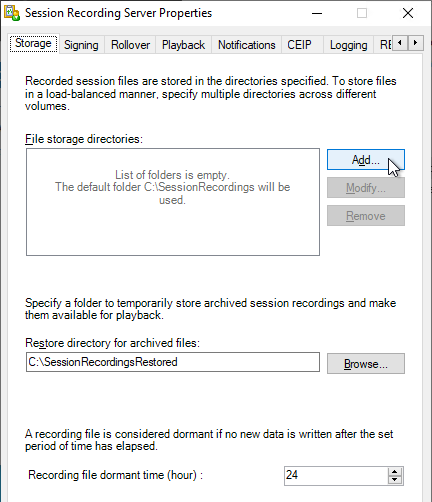
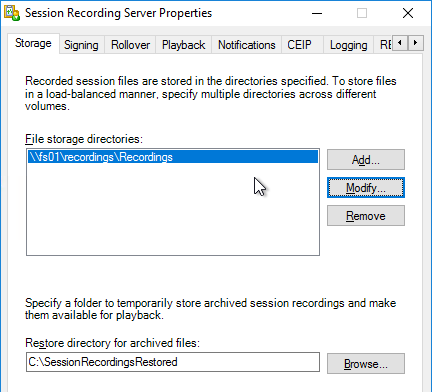
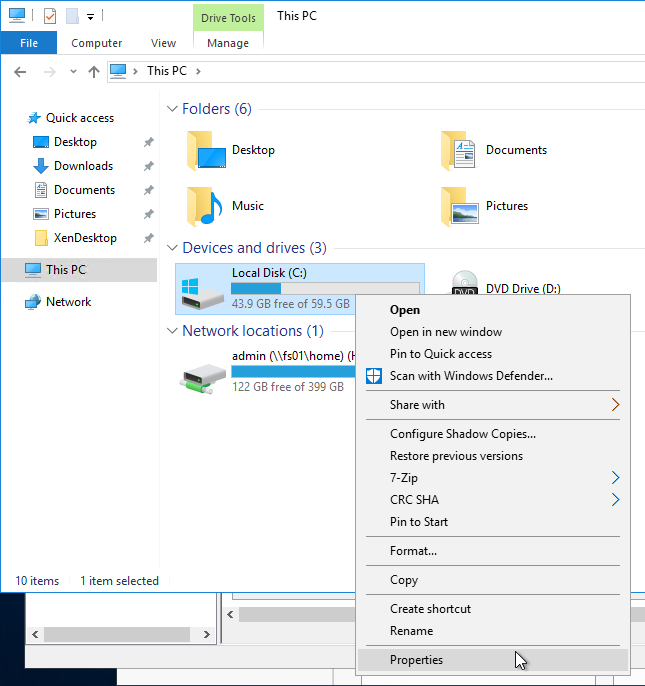
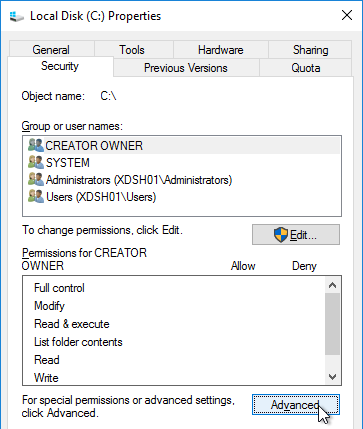
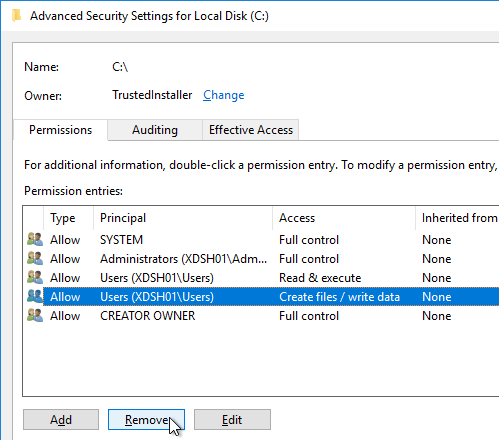
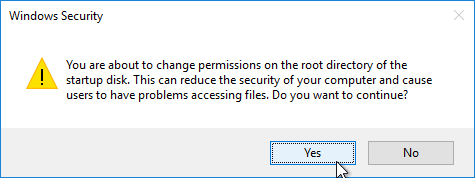
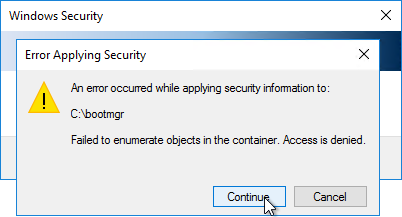
- In the Storage tab, specify a path that has disk space to hold the recordings. UNC is supported. If load balancing, UNC is required. Azure Files is an option in Session Recording 2103 and newer.
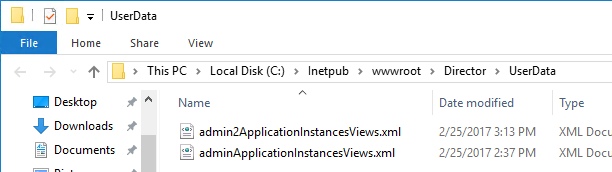
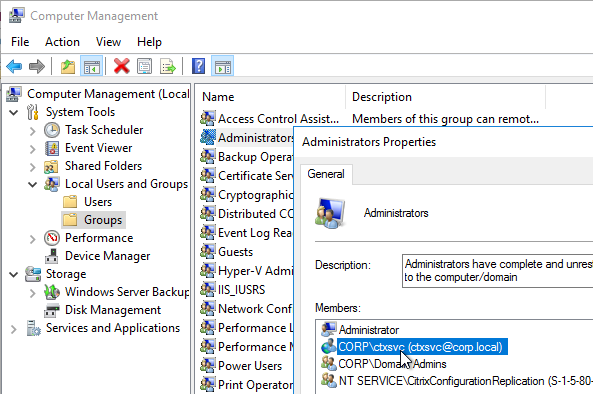
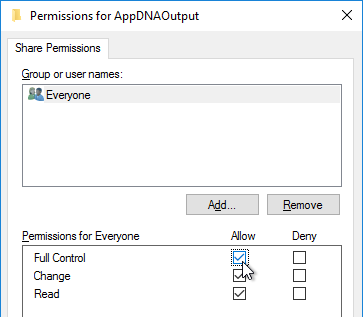
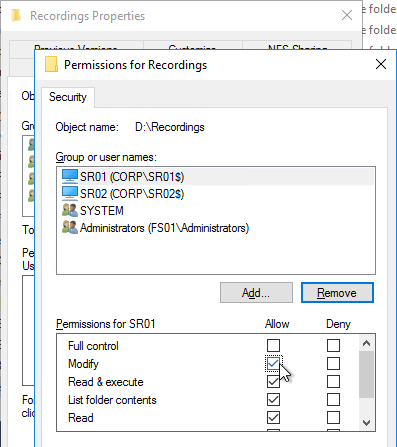
- When using a UNC path, all Session Recording servers (AD computer objects) need modify access.
- The share must have a subfolder. The recordings will be saved to the subfolder.
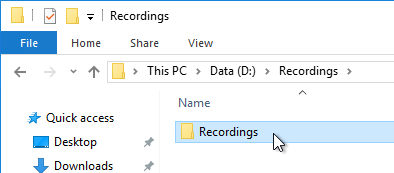
- In the Session Recording Server Properties tool, add the UNC path with subdirectory to the Storage tab.
- When using a UNC path, all Session Recording servers (AD computer objects) need modify access.
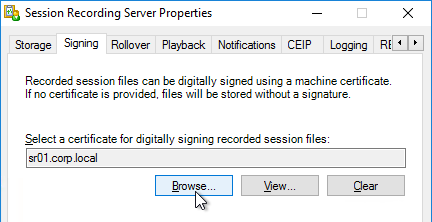
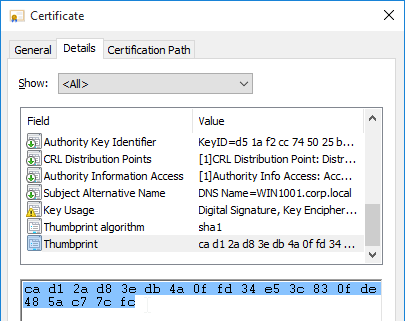
- In the Signing page, select (Browse) a certificate to sign the recordings.
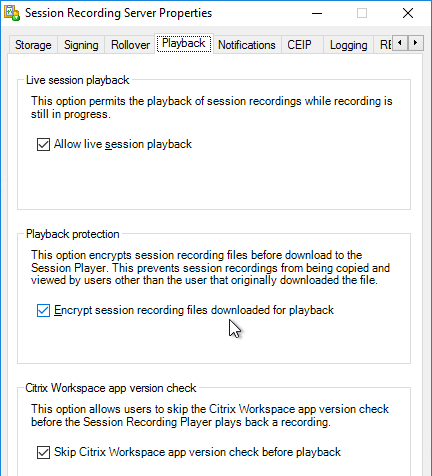
- In the Playback tab, notice that Session Recording files are encrypted before transmit. Also, it’s possible to view live sessions but live sessions are not encrypted.
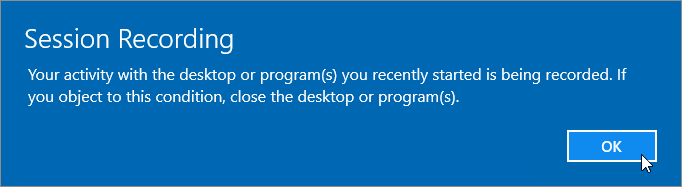
- In the Notifications tab, you can change the message displayed to users before recording begins. Session Recording 2311 and newer have an option to Allow end user to deny recording of their session.

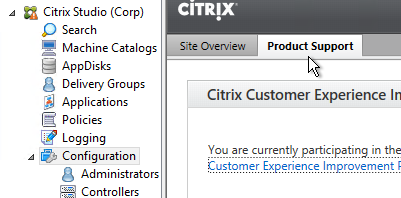
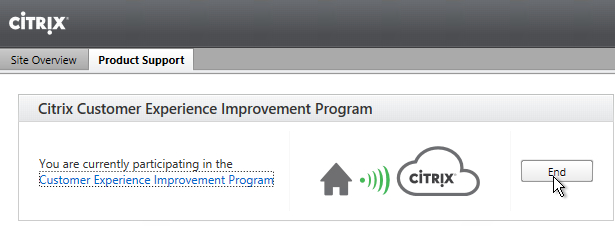
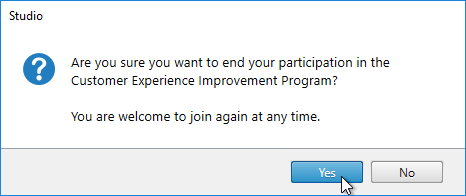
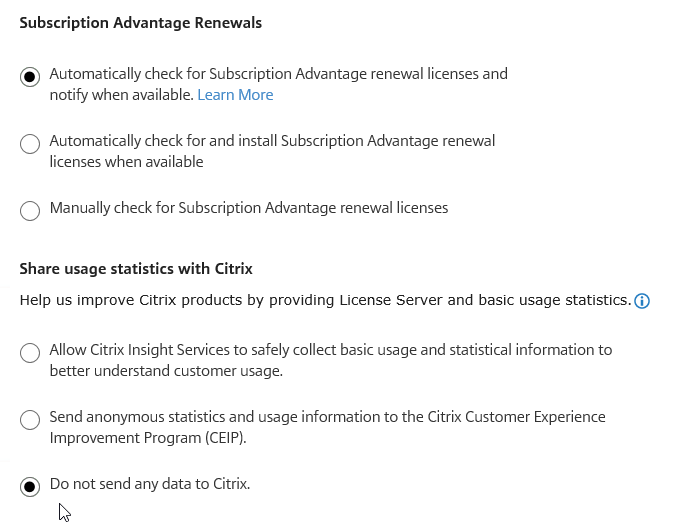
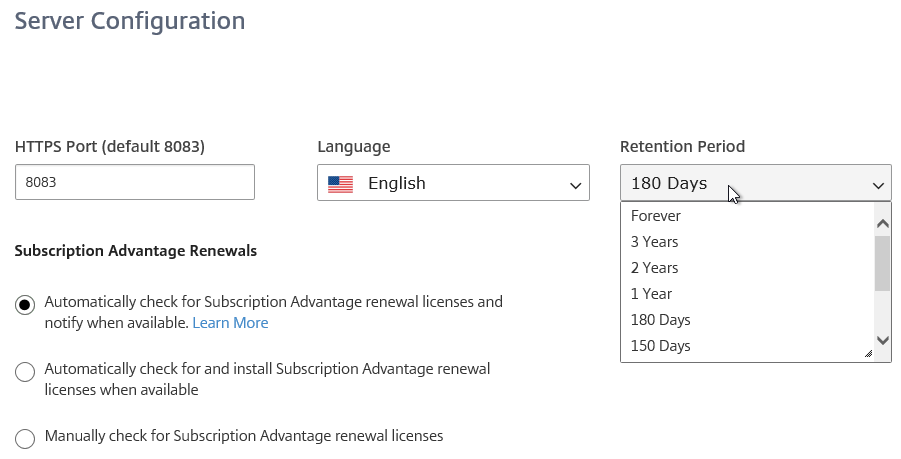
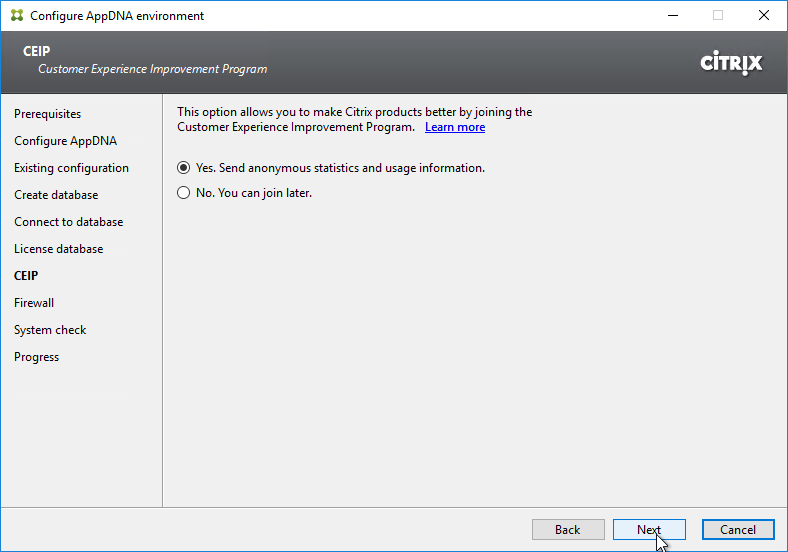
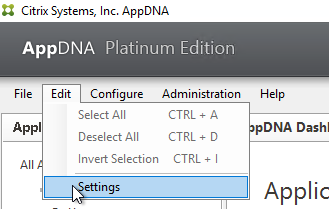
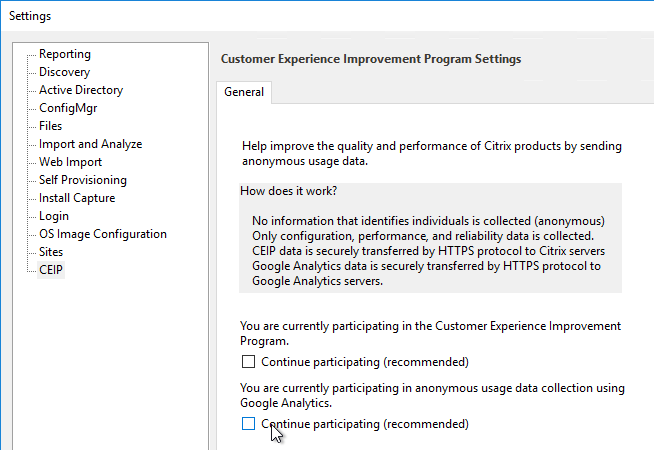
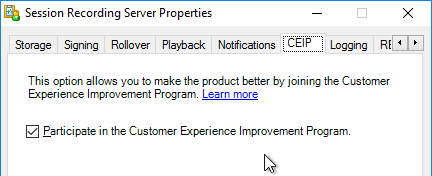
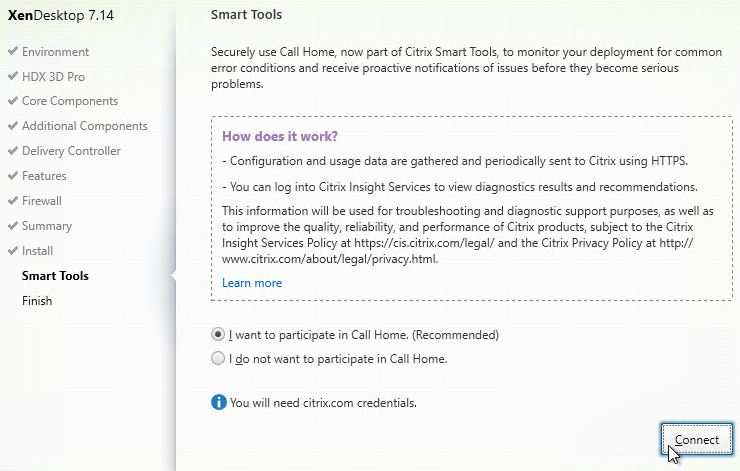
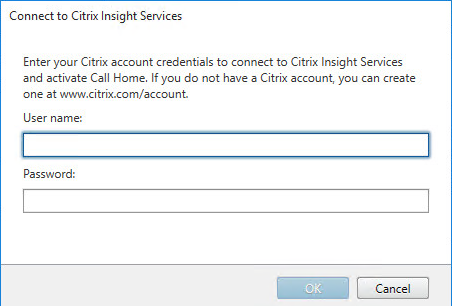
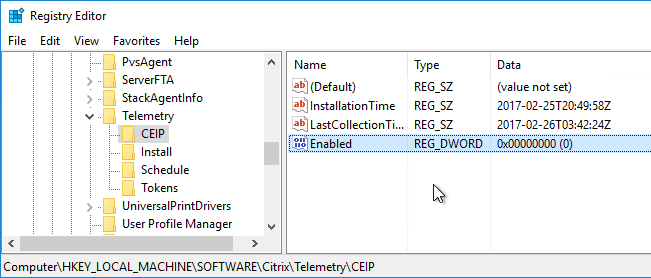
- The CEIP tab lets you enable or disable the Customer Experience Improvement Program.
- See https://www.carlstalhood.com/delivery-controller-cr-and-licensing/#ceip for additional places where CEIP is enabled.
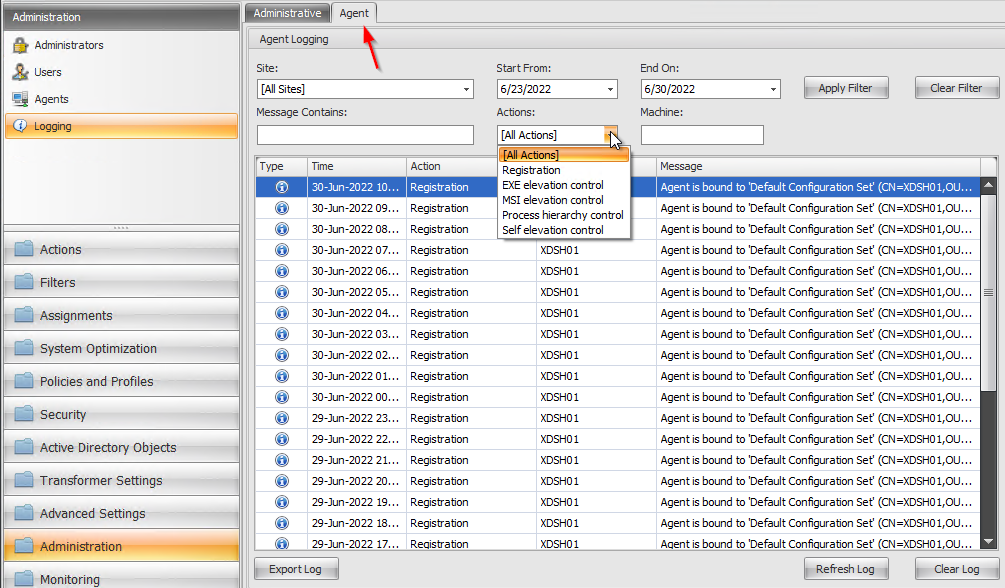
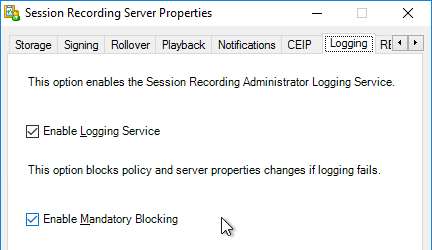
- The Logging tab lets you configure Logging.
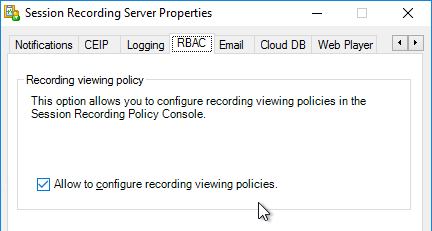
- The RBAC tab lets you enable Recording Viewing Policies.
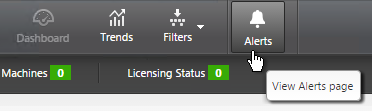
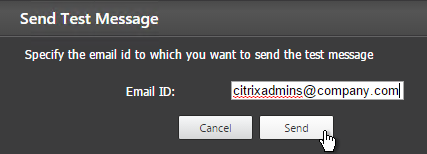
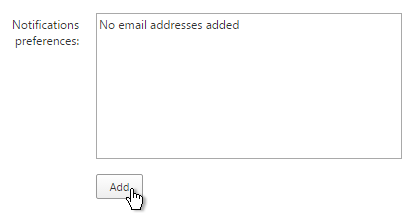
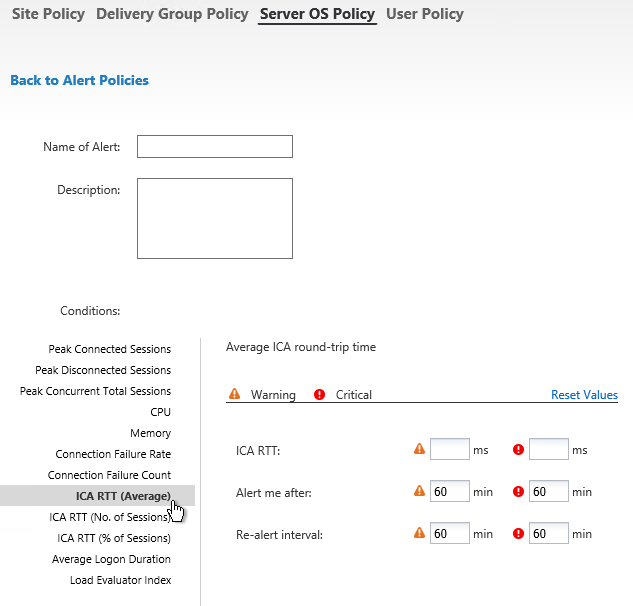
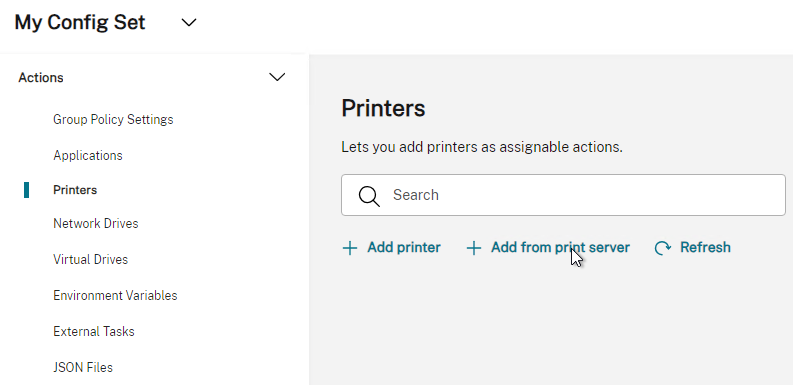
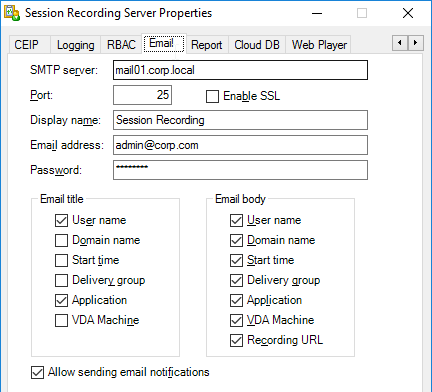
- The Email tab is for Email Alert Policies.
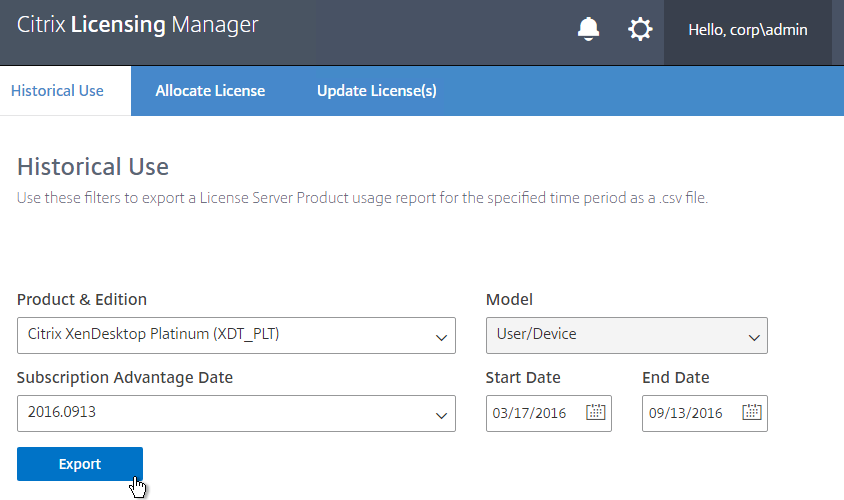
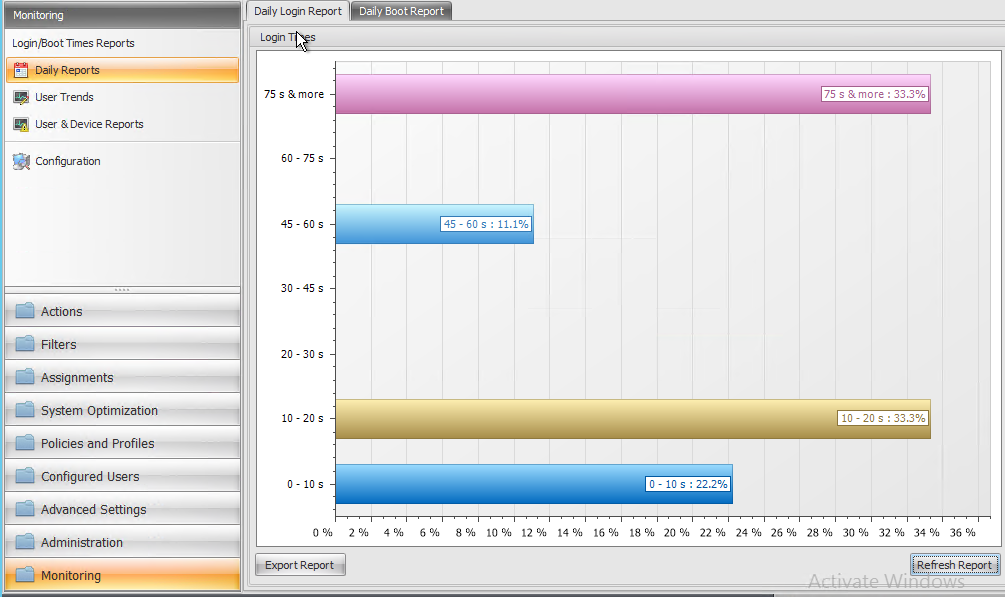
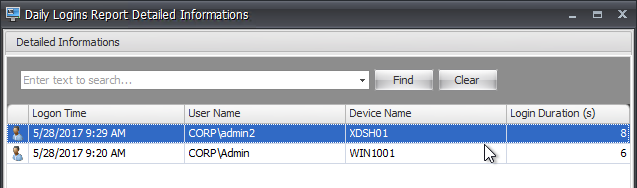
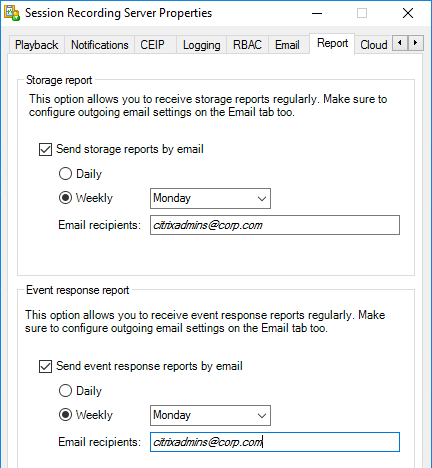
- Session Recording 2206 adds the Report tab, which lets you schedule weekly reports with statistics on screen recordings: Total size of all recordings; Storage Usage per day; and number of sessions recorded per day. Session Recording 2311 can Send event response reports by email.
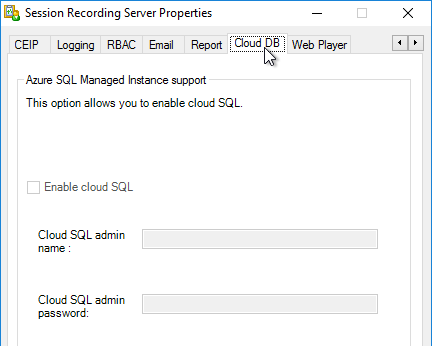
- The Cloud DB tab lets you store the Recording database in Azure SQL.
- Web Player tab lets you hide recordings in Web Player unless the user received a URL in an Email Alert Policy.

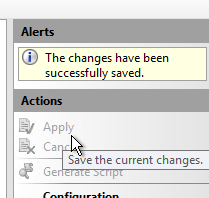
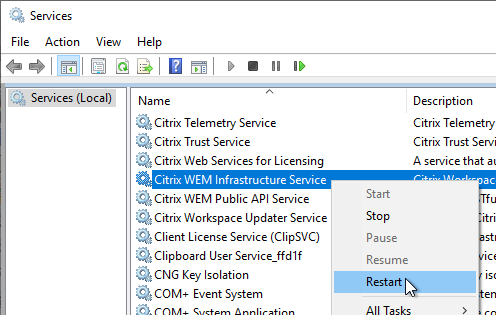
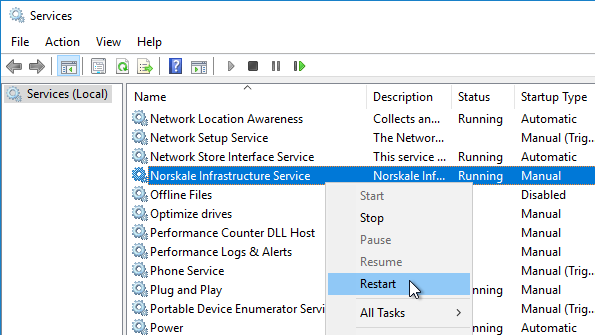
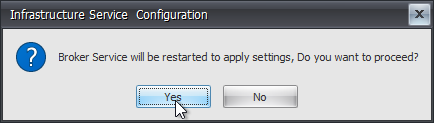
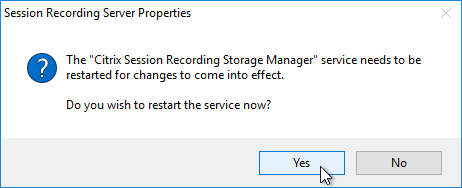
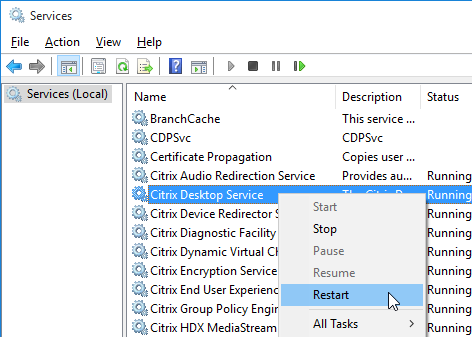
- When you click OK, you’ll be prompted to restart the service.
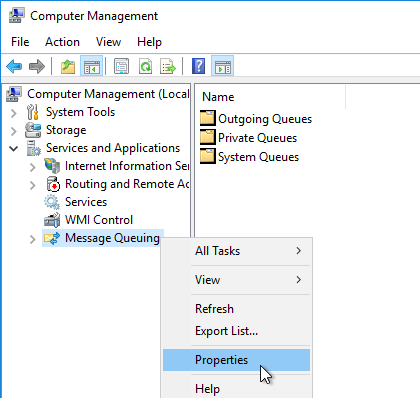
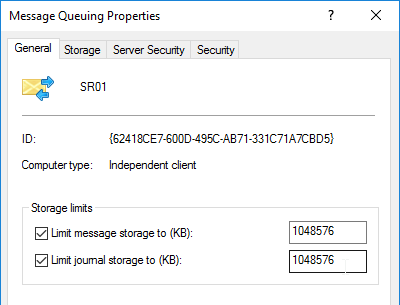
- Session Recording relies on Message Queuing. In busy environments, it might be necessary to increase the Message Queuing storage limits. See CTX209252 Error: “Data lost while recording file…” on Citrix SmartAuditor.
David Ott Session Recording Cleanup Script: You may notice that the session recording entries/files don’t go away on their own. Here is how to clean them up. Just create a scheduled task to run the code below once per day (as system – elevated). See David’s blog post for details.
C:\Program Files\Citrix\SessionRecording\Server\Bin\icldb.exe remove /RETENTION:7 /DELETEFILES /F /S /L
Session Recording 2303 and newer support the RELOCATE parameter to the IMPORT command and the FILTER parameter to the ARCHIVE and REMOVE commands of the ICLDB utility. See CTX134777 How To Remove Old Session Recording Files From File Server And Database and Citrix Docs Manage Recordings.
Load Balancing
Note: Session Recording load balancing was removed from 7.15 LTSR but added back in 7.16 and newer.
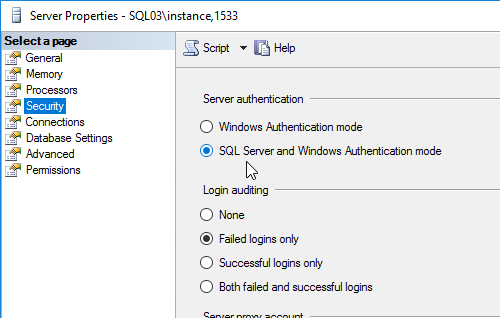
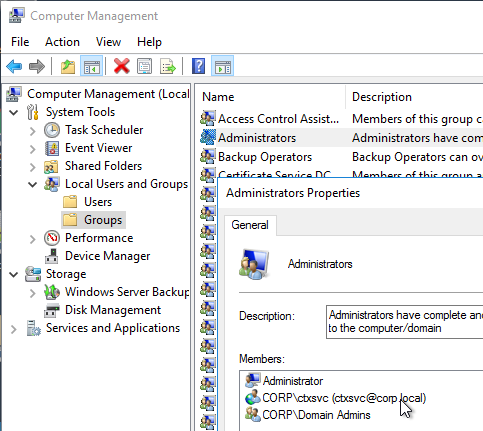
- In SQL Server Management Studio, make sure each load balanced Session Recording server (AD computer account) is granted db_owner role in the Session Recording databases.
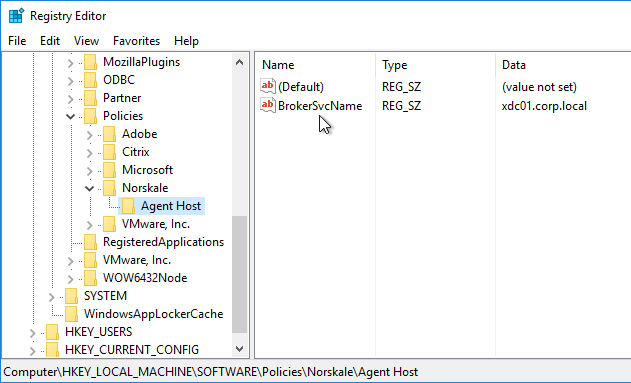
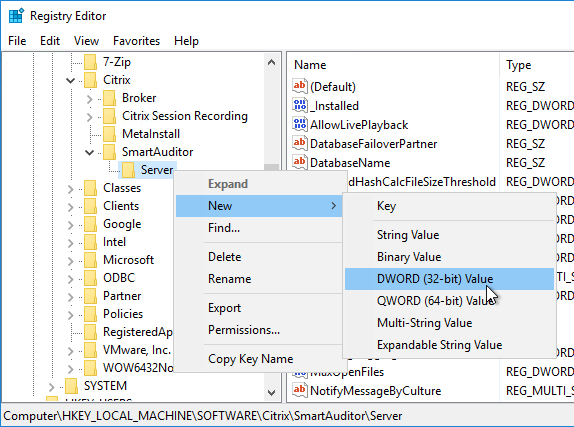
- On each Session Recording server, open regedit.
- Navigate to HKLM\Software\Citrix\SmartAuditor\Server.
- Create a new DWORD value named EnableLB and set it to 1. Repeat on both Session Recording servers.

- Configure Citrix ADC load balancing as detailed at Citrix Docs. Load balance ports 80, 1801, 22334, and 443.
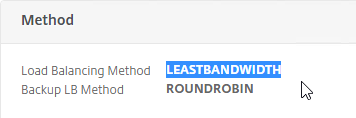
- The 443 vServer Load Balancing Method should be set to LEASTBANDWIDTH (or LEASTPACKETS).
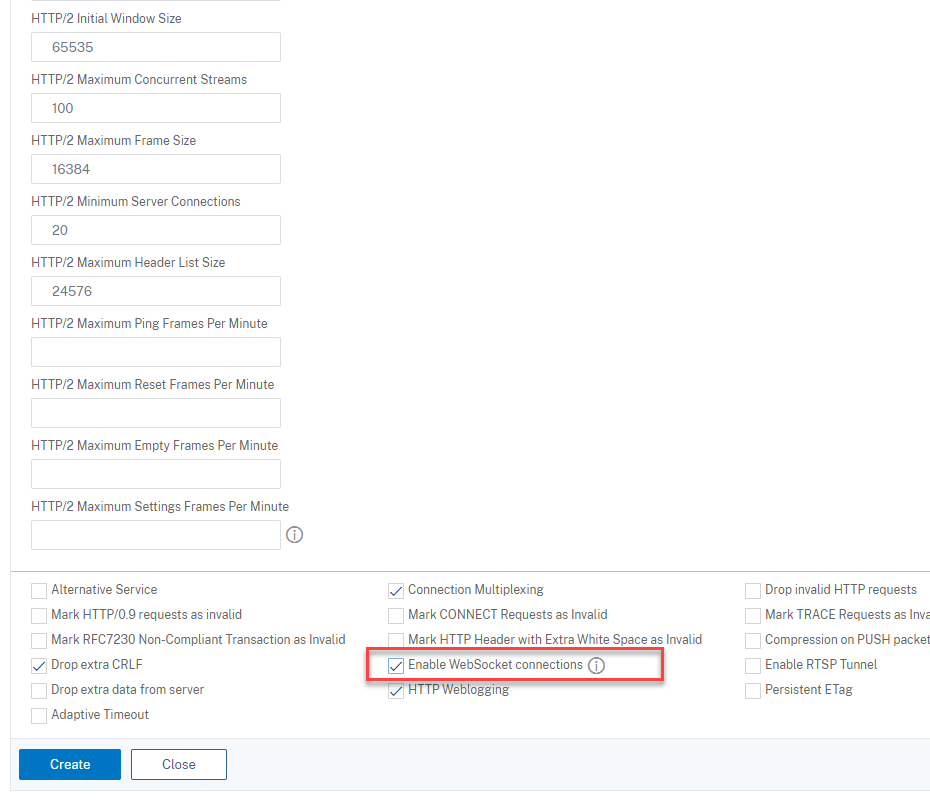
- The 22334 vServer needs WebSockets enabled in an HTTP profile.
- The 443 vServer Load Balancing Method should be set to LEASTBANDWIDTH (or LEASTPACKETS).
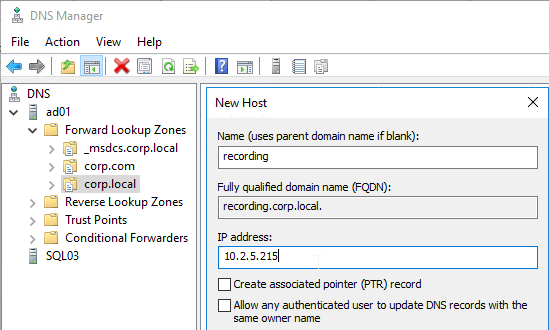
- Create a DNS host record that resolves to the Load Balancing VIP and matches the certificate bound to the vServer.
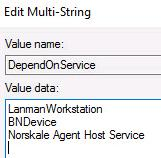
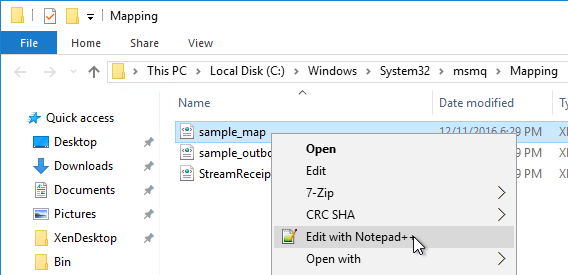
- Go to C:\Windows\System32\msmq\Mapping and edit the file sample_map.xml.
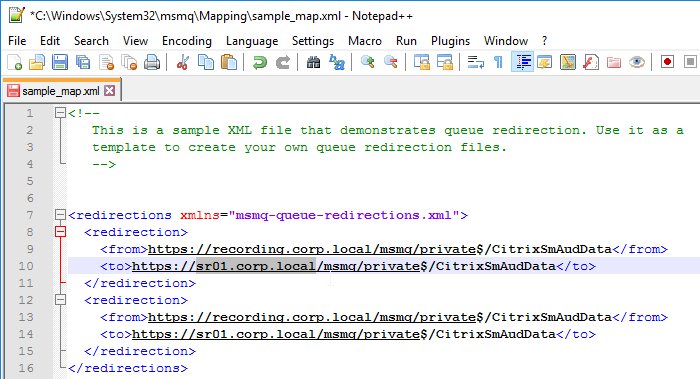
- Follow the instructions at Configure Session Recording with load balancing at Citrix Docs. Each Session Recording server has a unique configuration for this file since the <to> element points to the local server name.
- When saving the file, you might have to save it to a writable folder, and then move it to C:\Windows\System32\msmq\Mapping.
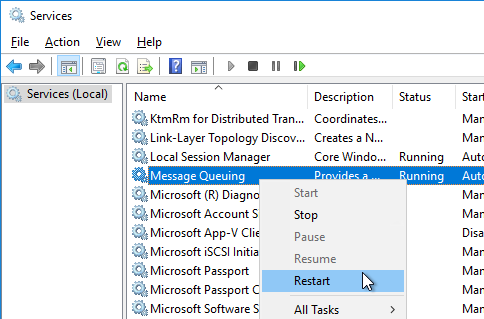
- Then restart the Message Queuing service on each Session Recording server.
- C:\Program Files\Citrix\SessionRecording\Scripts\SrServerConfigurationSync.ps1 can export configurations from this Server registry and import the registry to the other Session Recording Server registries. You can also use the SrServerConfigurationSync.ps1 script to add redirection mapping for message queuing. See Citrix Docs for details.
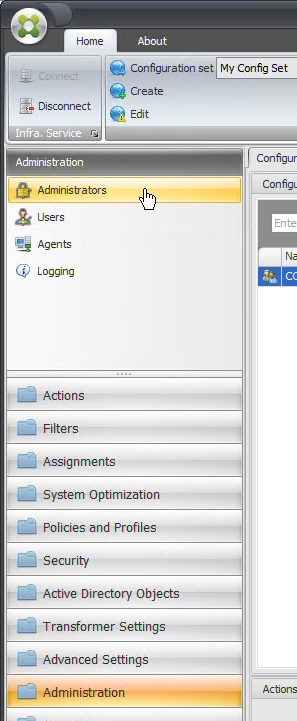
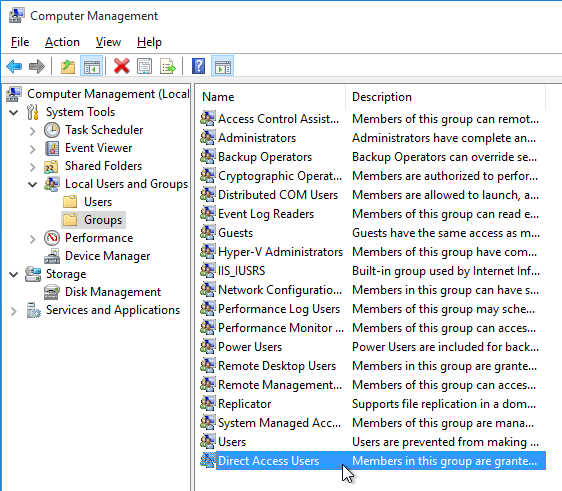
Authorization
Authorization is configured separately on each load balanced Session Recording server.
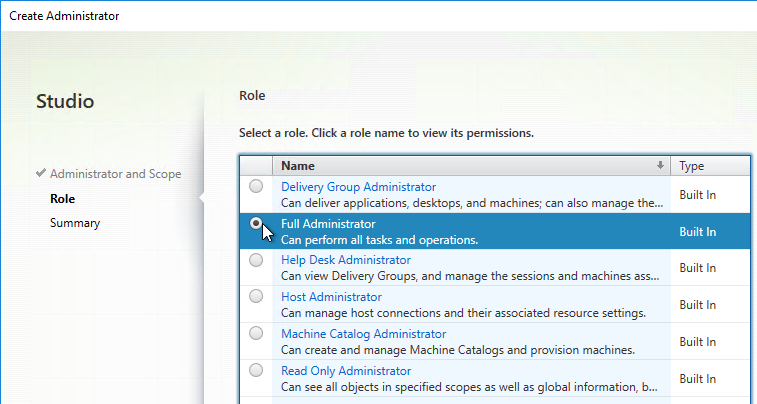
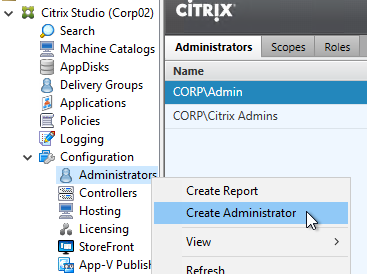
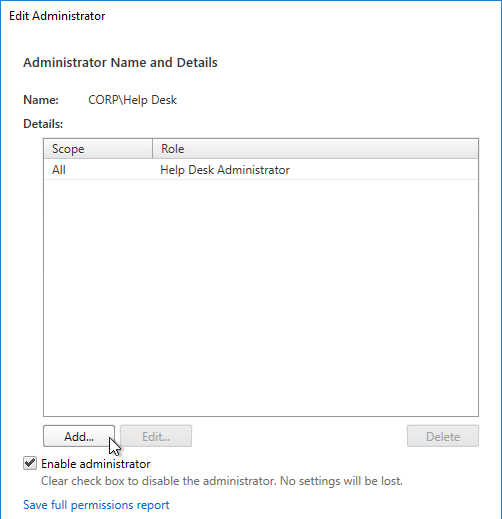
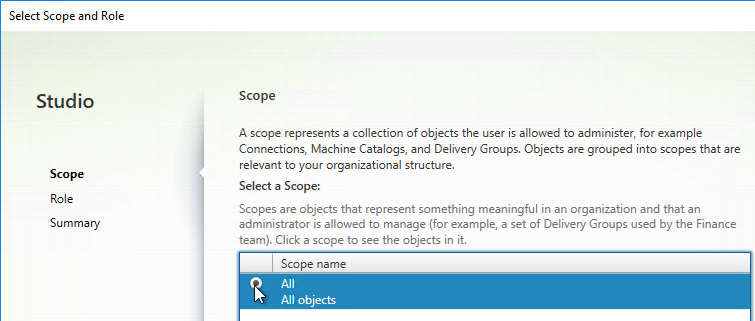
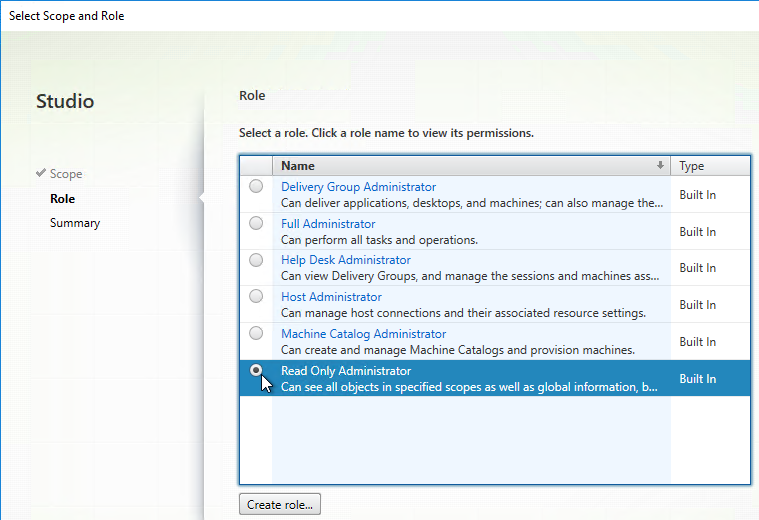
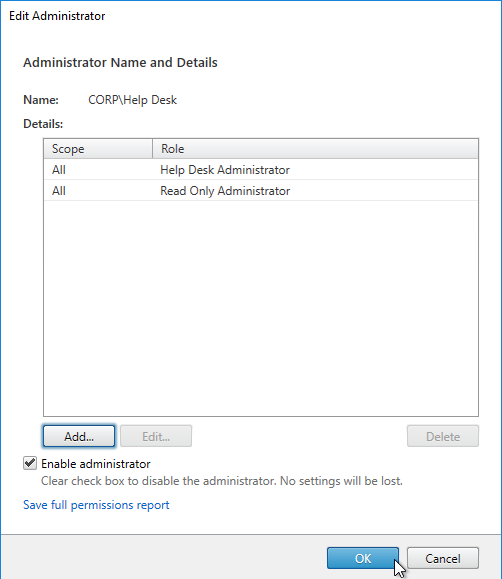
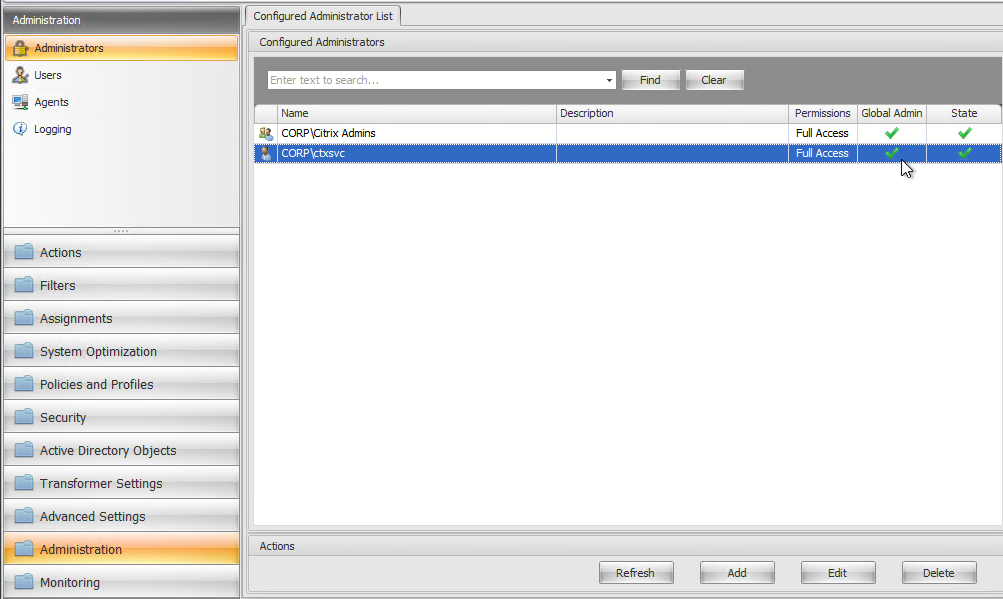
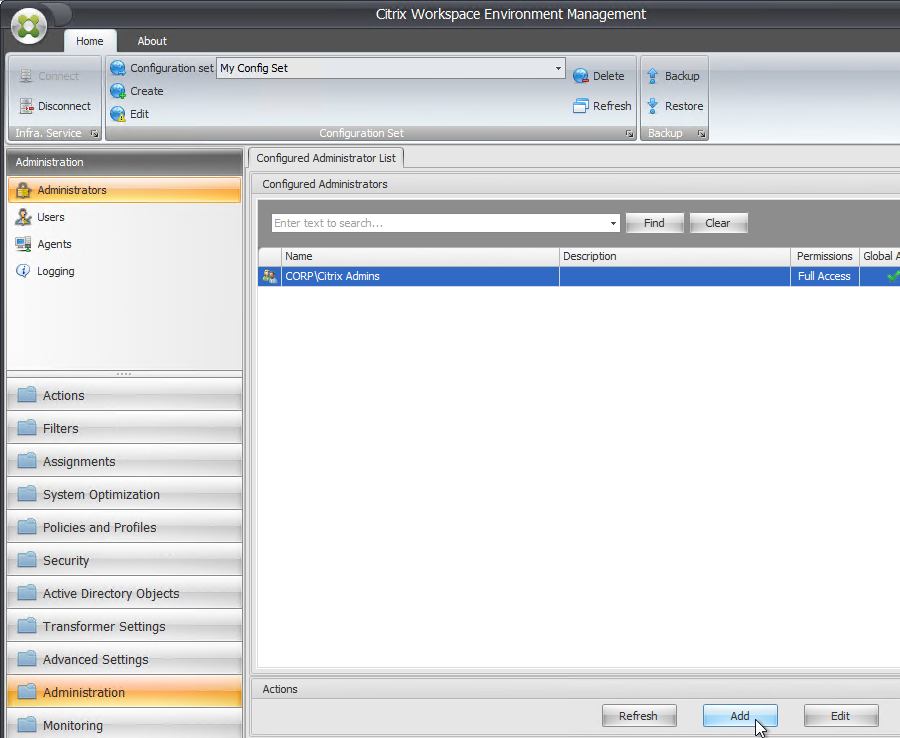
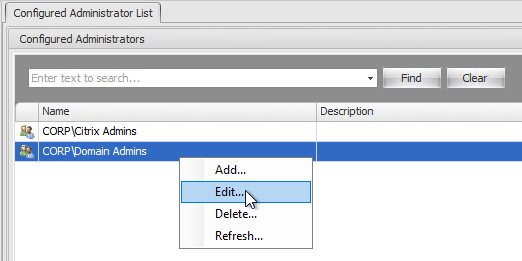
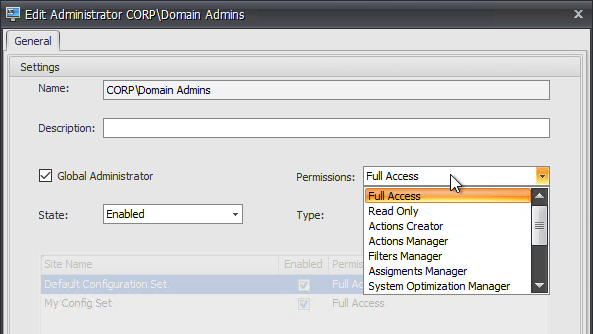
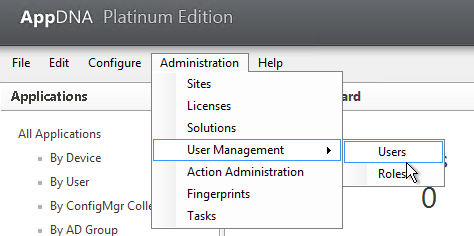
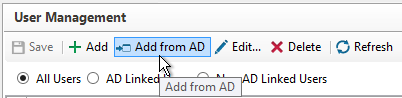
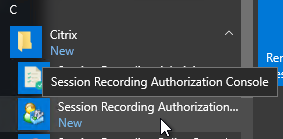
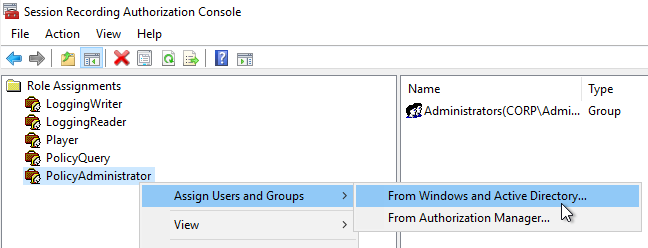
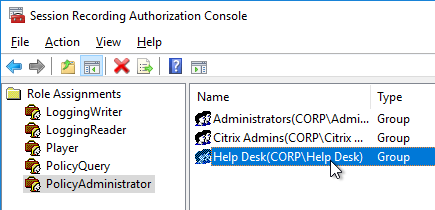
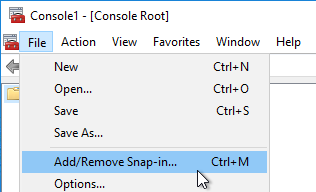
- From the Start Menu, run Session Recording Authorization Console.
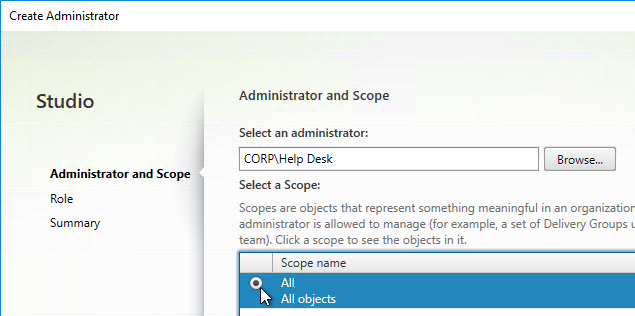
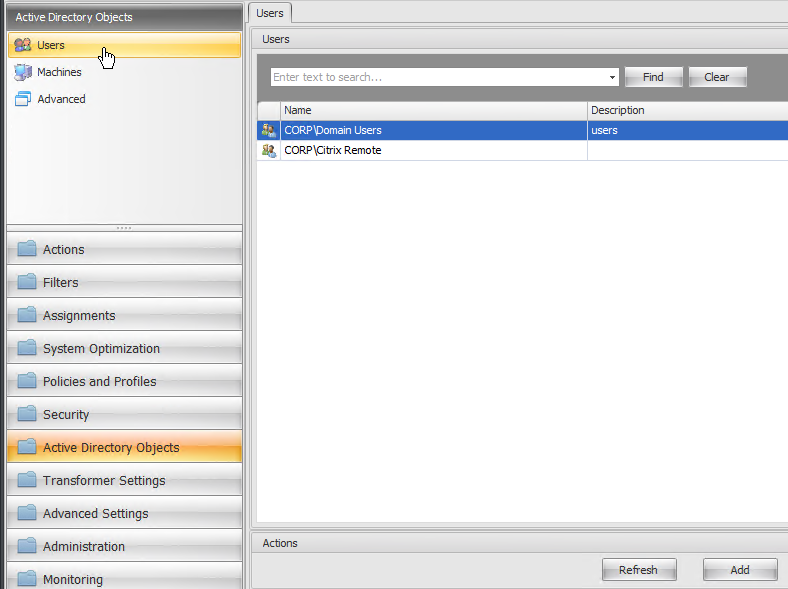
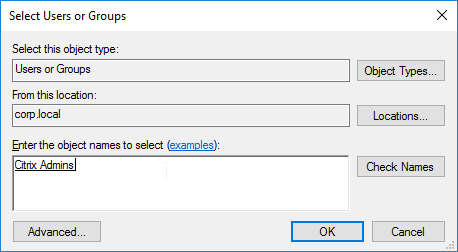
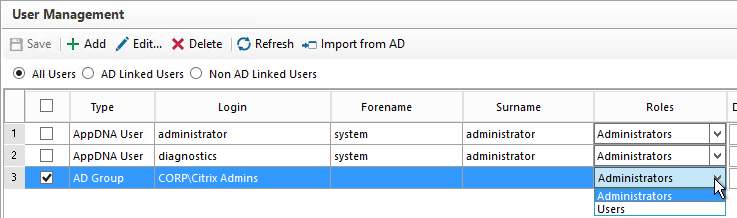
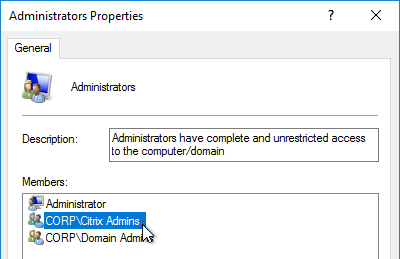
- Right-click the PolicyAdministrator role, expand Assign Users and Groups, click From Windows and Active Directory and then add your Citrix Admins group.
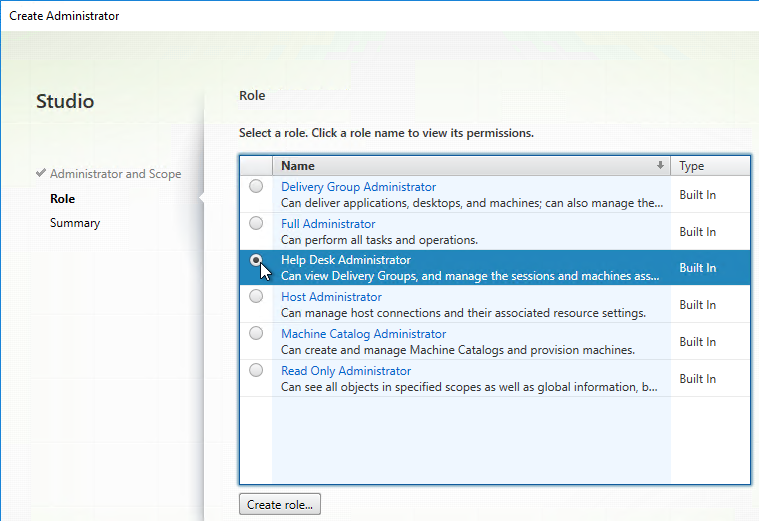
- If you use Director to configure Session Recording, add the Director users to the PolicyAdministrator role.
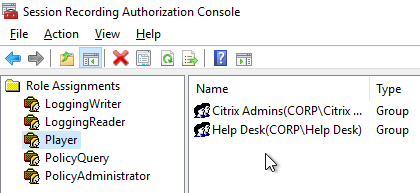
- In the Player role, add users that can view the recordings.
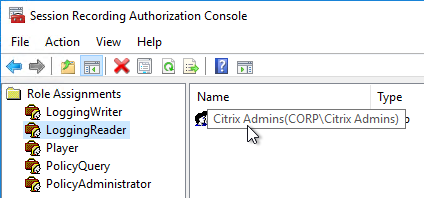
- By default, nobody can see the Administration Log. Add auditing users to the LoggingReader role.
- Repeat the authorization configuration on additional load balanced Session Recording servers.
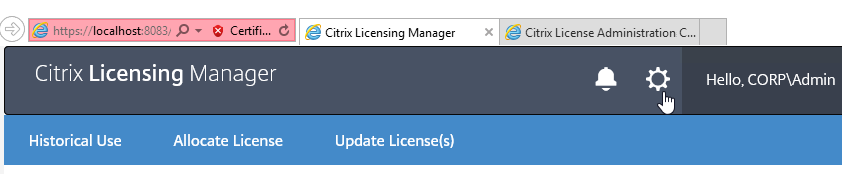
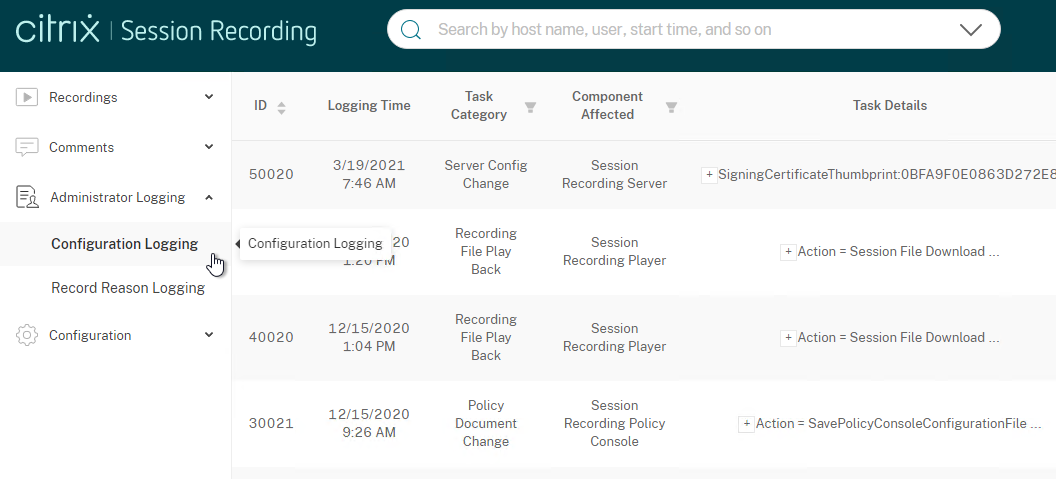
- In Session Recording 2009 and newer, if you open WebPlayer (https://SRFQDN/WebPlayer), you can see the Administrator Logging. Only members of the LoggingReader role can see the data.
- In older versions of Session Recording, opens the webpage https://SR01.corp.local/SessionRecordingLoggingWebApplication/. Only members of the LoggingReader role can see the data.
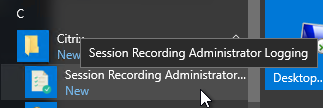
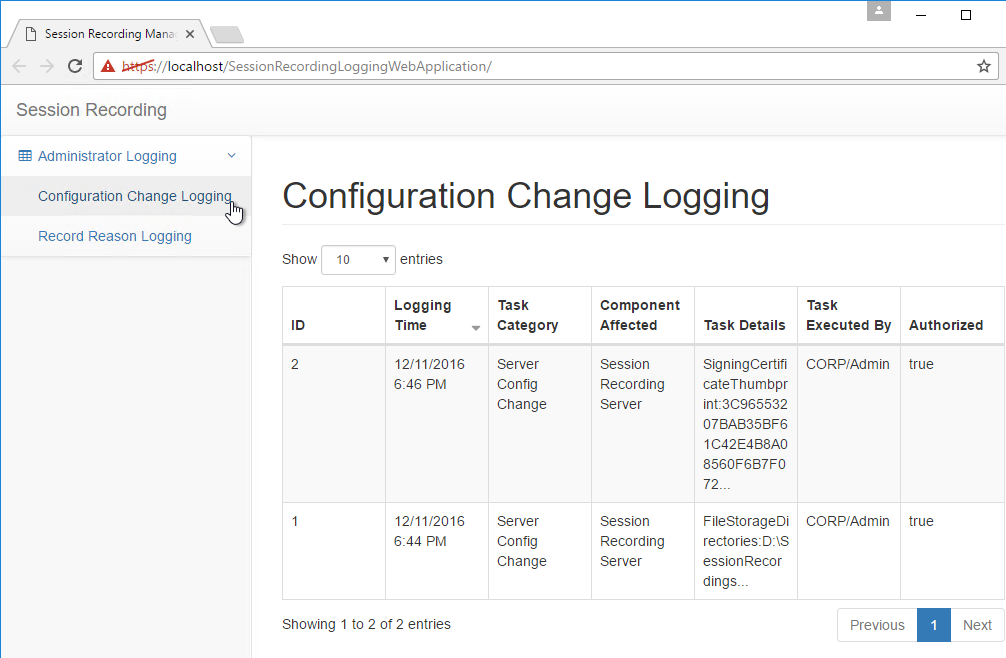
- In older versions of Session Recording, opens the webpage https://SR01.corp.local/SessionRecordingLoggingWebApplication/. Only members of the LoggingReader role can see the data.
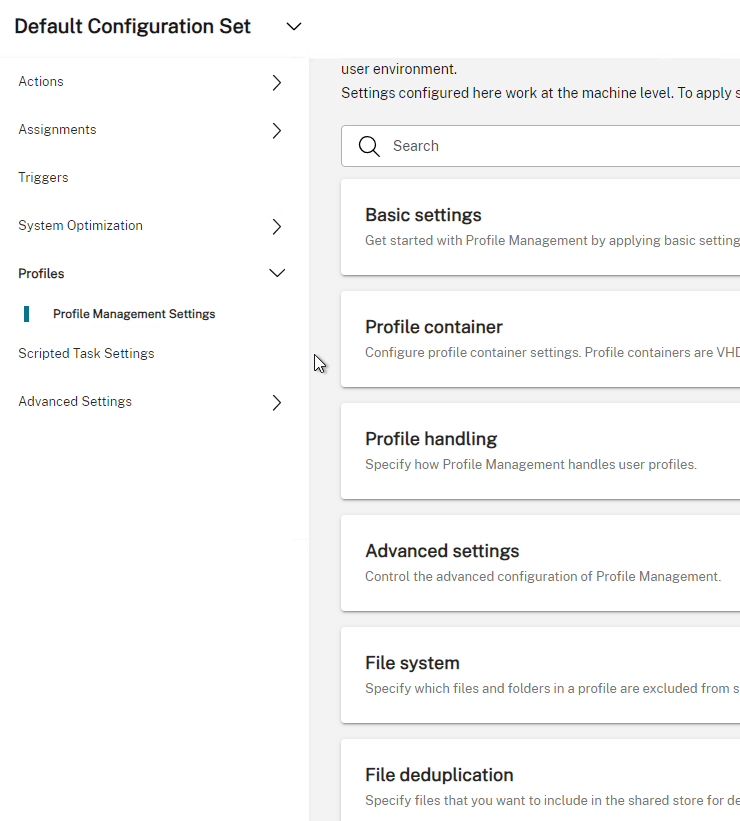
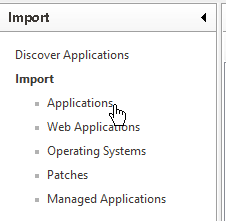
Recording Policies
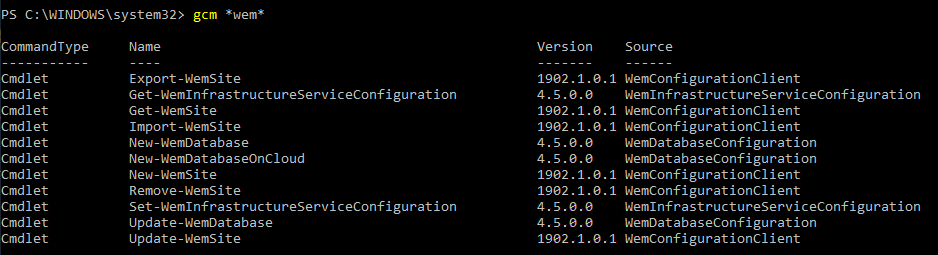
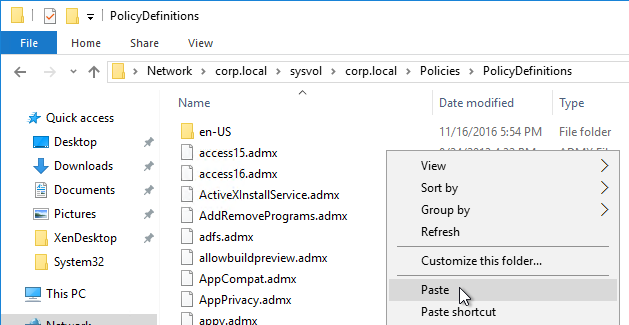
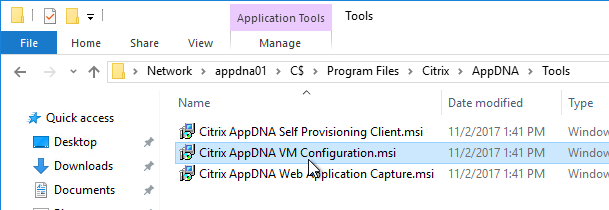
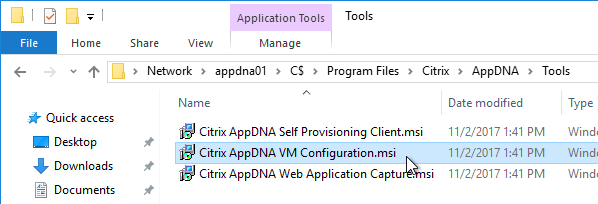
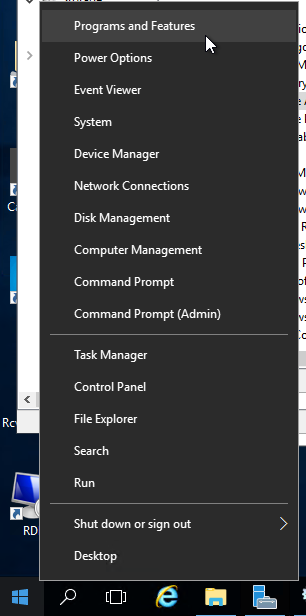
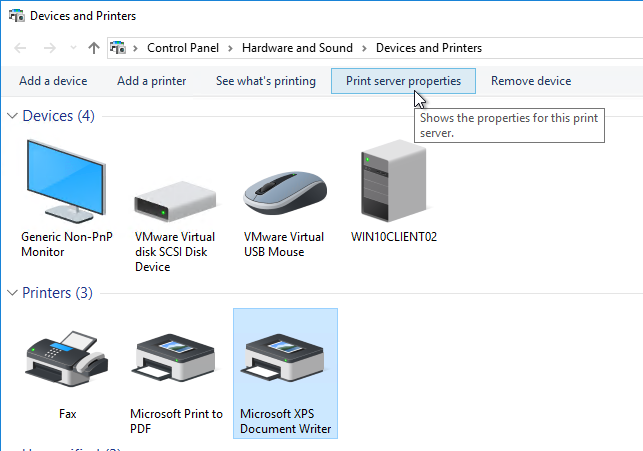
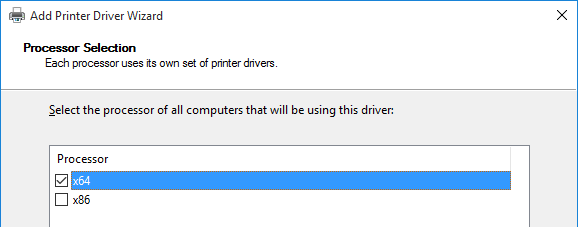
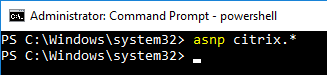
- Recording Policies can be configured to apply only specific Delivery Groups. To enumerate the Delivery Groups, on your Session Recording server, install Broker_PowerShellSnapIn_x64.msi, which is located under \x64\Citrix Desktop Delivery Controller on the CVAD ISO (e.g., CVAD 2402).

- You’ll need to update this snap-in whenever you update CVAD.
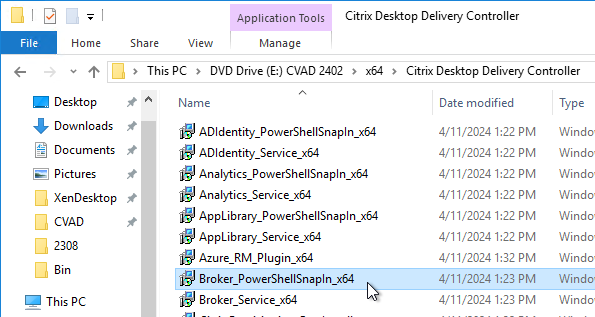
- You’ll need to update this snap-in whenever you update CVAD.
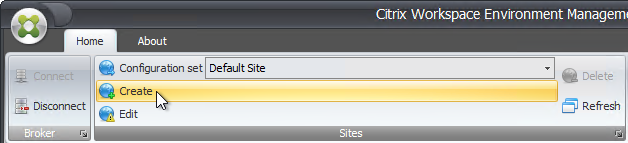
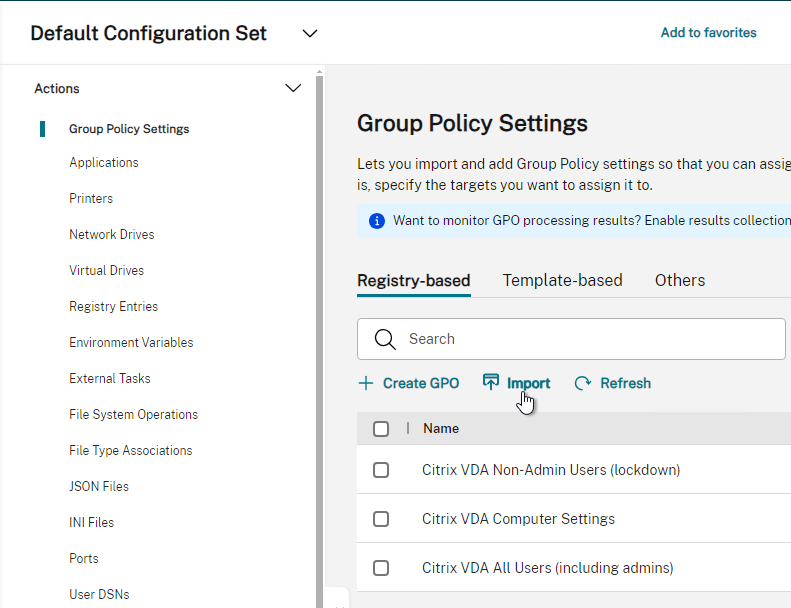
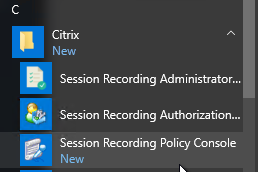
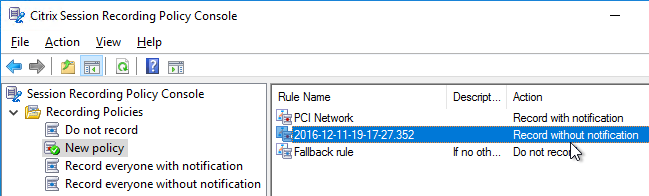
- From the Start Menu, run Session Recording Policy Console.
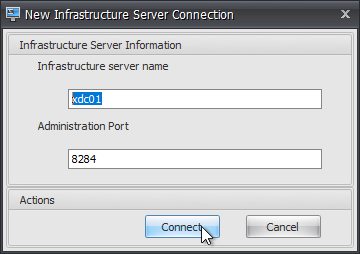
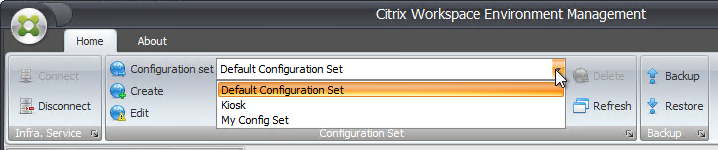
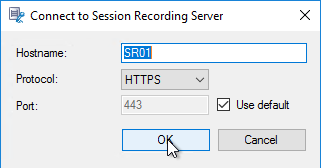
- Enter the hostname of the Session Recording server, and click OK.
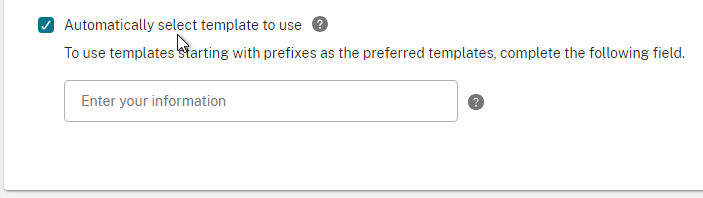
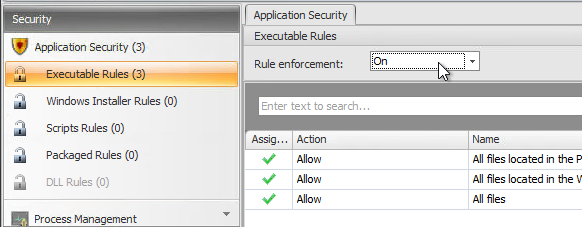
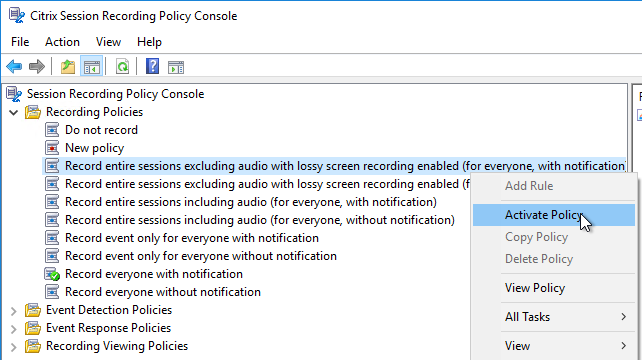
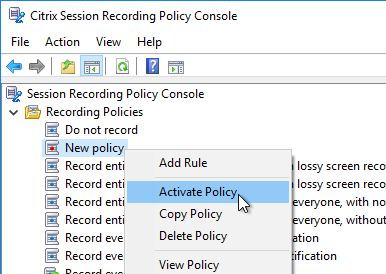
- Under Recording Policies, only one policy can be enabled at a time. By default, no recording occurs. To enable recording, right-click one of the built-in policies and click Activate Policy. Session Recording 2308 and newer have built-in policies to record audio.
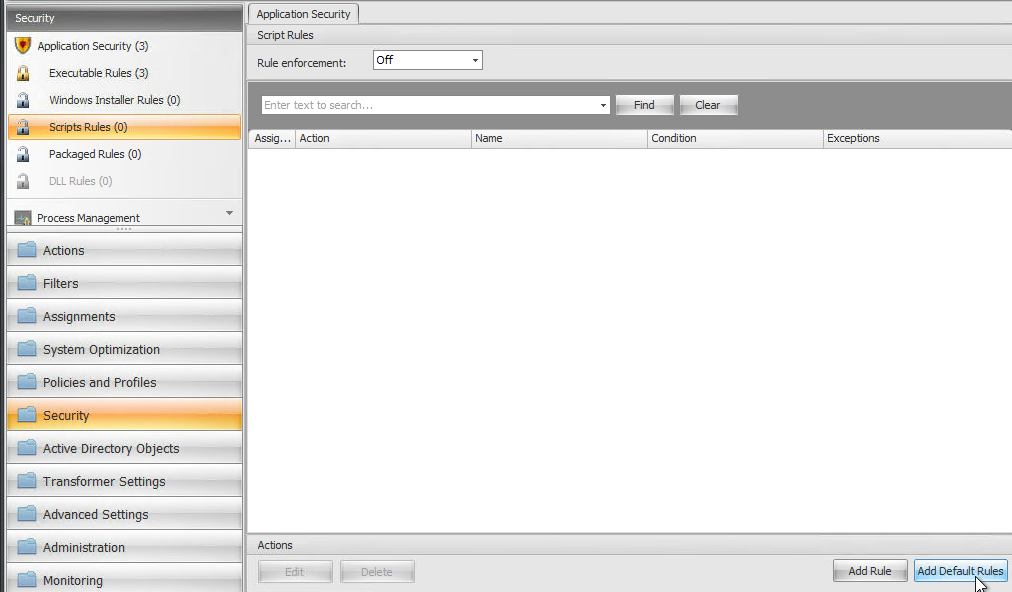
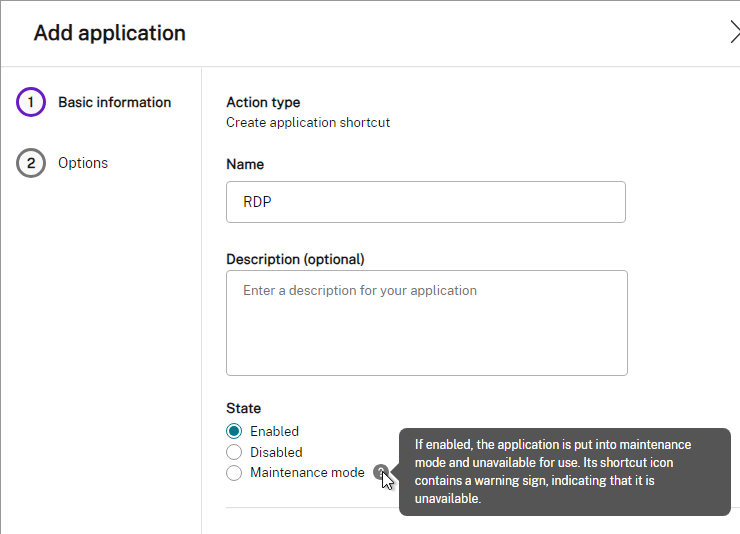
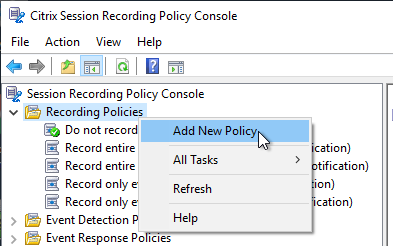
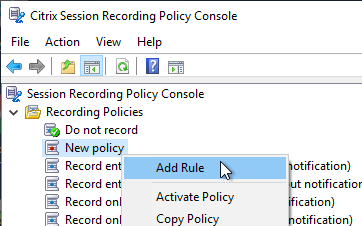
- Or you can create your own policy by right-clicking Recording Policies and clicking Add New Policy.
- After the policy is created, right-click it, and click Add Rule.
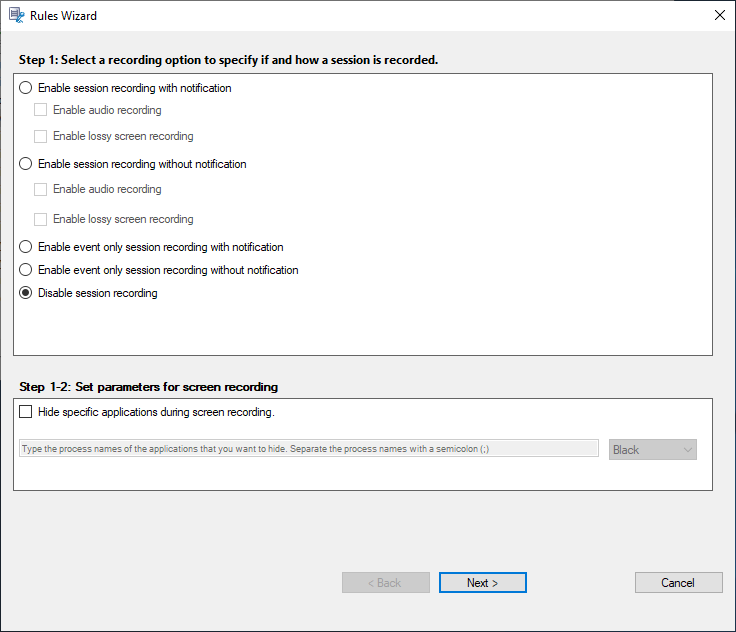
- Decide if you want notification or not. Decide if you want to record only events. Session Recording 2308 and newer have options to record audio and/or lossy screen recording. Session Recording 2311 and newer let you Hide specific applications during screen recording. Click Next.
- Event only recording is available in Session Recording 2106 and newer. In the Web Player, it looks something like this:
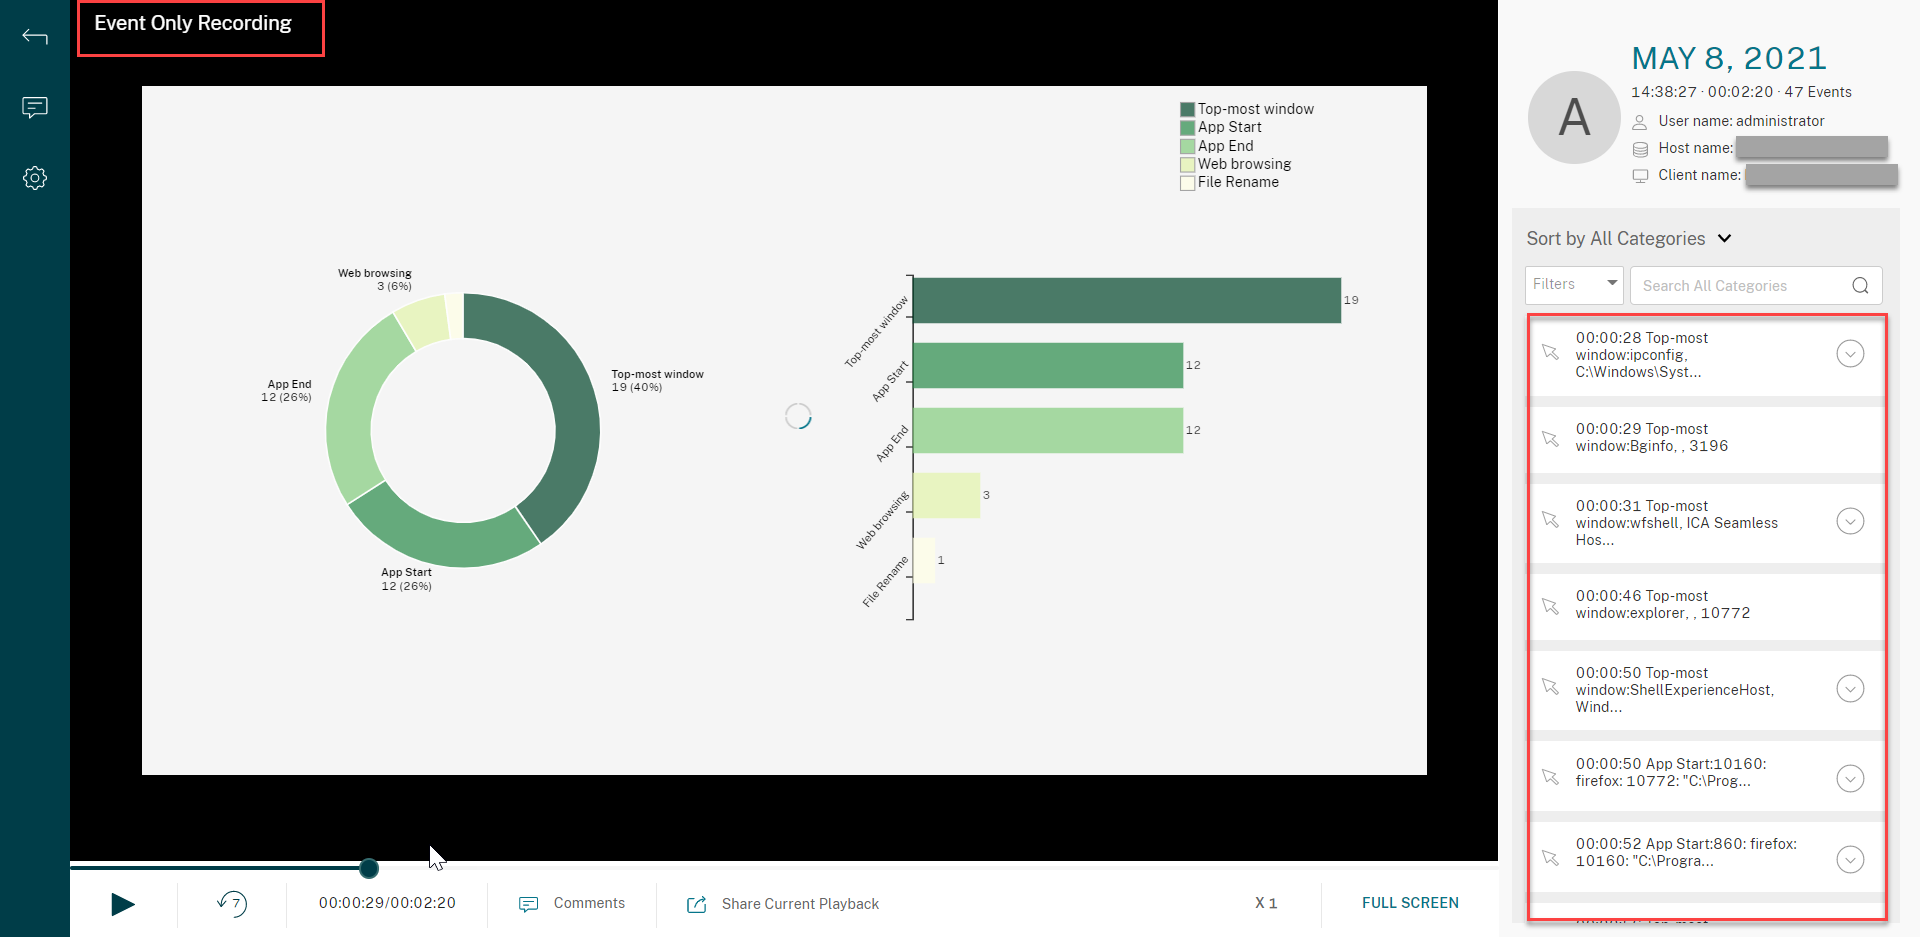
- Event only recording is available in Session Recording 2106 and newer. In the Web Player, it looks something like this:
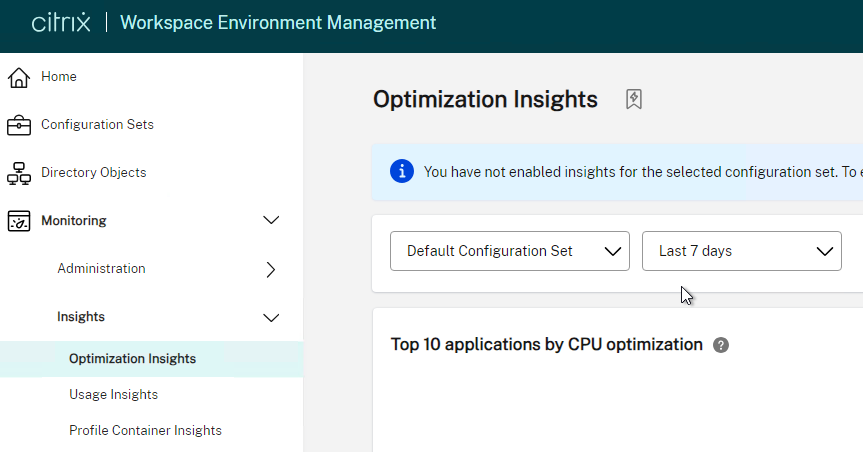
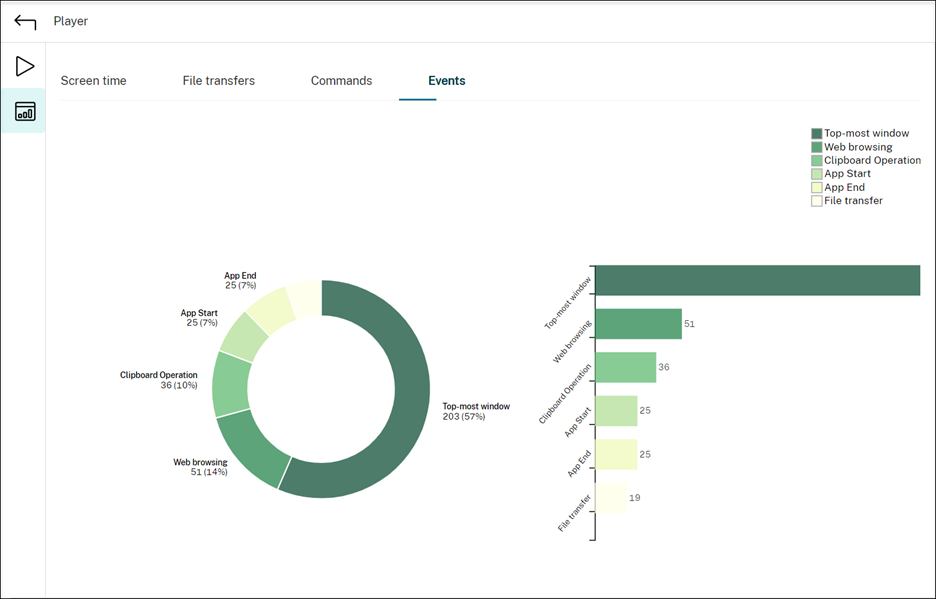
- Session Recording 2109 adds statistics to the Web Player. See View graphical event statistics at Citrix Docs.
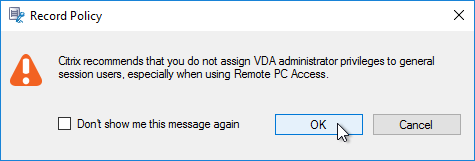
- Click OK to acknowledge this message.
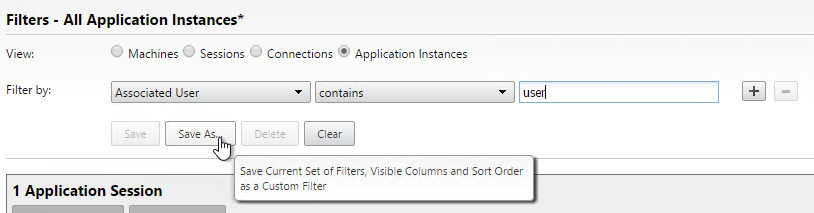
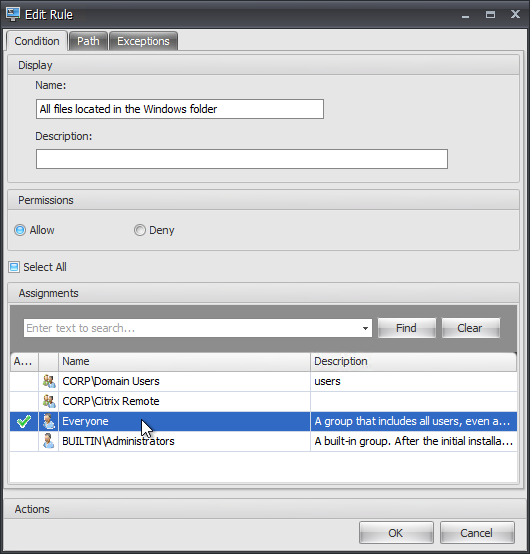
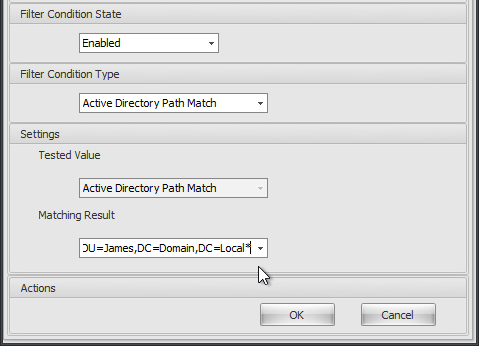
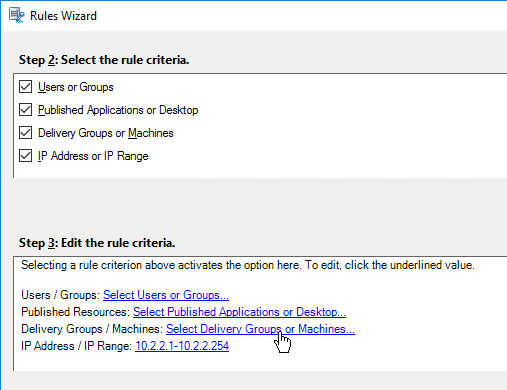
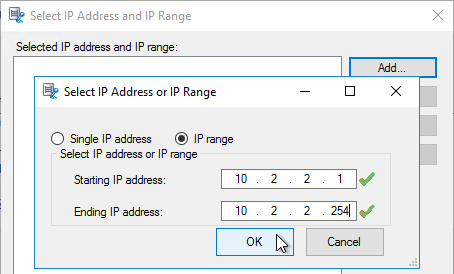
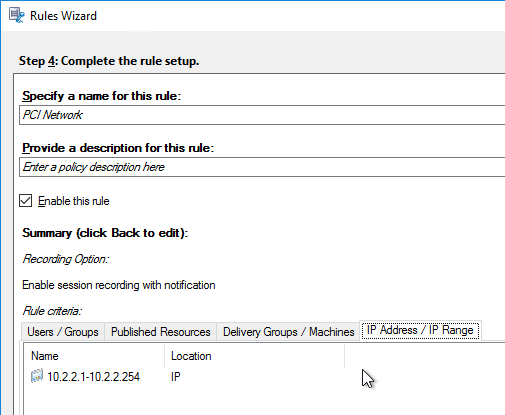
- Choose the rule criteria. You can select more than one. Session Recording has an IP Address or IP Range rule.
- Then click the links on the bottom specify the groups, applications, servers, and/or IP range for the rule.
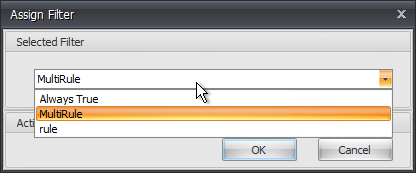
- Session Recording 2402 and newer have a Filter option where you can enter SmartAccess tags.
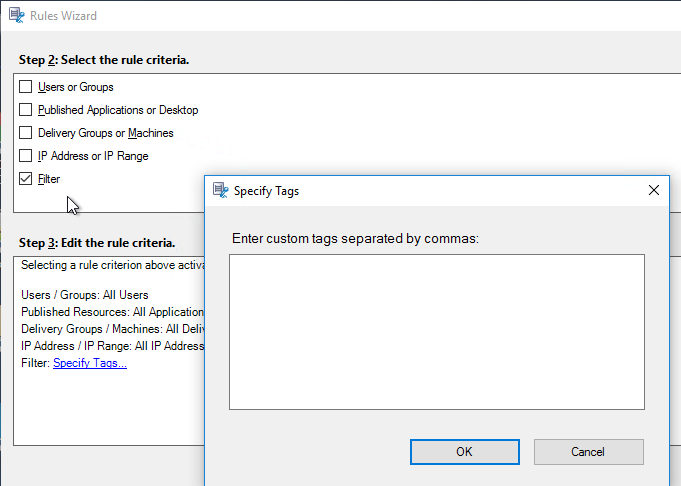
- Click Next.
- Give the rule a name and click Finish.
- Continue adding rules.
- When done creating rules, right-click the policy, and click Activate Policy.
- You can also rename the policy you created.

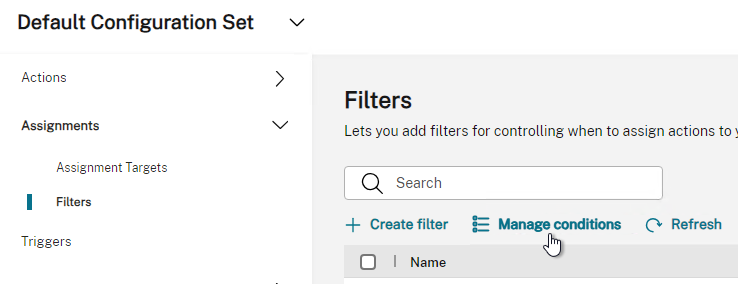
Recording Viewing Policies
Session Recording 1906 and newer support creating policies to limit whose recordings a viewer can see.
- On Session Recording servers 1909 and newer, open Session Recording Server Properties, switch to the tab named RBAC, and check the box next to Allow to configure recording viewing policies.
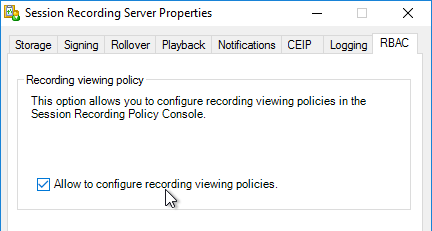
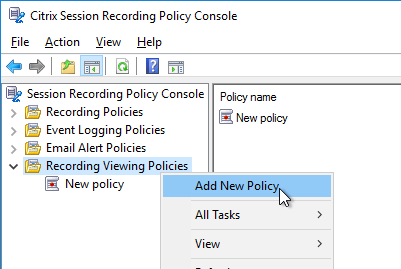
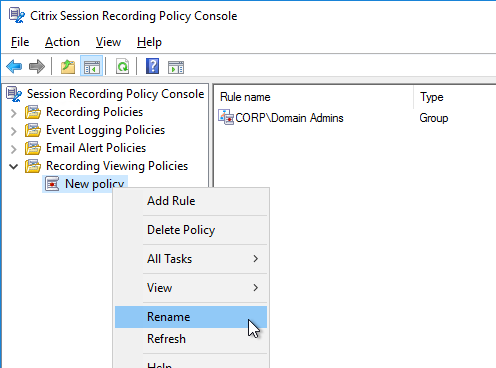
- When you re-open the Citrix Session Recording Policy Console, you’ll see a new node named Recording Viewing Policies.
- Right-click Recording Viewing Policies and click Add New Policy.
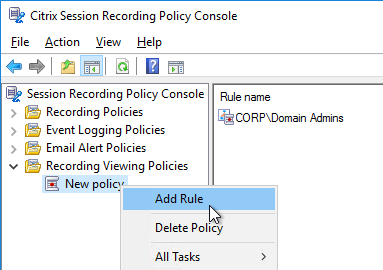
- Right-click the new policy and click Add Rule.
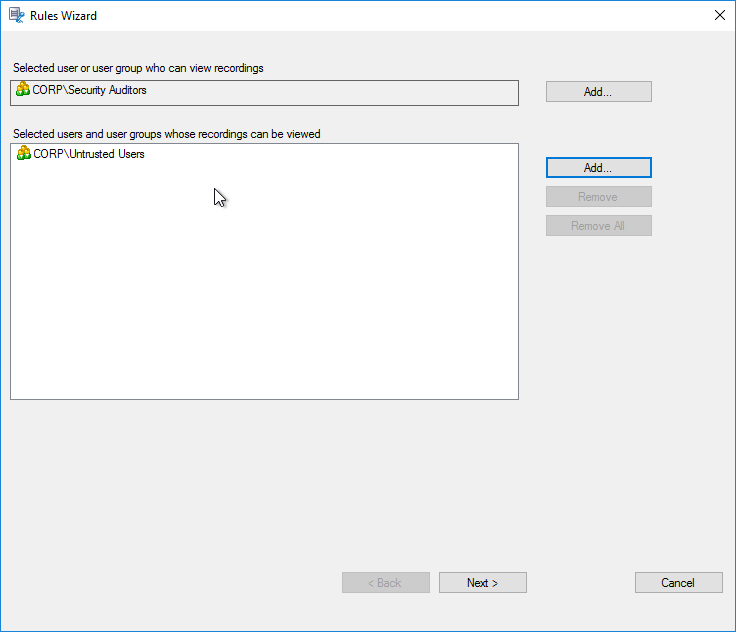
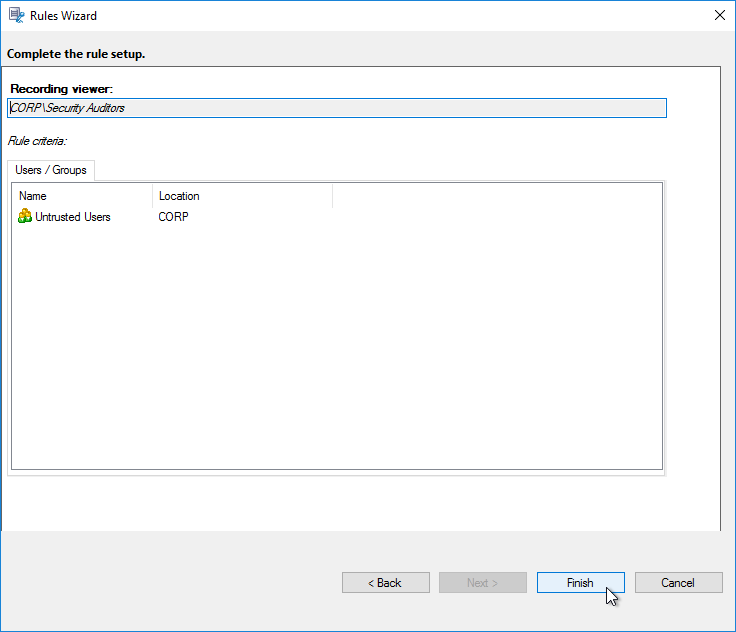
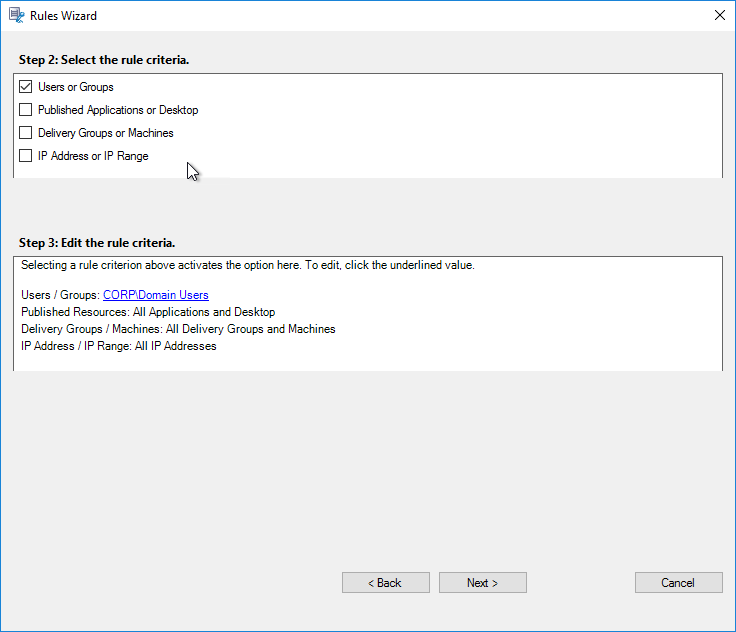
- In the Rules Wizard, specify a user group that can view recordings, specify user groups whose recordings can be viewed, and then click Next.
- Make sure the “view recordings” group is also added to the Player role in the Authorization Console.
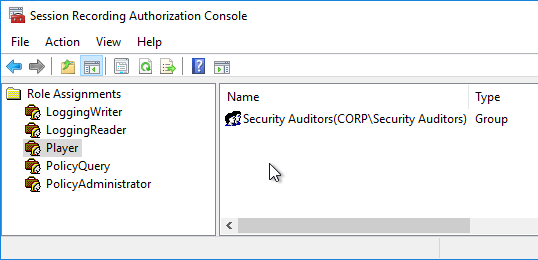
- Make sure the “view recordings” group is also added to the Player role in the Authorization Console.
- Click Finish to close the wizard.
- You can right-click the Viewing Policy to rename it.
- Recording Viewing Policies do not need to be activated.
- You can create more than one Recording Viewing Policy.
Event Response Policies
Session Recording 2009 and newer support creating policies to send emails when a user’s session starts. Session Recording 2012 and newer can send email notifications when an event occurs. Session Recording 2109 and newer can trigger session recording after events occur.
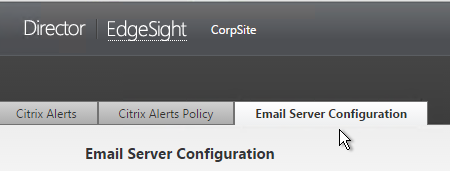
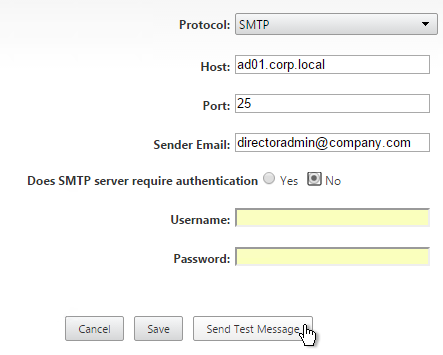
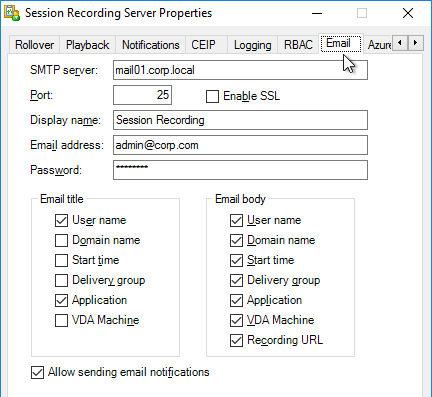
- On Session Recording servers 2009 and newer, open Session Recording Server Properties, switch to the tab named Email, and complete the fields. Make sure you check the box to Allow sending email notifications.
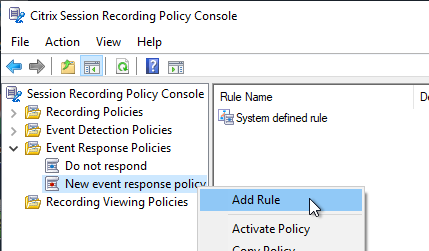
- In Citrix Session Recording Policy Console, right-click Event Response Policies and click Add New Policy.

- Right-click the new policy and click Add Rule.
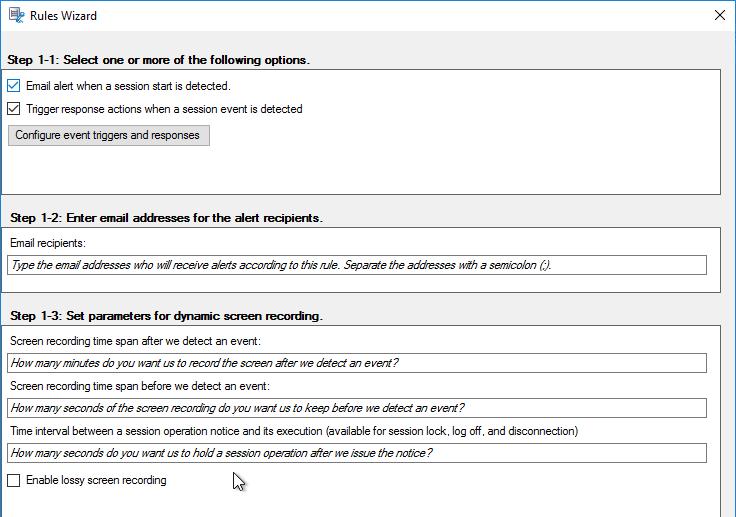
- In the Rules Wizard, check the desired boxes.
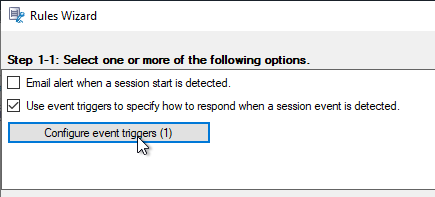
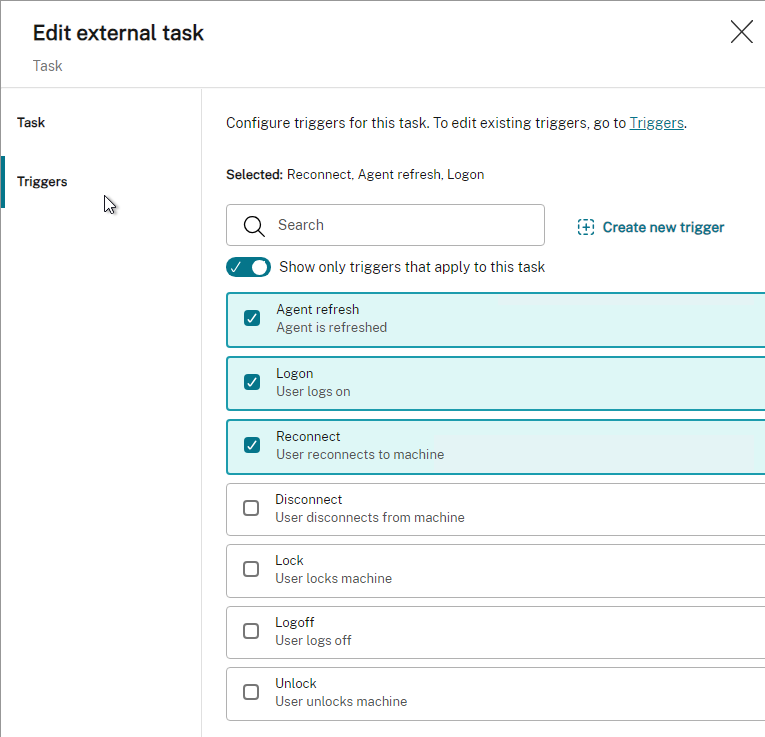
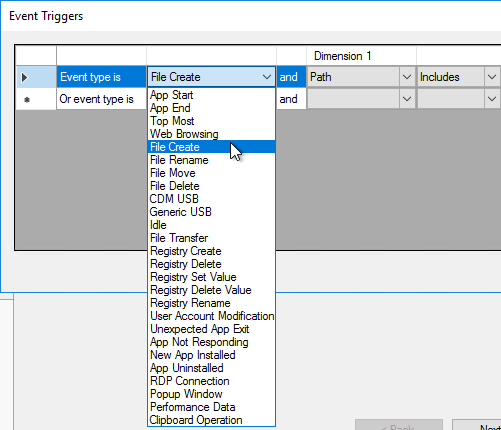
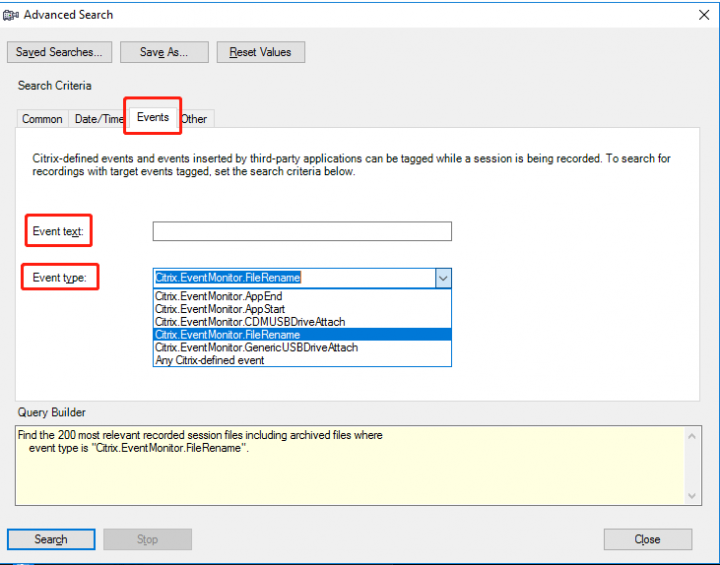
- For “event triggers”, click the button labelled Configure Event Triggers and select the events you want a response for. Session Recording 2203 and newer have more options for Event type.
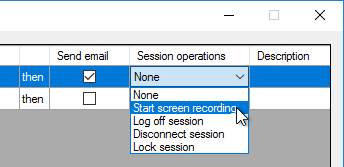
- On the far right, check boxes if you want Send email, Start screen recording, or both. Session Recording 2206 adds Log off session, Disconnect session, and Lock session.
- For “event triggers”, click the button labelled Configure Event Triggers and select the events you want a response for. Session Recording 2203 and newer have more options for Event type.
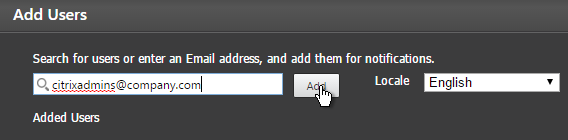
- In Step 1-2, enter Email recipients and Time span for dynamic screen recording. Click Next.
- In Step 2, enter criteria for when this rule should trigger, and then click Next.
- In Step 4, you can name the rule. Click Finish to close the wizard.

- You can right-click the Event Response Policy to rename it.
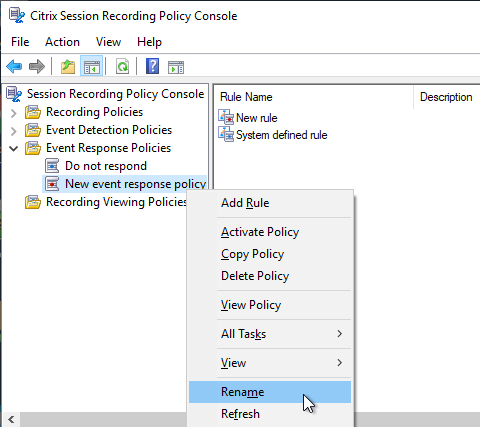
- Then Activate the new policy. Only one policy can be activated.

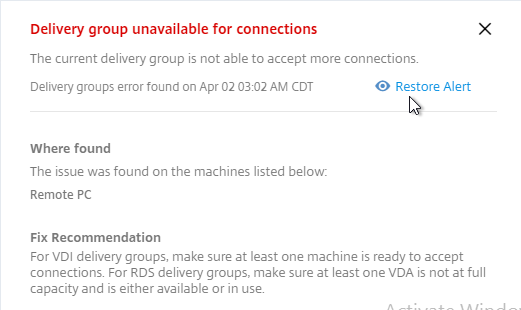
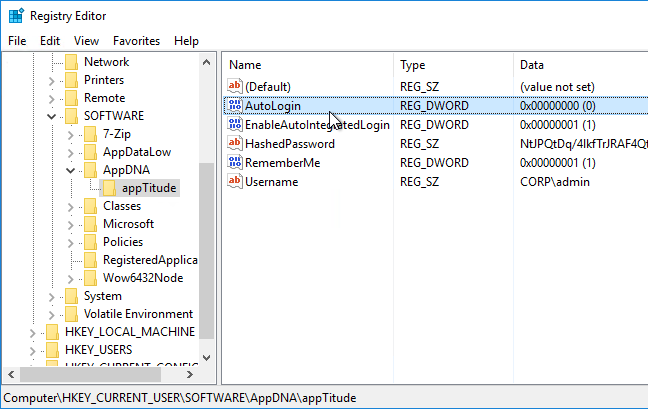
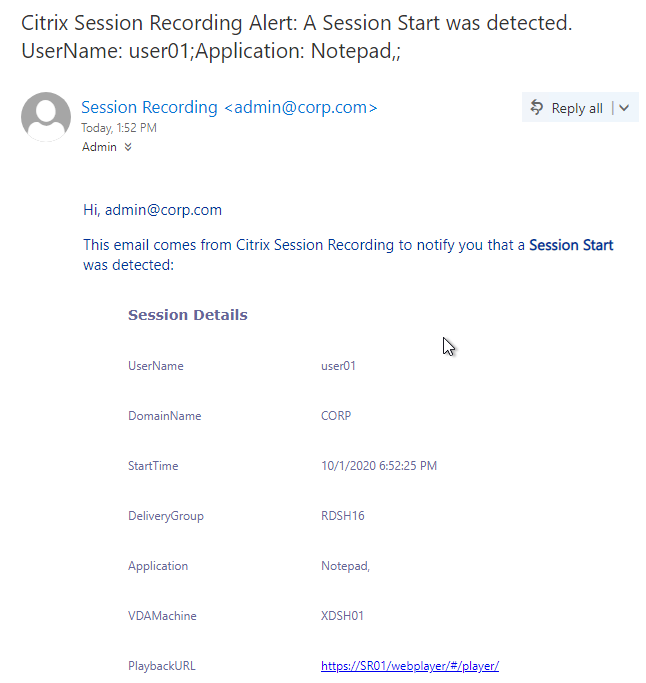
- The email notification looks something like this. Notice that the Playback URL is not a FQDN.
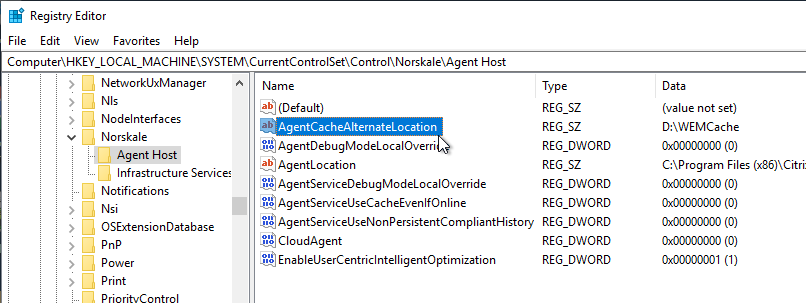
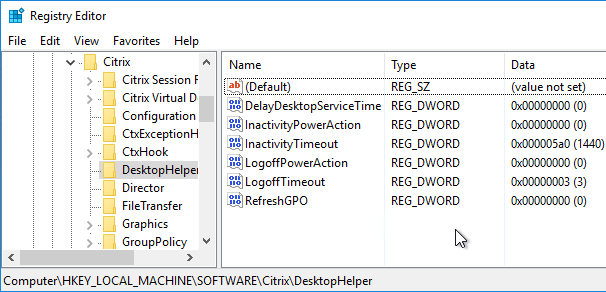
- To fix it, go to HKLM\Software\Citrix\SmartAuditor\Server and configure the LinkHost value.
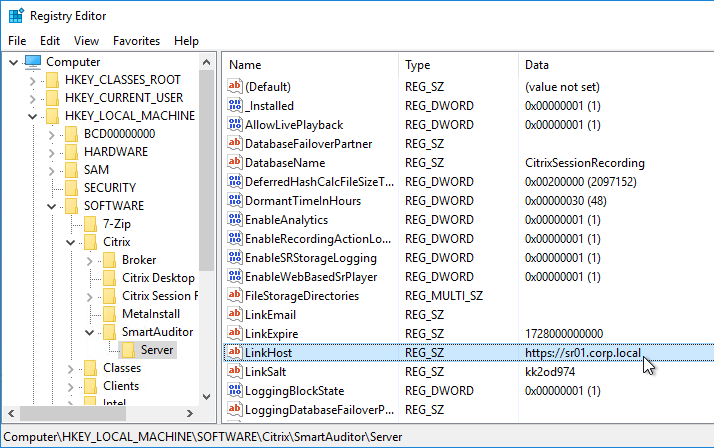
- To fix it, go to HKLM\Software\Citrix\SmartAuditor\Server and configure the LinkHost value.
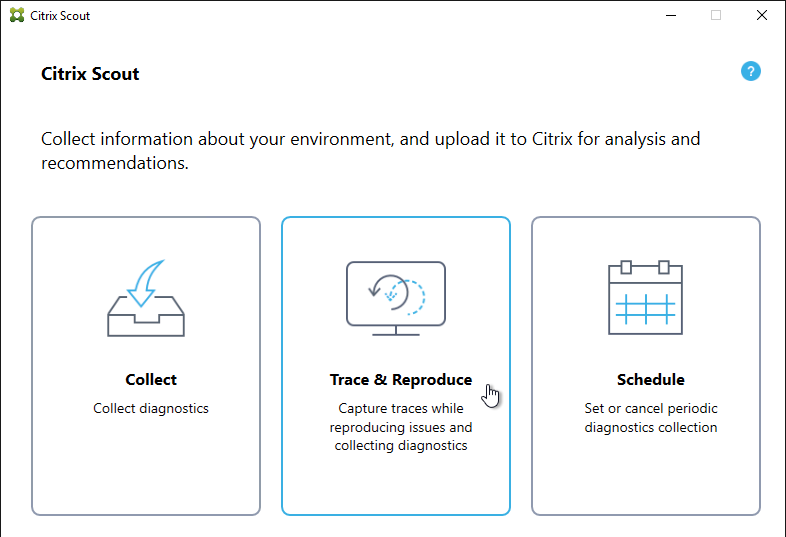
Session Recording Agent
Agent Installation
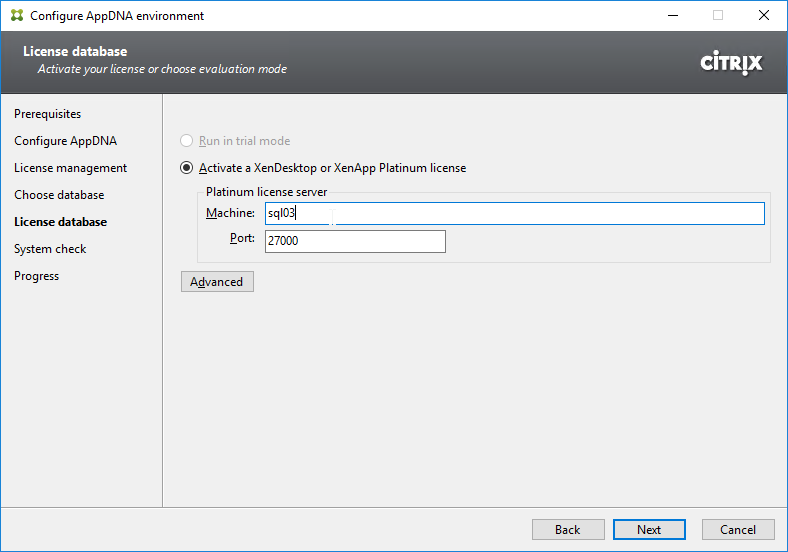
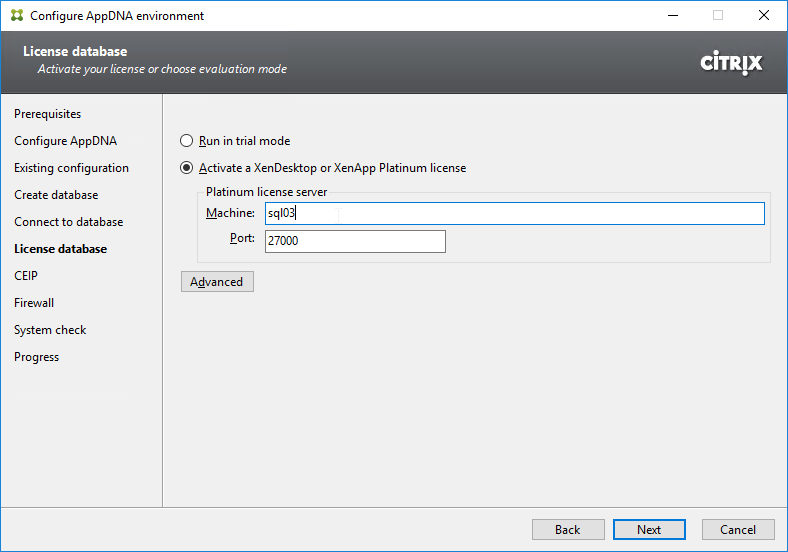
Install the Agent on the VDAs. Platinum Licensing is required.
- Session Recording 2203 and newer no longer support Windows Server 2012.
- On the Master VDA, go to the downloaded Citrix Virtual Apps and Desktops (CVAD) ISO, and run AutoSelect.exe.

- On the bottom right, click the Session Recording box.

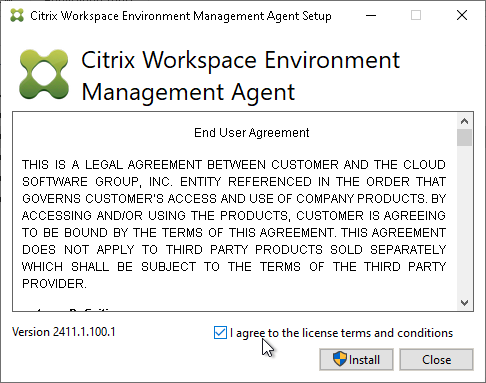
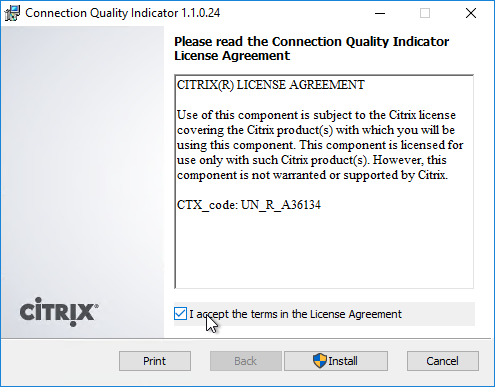
- In the Licensing Agreement page, change the selection to I have read, understand, and accept the terms, and click Next.
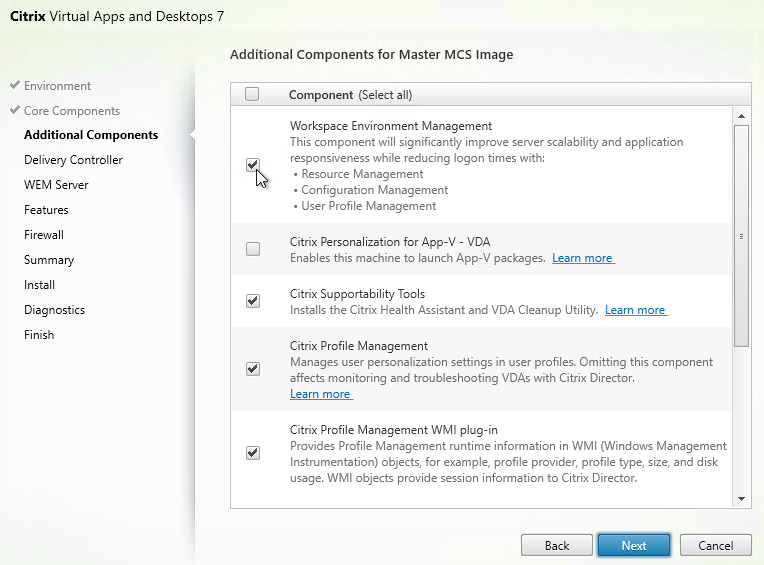
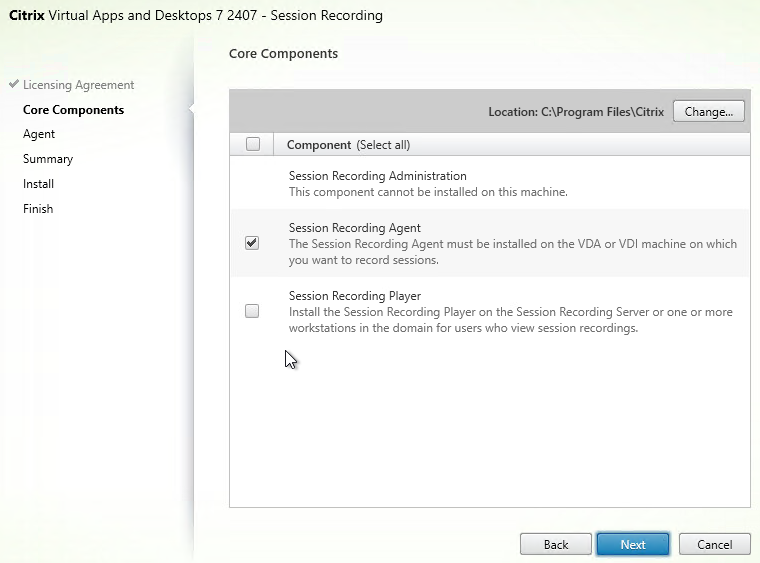
- In the Core Components page, uncheck everything except Session Recording Agent. Click Next.
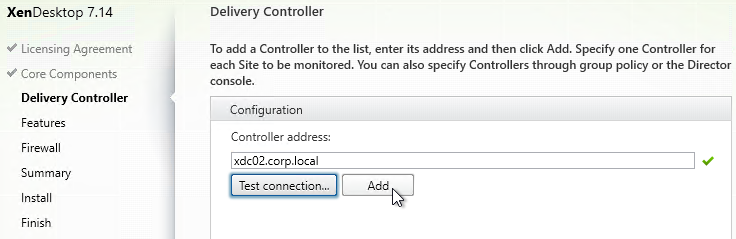
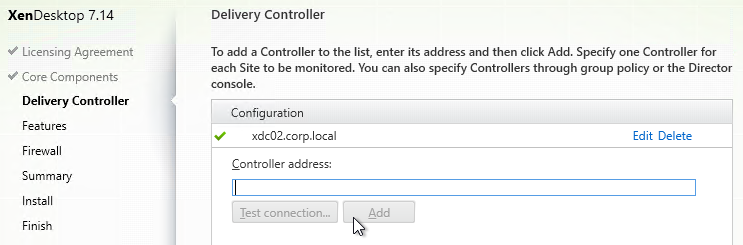
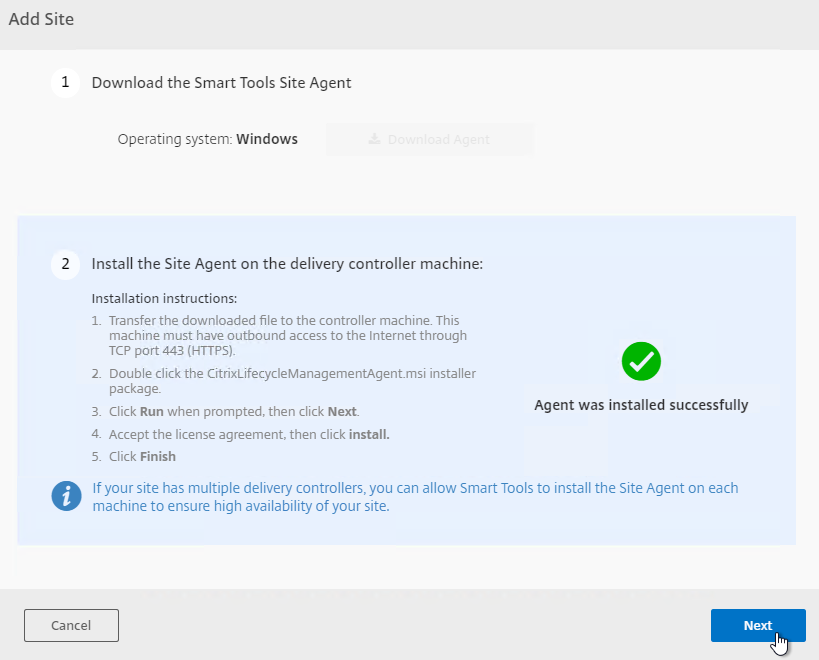
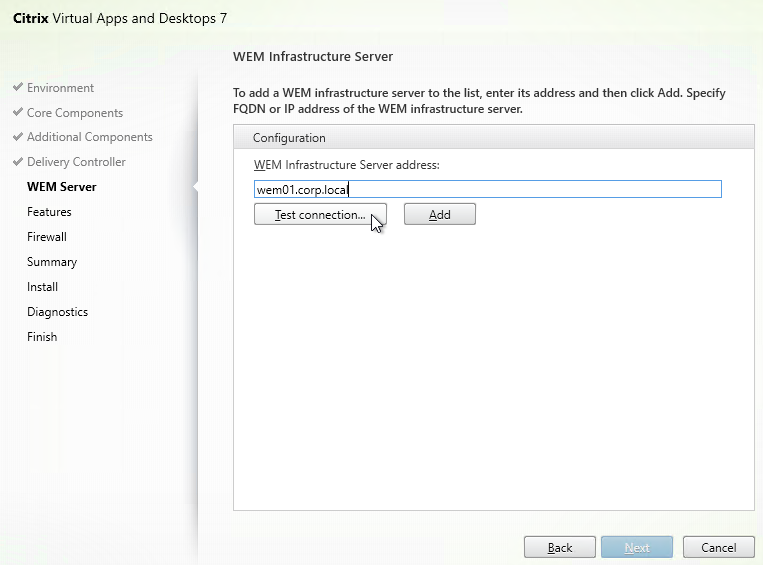
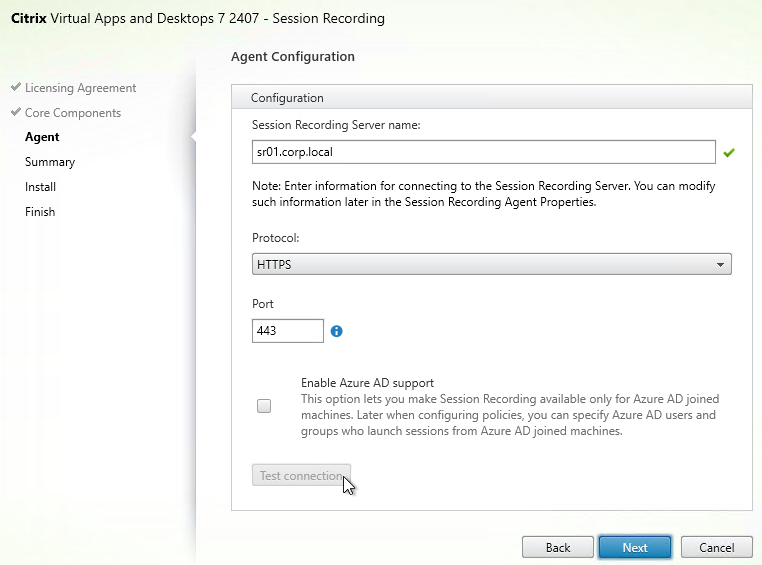
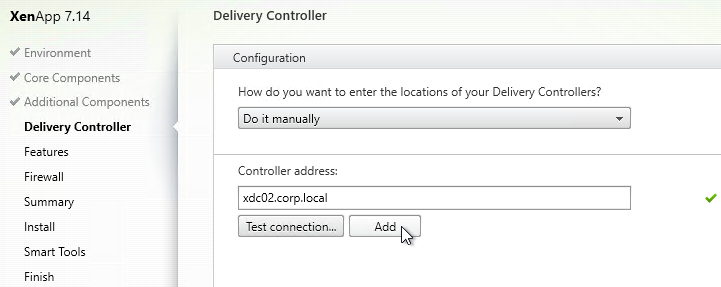
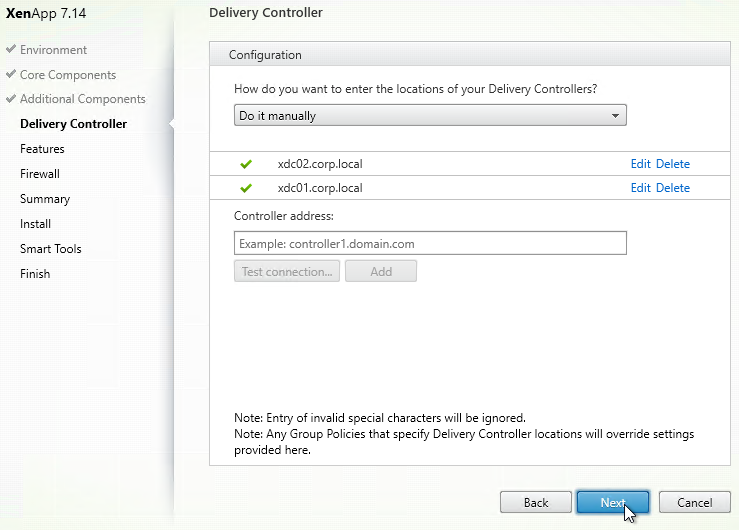
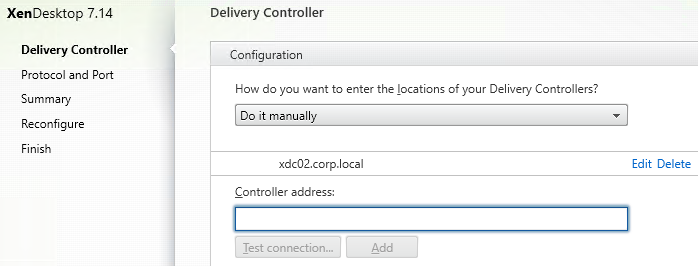
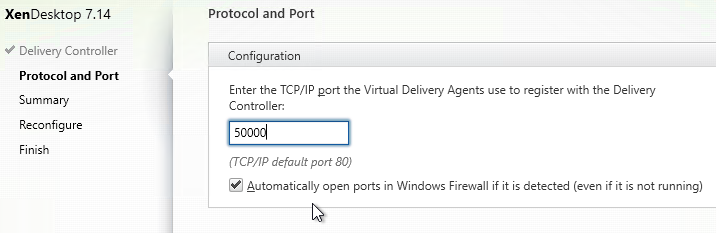
- In the Agent page, enter the FQDN of the Session Recording server (or load balanced FQDN), click Test connection, and click Next.
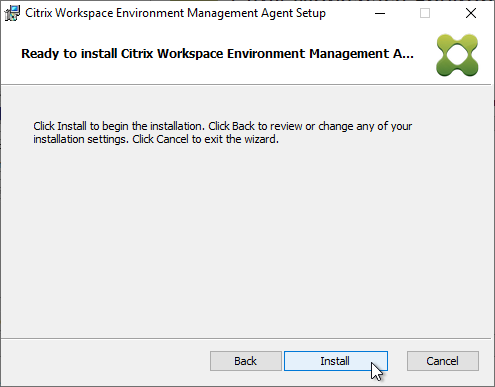
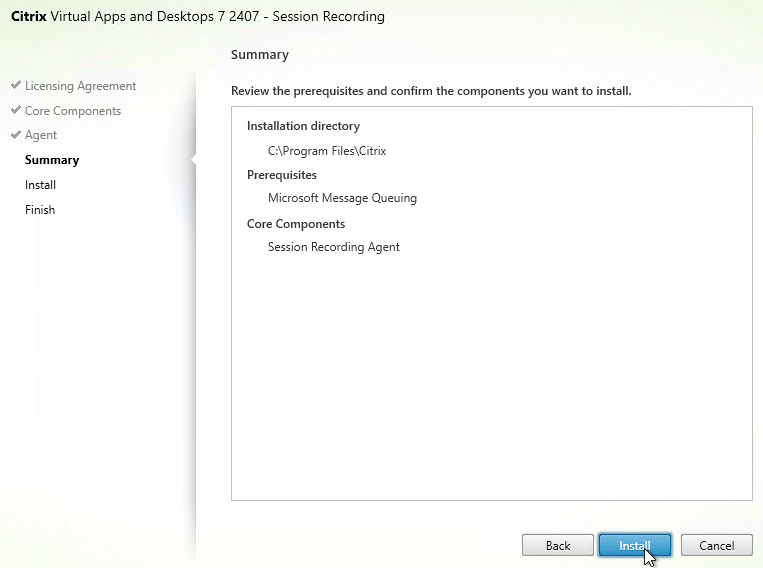
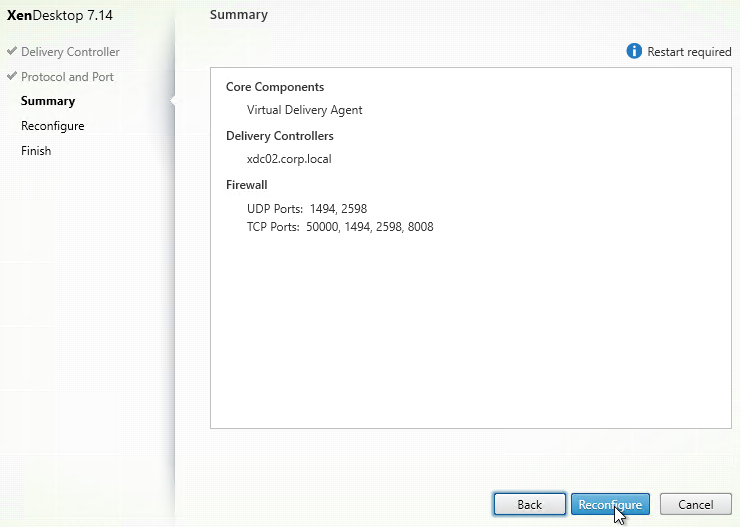
- In the Summary page, click Install.
- In the Finish page, click Finish.
- Agent Installation can also be automated. See Automating installations at Citrix Docs.
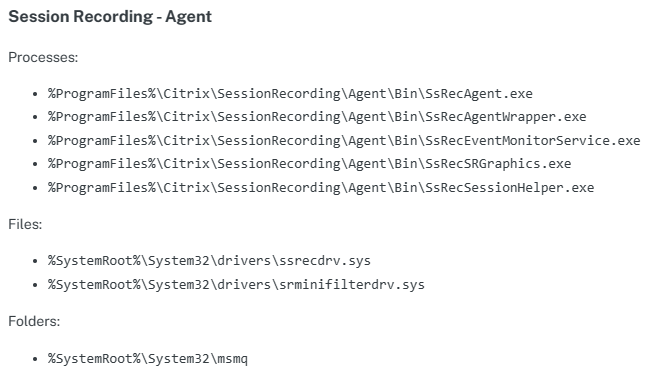
- For antivirus exclusions, see Endpoint Security and Antivirus Best Practices at Citrix Tech Zone
Agent Configuration
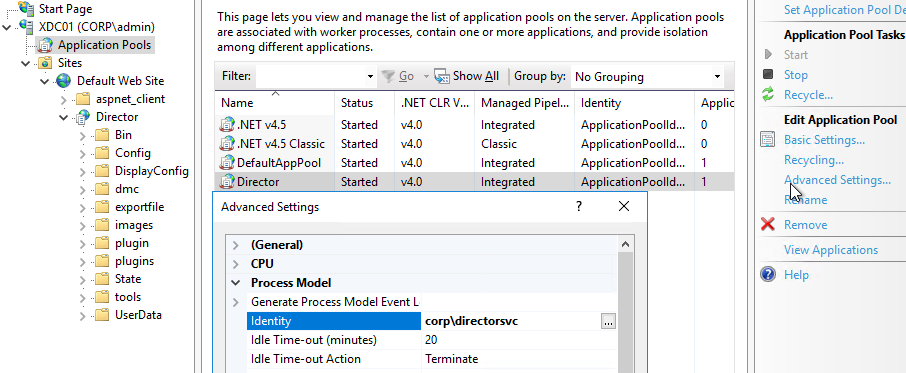
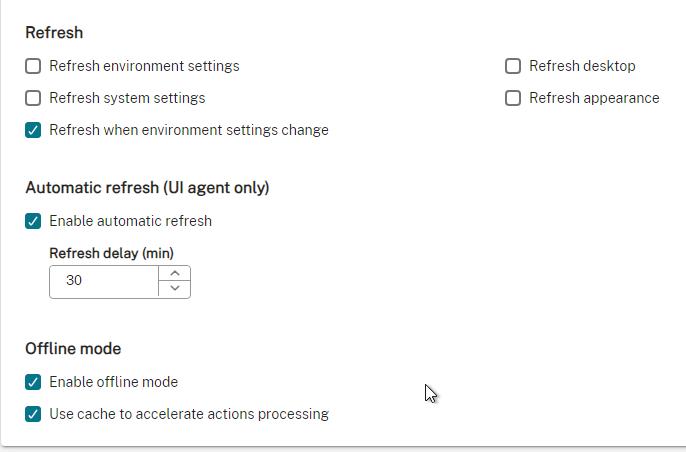
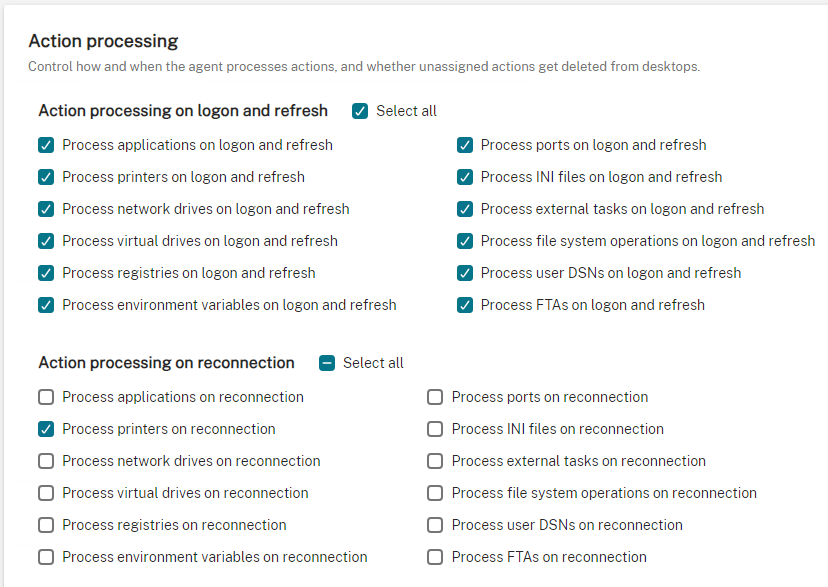
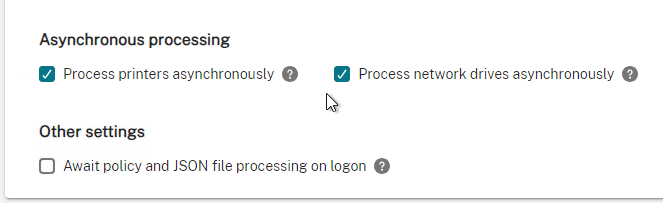
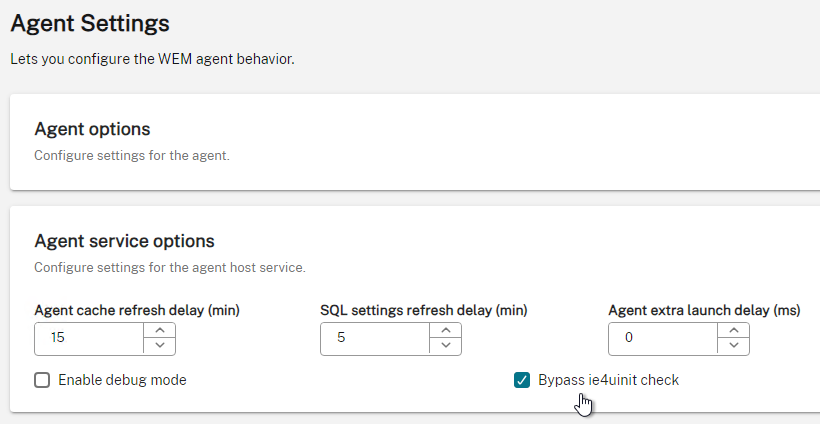
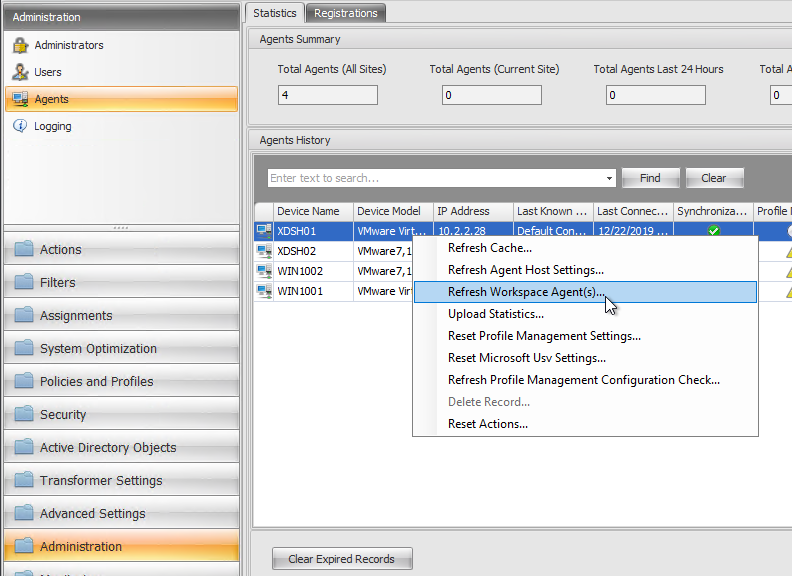
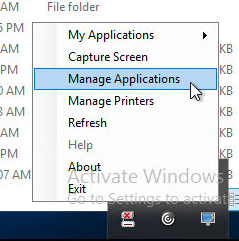
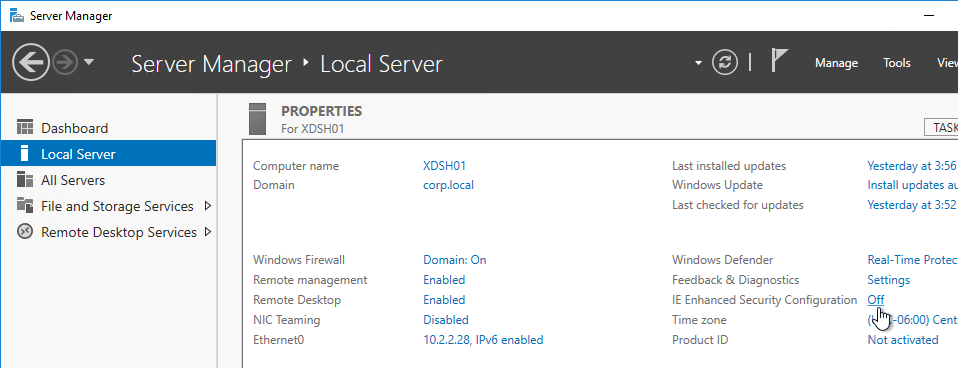
- In the Agent’s Start Menu is Session Recording Agent Properties.

- You can enable or disable session recording on this Agent.
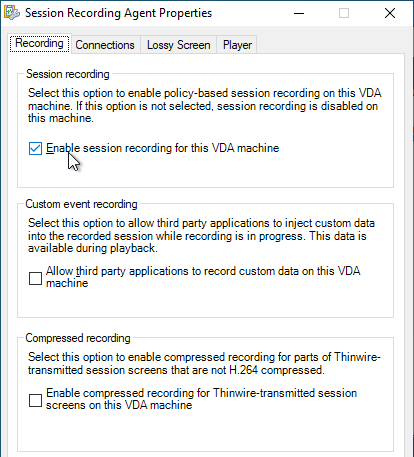
- For Custom event recording, notice the option for third party applications like Intelligent Session Recording (ISR) Nanobot for regulatory compliance from automai that prevents sensitive fields (e.g., Social Security Numbers and Credit Card numbers) from being captured. (h/t CTP Shane Kleinert)

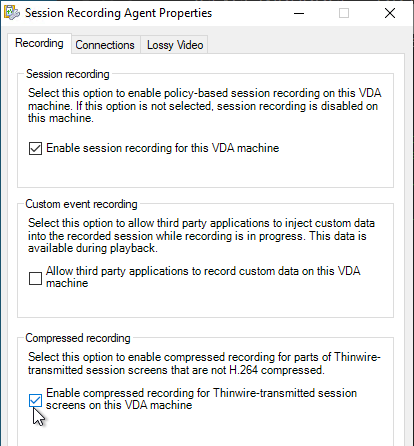
- Compressed recording: Session Recording 2303 and newer let you compress parts of recordings that are not already H.264 compressed.
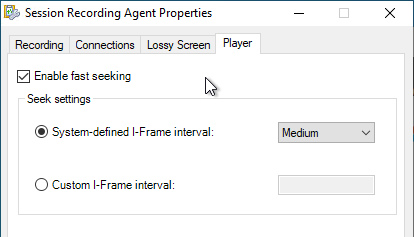
- Session Recording 2308 and newer, on the Player tab, support fast seeking.
- In Web Player, at Configuration > Preferences, make sure Enable fast seeking is checked.
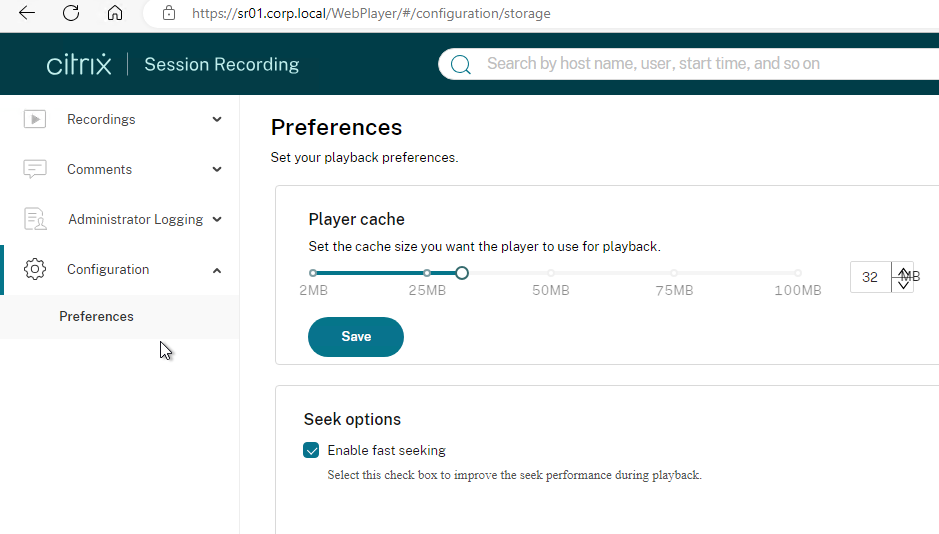
- In Web Player, at Configuration > Preferences, make sure Enable fast seeking is checked.
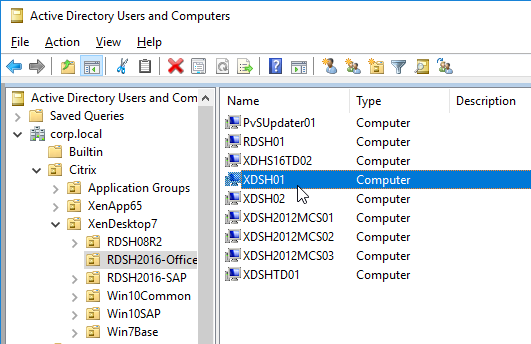
- For MCS and PVS VDAs, see the GenRandomQMID.ps1 script at Install, upgrade, and uninstall Session Recording at Citrix Docs.
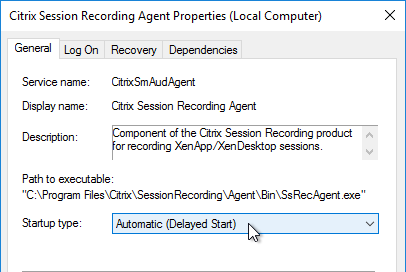
- Session Recording Agent might cause MCS Image Prep to fail. To work around this, set the Citrix Session Recording Agent service to Automatic (Delayed Start). Source = Todd Dunwoodie at Session Recording causes Image preparation finalization Failed error at Citrix Discussions.
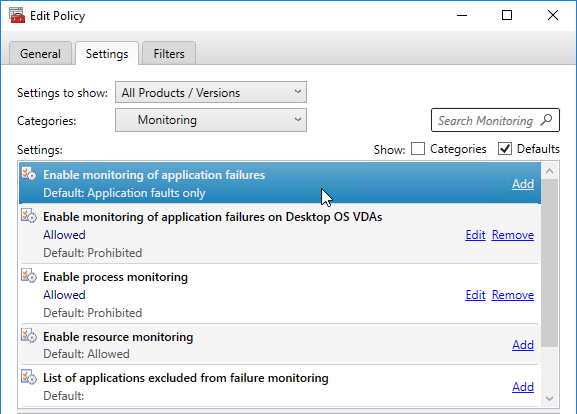
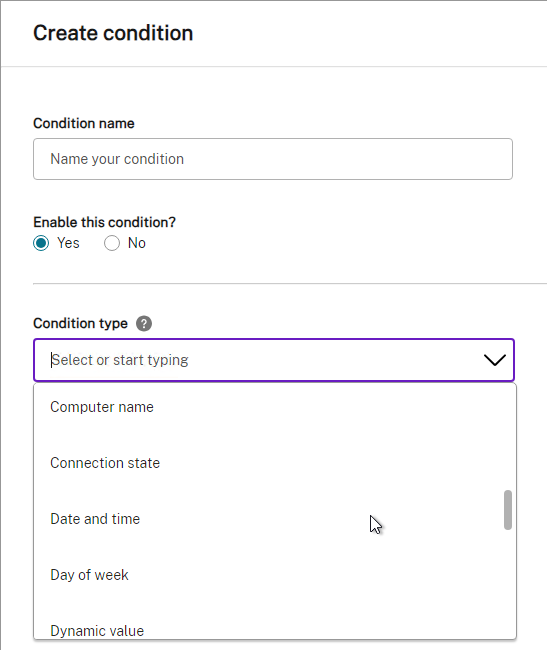
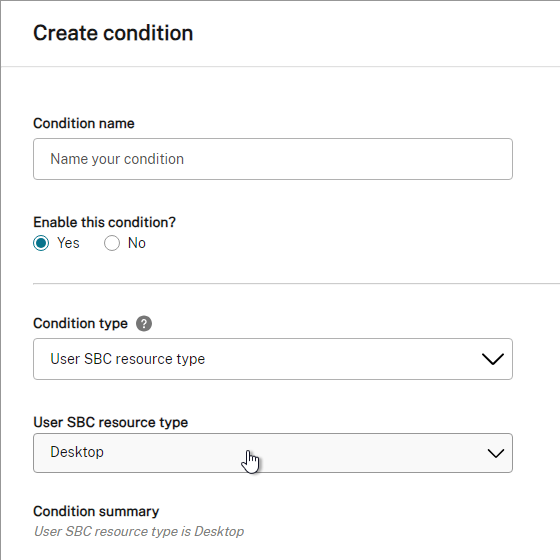
Event Detection Policies
Session Recording can automatically mark events in recordings when certain actions occur inside the session. An example event is when USB client drives are connected. Newer versions of Session Recording can record more events than older versions of Session Recording.
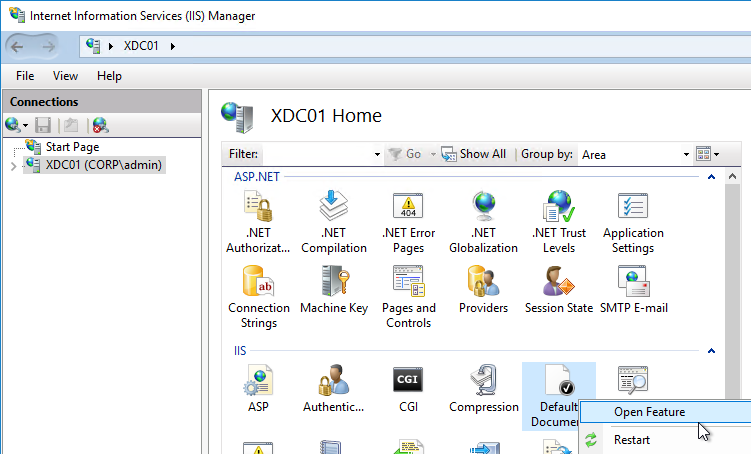
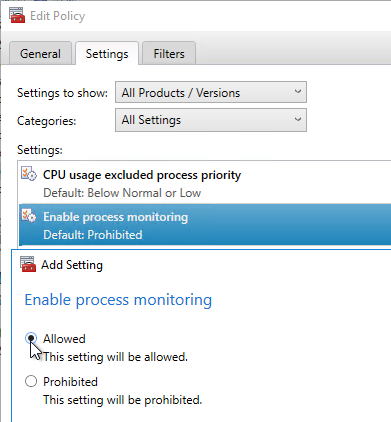
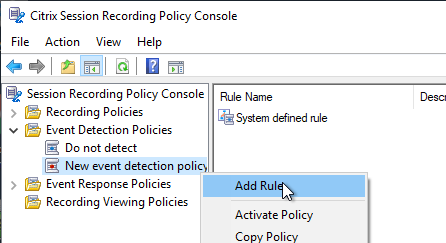
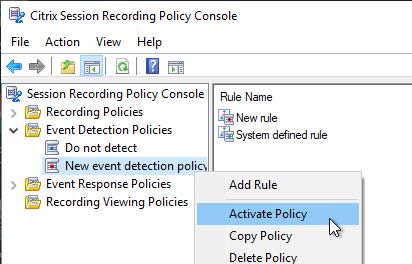
The Citrix Session Recording Policy Console has a node named Event Detection Policies. Just like Recording Policies, you can add an Event Detection Policy, add a rule to the policy, and then activate the policy. Event Detection is disabled by default.
- Details at Configure event detection policies at Citrix Docs and Citrix Blog Post Session Recording 1903 available for Citrix Virtual Apps and Desktops.
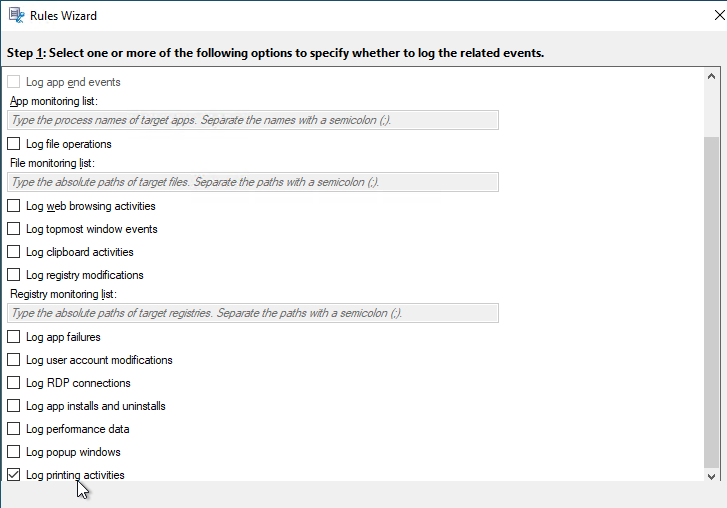
- Session Recording 2407 and newer can Log printing activities. It’s at the bottom of the list.
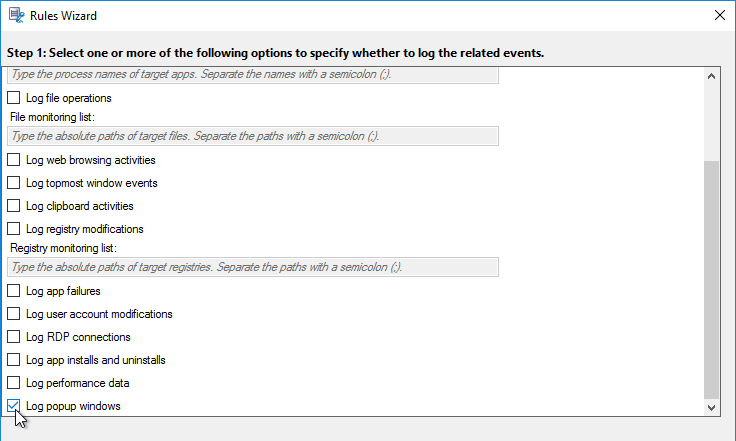
- Session Recording 2203 and newer can Log popup windows events. Notice the scroll bar on the far right. Popup windows in web browsers are not monitored.
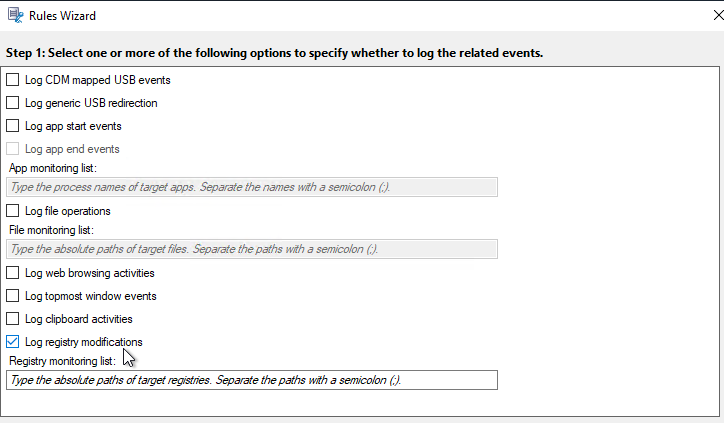
- Session Recording 2109 and newer can log registry modifications.
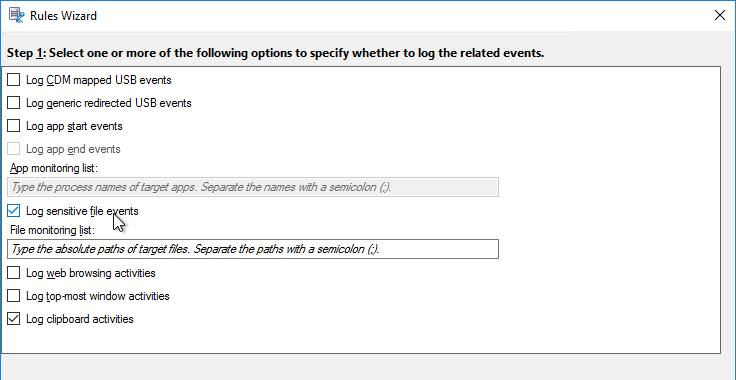
- Session Recording 2012 and newer can log clipboard activities.
- After adding rules to an Event Detection Policy, make sure you Activate Policy.
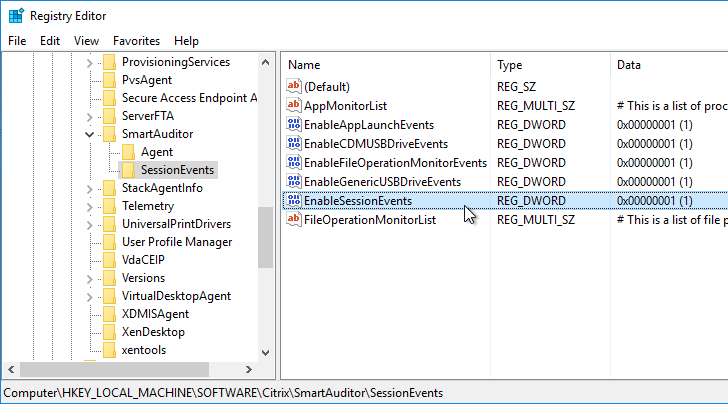
In older versions of Session Recording, you enable Event recording by modifying the registry of each Session Recording Agent:
- Configure the following registry values at HKEY_LOCAL_MACHINE\SOFTWARE\Citrix\SmartAuditor\SessionEvents on the Session Recording Agent machine:
- EnableAppLaunchEvents (DWORD) = 1
- EnableCDMUSBDriveEvents (DWORD) = 1
- EnableFileOperationMonitorEvents (DWORD) = 1
- EnableGenericUSBDriveEvents (DWORD) = 1
- EnableSessionEvents (DWORD) = 1
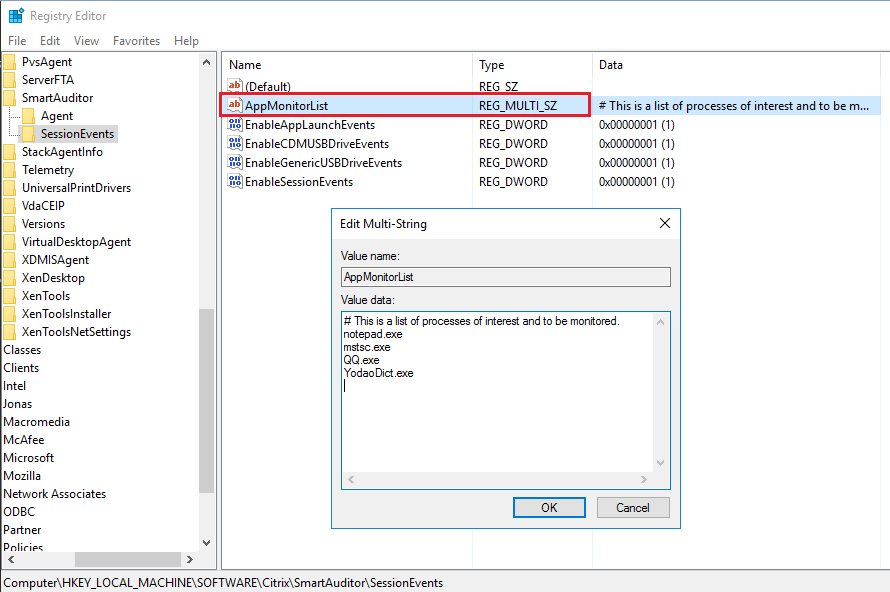
- Session Recording 7.18 and newer can mark recording events when specific processes are launched. This feature is disabled by default. To enable, set EnableAppLaunchEvents at the same key. And put the list of processes in AppMonitorList. More details at Log application starts at Citrix Docs and Citrix Blog Post Session Recording 1808 Product Update – Log application activities and more!.
- EnableAppLaunchEvents (DWORD) = 1
- AppMonitorList (REG_MULTISZ) = list of process names
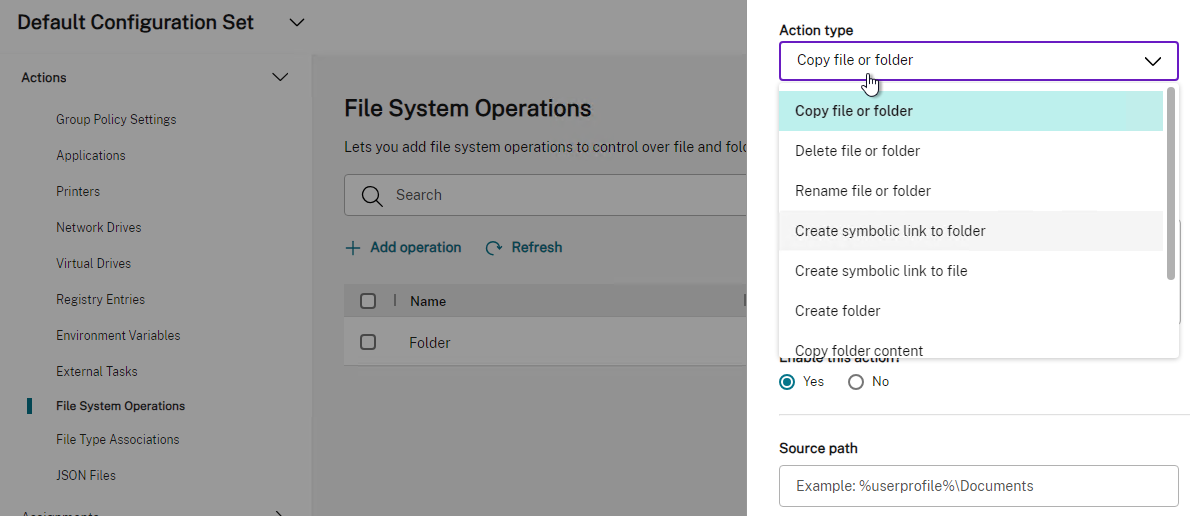
- Session Recording 1811 and later can mark recording events when files in a folder are renamed, created, deleted, and moved. Add the path strings of target folders into the FileOperationMonitorList registry value. More details at Citrix Blog Post Session Recording 1811 is here for Citrix Virtual Apps and Desktops.

When you later playback the recording, the events are shown on the bottom left.
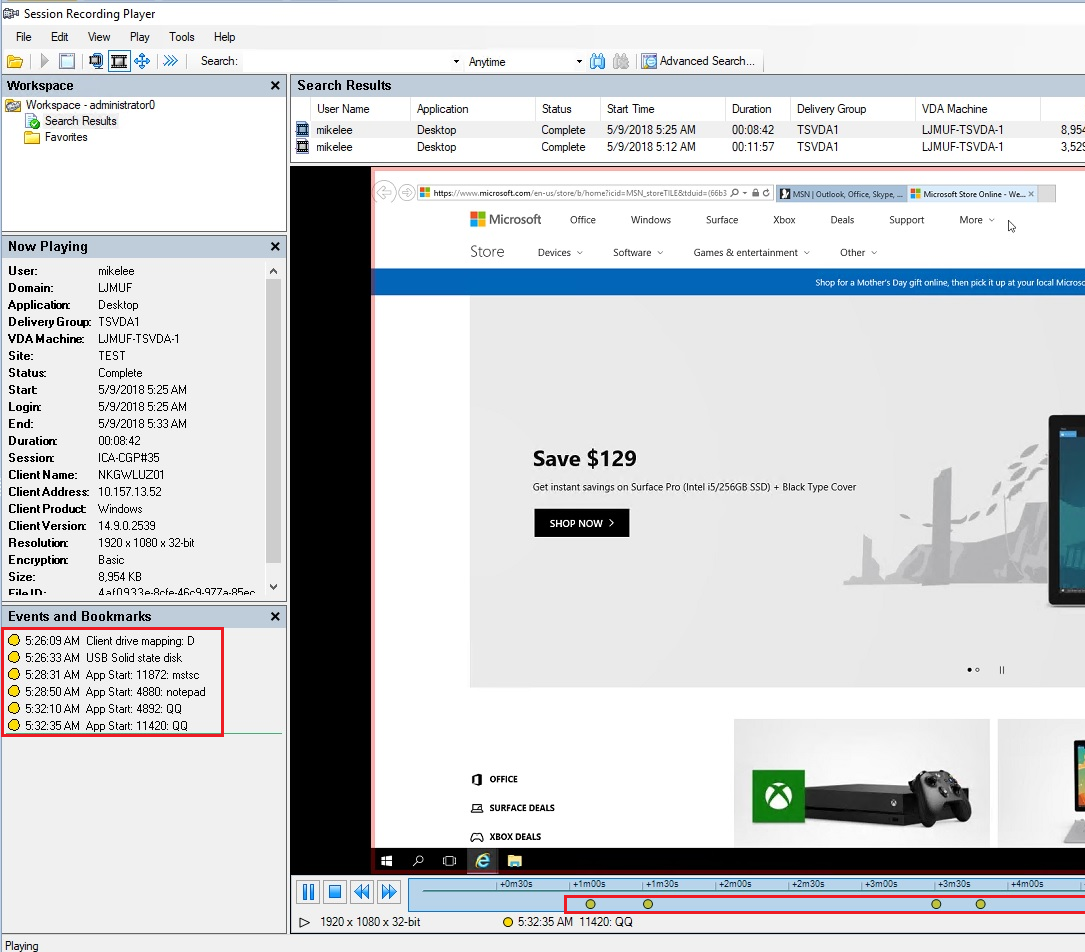
- Or you can perform an Advanced Search for recordings with specific event types.
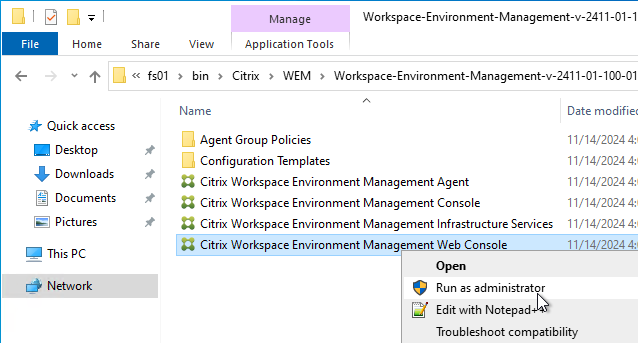
Session Recording Web Player
Session Recording 1912 and newer include a Web Player.
Web Player has some features that the standard Player does not.
- Web Player 2003 can record idle events and highlight idle periods.
- You can leave comments and set the comment severities
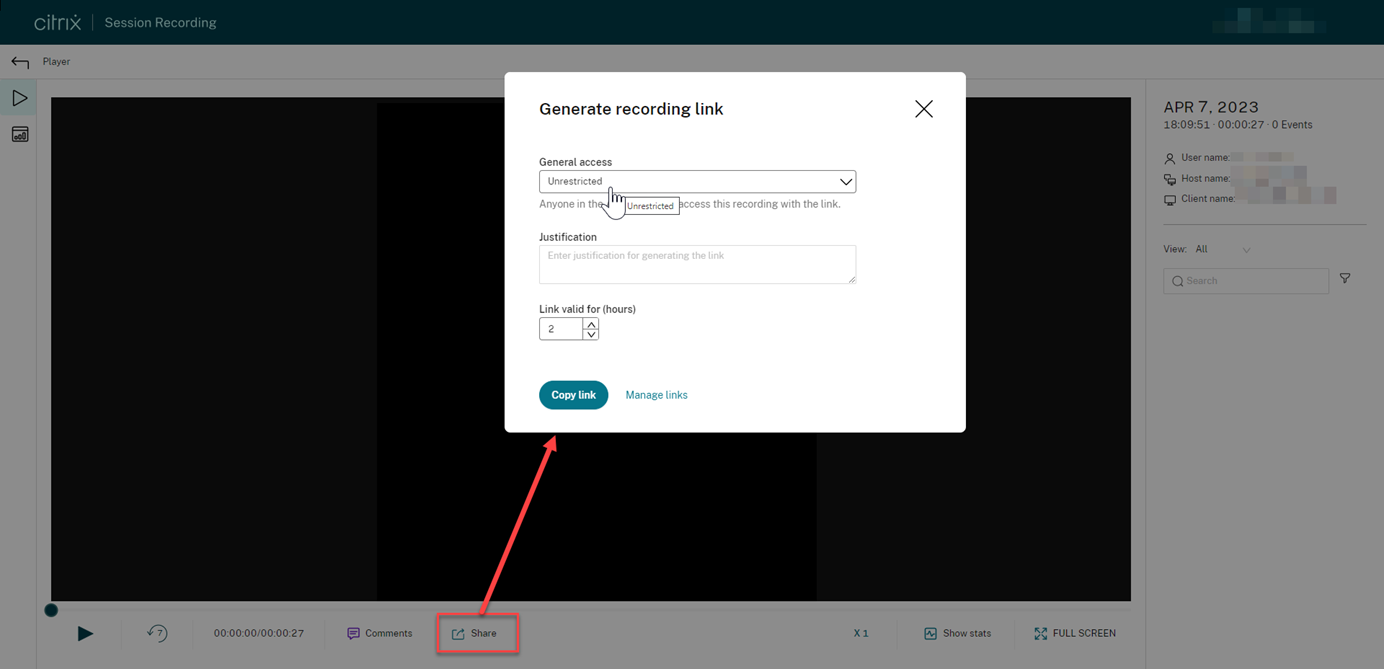
- You can share URLs of recordings
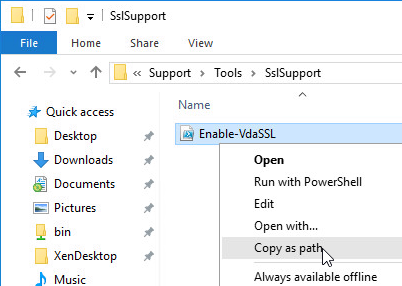
Web Player is enabled by default in Session Recording 2003 and newer. To enable it in Session Recording 1912:
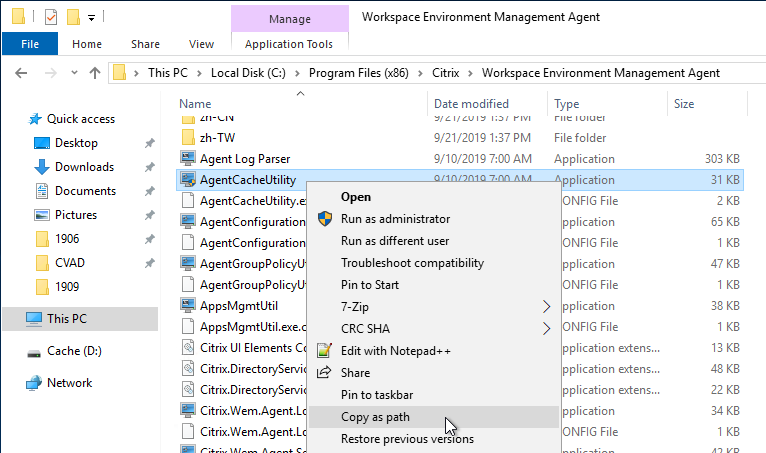
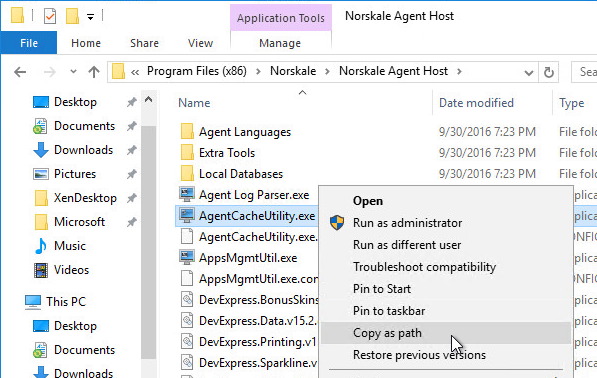
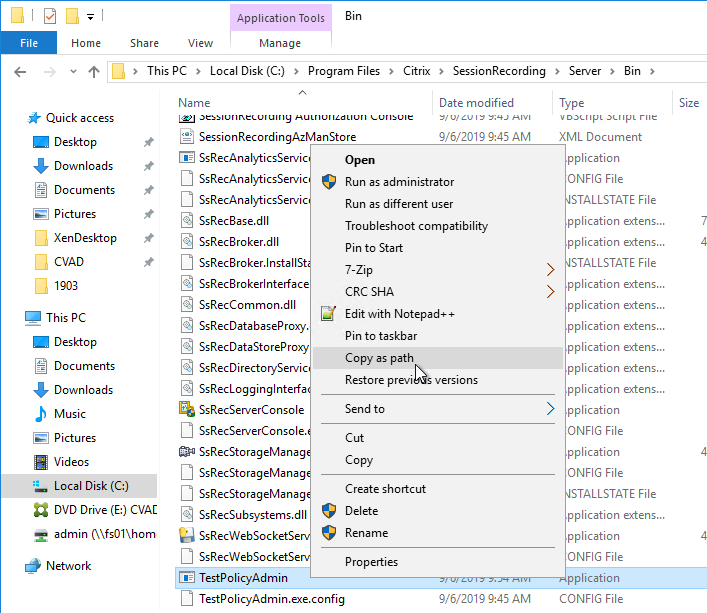
- Go to C:\Program Files\Citrix\SessionRecording\Server\Bin, right-click TestPolicyAdmin.exe and click Copy as path.
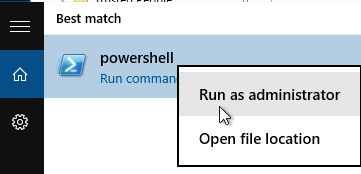
- Open Command Prompt as administrator, paste the path, add “-enablewebplayer” to the end, and press Enter.

Bind a certificate to the Web Player:
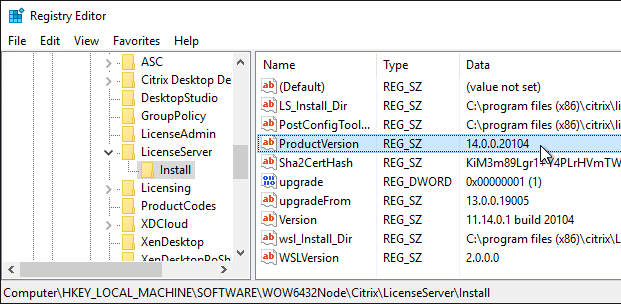
- After upgrading to Session Recording 2103 or newer, check HKEY_LOCAL_MACHINE\SOFTWARE\Citrix\SmartAuditor\Server\WebSocketServerVersion.
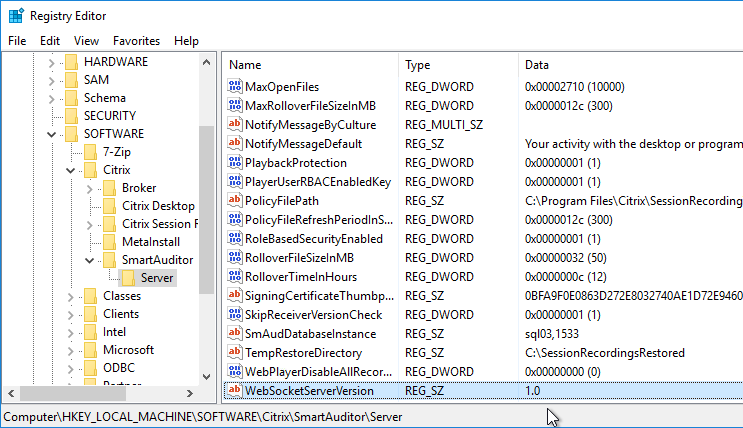
- If it is set to 1.0, then we can change it to IIS instead of Python by running
"C:\Program Files\Citrix\SessionRecording\Server\Bin\SsRecUtils.exe" -enablestreamingservice.

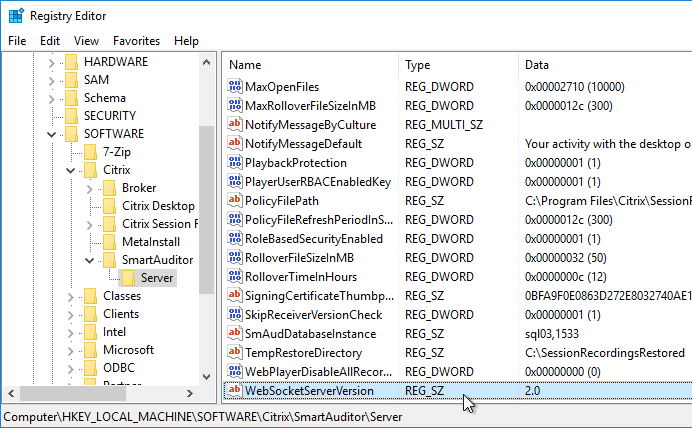
- The registry value then changes to 2.0.
- If it is set to 1.0, then we can change it to IIS instead of Python by running
- In IIS Manager, edit the bindings for the Default Web Site and ensure there’s an https binding.
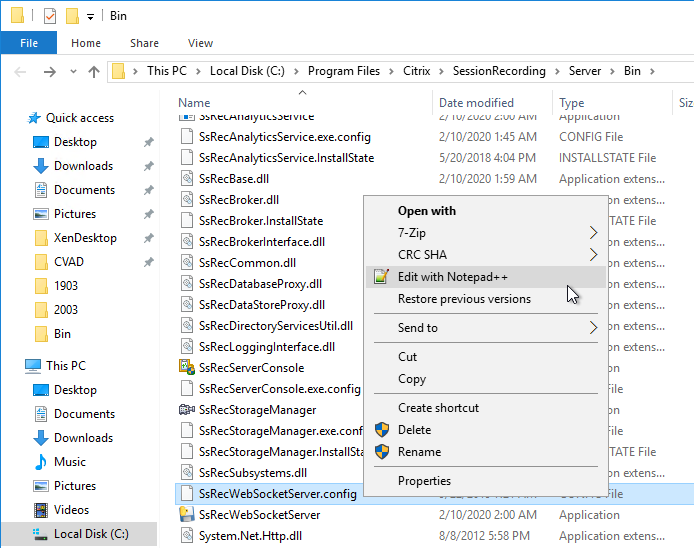
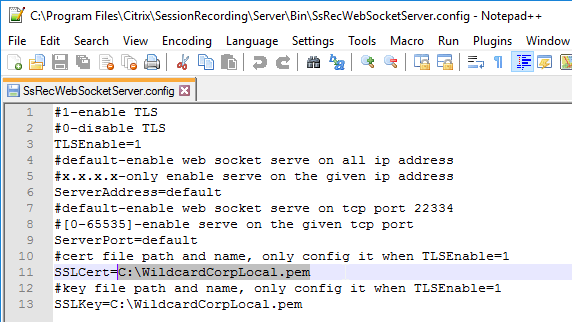
- Go back to C:\Program Files\Citrix\SessionRecording\Server\Bin and edit the file SsRecWebSocketServer.config (2003 and newer) or SsRecWebSocketServer.exe.config (1912 and older).
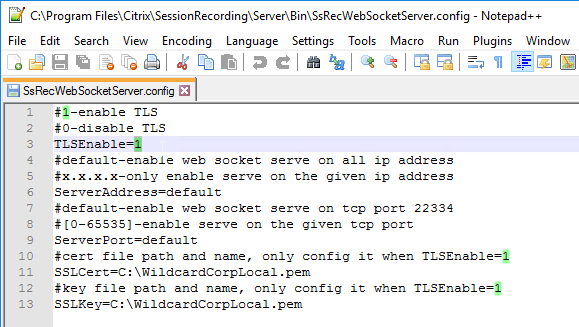
- In line 3, set TLSEnable to 1.
- If your Session Recording is 2103 and later and hosts the WebSocket server in IIS (i.e.WebSocketServerVersion = 2.0)
- In Administrator Command Prompt, run the following command.
"C:\Program Files\Citrix\SessionRecording\Server\Bin\SsRecUtils.exe" -stopwebsocketserver
- From any machine, launch a browser and point it to https://myrecordingserver.corp.com/WebPlayer or something like that. Internet Explorer is not supported.
- Skip the rest of this section.
- In Administrator Command Prompt, run the following command.
- For Session Recording 2012 and older, or if your WebSocketServer is not integrated with IIS, continue the steps in this section.
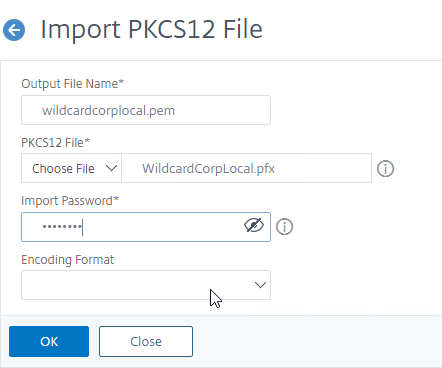
- You need the Session Recording certificate in PEM format. One option is to use the openssl commands listed at Citrix Docs. Or you can use an ADC appliance’s Import PKCS#12 feature to convert PFX to PEM.

- Make sure you don’t encrypt the private key (don’t select Encoding Format).
- After conversion (aka import), go to Traffic Management > SSL > SSL Files, switch to the tab named Certificates, and download the .pem file.
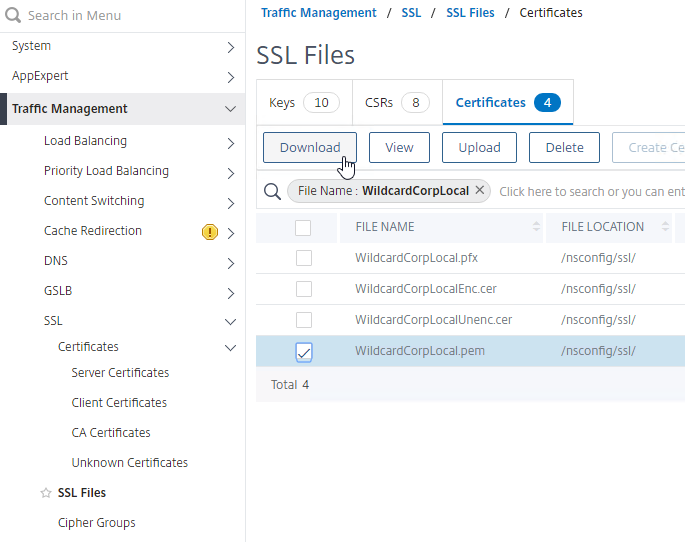
- Put the unencrypted .pem file somewhere on the Session Recording server.
- In the SsRecWebSocketServer.config file, set line 11 and line 13 to the full path to the .pem file.
- In Administrator Command Prompt, run the following command:
"C:\Program Files\Citrix\SessionRecording\Server\Bin\SsRecUtils.exe" -stopwebsocketserver

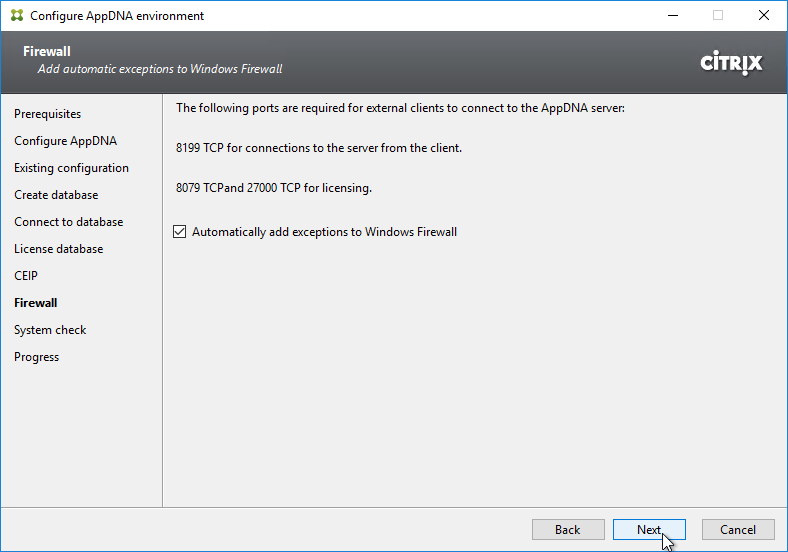
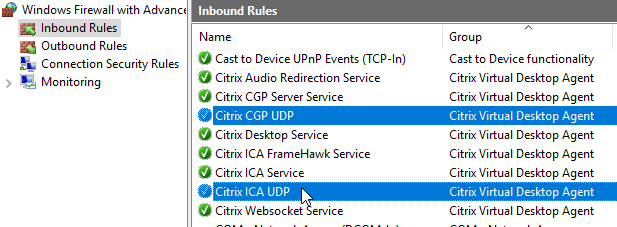
- The Web Player WebSockets listens on port 22334 by default. Open the port on the firewall.
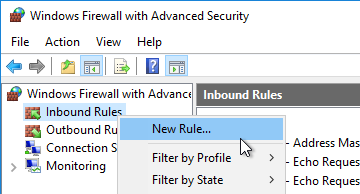
- Create an Inbound Rule. You can either create a Program rule, or a Port rule.
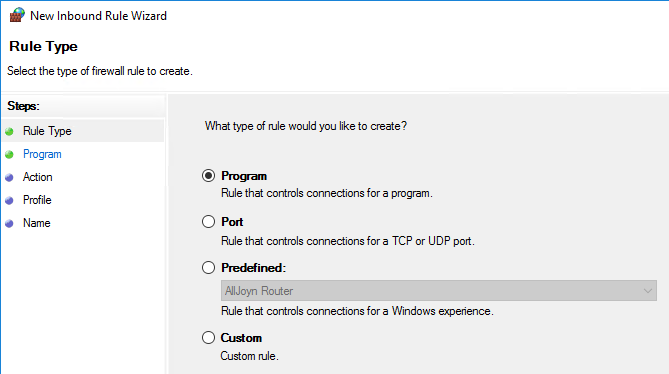
- The program path is %ProgramFiles%\Citrix\SessionRecording\Server\Bin\SsRecWebSocketServer.exe.
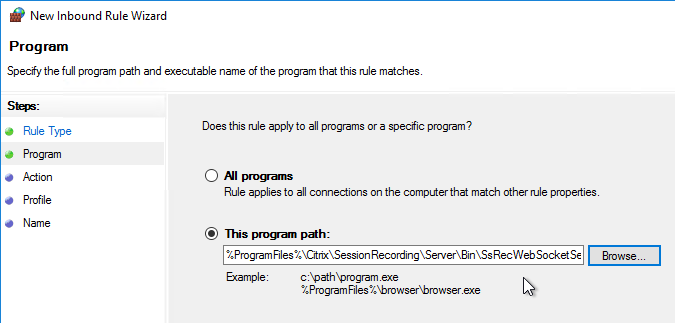
- Create an Inbound Rule. You can either create a Program rule, or a Port rule.
- From any machine, launch a browser and point it to https://myrecordingserver.corp.com/WebPlayer or something like that. Internet Explorer is not supported.
- Web Player lets you share recordings as links. These links can be Restricted, or in Session Recording 2305 or newer can be Unrestricted. More details at Citrix Docs.
Session Recording Player
Install the Player on any Windows 7 through Windows 10 desktop machine. 32-bit color depth is required. Because of the graphics requirements, don’t run the Player as a published application.
- Go to the downloaded Citrix Virtual Apps and Desktops (CVAD) ISO and run AutoSelect.exe.

- On the bottom right, click the Session Recording box.
- In the Licensing Agreement page, change the selection to I have read, understand, and accept the terms, and click Next.
- In the Core Components page, uncheck everything except Session Recording Player. Click Next.

- In the Summary page, click Install.
- The installer might require a restart. Let it restart, and login again.

- After the reboot, and after logging in again, you might see a Locate ‘Citrix Virtual Apps and Desktops 7’ installation media window. Don’t click anything yet.
- Go to the Citrix_Virtual_Apps_and_Desktops_7_2407_LTSR.iso file and mount it.
- Go back to the Locate ‘Citrix Virtual Apps and Desktops 7’ installation media window.
- On the left, expand This PC, and click the DVD Drive.
- Click Select Folder.

- After the reboot, and after logging in again, you might see a Locate ‘Citrix Virtual Apps and Desktops 7’ installation media window. Don’t click anything yet.
- In the Finish page, click Finish.
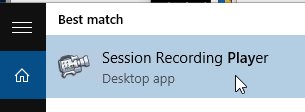
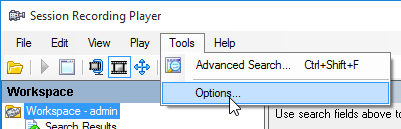
- From the Start Menu, run the Session Recording Player.
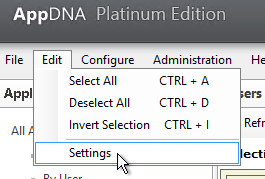
- Open the Tools menu and click Options.
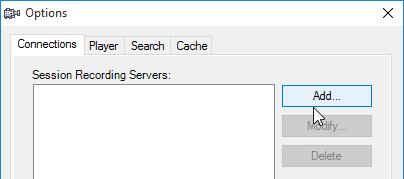
- On the Connections tab, click Add.
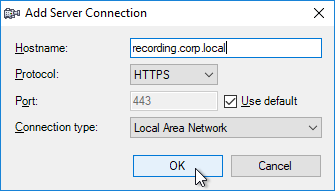
- Enter the FQDN of the Session Recording server (or load balanced FQDN).
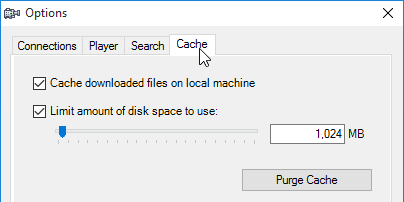
- On the Cache tab you can adjust the client-side cache size. Click OK.
- Use the Search box to find recordings.
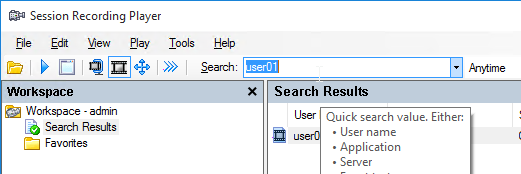
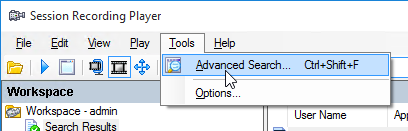
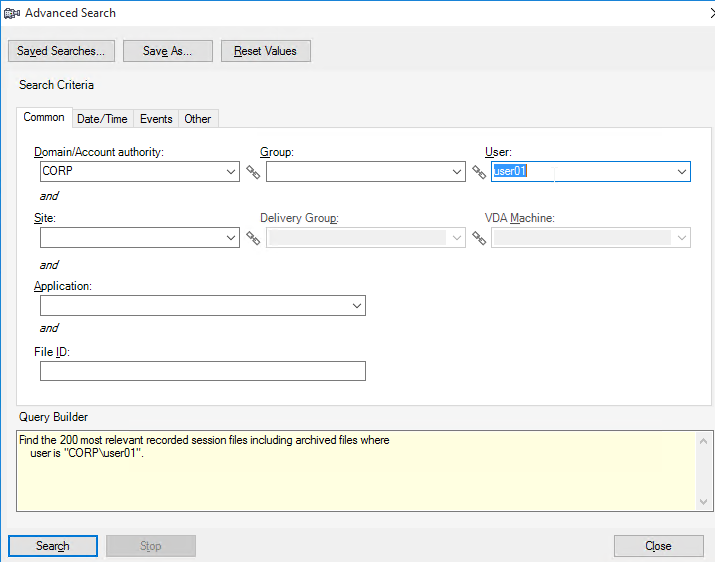
- Or you can go to Tools > Advanced Search.
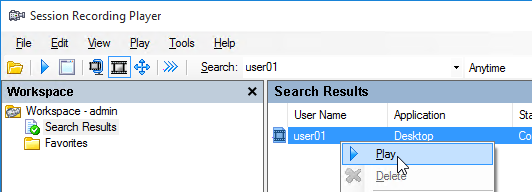
- Once you find a recording, double-click it to play it.
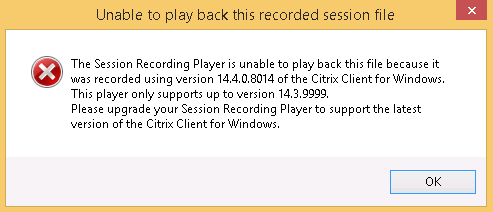
- If you see a message about Citrix Client version incompatibility, see CTX206145 Error: “The Session Recording Player Cannot Play Back This File” to edit the Player’s SsRecPlayer.exe.config file to accept the newer version. Note: Session Recording 2012 no longer complains about this.
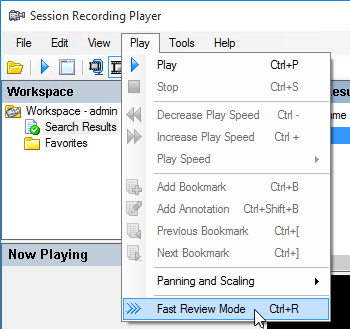
- To skip spaces where no action occurred, open the Play menu, and click Fast Review Mode.
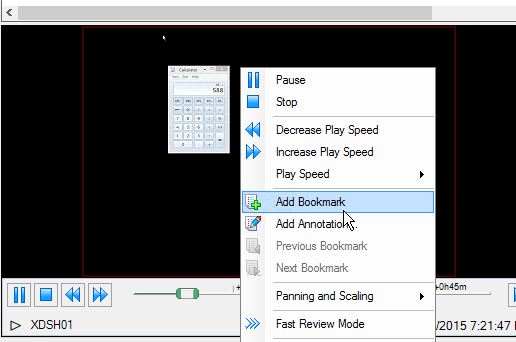
- You can add bookmarks by right-clicking in the viewer pane. Then you can skip to a bookmark by clicking the bookmark in the Events and Bookmarks pane.
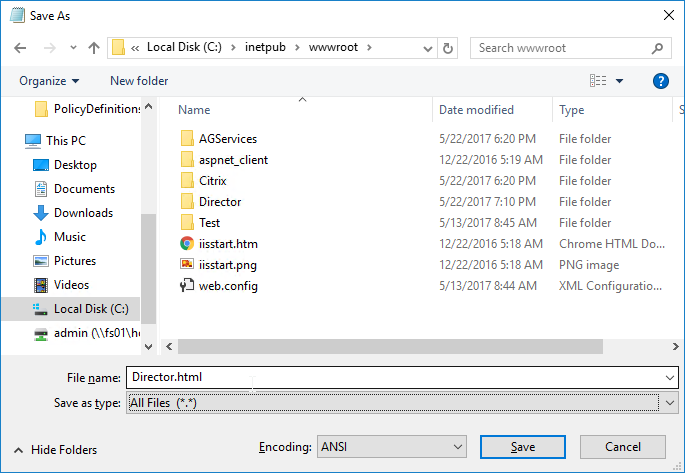
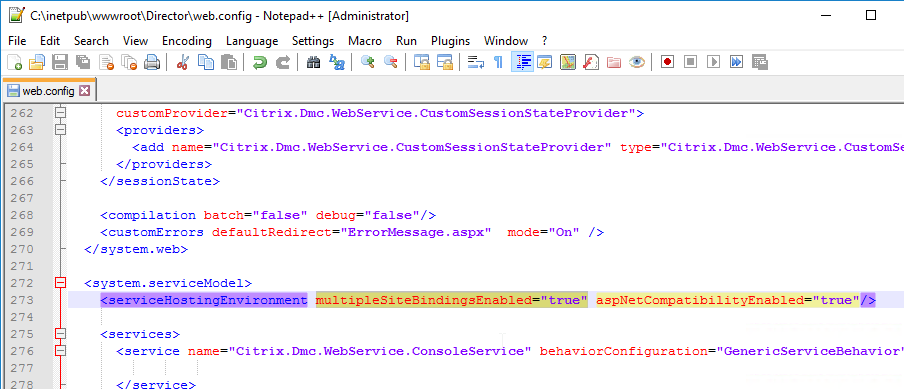
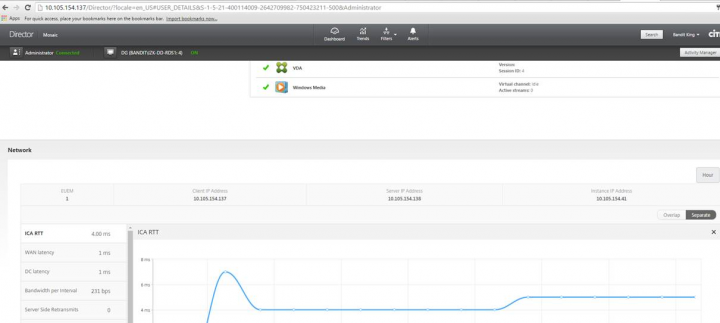
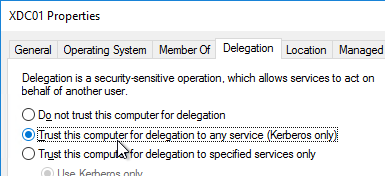
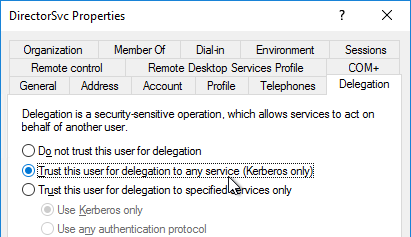
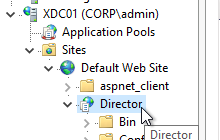
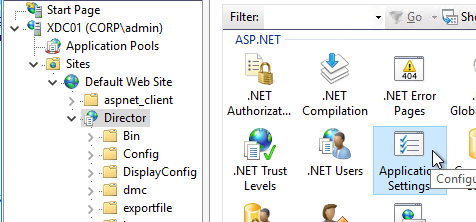
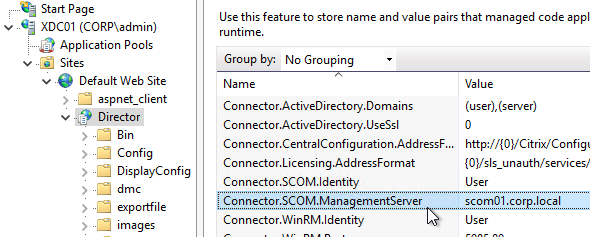
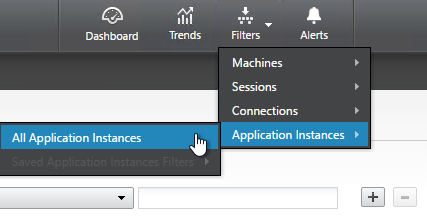
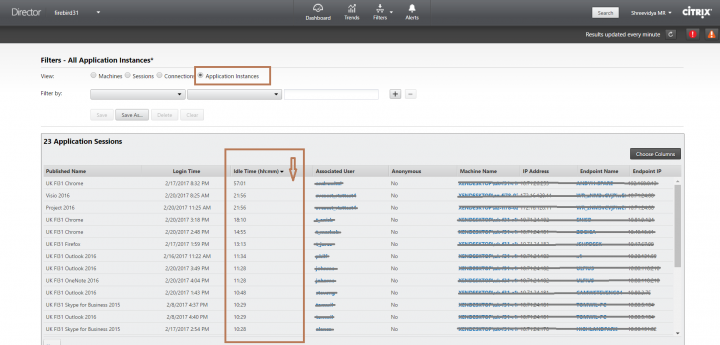
Director Integration
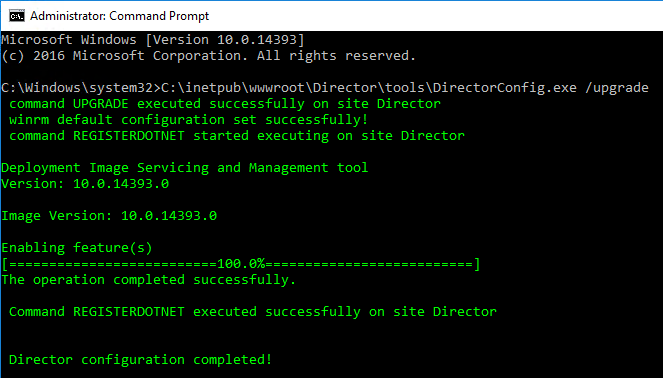
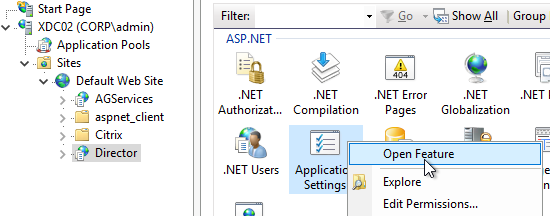
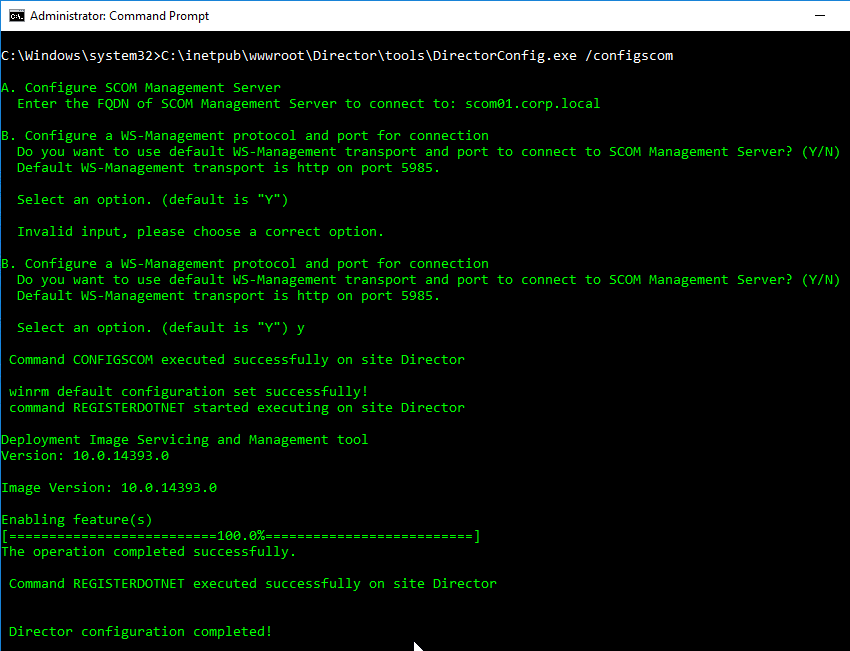
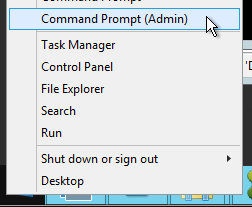
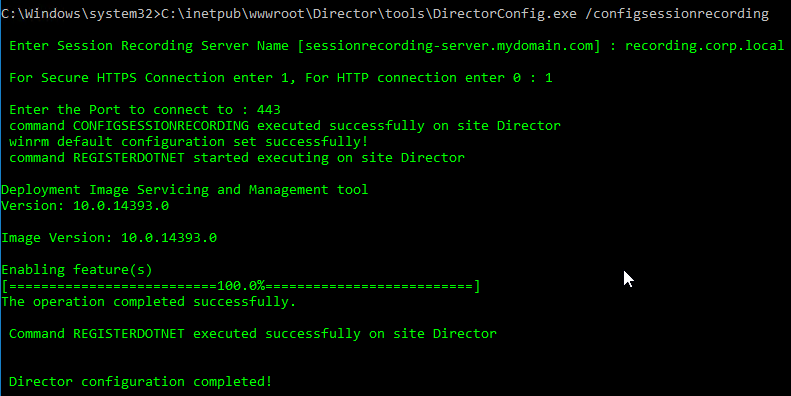
- On the Director server, run command prompt elevated (as Administrator).
- Run
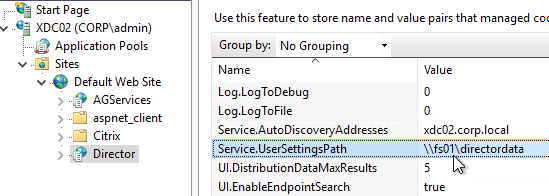
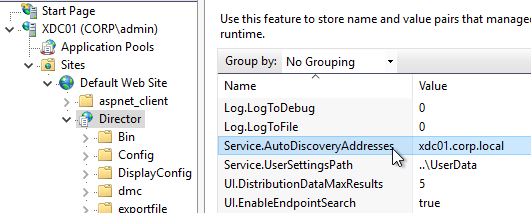
C:\inetpub\wwwroot\Director\tools\DirectorConfig.exe /configsessionrecording - Enter the Session Recording FQDN (or load balanced FQDN) when prompted.
- Enter 1 for HTTPS.
- Enter 443 as the port.
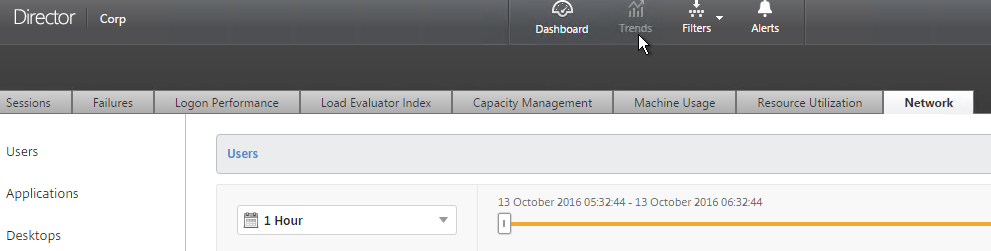
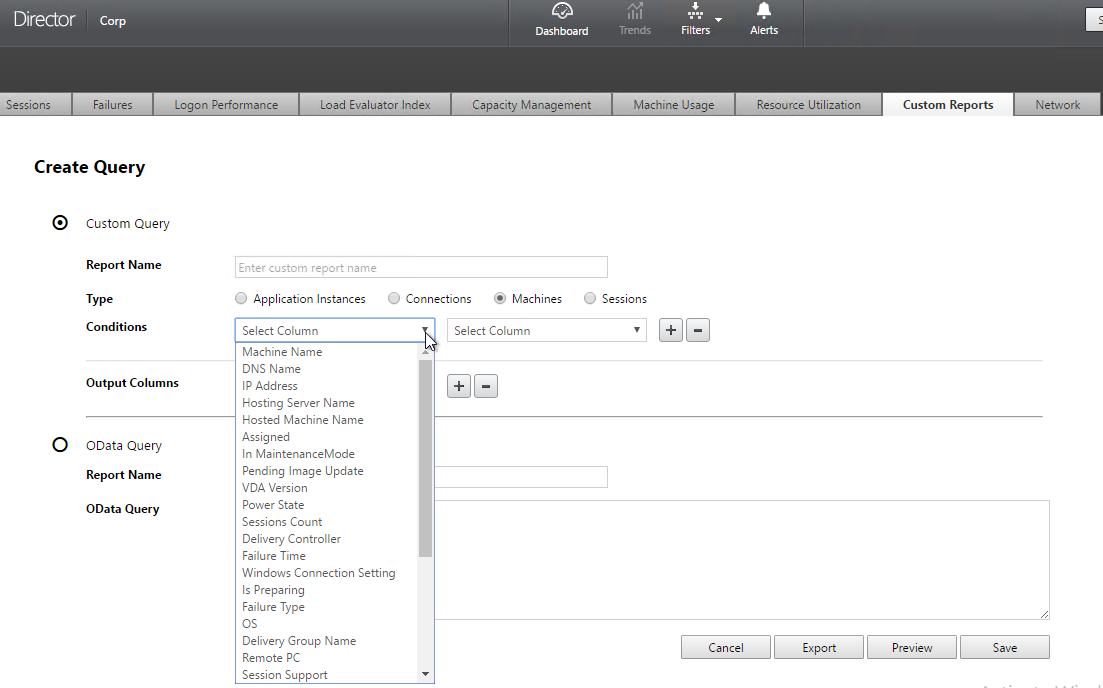
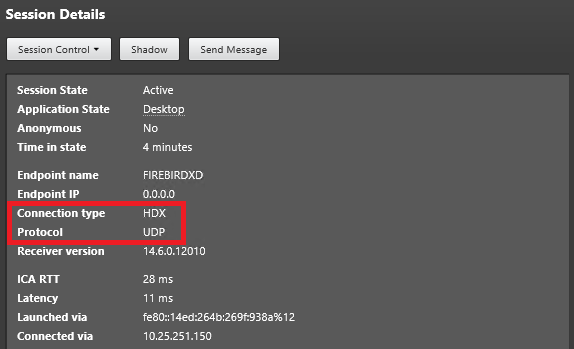
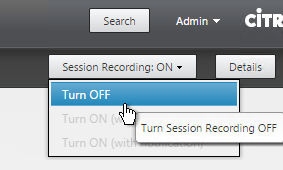
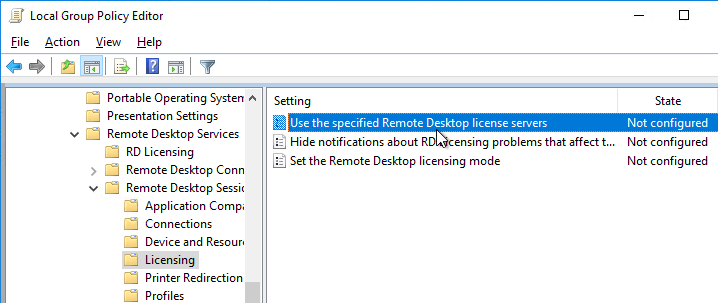
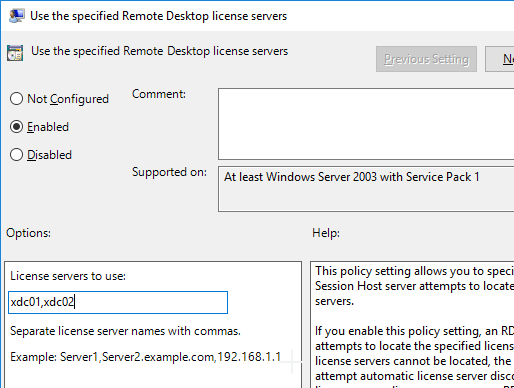
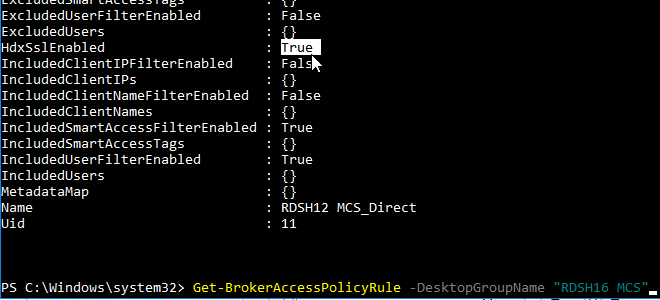
- In Director, when you view users or machines, you can change the Session Recording policy. These policy changes don’t apply until a new session is launched.
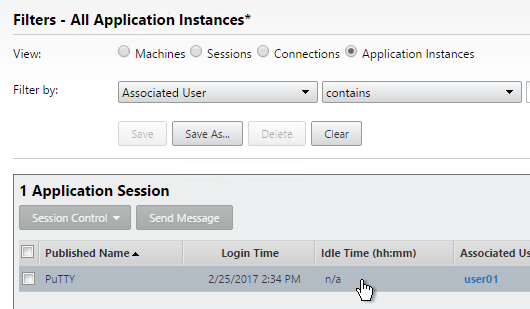
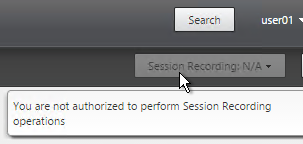
- If the Session Recording menu says N/A, then the Director user needs to be authorized in the Session Recording Authorization Console.
- If you use Director to enable or disable recording for a user or machine, rules are added to the active policy on the Session Recording server. They only take effect at next logon.
Dynamic Session Recording
Session Recording 7.18, along with Delivery Controller 7.18, and VDA 7.18, allows you to start recording, even in the middle of a session.
Unfortunately, Director has not been enabled to take advantage of this feature. Instead, you use PowerShell to start recording. The command is Start-BrokerSessionRecording, and is detailed at Dynamically start or stop recording by using PowerShell commands in the Citrix Broker SDK at Citrix Docs. For example:
Start-BrokerSessionRecording -User DomainA \ UserA -NotifyUser $false
Use the Stop-BrokerSessionRecording command to stop recording when the reported issue has been triaged or resolved. For example:
Stop-BrokerSessionRecording -User DomainA \ UserA
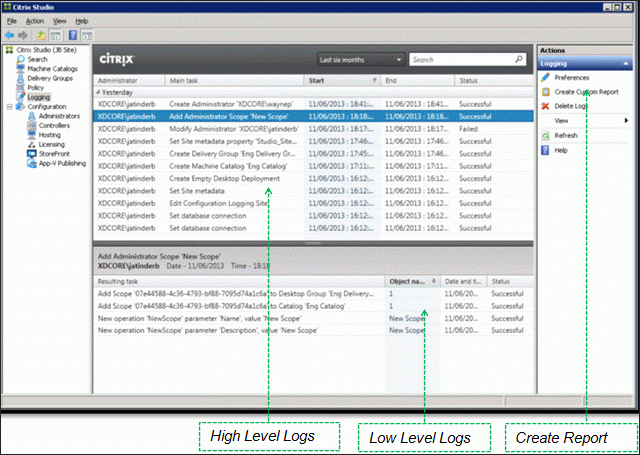
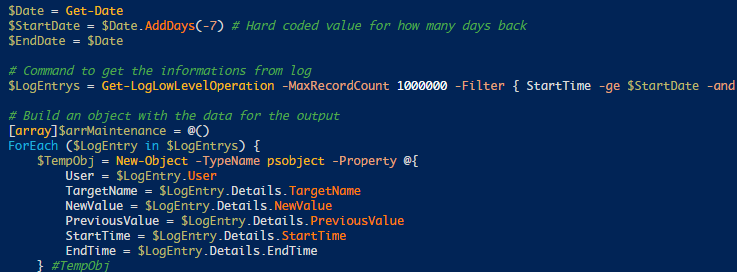
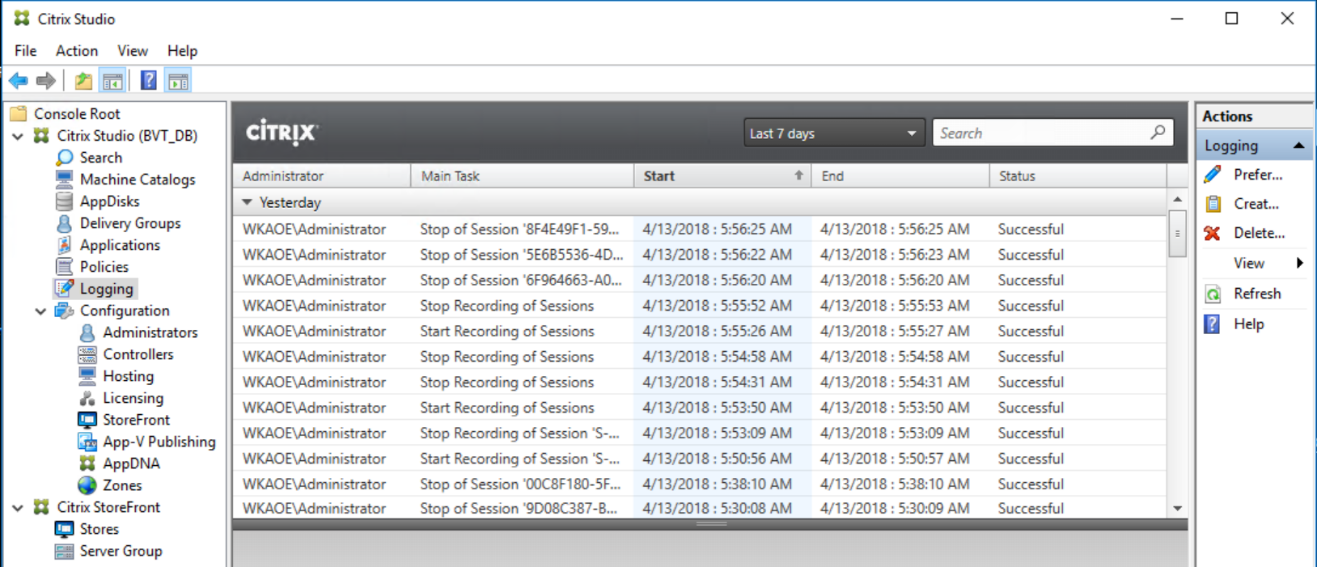
The commands are logged to Citrix Studio Logging.


 `
`